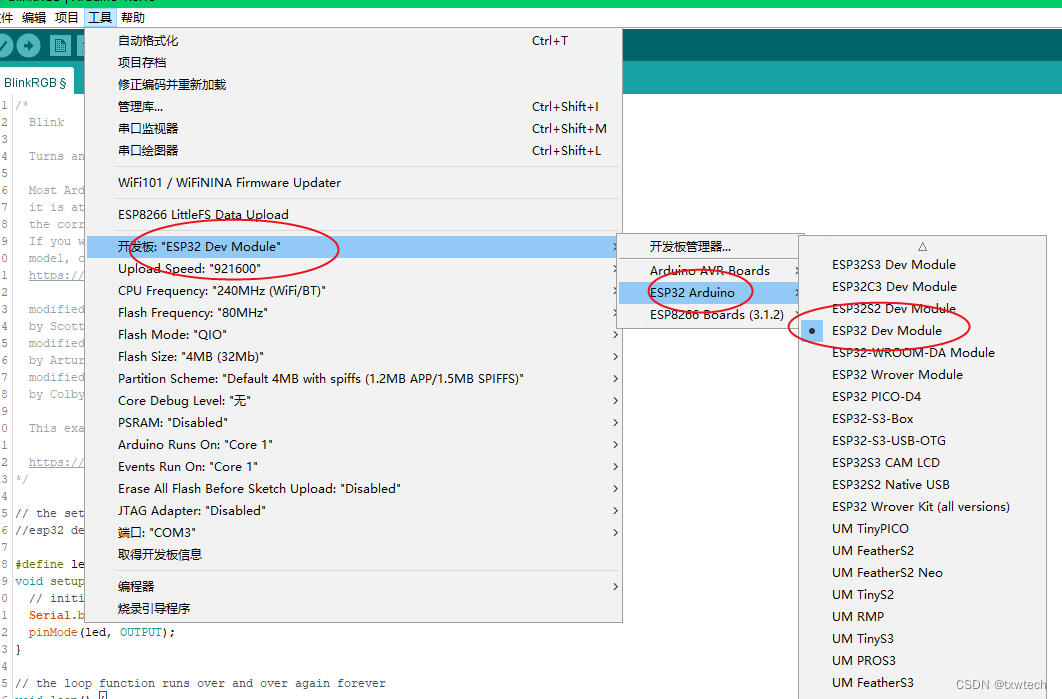
1.选择ESP32开发板
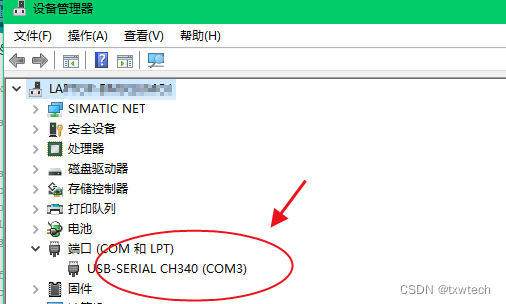
 2.寻找串口号,win10自动安装驱动
手动安装驱动参考:
百度网盘 请输入提取码百度网盘为您提供文件的网络备份、同步和分享服务。空间大、速度快、安全稳固,支持教育网加速,支持手机端。注册使用百度网盘即可享受免费存储空间https://pan.baidu.com/s/16LBFQ2mfr9ZjyQxi3EW73w?pwd=c7gb
提取码:c7gb
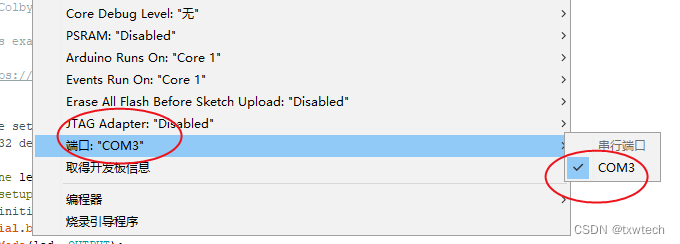
3.arduinoIDE选择:工具-》端口
4.拷贝代码到编辑窗口
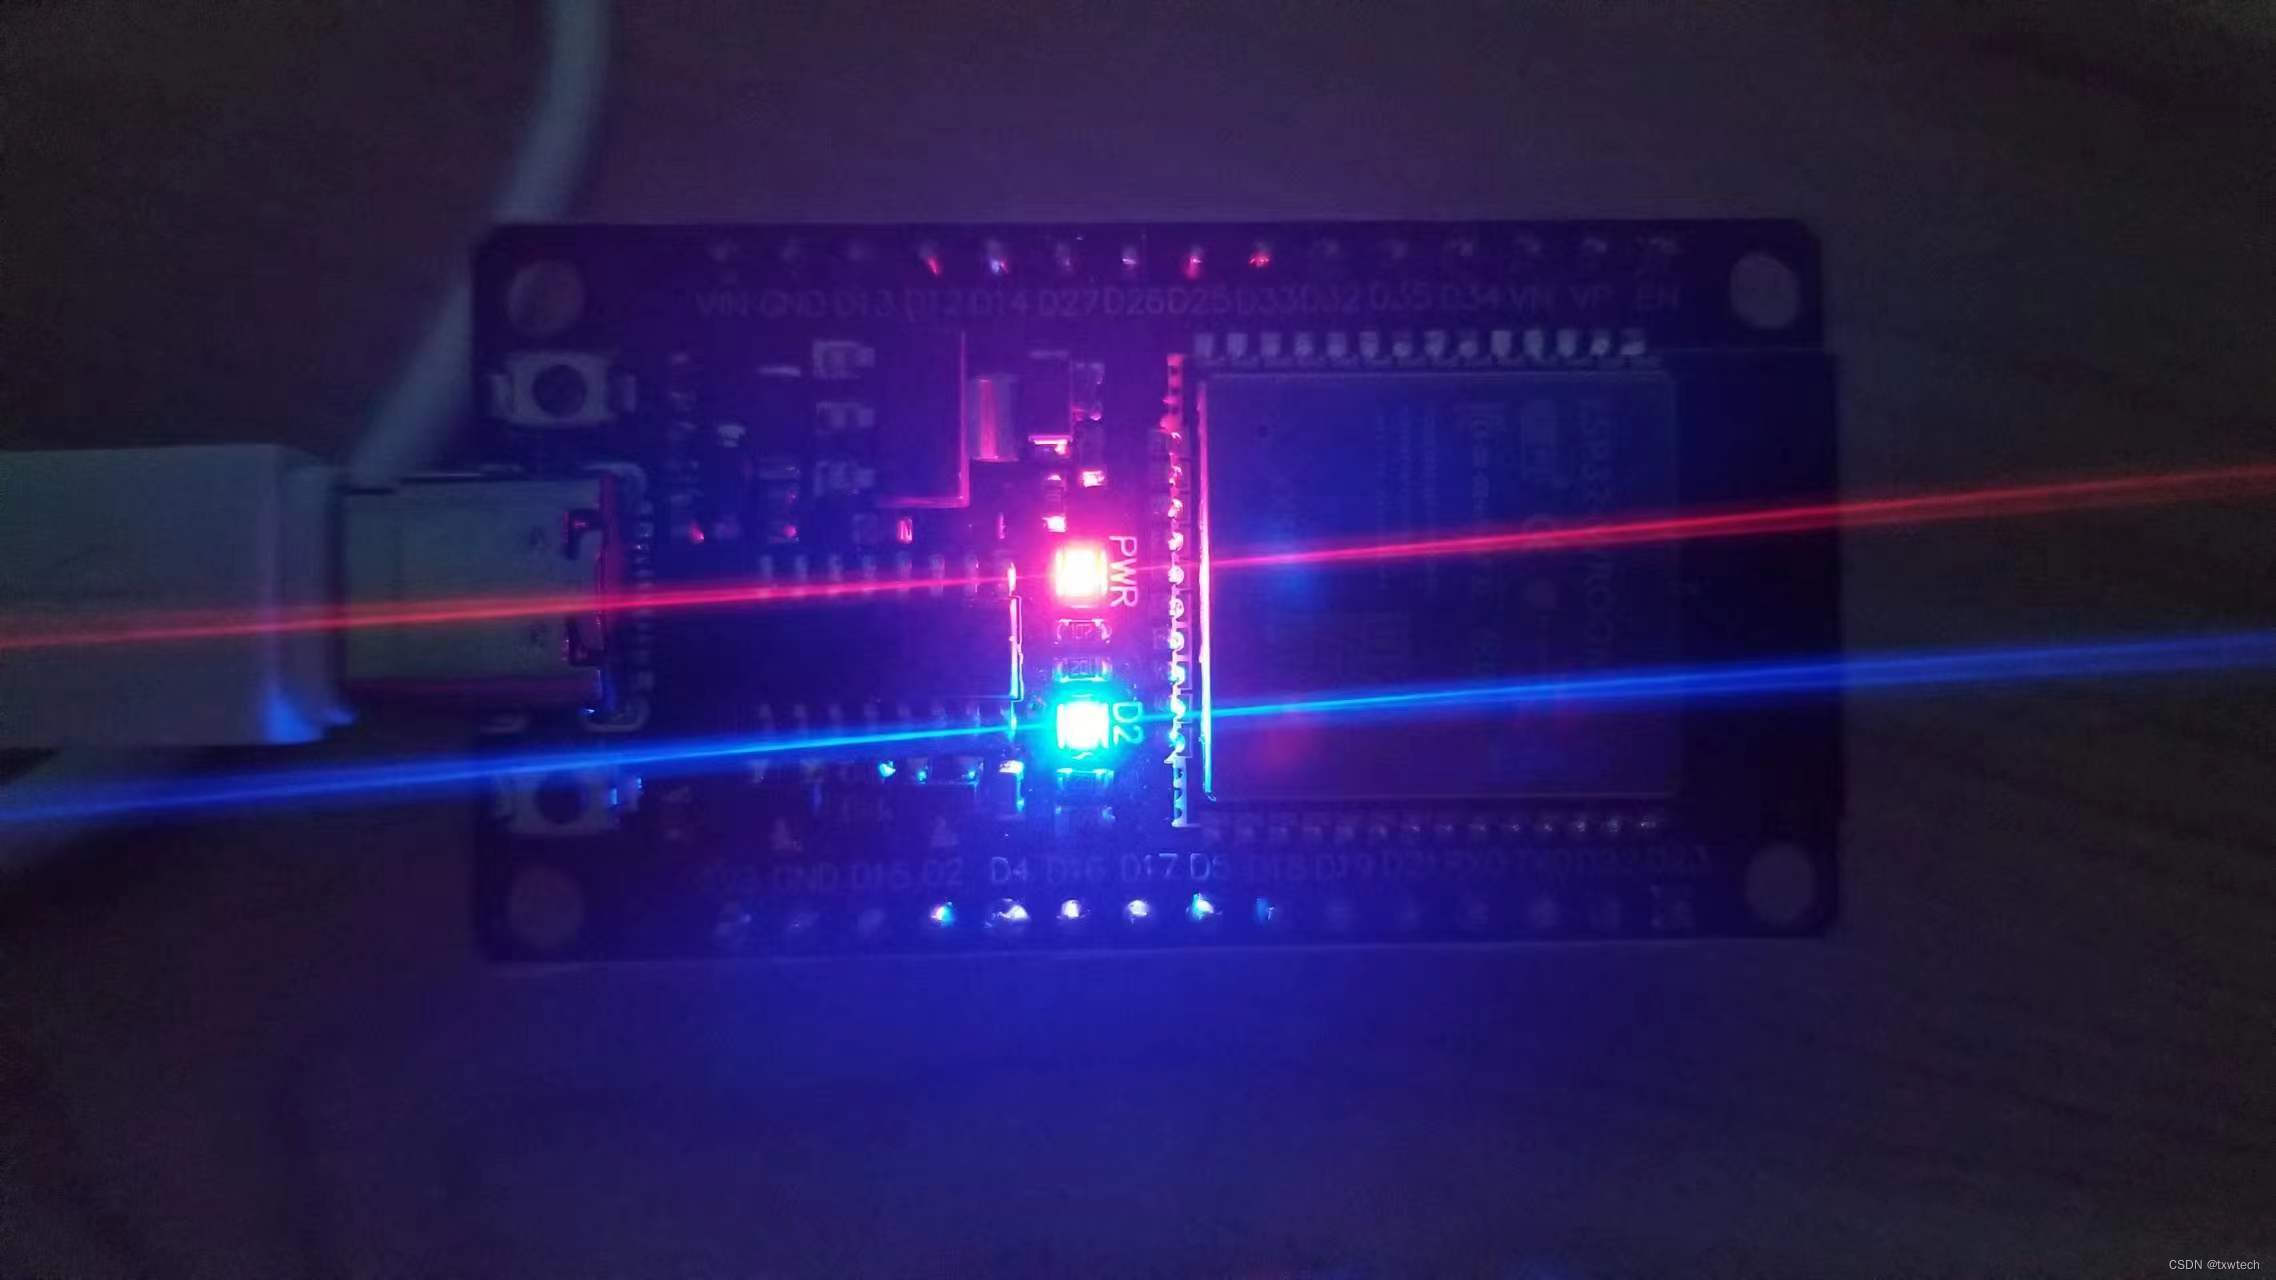
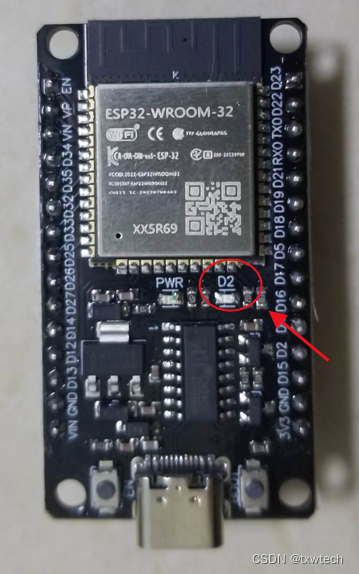
板载LED D2,表示2号引脚
定义:#define led 2
/*BlinkTurns an LED on for one second, then off for one second, repeatedly.Most Arduinos have an on-board LED you can control. On the UNO, MEGA and ZEROit is attached to digital pin 13, on MKR1000 on pin 6. LED_BUILTIN is set tothe correct LED pin independent of which board is used.If you want to know what pin the on-board LED is connected to on your Arduinomodel, check the Technical Specs of your board at:https://www.arduino.cc/en/Main/Productsmodified 8 May 2014by Scott Fitzgeraldmodified 2 Sep 2016by Arturo Guadalupimodified 8 Sep 2016by Colby NewmanThis example code is in the public domain.https://www.arduino.cc/en/Tutorial/BuiltInExamples/Blink
*/// the setup function runs once when you press reset or power the board
//esp32 dev module#define led 2
void setup() {// initialize digital pin LED_BUILTIN as an output.Serial.begin(115200);pinMode(led, OUTPUT);
}// the loop function runs over and over again forever
void loop() {digitalWrite(led, HIGH);   // turn the LED on (HIGH is the voltage level)delay(1000); Serial.println("led is high");                      // wait for a seconddigitalWrite(led, LOW);    // turn the LED off by making the voltage LOWdelay(1000);    Serial.println("led is low");                    // wait for a second
}
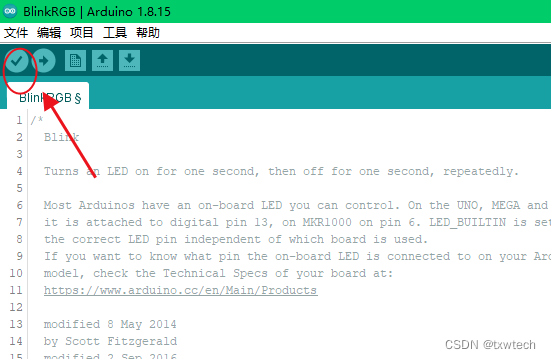
5.点击验证,表示编译
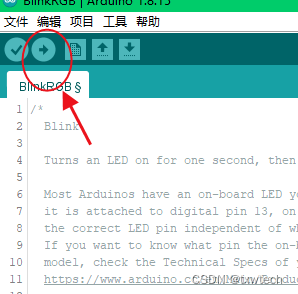
6.编译完成后,点击上传
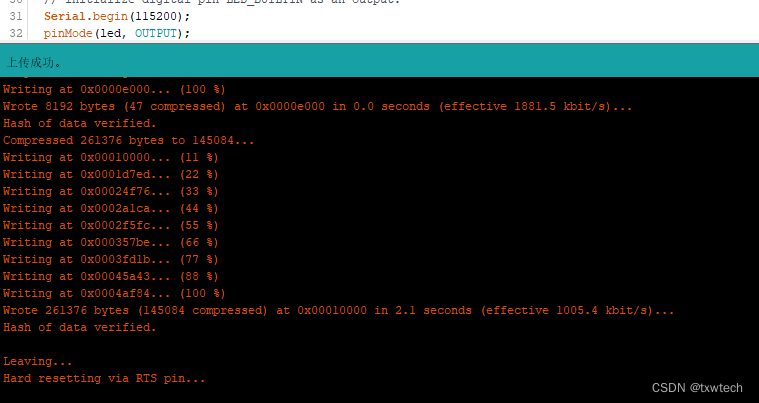
7.上传成功
