一、代码批注
代码来自:https://scikit-learn.org/stable/auto_examples/decomposition/plot_pca_iris.html#sphx-glr-auto-examples-decomposition-plot-pca-iris-py
import numpy as np
import matplotlib.pyplot as plt
from mpl_toolkits.mplot3d import Axes3D
from sklearn import decomposition
from sklearn import datasetsnp.random.seed(5)iris = datasets.load_iris()
X = iris.data
y = iris.targetfig = plt.figure(1, figsize=(4, 3))
plt.clf()
# rect:left, bottom, width, height轴位置;elev:视角仰角;azim:方位视角
ax = Axes3D(fig, rect=[0, 0, 0.95, 1], elev=48, azim=134)plt.cla()
print(X)
# PCA降维
kernels = ['linear', 'poly', 'rbf', 'sigmoid']
pca1 = decomposition.KernelPCA(n_components=3, kernel='sigmoid')
pca2 = decomposition.PCA(n_components=3)
X = pca1.fit_transform(X)
print(X)
X = pca2.fit_transform(X)
print(X)
# pca2.fit(X)
# X = pca2.transform(X)for name, label in [("Setosa", 0), ("Versicolour", 1), ("Virginica", 2)]:ax.text3D(# 调整"Setosa"、"Versicolour"这几个字的位置X[y == label, 0].mean(),X[y == label, 1].mean() + 1.5,X[y == label, 2].mean(),name,horizontalalignment="center",bbox=dict(alpha=0.5, edgecolor="w", facecolor="w"),)
# 重新排列label
y = np.choose(y, [1, 2, 0]).astype(float)
# 画点
ax.scatter(X[:, 0], X[:, 1], X[:, 2], c=y, cmap=plt.cm.nipy_spectral, edgecolor="k")
# 设置坐标
ax.w_xaxis.set_ticklabels([])
ax.w_yaxis.set_ticklabels([])
ax.w_zaxis.set_ticklabels([])plt.show()
from math import log, sqrt
import numbersimport numpy as np
from scipy import linalg
from scipy.special import gammaln
from scipy.sparse import issparse
from scipy.sparse.linalg import svdsdef __init__(self,# 指定希望PCA降维后的特征维度数目n_components=None,*,# 表示是否在运行算法时,将原始训练数据复制一份copy=True,# 判断是否进行白化。所谓白化,就是对降维后的数据的每个特征进行归一化,让方差都为1。对于PCA降维本身来说,一般不需要白化。如果你PCA降维后有后续的数据处理动作,可以考虑白化。whiten=False,# 指定奇异值分解SVD的方法,由于特征分解是奇异值分解SVD的一个特例,一般的PCA库都是基于SVD实现的。# 有4个可以选择的值:{‘auto’, ‘full’, ‘arpack’, ‘randomized’}。# randomized一般适用于数据量大,数据维度多同时主成分数目比例又较低的PCA降维,它使用了一些加快SVD的随机算法。# full则是传统意义上的SVD,使用了scipy库对应的实现。# arpack直接使用了scipy库的sparse SVD实现。# 默认是auto,即PCA类会自己去在前面讲到的三种算法里面去权衡,选择一个合适的SVD算法来降维。svd_solver="auto",# 计算的奇异值的公差tol=0.0,# '随机化'计算出的幂方法的迭代次数iterated_power="auto",# 随机种子random_state=None,
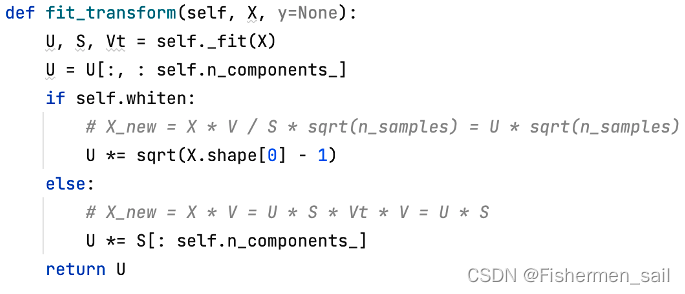
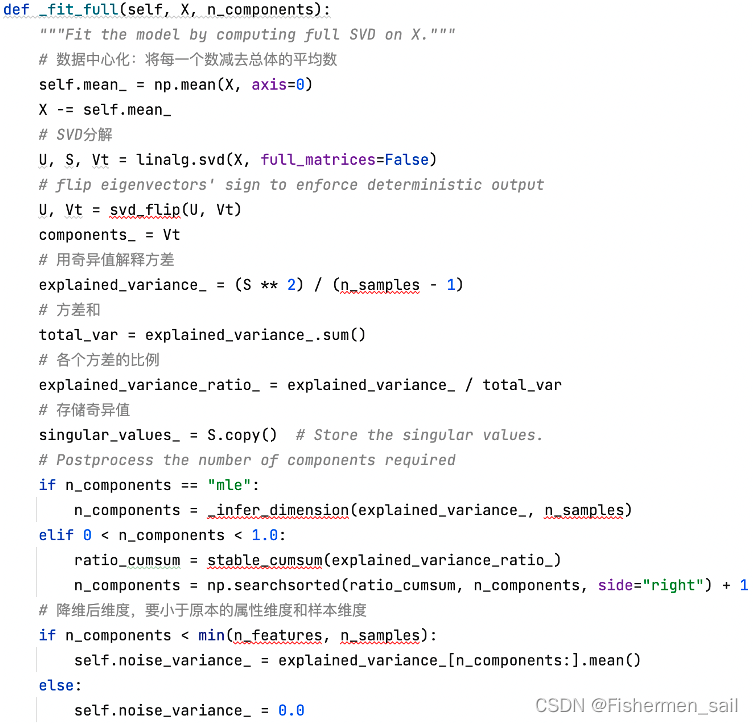
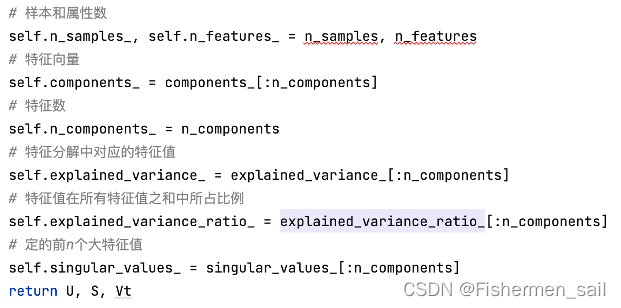
):self.n_components = n_componentsself.copy = copyself.whiten = whitenself.svd_solver = svd_solverself.tol = tolself.iterated_power = iterated_powerself.random_state = random_statedef fit(self, X, y=None):"""Fit the model with X.Parameters----------X : array-like of shape (n_samples, n_features)Training data, where `n_samples` is the number of samplesand `n_features` is the number of features.y : IgnoredIgnored.Returns-------self : objectReturns the instance itself."""self._fit(X)return selfdef fit_transform(self, X, y=None):U, S, Vt = self._fit(X)U = U[:, : self.n_components_]if self.whiten:# X_new = X * V / S * sqrt(n_samples) = U * sqrt(n_samples)U *= sqrt(X.shape[0] - 1)else:# X_new = X * V = U * S * Vt * V = U * SU *= S[: self.n_components_]return Udef _fit_full(self, X, n_components):"""Fit the model by computing full SVD on X."""# 数据中心化:将每一个数减去总体的平均数self.mean_ = np.mean(X, axis=0)X -= self.mean_# SVD分解U, S, Vt = linalg.svd(X, full_matrices=False)# flip eigenvectors' sign to enforce deterministic outputU, Vt = svd_flip(U, Vt)components_ = Vt# 用奇异值解释方差explained_variance_ = (S ** 2) / (n_samples - 1)# 方差和total_var = explained_variance_.sum()# 各个方差的比例explained_variance_ratio_ = explained_variance_ / total_var# 存储奇异值singular_values_ = S.copy()  # Store the singular values.# Postprocess the number of components requiredif n_components == "mle":n_components = _infer_dimension(explained_variance_, n_samples)elif 0 < n_components < 1.0:ratio_cumsum = stable_cumsum(explained_variance_ratio_)n_components = np.searchsorted(ratio_cumsum, n_components, side="right") + 1# 降维后维度,要小于原本的属性维度和样本维度if n_components < min(n_features, n_samples):self.noise_variance_ = explained_variance_[n_components:].mean()else:self.noise_variance_ = 0.0# 样本和属性数self.n_samples_, self.n_features_ = n_samples, n_features# 特征向量self.components_ = components_[:n_components]# 特征数self.n_components_ = n_components# 特征分解中对应的特征值self.explained_variance_ = explained_variance_[:n_components]# 特征值在所有特征值之和中所占比例self.explained_variance_ratio_ = explained_variance_ratio_[:n_components]# 定的前n个大特征值self.singular_values_ = singular_values_[:n_components]return U, S, Vt
二、源码分析
分析sklearn.decomposition.PCA函数:
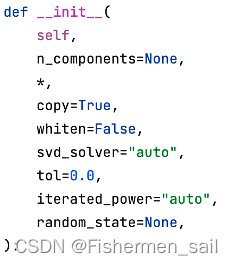
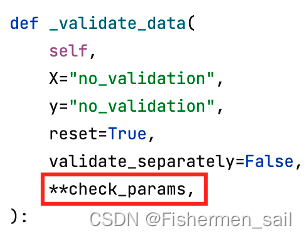
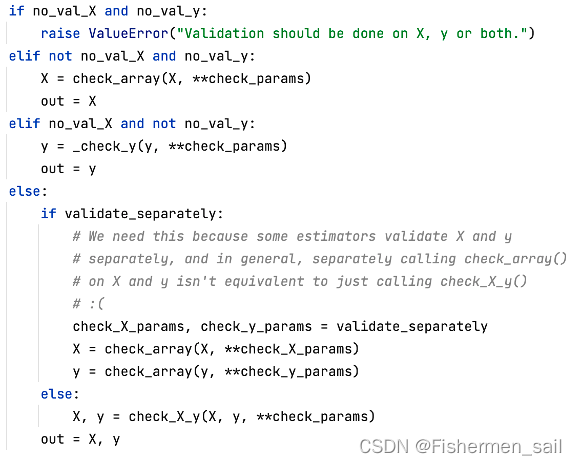
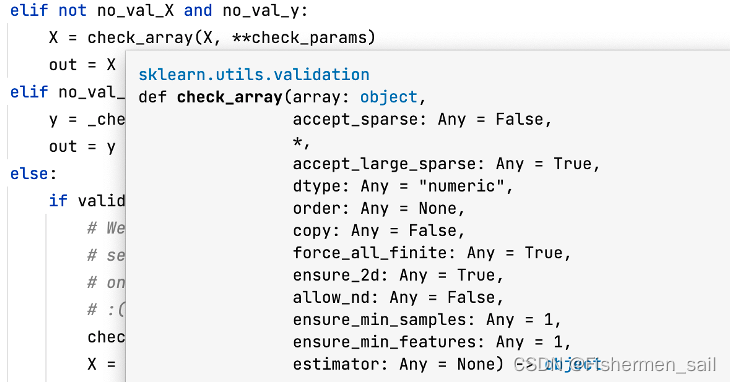
1)copy:表示是否在运行算法时,将原始训练数据复制一份。在源码中是通过调用_validate_data,作为它的**check_params参数,最终通过check_array来判断到底复不复制训练集。

2)whiten:判断是否进行白化。所谓白化,就是对降维后的数据的每个特征进行归一化,让方差都为1。对于PCA降维本身来说,一般不需要白化。如果PCA降维后有后续的数据处理动作,可以考虑白化。

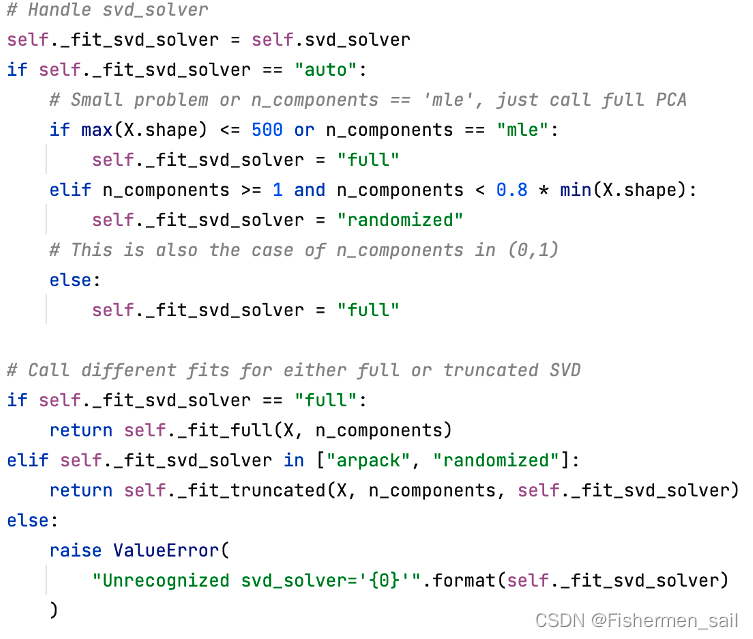
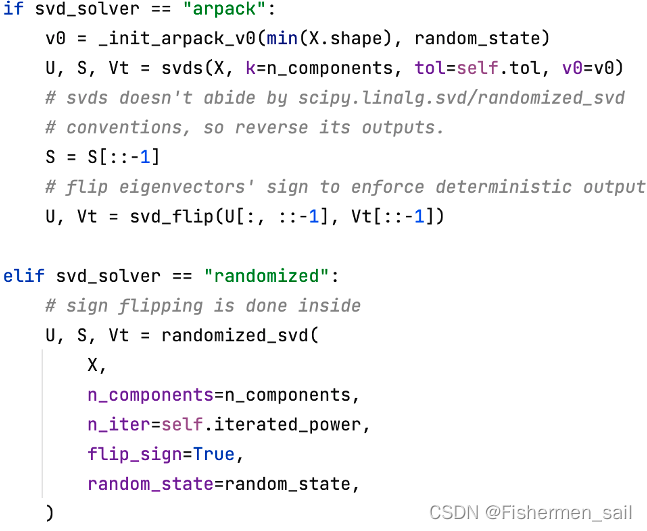
3)svd_solver:指定奇异值分解SVD的方法,由于特征分解是奇异值分解SVD的一个特例,一般的PCA库都是基于SVD实现的。有4个可以选择的值,“auto”、 “full”、“arpack”、“randomized”。randomized一般适用于数据量大,数据维度多同时主成分数目比例又较低的PCA降维,它使用了一些加快SVD的随机算法。full则是传统意义上的SVD,使用了scipy库对应的实现。arpack直接使用了scipy库的sparse SVD实现。默认是auto,即PCA类会自己去在三种算法里面去权衡,选择一个合适的SVD算法来降维。
4)tol:计算的奇异值的公差。
5)iterated_power:'随机化’计算出的幂方法的迭代次数。
6)n_components:指定希望PCA降维后的特征维度数目。
三、PCA与KPCA
主成分分析(PCA)适用于数据的线性降维。而核主成分分析(Kernel PCA)可实现数据的非线性降维,用于处理线性不可分的数据集。
PCA:通过投影矩阵(特征向量)将高维信息转到另外一个坐标系下,在经过SVD分解后,在某一维度上,数据分步更分散,越能代表主要特征,对数据分布情况的解释就更强,所以通过方差最大来衡量样本的分布情况,进而进行有效的低维判断。
KPCA:主要处理非线性可分的数据,它将这些数据通过非线性映射将数据映射到高维空间中,然后在高维空间里进行PCA处理,映射到另一个低维空间。
PCA是降维,把m维的数据降至k维。KPCA恰恰相反,它是把m维的数据升至k维。但是他们共同的目标都是让数据在目标维度中(线性)可分,即PCA的最大可分性。
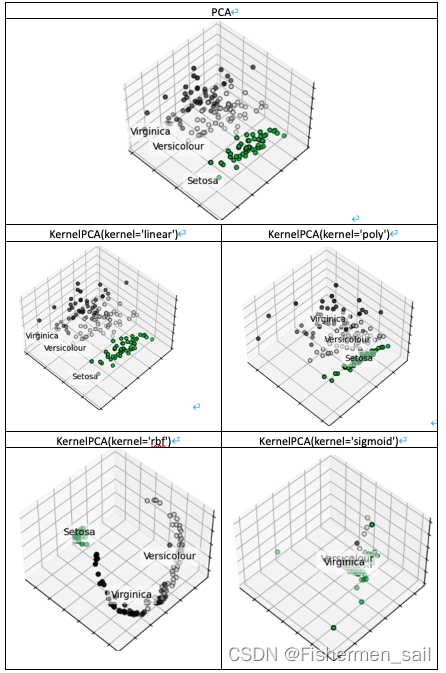
在Kernel PCA,它有一个重要参数kernels,和函数。它有四个选项,linear:线性核函数,是在数据线性可分的情况下使用的,运算速度快,效果好,不足在于它不能处理线性不可分的数据,在下图中它的结果图和PCA一摸一样。poly:多项式核函数,多项式核函数可以将数据从低维空间映射到高维空间,但参数比较多,计算量大。rbf:高斯核函数(默认),高斯核函数同样可以将样本映射到高维空间,但相比于多项式核函数来说所需的参数比较少,通常性能不错,所以是默认使用的核函数,在下图中也是表现不错的函数。sigmoid:经常用在神经网络的映射中。因此当选用sigmoid核函数时,SVM实现的是多层神经网络。
