文章目录
- 引言
- 一、配置参数设置
- 1、数据参数配置
- 2、模型训练参数配置
- 3、模型预测参数配置
- 二、一键训练/预测的sh介绍
- 1、训练sh文件(train.sh)介绍
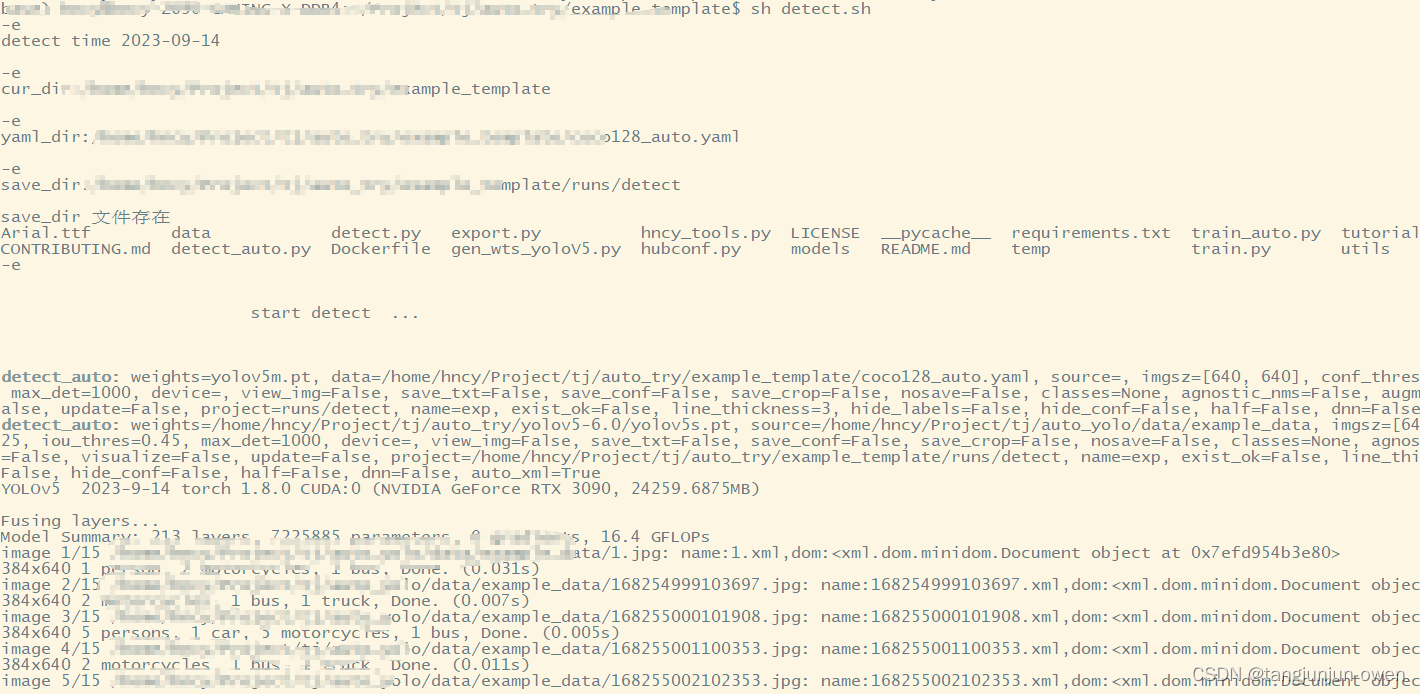
- 2、预测sh文件(detect.sh)介绍
- 三、本文训练main代码解读
- 1、训练main函数解读
- 2、数据加工与参数替换
- 四、本文预测main代码解读
- 1、训练main函数解读
- 2、参数替换
- 3、自动生成xml文件
- 五、模型展示
- 1、模型架构展示
- 2、训练效果展示
- 3、预测效果展示
引言
本文章基于客户一键训练与测试需求,我将yolov5模型改成较为保姆级的一键操作的训练/预测方式,也特别适合新手或想偷懒转换数据格式的朋友们。本文一键体现只需图像文件与xml文件,调用train.sh与detect.sh可完成模型的训练与预测。而为完成该操作,模型内嵌入xml转yolov5的txt格式、自动分配训练/验证集、自动切换环境等内容。接下来,我将介绍如何操作,并附修改源码。
源码链接:我已上传个人资源,请自行下载!
一、配置参数设置
该文件是yolo数据的文件,被我修改满足一键训练与测试文件的配置参数,主要包含数据参数配置、训练参数配置与检测参数配置。
1、数据参数配置
数据参数配置为图像与xml路径配置、转换yolov5数据格式保存路径、训练/验证/测试比列分配、对应yolov5数据文件参数配置,详情如下:
# 设置img与xml的文件路径,也可为同一个文件,按照xml选择img
img_path: /home/auto_yolo/data/example_data
xml_path: /home/auto_yolo/data/example_data# 设置数据集训练与验证集测试的比率,和小于1,通常test比率不设置为0
train_rate: 0.8
val_rate: 0.2
test_rate:
# 设置转换数据保存路径
path: /home/auto_yolo/data/yolo_data
train: images/train
val: images/val
test:
# Classes
nc: 3
names: ['car', 'moto', 'person']
2、模型训练参数配置
模型训练相关设置,若需要设置则对应相应值,否则不填,使用默认设置,其详情如下:
# 训练模型选择参数设置
imgsz:
batch_size: 2
epochs:
resume: False
device:
workers:
model_scale: s  #模型型号参数,s表示yolov5s模型
3、模型预测参数配置
模型预测相关设置,若需要设置则对应相应值,否则不填,使用默认设置,其详情如下:
特别说明:auto_xml参数表示是否生成xml标签数据
#detect测试参数设置,无需关心上面所有参数
weights: /home/hncy/Project/tj/auto_try/yolov5-6.0/yolov5s.pt
source: /home/hncy/Project/tj/auto_yolo/data/example_data#测试模型选择参数设置
detect_imgsz:
conf_thres:
iou_thres:
auto_xml: True  # 模型预测自动生成有标注框的xml文件
二、一键训练/预测的sh介绍
1、训练sh文件(train.sh)介绍
训练文件为sh文件,只需通过以下命令,实现训练。
sh train.sh
该文件包含虚拟环境切换与自动调用模型训练,其详情如下:
# train.shecho -e "\n"train time $(date "+%Y-%m-%d")"\n"# 更换虚拟环境__conda_setup="$('/home/anaconda3/bin/conda' 'shell.bash' 'hook' 2> /dev/null)"
if [ $? -eq 0 ]; theneval "$__conda_setup"elseif [ -f "/home/anaconda3/etc/profile.d/conda.sh" ]; then. "/home/anaconda3/etc/profile.d/conda.sh"elseexport PATH="/home/anaconda3/bin:$PATH"fi
fi
unset __conda_setup
conda activate torch1.8cur_dir=$(cd `dirname $0`;pwd)  # 获得当前路径
echo -e  "\ncur_dir:"${cur_dir}"\n"yaml_dir=$cur_dir/coco128_auto.yaml
echo -e  "\nyaml_dir:"${yaml_dir}"\n"save_dir=$cur_dir/runs/train
echo -e "\nsave_dir:"$save_dir"\n"if [ -d ${save_dir} ];thenecho "save_dir 文件存在"elseecho "save_dir文件不存在-->创建文件"mkdir -p  $save_dir
fimodel_dir=/home/auto_try/yolov5-6.0cd ${model_dir}lsecho -e "\n\n\n\t\t\t start train  ... \n\n\n"python  train_auto.py  --data $yaml_dir
2、预测sh文件(detect.sh)介绍
预测文件为sh文件,只需通过以下命令,实现训练。
sh detect.sh
该文件包含虚拟环境切换与自动调用模型预测,其详情如下:
# detect.shecho -e "\n"detect time $(date "+%Y-%m-%d")"\n"# 更换虚拟环境__conda_setup="$('/home/hncy/anaconda3/bin/conda' 'shell.bash' 'hook' 2> /dev/null)"
if [ $? -eq 0 ]; theneval "$__conda_setup"elseif [ -f "/home/anaconda3/etc/profile.d/conda.sh" ]; then. "/home/anaconda3/etc/profile.d/conda.sh"elseexport PATH="/home/anaconda3/bin:$PATH"fi
fi
unset __conda_setup
conda activate torch1.8cur_dir=$(cd `dirname $0`;pwd)  # 获得当前路径
echo -e  "\ncur_dir:"${cur_dir}"\n"yaml_dir=$cur_dir/coco128_auto.yaml
echo -e  "\nyaml_dir:"${yaml_dir}"\n"save_dir=$cur_dir/runs/detect
echo -e "\nsave_dir:"$save_dir"\n"if [ -d ${save_dir} ];thenecho "save_dir 文件存在"elseecho "save_dir文件不存在-->创建文件"mkdir -p  $save_dir
fimodel_dir=/home/auto_try/yolov5-6.0cd ${model_dir}lsecho -e "\n\n\n\t\t\t start detect  ... \n\n\n"python  detect_auto.py  --data $yaml_dir
三、本文训练main代码解读
1、训练main函数解读
可看出训练main函数多了replace_parameter(opt)函数,该函数为数据加工处理。
if __name__ == "__main__":opt = parse_opt()opt=replace_parameter(opt)main(opt)
2、数据加工与参数替换
数据转换主要将xml文件转成txt文件格式,可参考我的博客,xml转txt博客点击这里
。另一个是模型参数更换,其代码如下:
def replace_parameter(opt):cfg_yaml=product_yolo_dataset(opt.data)if cfg_yaml['imgsz'] is not None: opt.imgsz=cfg_yaml['imgsz']if cfg_yaml['batch_size'] is not None: opt.batch_size = cfg_yaml['batch_size']if cfg_yaml['epochs'] is not None: opt.epochs = cfg_yaml['epochs']if cfg_yaml['resume'] is not None: opt.resume = cfg_yaml['resume']if cfg_yaml['model_scale'] =='n':opt.weights = ROOT / 'yolov5n.pt'elif cfg_yaml['model_scale'] =='s':opt.weights = ROOT / 'yolov5s.pt'elif cfg_yaml['model_scale'] =='m':opt.weights = ROOT / 'yolov5m.pt'yaml_parent=Path(opt.data).parentopt.project=os.path.join(yaml_parent,'runs','train')return opt
四、本文预测main代码解读
1、训练main函数解读
可看出训练main函数多了replace_detect_parameter(opt)函数,该函数为数据加工处理。
if __name__ == "__main__":opt = parse_opt()opt = replace_detect_parameter(opt)main(opt)2、参数替换
该函数是替换模型预测参数,我将不在介绍,其代码如下:
def replace_detect_parameter(opt):cfg_yaml=read_yaml(opt.data)if cfg_yaml['weights'] is None :raise FileExistsError("lacking weights path")if cfg_yaml['source'] is None:raise FileExistsError("lacking source path")opt.weights = cfg_yaml['weights']opt.source = cfg_yaml['source']opt.auto_xml = True if cfg_yaml['auto_xml'] else Falseif cfg_yaml['detect_imgsz'] is not None : opt.imgsz=cfg_yaml['detect_imgsz']if cfg_yaml['iou_thres'] is not None : opt.iou_thres=cfg_yaml['iou_thres']if cfg_yaml['conf_thres'] is not None: opt.conf_thres = cfg_yaml['conf_thres']yaml_parent=Path(opt.data).parentopt.project=os.path.join(yaml_parent,'runs','detect')del opt.dataprint_args(FILE.stem, opt)return opt
3、自动生成xml文件
我想说预测代码的自动生成xml方法,该部分在检测文件的run函数中,添加内容如下:
if auto_xml:create_xml_by_predect_xml(det, im0s.copy(), names, hide_conf, hide_labels, video_num, save_path)video_num+=1
我将预测结果生成xml标注,无论预测视频或预测图像均可实现该目的,我不在介绍,读者可查看代码,其调用函数如下:
def create_xml_by_predect_xml(det,img,names,hide_conf,hide_labels,video_num,save_path):save_xml = Path(save_path)save_xml_parent = save_xml.parentsave_xml_path = build_dir(os.path.join(save_xml_parent, 'xml_dir'))if save_xml.suffix in ['.jpg', '.png', '.bmp']:write_img_name = save_xml.namesave_xml_name = write_img_name.replace(save_xml.suffix, '.xml')else:write_img_name = 'video_' + str(video_num) + '.jpg'save_xml_name = write_img_name.replace('.jpg', '.xml')save_xml_img_path = os.path.join(save_xml_path, write_img_name)save_xml_xml_path = os.path.join(save_xml_path, save_xml_name)bboxes_lst=[]cat_lst=[]for *xyxy, conf, cls in reversed(det):c = int(cls) # integer classlabel = None if hide_labels else (names[c] if hide_conf else f'{names[c]} {conf:.2f}')box = [int(xyxy[0]), int(xyxy[1]), int(xyxy[2]), int(xyxy[3])]cat=label.split(' ')[0]if cat is not None and box is not None:cat_lst.append(cat)bboxes_lst.append(box)if cat_lst !=[]:tree, xml_name = product_xml(write_img_name, bboxes_lst, cat_lst, img=img)tree.write(save_xml_xml_path)cv2.imwrite(save_xml_img_path,img)五、模型展示
1、模型架构展示

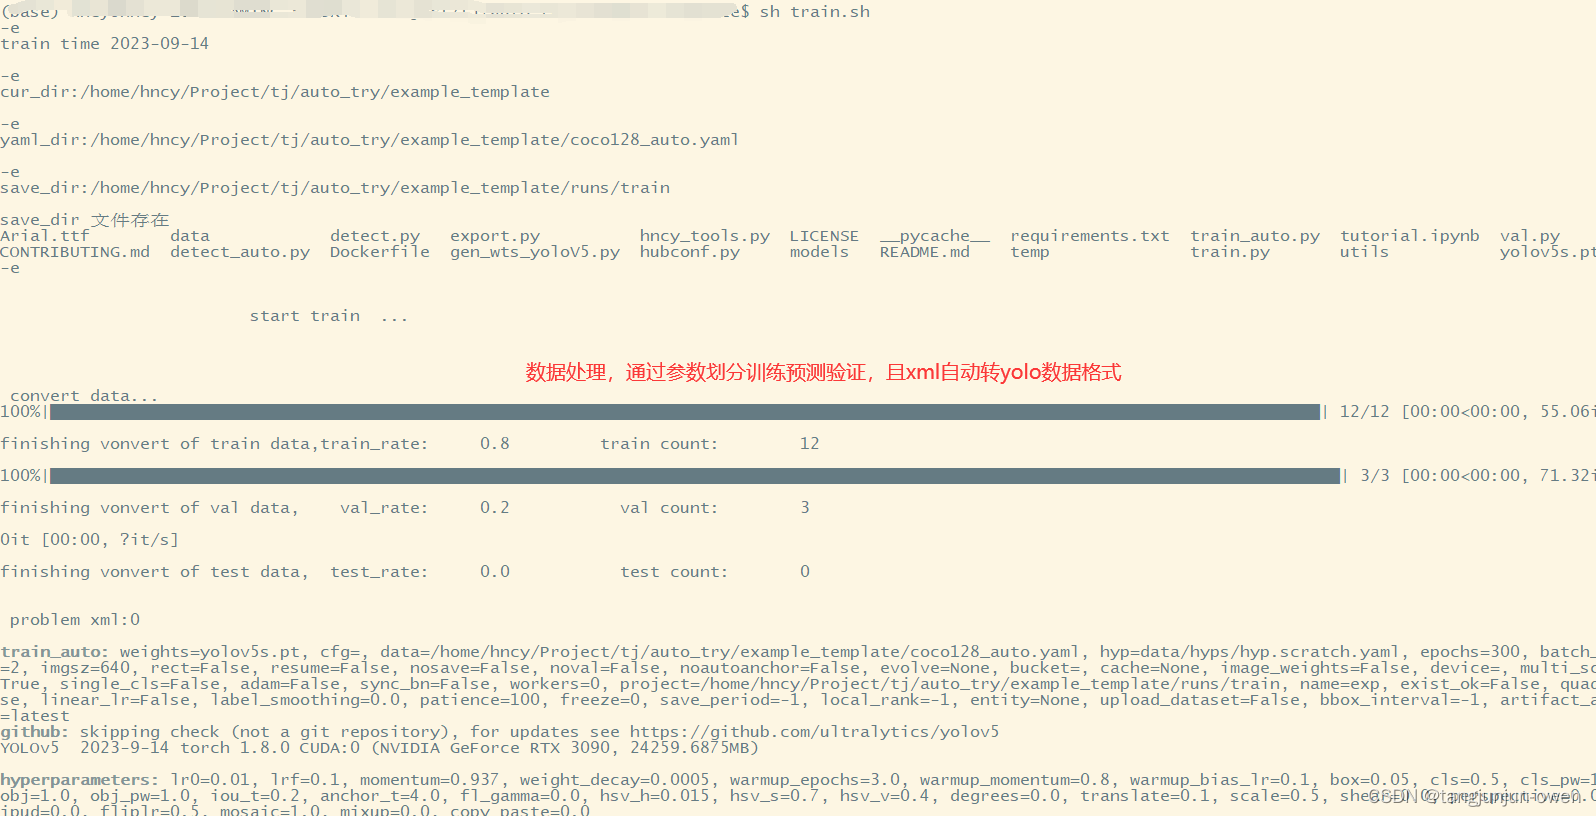
2、训练效果展示
3、预测效果展示
