1.单个图片引用
html
<img :src="userImgSrc" />
ts
<script lang="ts">
import { defineComponent } from "vue";
export default defineComponent({name: "Tab1Page",components: {},setup(props, context) {let url = "image/a/a(1).png";let userImgSrc = require("../assets/" + url);return {userImgSrc,};},
});
</script>
2.多个图片引用
html
<div class="fun-item" v-for="item in newItemList" :key="item.title"><img :src="item.png" />
</div>
ts
setup(props, context) {let newItemList: any[] = [];let funObj = {a: "1111",aa: "11111111",aaa: "22222",aaaa: "3333",};Object.keys(funObj).forEach((_, i) => {newItemList.push({png: require("../assets/" +`image/a/a(${i + 1}).png`),title: _,});});return {newItemList};},
3.axios 临时使用 proxy 跨域代理
把 axios 的 请求路径 改造为当前 web 项目的run路径:
axios.defaults.baseURL = 'http://localhost:8080'
vue.config.js 的配置:
module.exports = {devServer: {proxy: 'https://www.aaa.cn'}
}
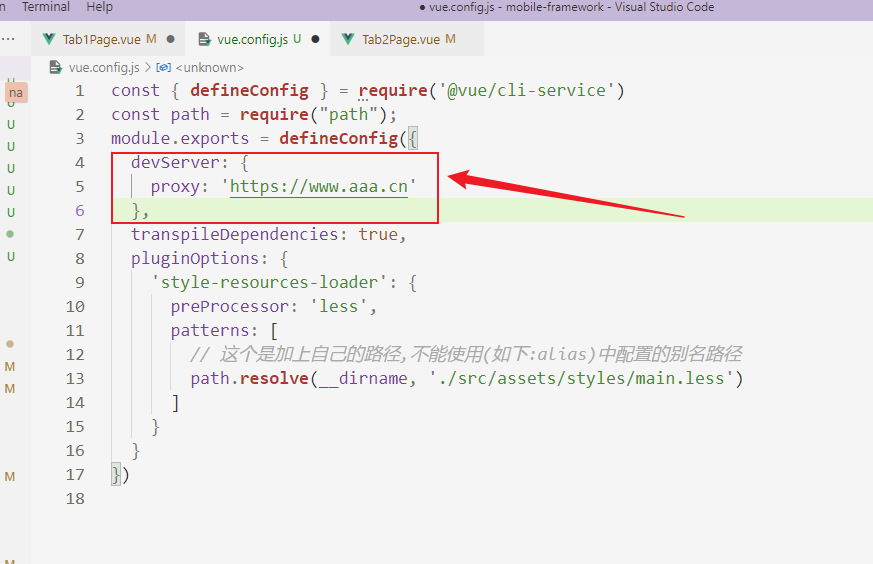
重启项目,你会发现不再跨域啦~~
npm run serve
4.ionic6+Vue3+ts+Capacitor 系列–禁用去除按钮波纹ion-ripple-effect
html
<ion-tab-button tab="tab1" href="/tabs/tab1" class="btn-dis-effect"><ion-icon :icon="bagCheckOutline" /><ion-label>A</ion-label></ion-tab-button>
less
// 配置禁用去除按钮波纹ion-ripple-effect---start
.btn-dis-effect{--ripple-color: transparent;}
// 配置禁用去除按钮波纹ion-ripple-effect---end
- 今天就写到这里啦~
- 小伙伴们,( ̄ω ̄( ̄ω ̄〃 ( ̄ω ̄〃)ゝ我们明天再见啦~~
- 大家要天天开心哦
欢迎大家指出文章需要改正之处~
学无止境,合作共赢


