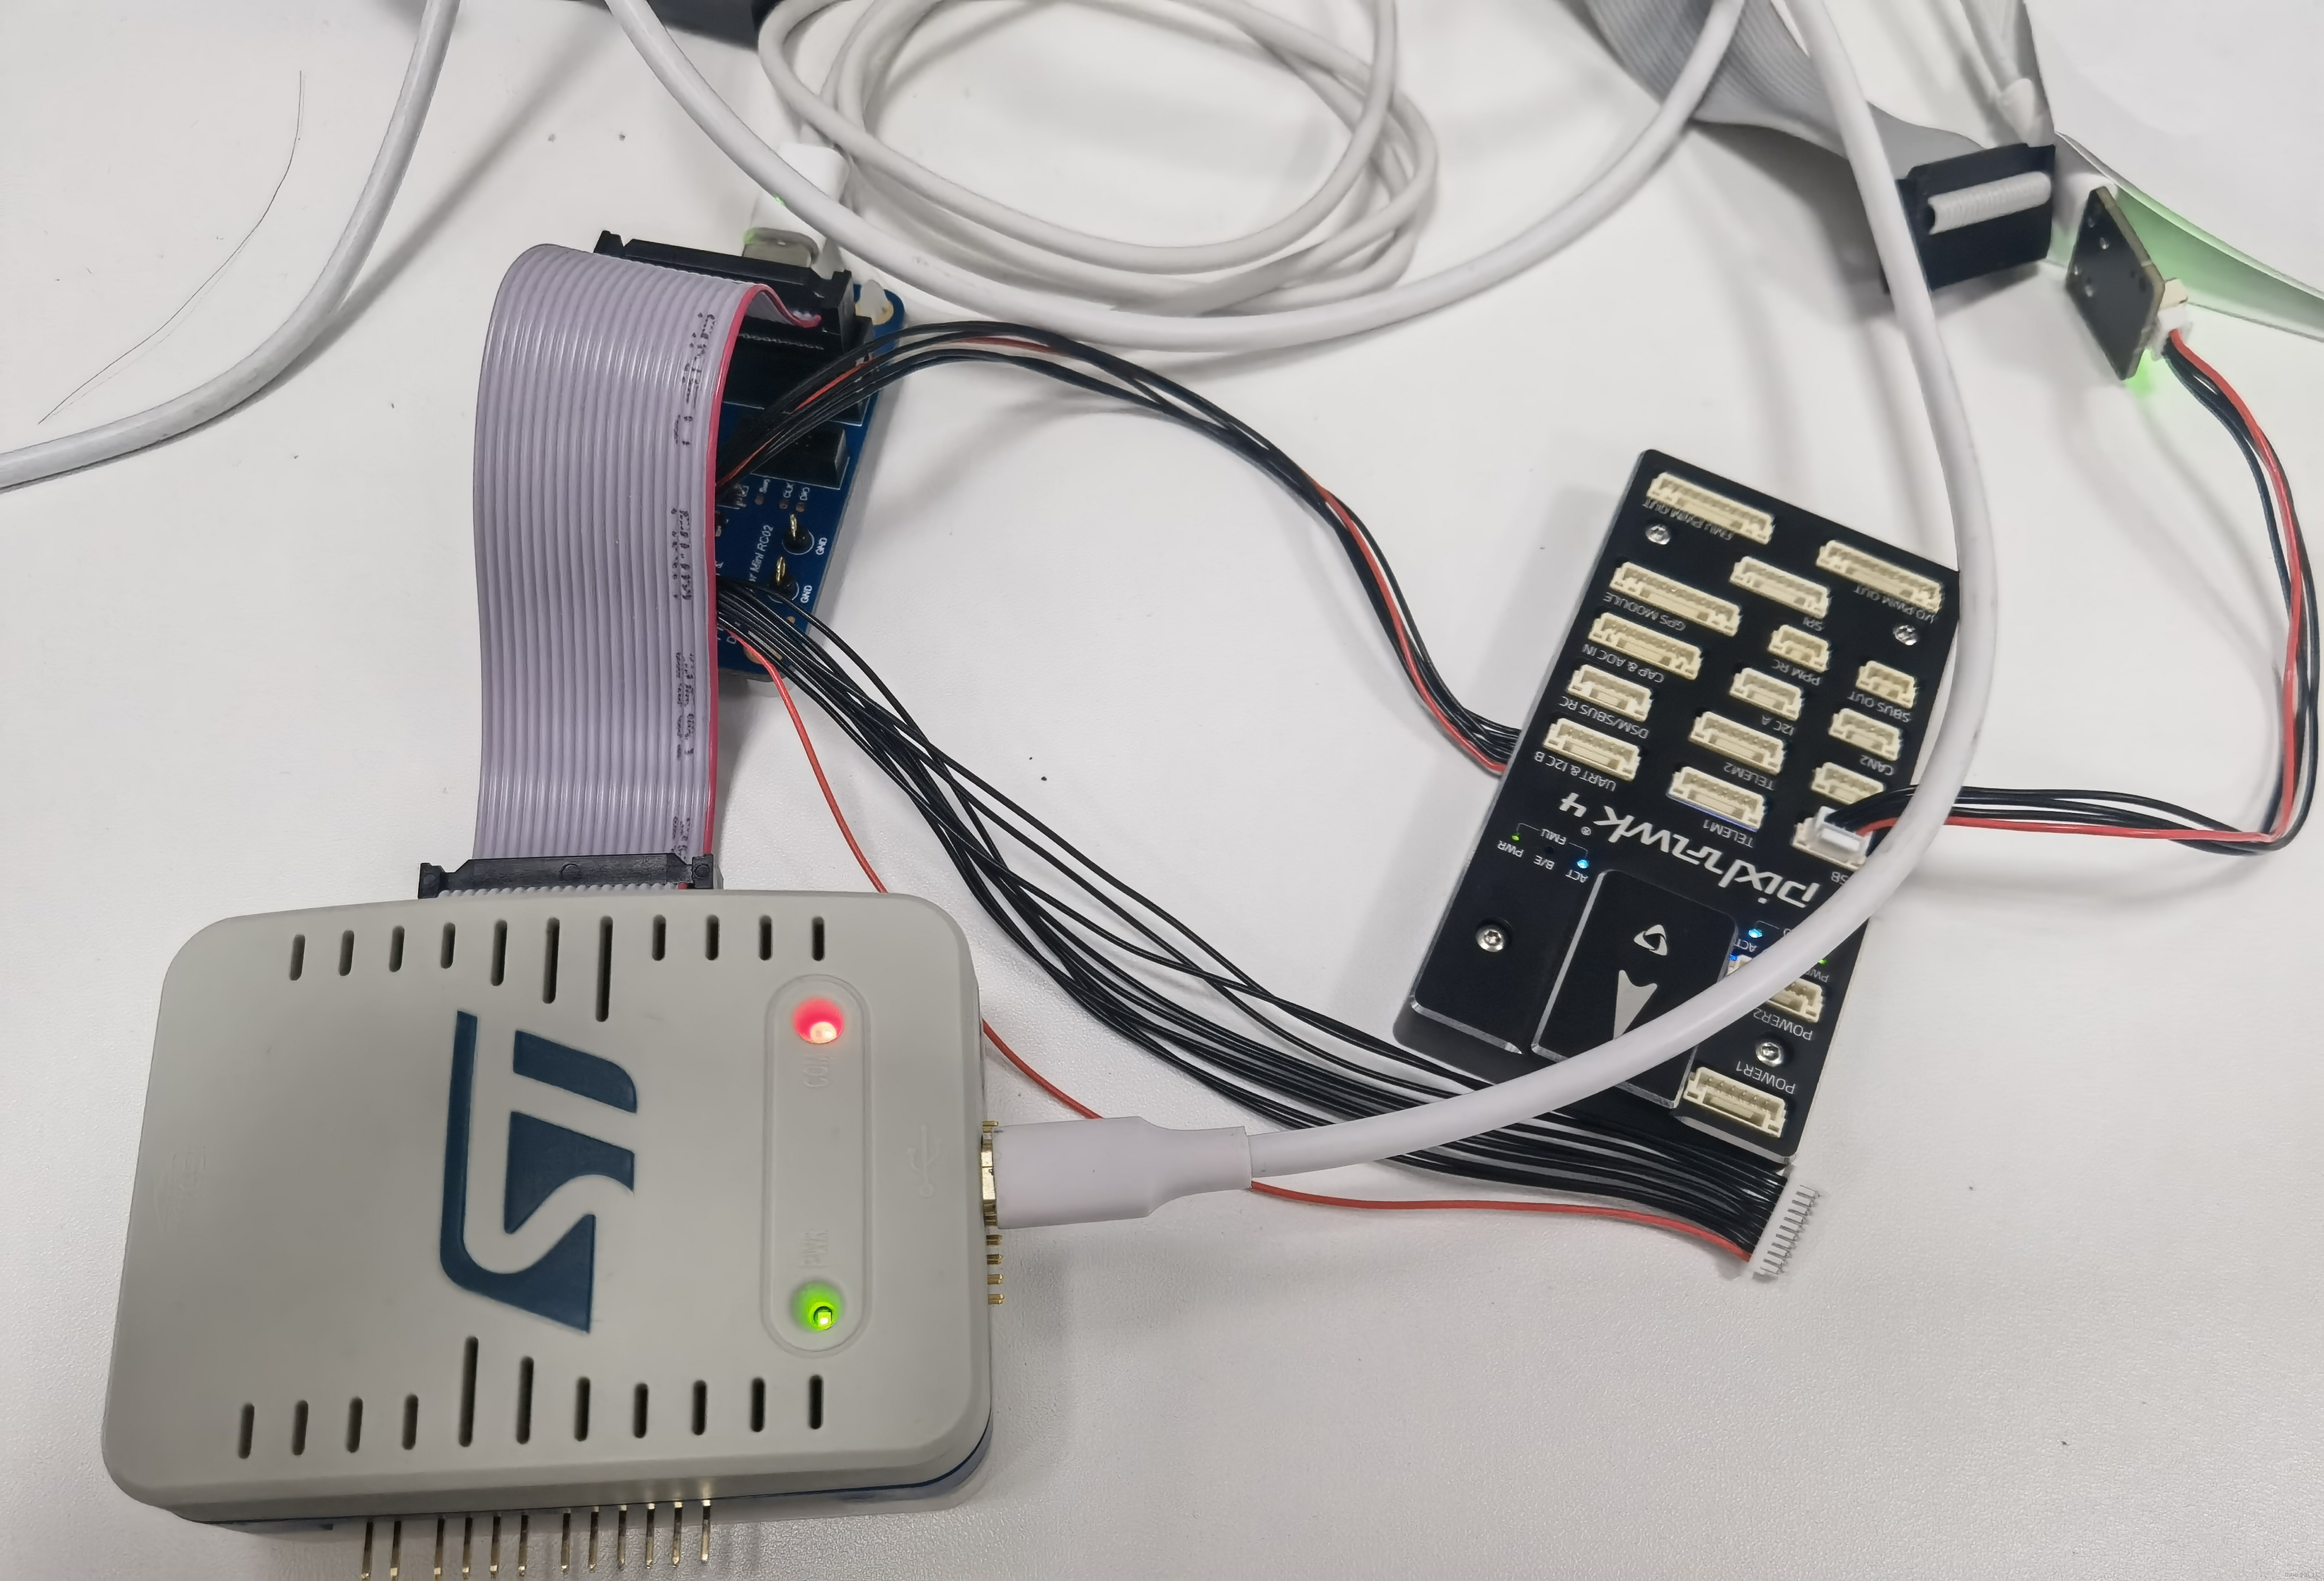
硬件
stlink
holybro debug板
pixhawk4
安装openocd
官方文档,但是第一步安装建议从源码安装,bug少很多
github链接
编译安装,参考
./bootstrap (when building from the git repository)./configure [options]makesudo make install
安装后在usr/local/bin下面有一个openocd
px4qgc@ubuntu:~$ which openocd
/usr/local/bin/openocd
另外要注意gcc-arm路径
px4qgc@ubuntu:~$ which arm-none-eabi-gdb
/opt/gcc-arm-none-eabi-9-2020-q2-update/bin/arm-none-eabi-gdb
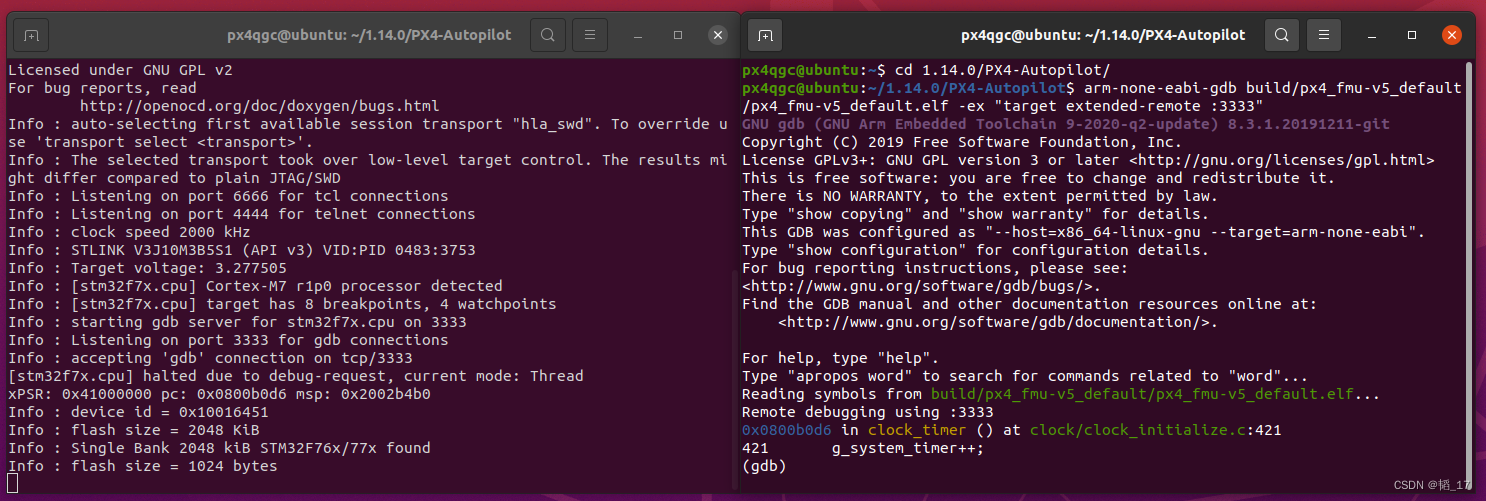
然后进行一点测试,看看环境对不对再往下走
比如我用fmuv5的pixhawk4:
openocd -f interface/stlink.cfg -f target/stm32f7x.cfg
arm-none-eabi-gdb build/px4_fmu-v5_default/px4_fmu-v5_default.elf -ex "target extended-remote :3333"
可能的报错:
arm-none-eabi-gdb: error while loading shared libraries: libncurses.so.5: cannot open shared object file: No such file or directory
安装对应的库即可
sudo apt-get update
sudo apt-get install libncurses5
usb设备权限问题
px4qgc@ubuntu:~$ openocd -f interface/stlink.cfg -f target/stm32f7x.cfg
Open On-Chip Debugger 0.11.0-dirty (2023-10-28-03:57)
Licensed under GNU GPL v2
For bug reports, readhttp://openocd.org/doc/doxygen/bugs.html
Info : auto-selecting first available session transport "hla_swd". To override use 'transport select <transport>'.
Info : The selected transport took over low-level target control. The results might differ compared to plain JTAG/SWD
Info : Listening on port 6666 for tcl connections
Info : Listening on port 4444 for telnet connections
Info : clock speed 2000 kHz
Error: libusb_open() failed with LIBUSB_ERROR_ACCESS
为stlink添加usb规则
sudo gedit /etc/udev/rules.d/99-openocd.rules
# For ST-Link
SUBSYSTEMS=="usb", ATTRS{idVendor}=="0483", ATTRS{idProduct}=="3744", MODE:="666"
# For ST-Link V2
SUBSYSTEMS=="usb", ATTRS{idVendor}=="0483", ATTRS{idProduct}=="3748", MODE:="666"
# For ST-Link V2-1 (STM32 Nucleo boards)
SUBSYSTEMS=="usb", ATTRS{idVendor}=="0483", ATTRS{idProduct}=="374b", MODE:="666"
# For ST-Link V3
SUBSYSTEMS=="usb", ATTRS{idVendor}=="0483", ATTRS{idProduct}=="3753", MODE:="666"
# For ST-Link V3 MINIE
SUBSYSTEMS=="usb", ATTRS{idVendor}=="0483", ATTRS{idProduct}=="3754", MODE:="666"
vscode配置
从github上面clone下来代码有一个.vscode文件夹,这个非常重要,给定了vscode的很多配置
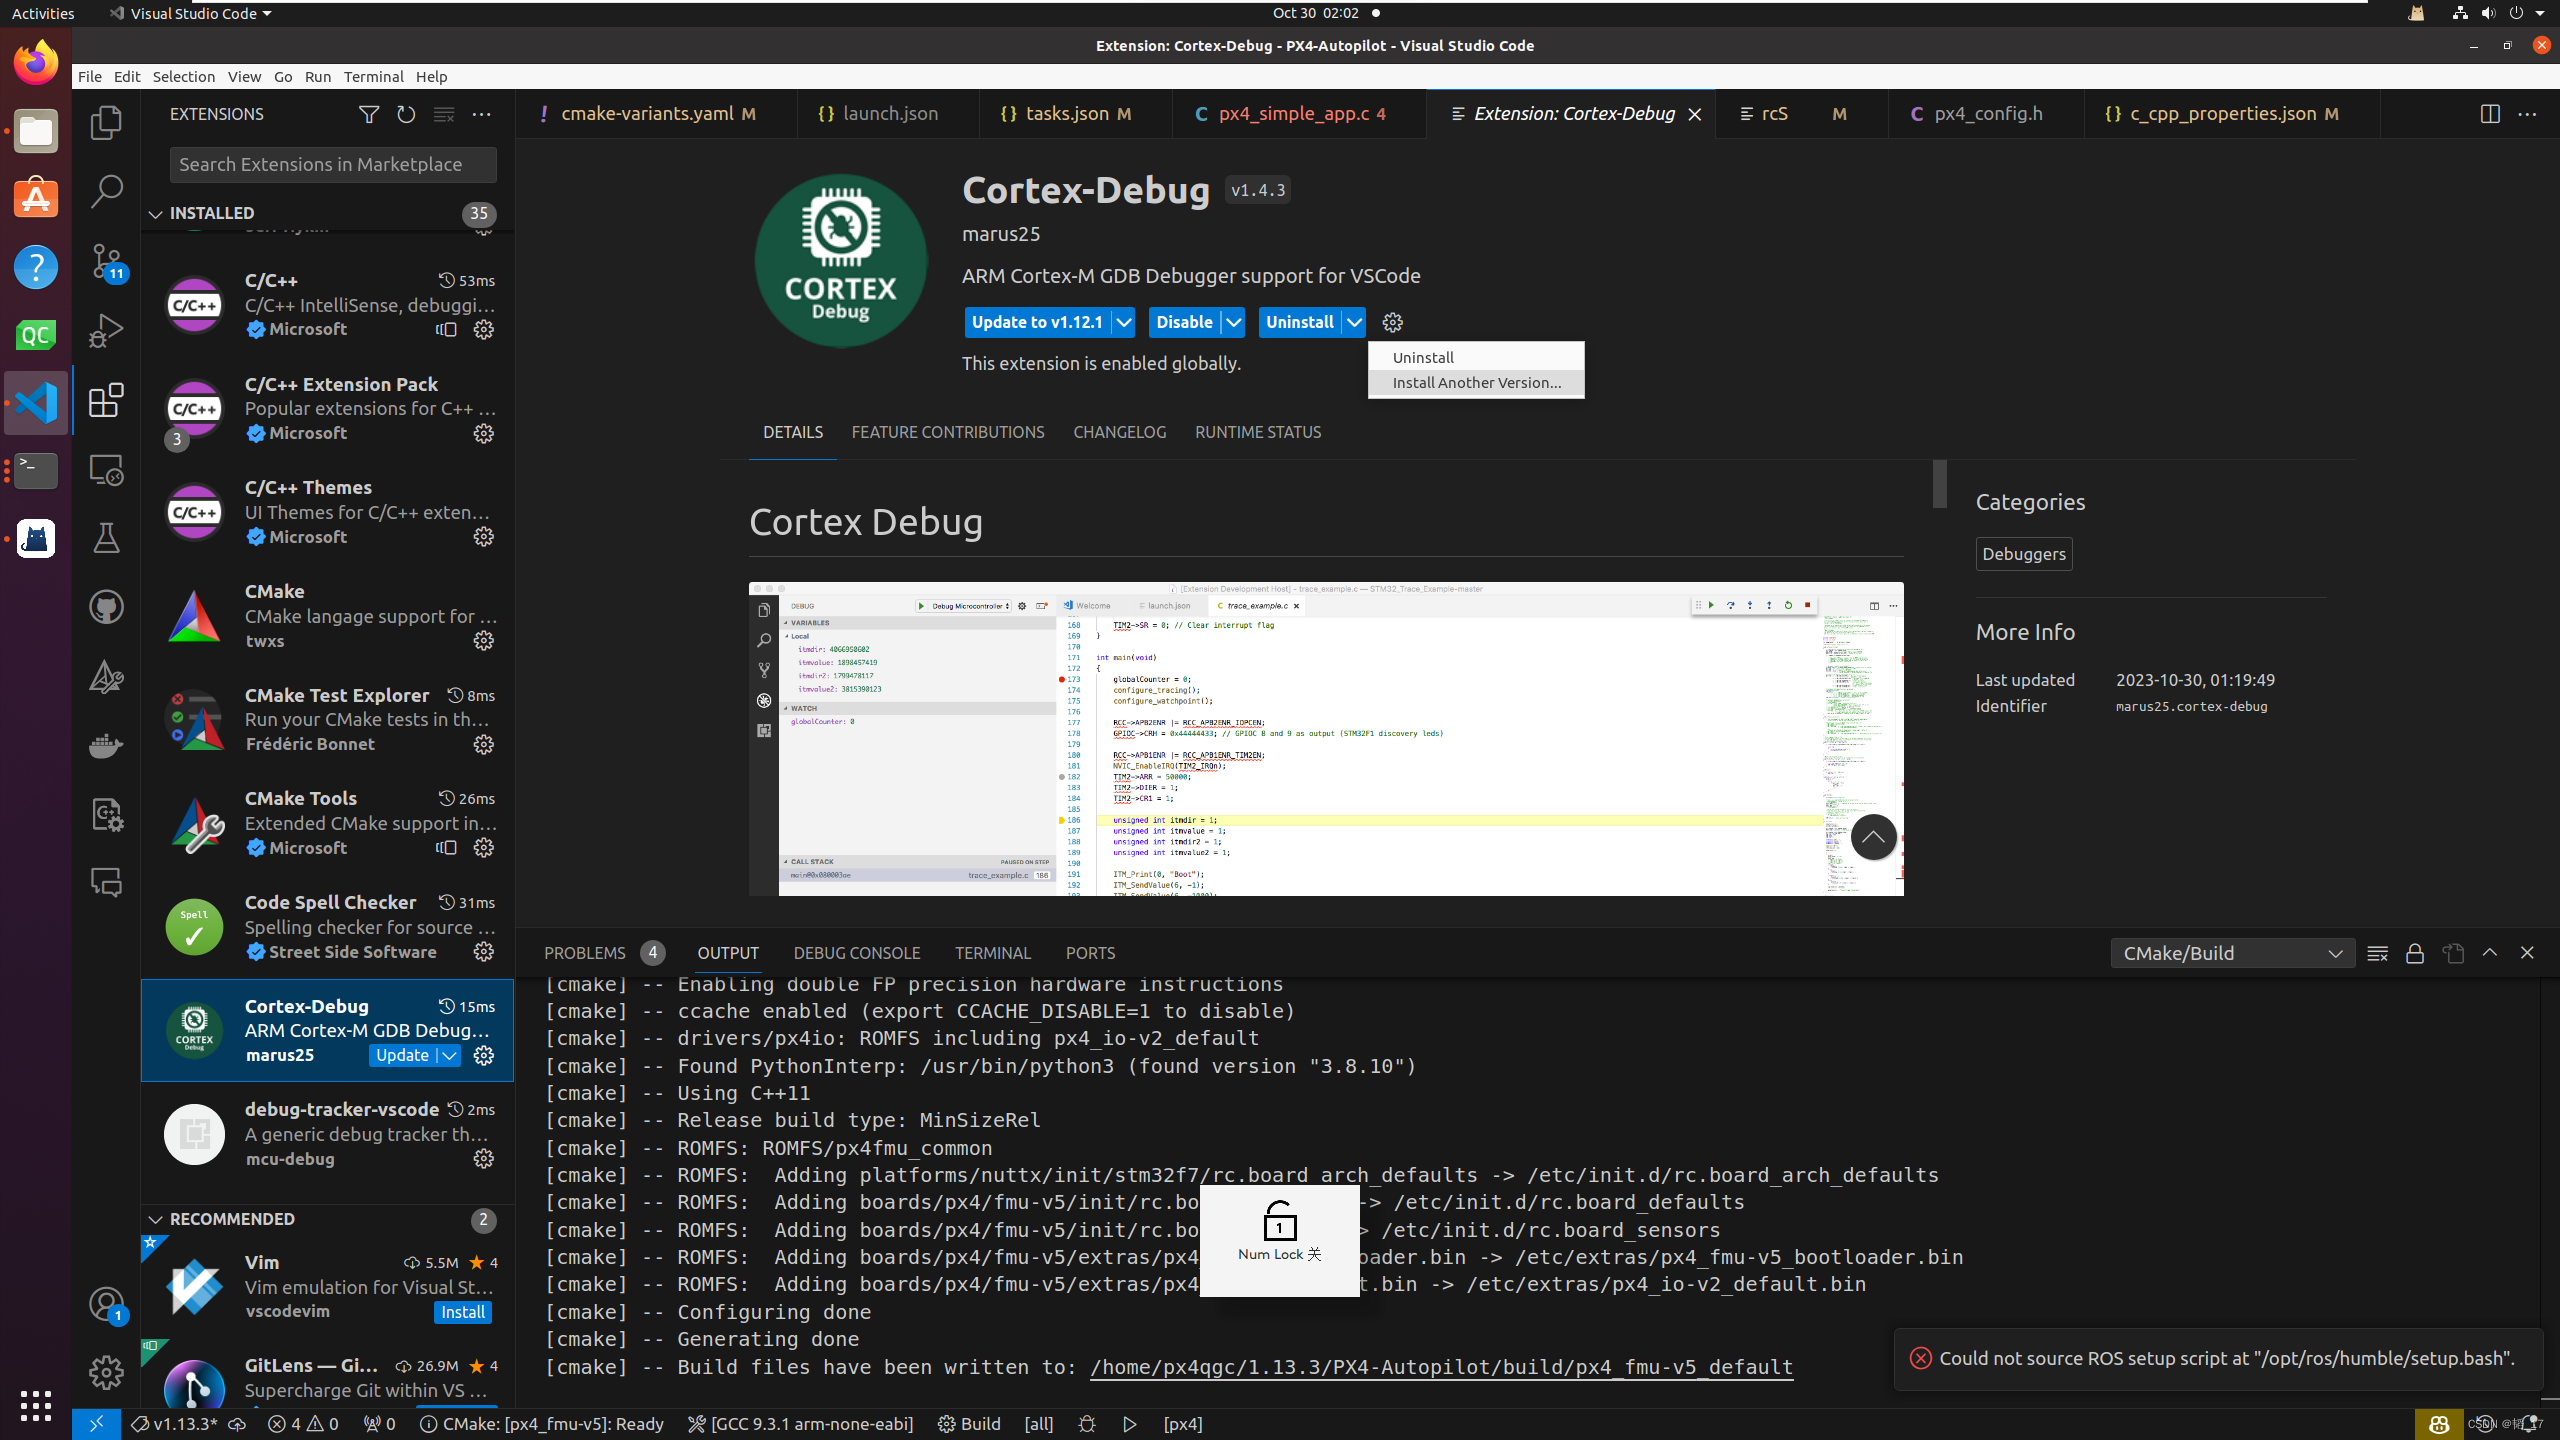
按照官方文档安装vscode插件,注意,如果用的arm-gcc版本是2020-q2,gdb版本就是8,不能用最新的cortex-bug,我试了1.4.3可以
task.json里面加上
{"label": "echo","type": "shell","command": "echo ${env:USERNAME}"},{"dependsOn":"Build","label": "Build and Download","type": "shell","command": "openocd","args": ["-f","interface/stlink.cfg","-f","target/stm32f7x.cfg","-c","program ./build/px4_fmu-v5_default/px4_fmu-v5_default.elf 0x8000 verify reset exit "],"problemMatcher": []},
launch.json加上:
{"name": "FMUv5 Debug ST-Link","type": "cortex-debug","request": "launch","cwd": "${workspaceRoot}","executable": "${command:cmake.launchTargetPath}",//"serverpath": "${env:JLINK_SERVER}","servertype": "openocd","device": "STM32F765II","interface": "swd","configFiles": ["interface/stlink.cfg","target/stm32f7x.cfg"],"serialNumber": "", //If you have more than one J-Link probe, add the serial number here."svdFile": "STM32F7x5.svd","preLaunchTask":"Build and Download"},
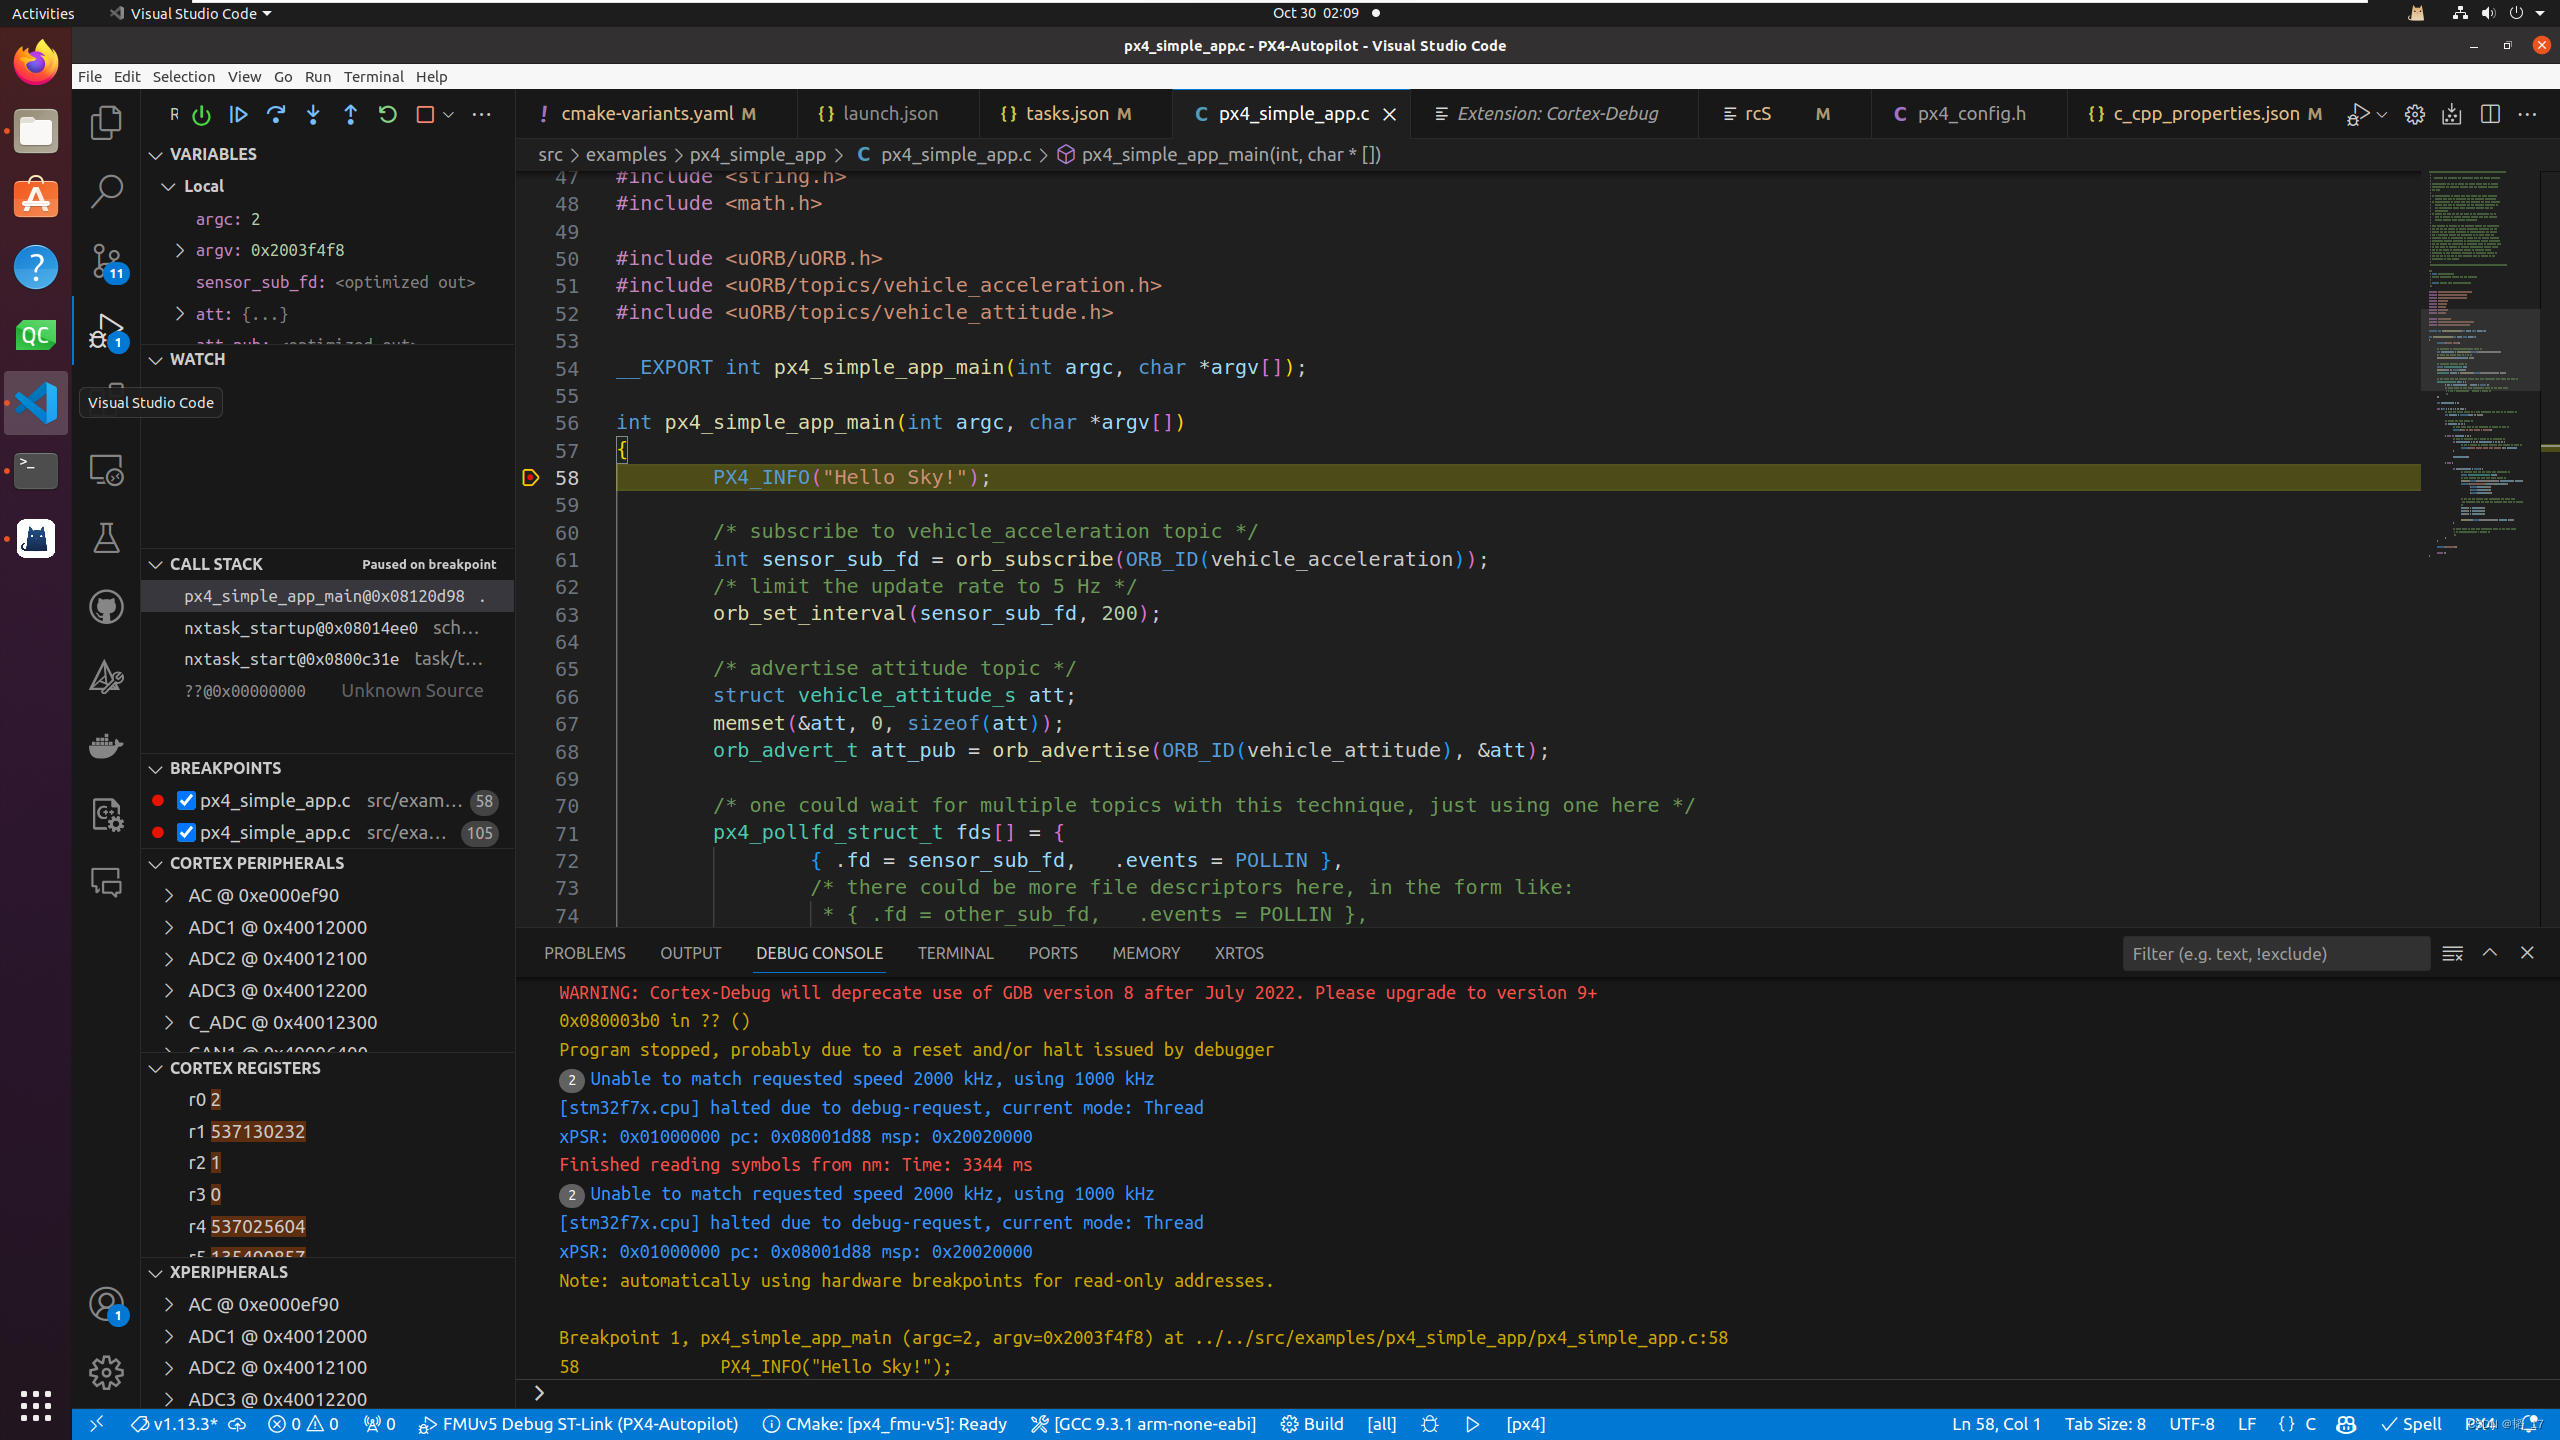
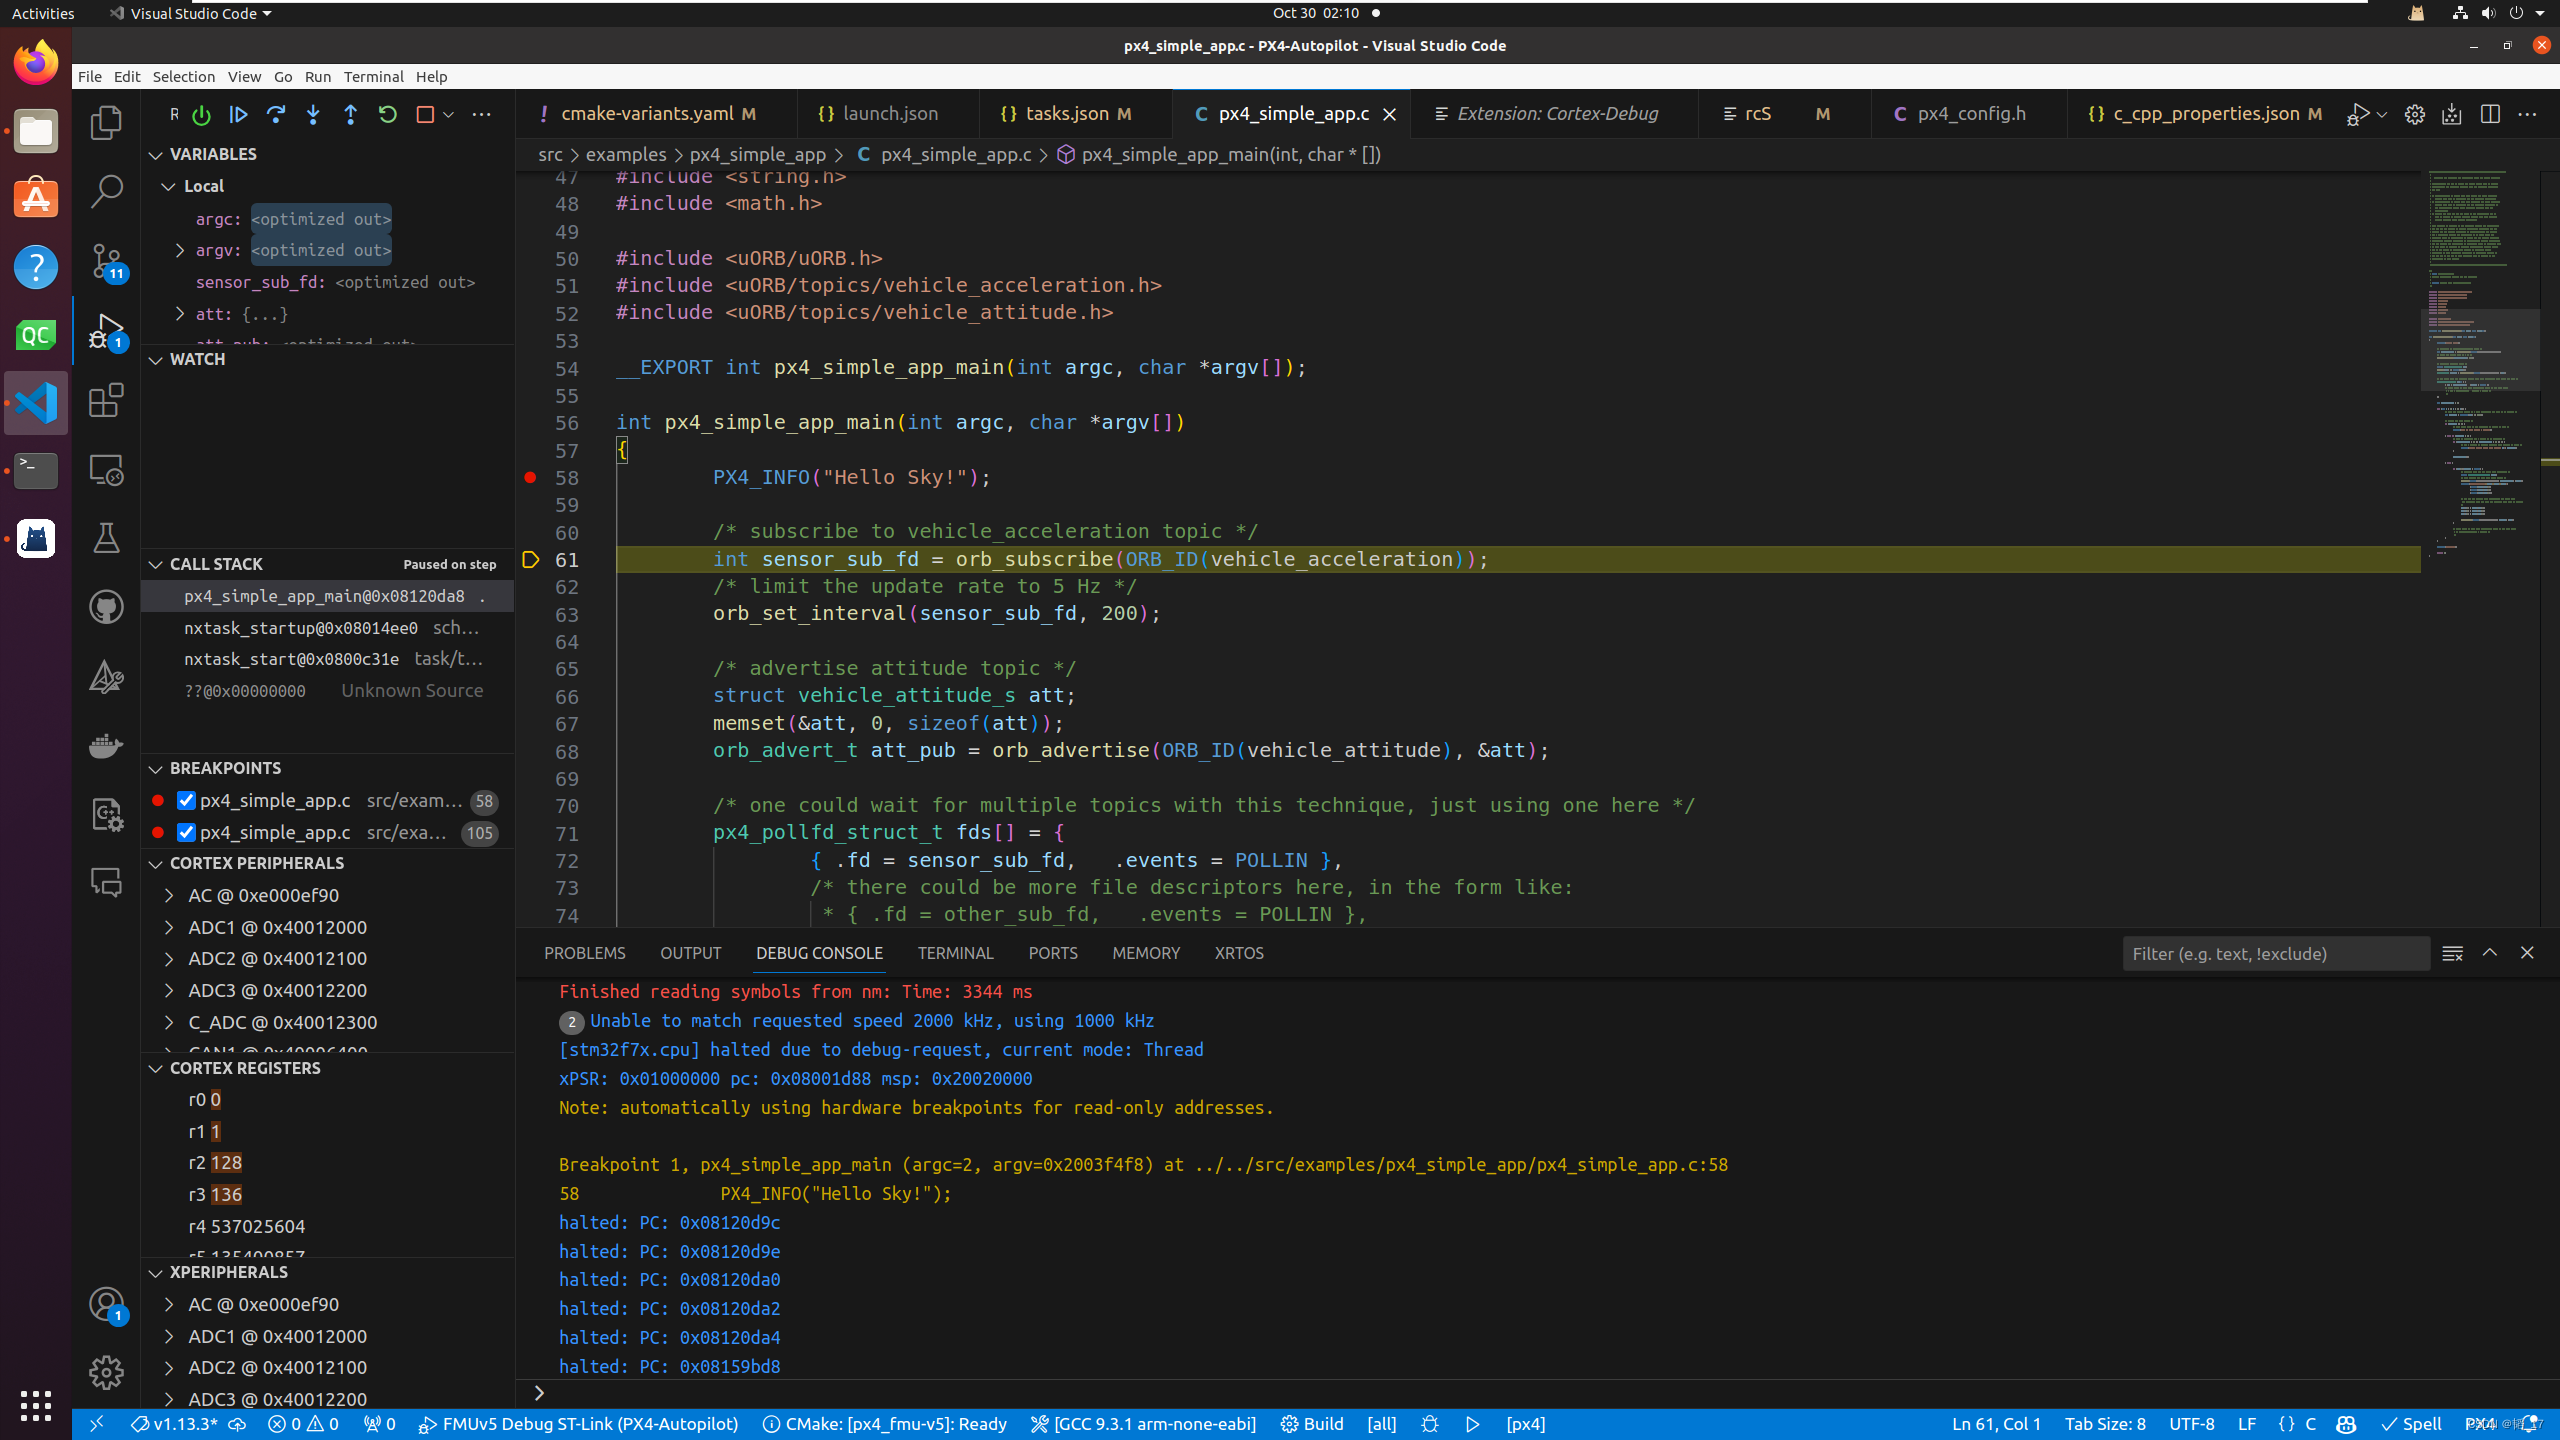
给px4_simple_app.c加一个断点,点击调试,openocd会负责用stlink刷入最新固件,并启动调试

效果如下图:
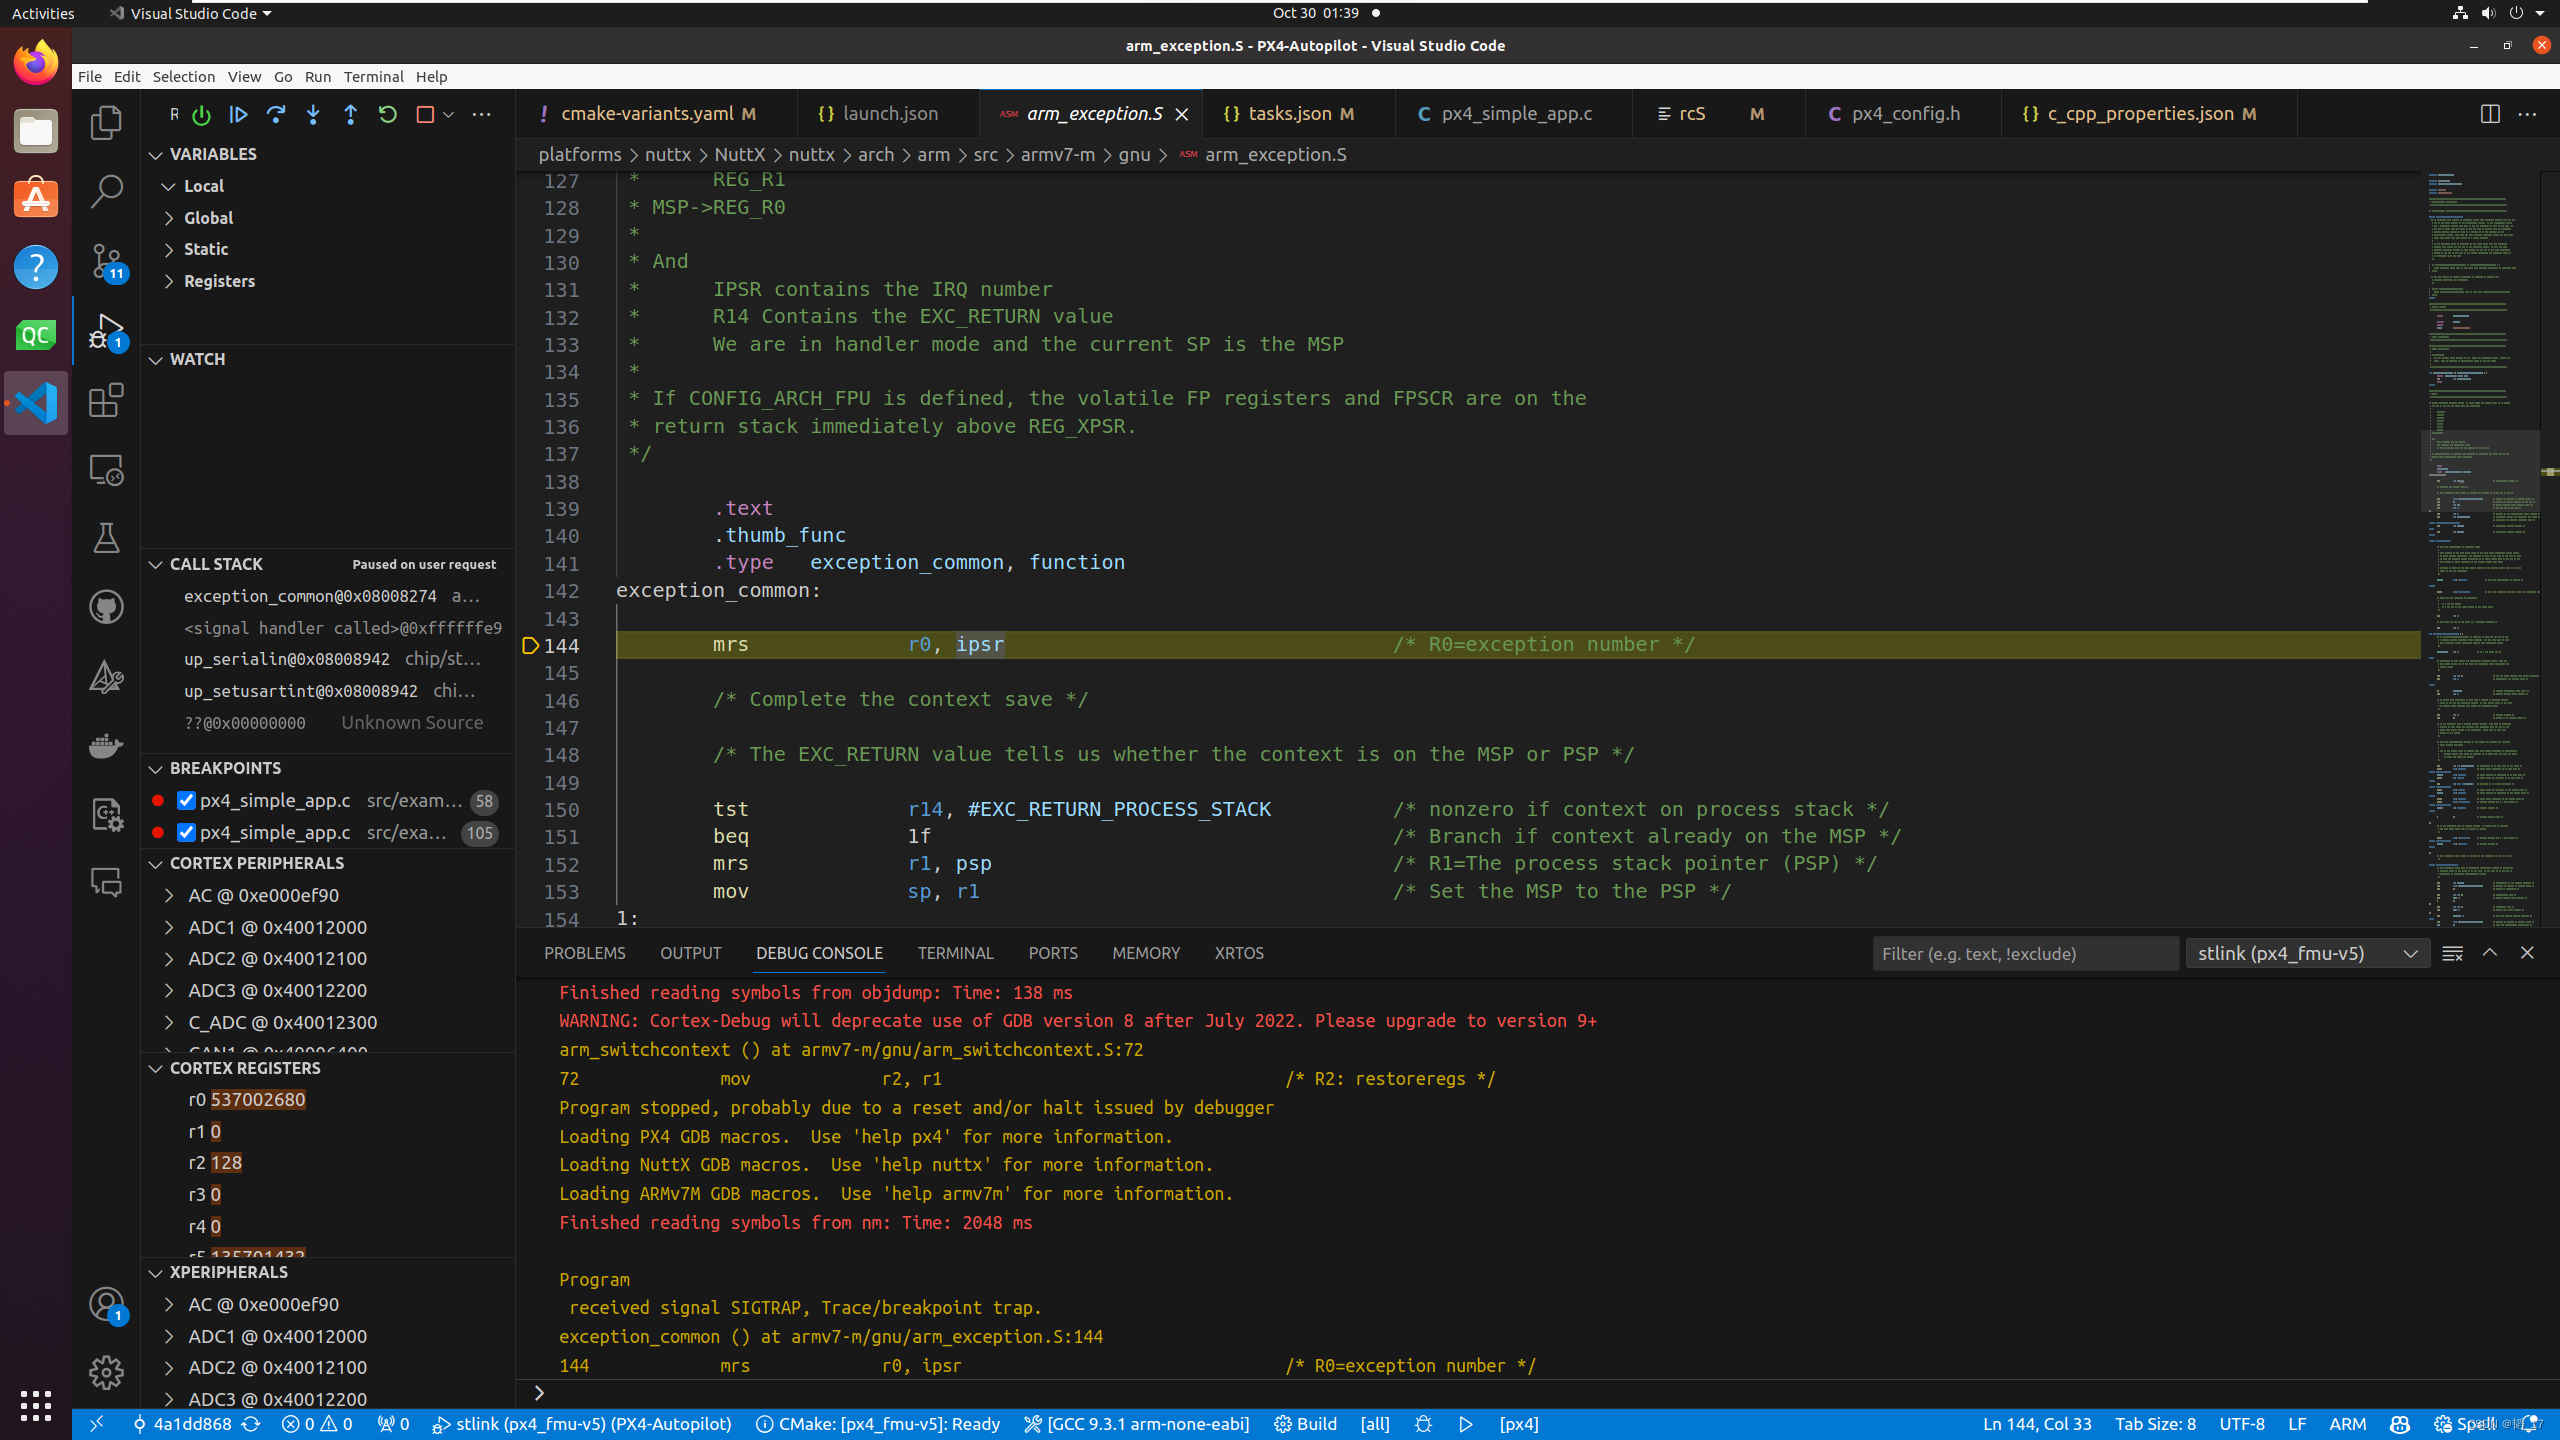
默认的那个st-util从来没在fmuv5上面好使过,会进入下面这个图的莫名其妙的地方,不用了,v6c倒是可以
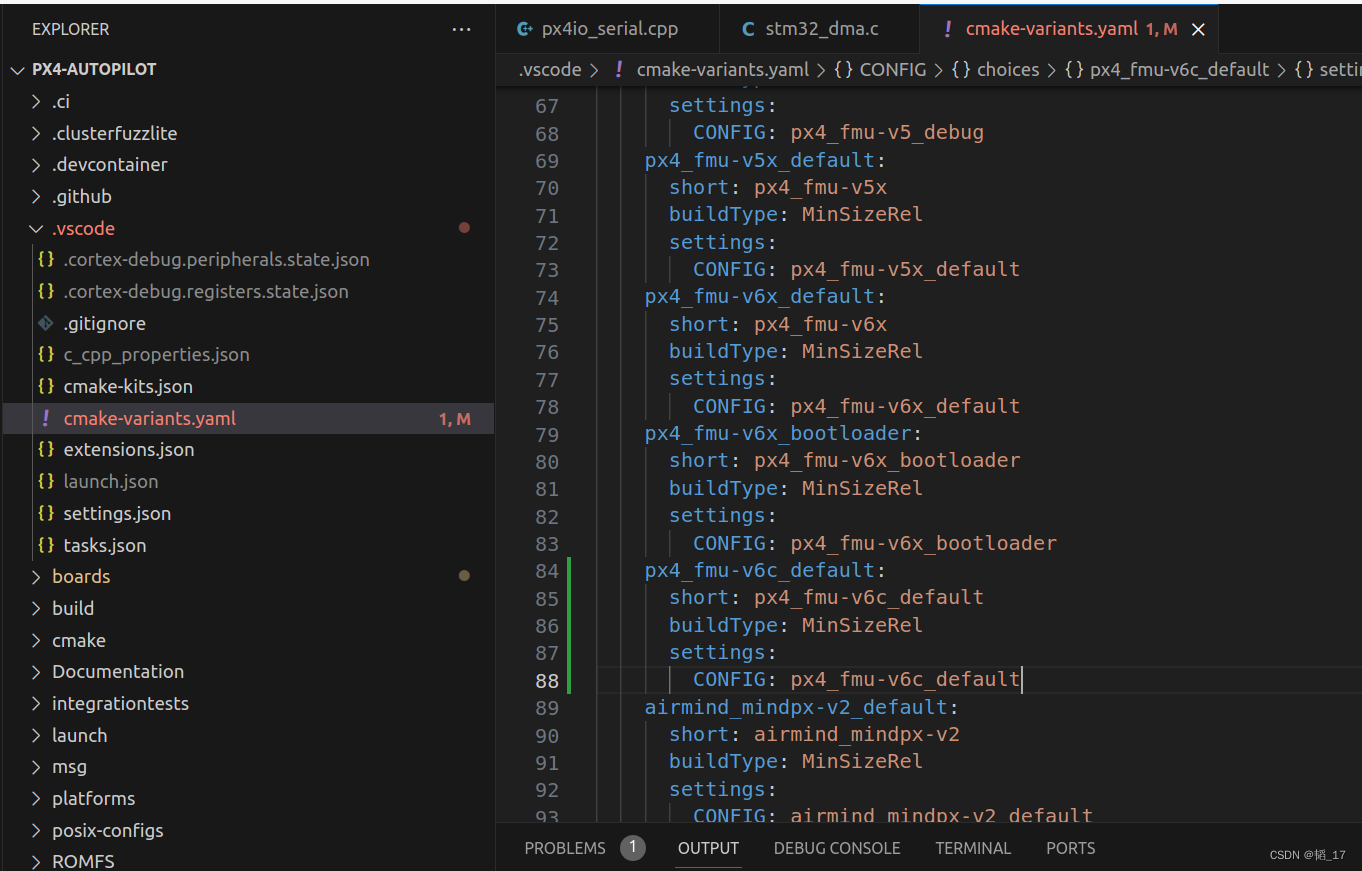
如果遇到没有要编译的对象,比如6c,在这自己加就行
pixhawk6c
默认的就可以,但是感觉费劲死了,写一下openocd的配置
烧写命令:
openocd -f interface/stlink.cfg -f target/stm32h7x_dual_bank.cfg -c "program ./build/px4_fmu-v6c_default/px4_fmu-v6c_default.elf verify reset exit "
openocd -f interface/stlink.cfg -f target/stm32h7x_dual_bank.cfg
arm-none-eabi-gdb build/px4_fmu-v6c_default/px4_fmu-v6c_default.elf -ex "target extended-remote :3333"
launch.json
{"name": "FMUv6c Debug ST-Link","type": "cortex-debug","request": "launch","cwd": "${workspaceRoot}","executable": "${command:cmake.launchTargetPath}",//"serverpath": "${env:JLINK_SERVER}","servertype": "openocd","device": "STM32H743VI","interface": "swd","configFiles": ["interface/stlink.cfg","target/stm32h7x_dual_bank.cfg"],"serialNumber": "", //If you have more than one J-Link probe, add the serial number here."svdFile": "STM32H743.svd","preLaunchTask":"Build and Download"},
launch.json 如果不想每次都重新编译,就把executable改了
{"name": "FMUv6c Debug ST-Link","type": "cortex-debug","request": "launch","cwd": "${workspaceRoot}","executable": "./build/px4_fmu-v6c_default/px4_fmu-v6c_default.elf",//"serverpath": "${env:JLINK_SERVER}","servertype": "openocd","device": "STM32H743VI","interface": "swd","configFiles": ["interface/stlink.cfg","target/stm32h7x_dual_bank.cfg"],"serialNumber": "", //If you have more than one J-Link probe, add the serial number here."svdFile": "STM32H743.svd","preLaunchTask":"Build and Download"},
tasks.json
{"label": "echo","type": "shell","command": "echo ${env:USERNAME}"},{// "dependsOn":"Build","label": "Build and Download","type": "shell","command": "openocd","args": ["-f","interface/stlink.cfg","-f","target/stm32h7x_dual_bank.cfg","-c","program ./build/px4_fmu-v6c_default/px4_fmu-v6c_default.elf verify reset exit "],"problemMatcher": []},
原版st-util配置文件:
{"name": "stlink (px4_fmu-v6c)","gdbPath": "/opt/gcc-arm-none-eabi-9-2020-q2-update/bin/arm-none-eabi-gdb","device": "STM32H743VI","svdFile": "STM32H743.svd","executable": "./build/px4_fmu-v6c_default/px4_fmu-v6c_default.elf","request": "launch","type": "cortex-debug","servertype": "stutil","cwd": "${workspaceFolder}","internalConsoleOptions": "openOnSessionStart","preLaunchCommands": ["source ${workspaceFolder}/platforms/nuttx/Debug/PX4","source ${workspaceFolder}/platforms/nuttx/Debug/NuttX","source ${workspaceFolder}/platforms/nuttx/Debug/ARMv7M","set mem inaccessible-by-default off","set print pretty",]},
