在我们开发过程中经常会使用到悬浮菜单的使用,当我们滑动到指定位置后,菜单会自动悬浮。
实现效果如下(左为滑动前、右为滑动后):
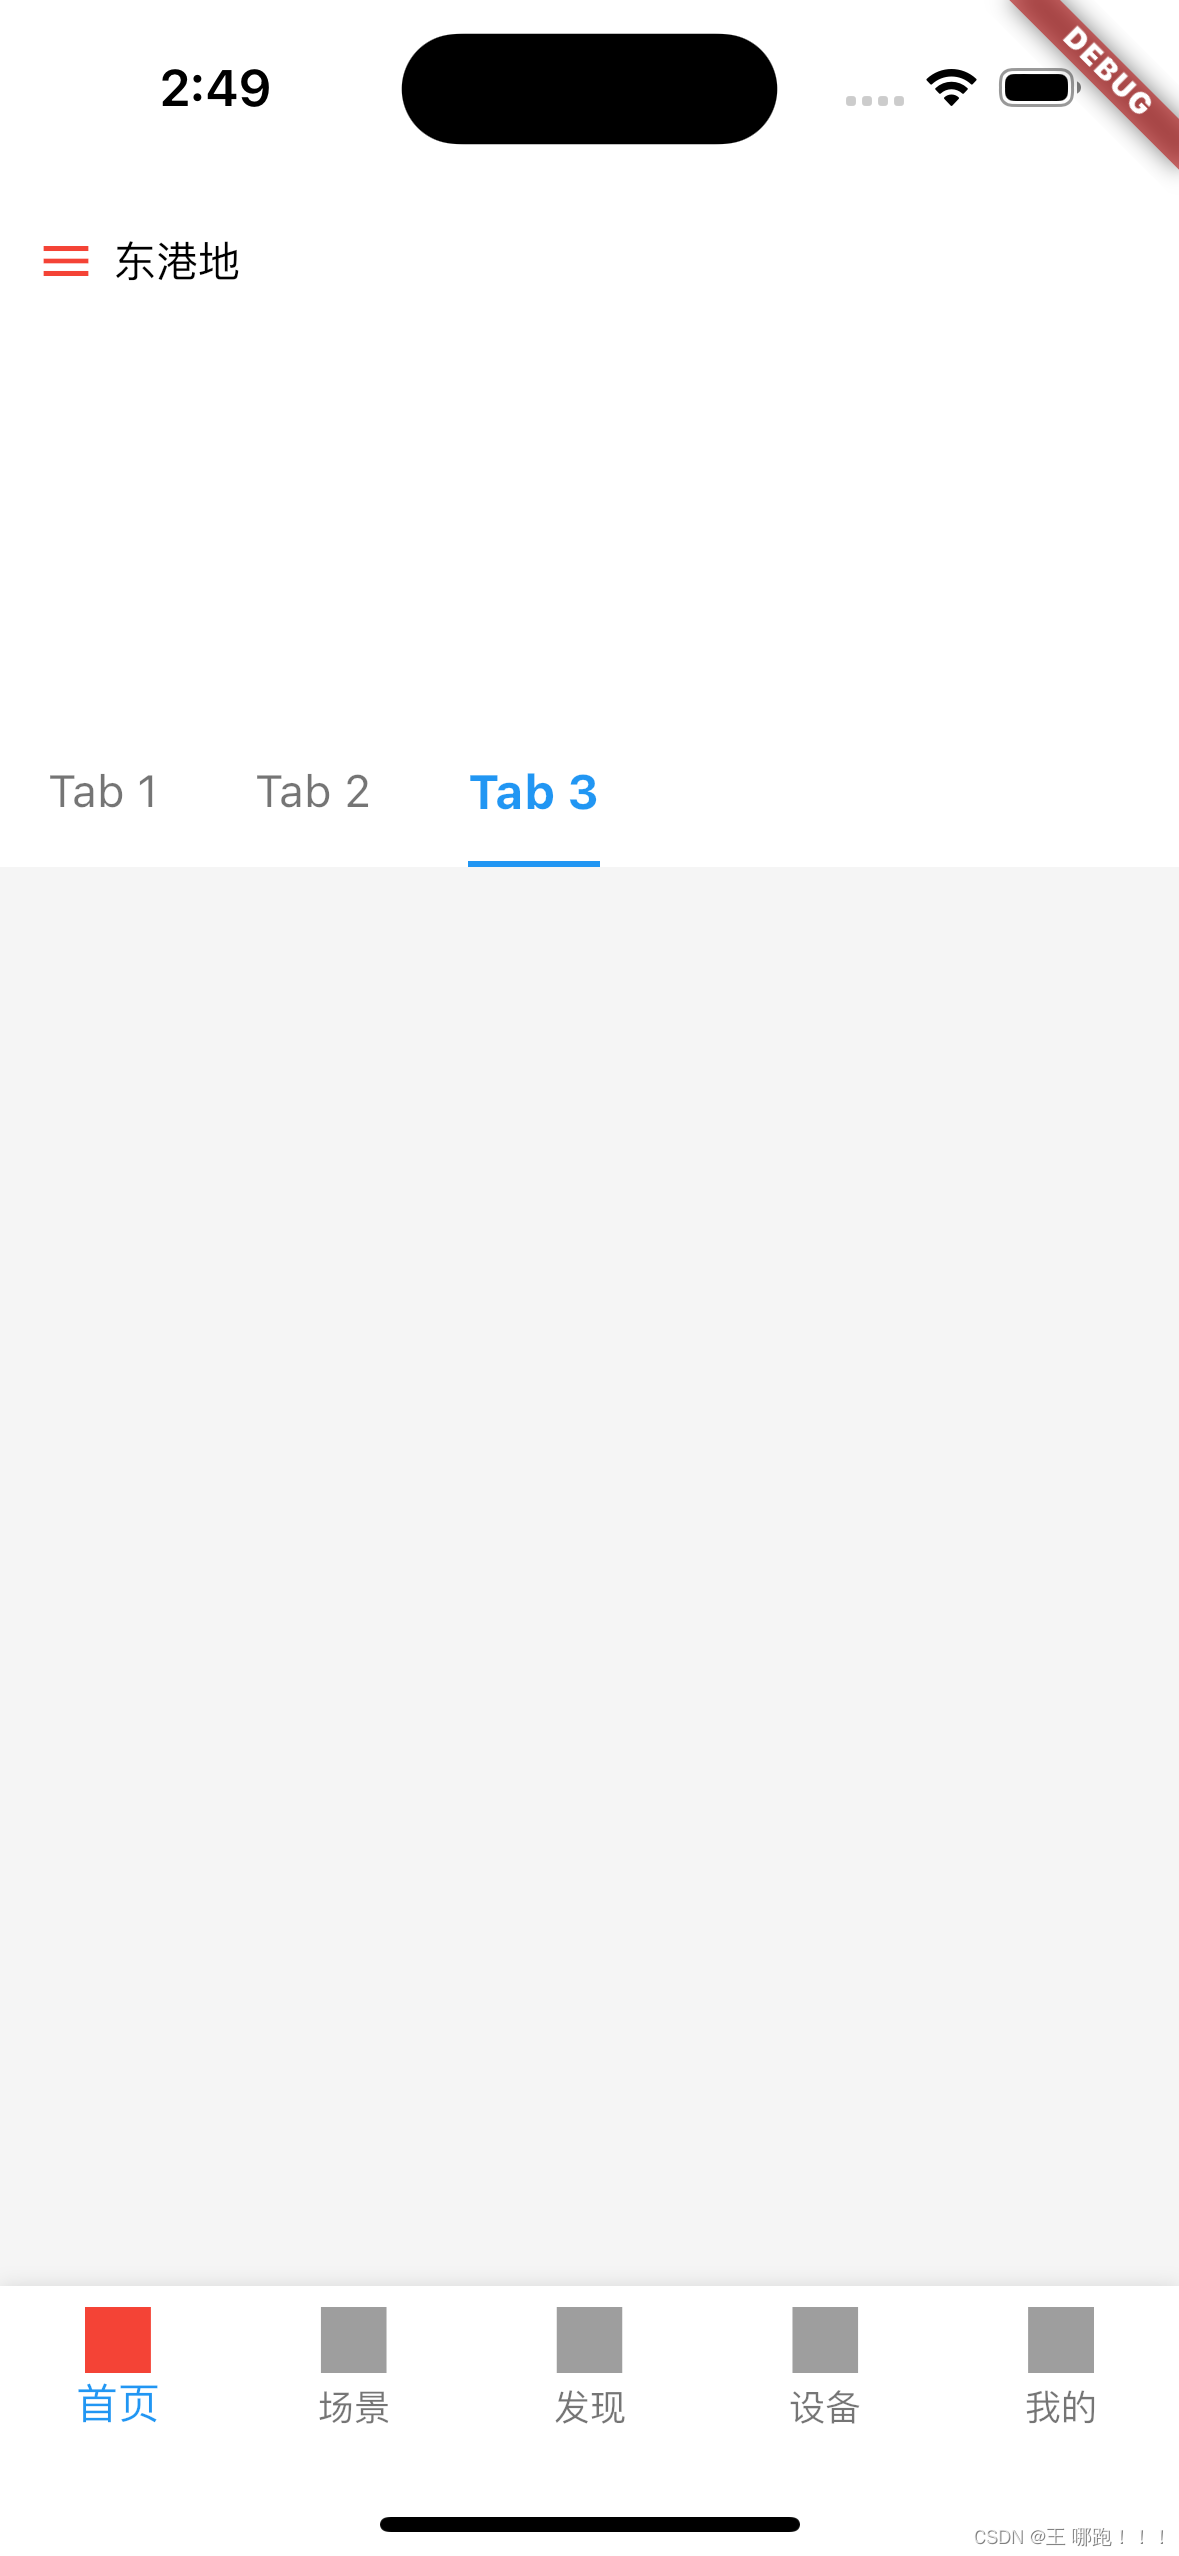
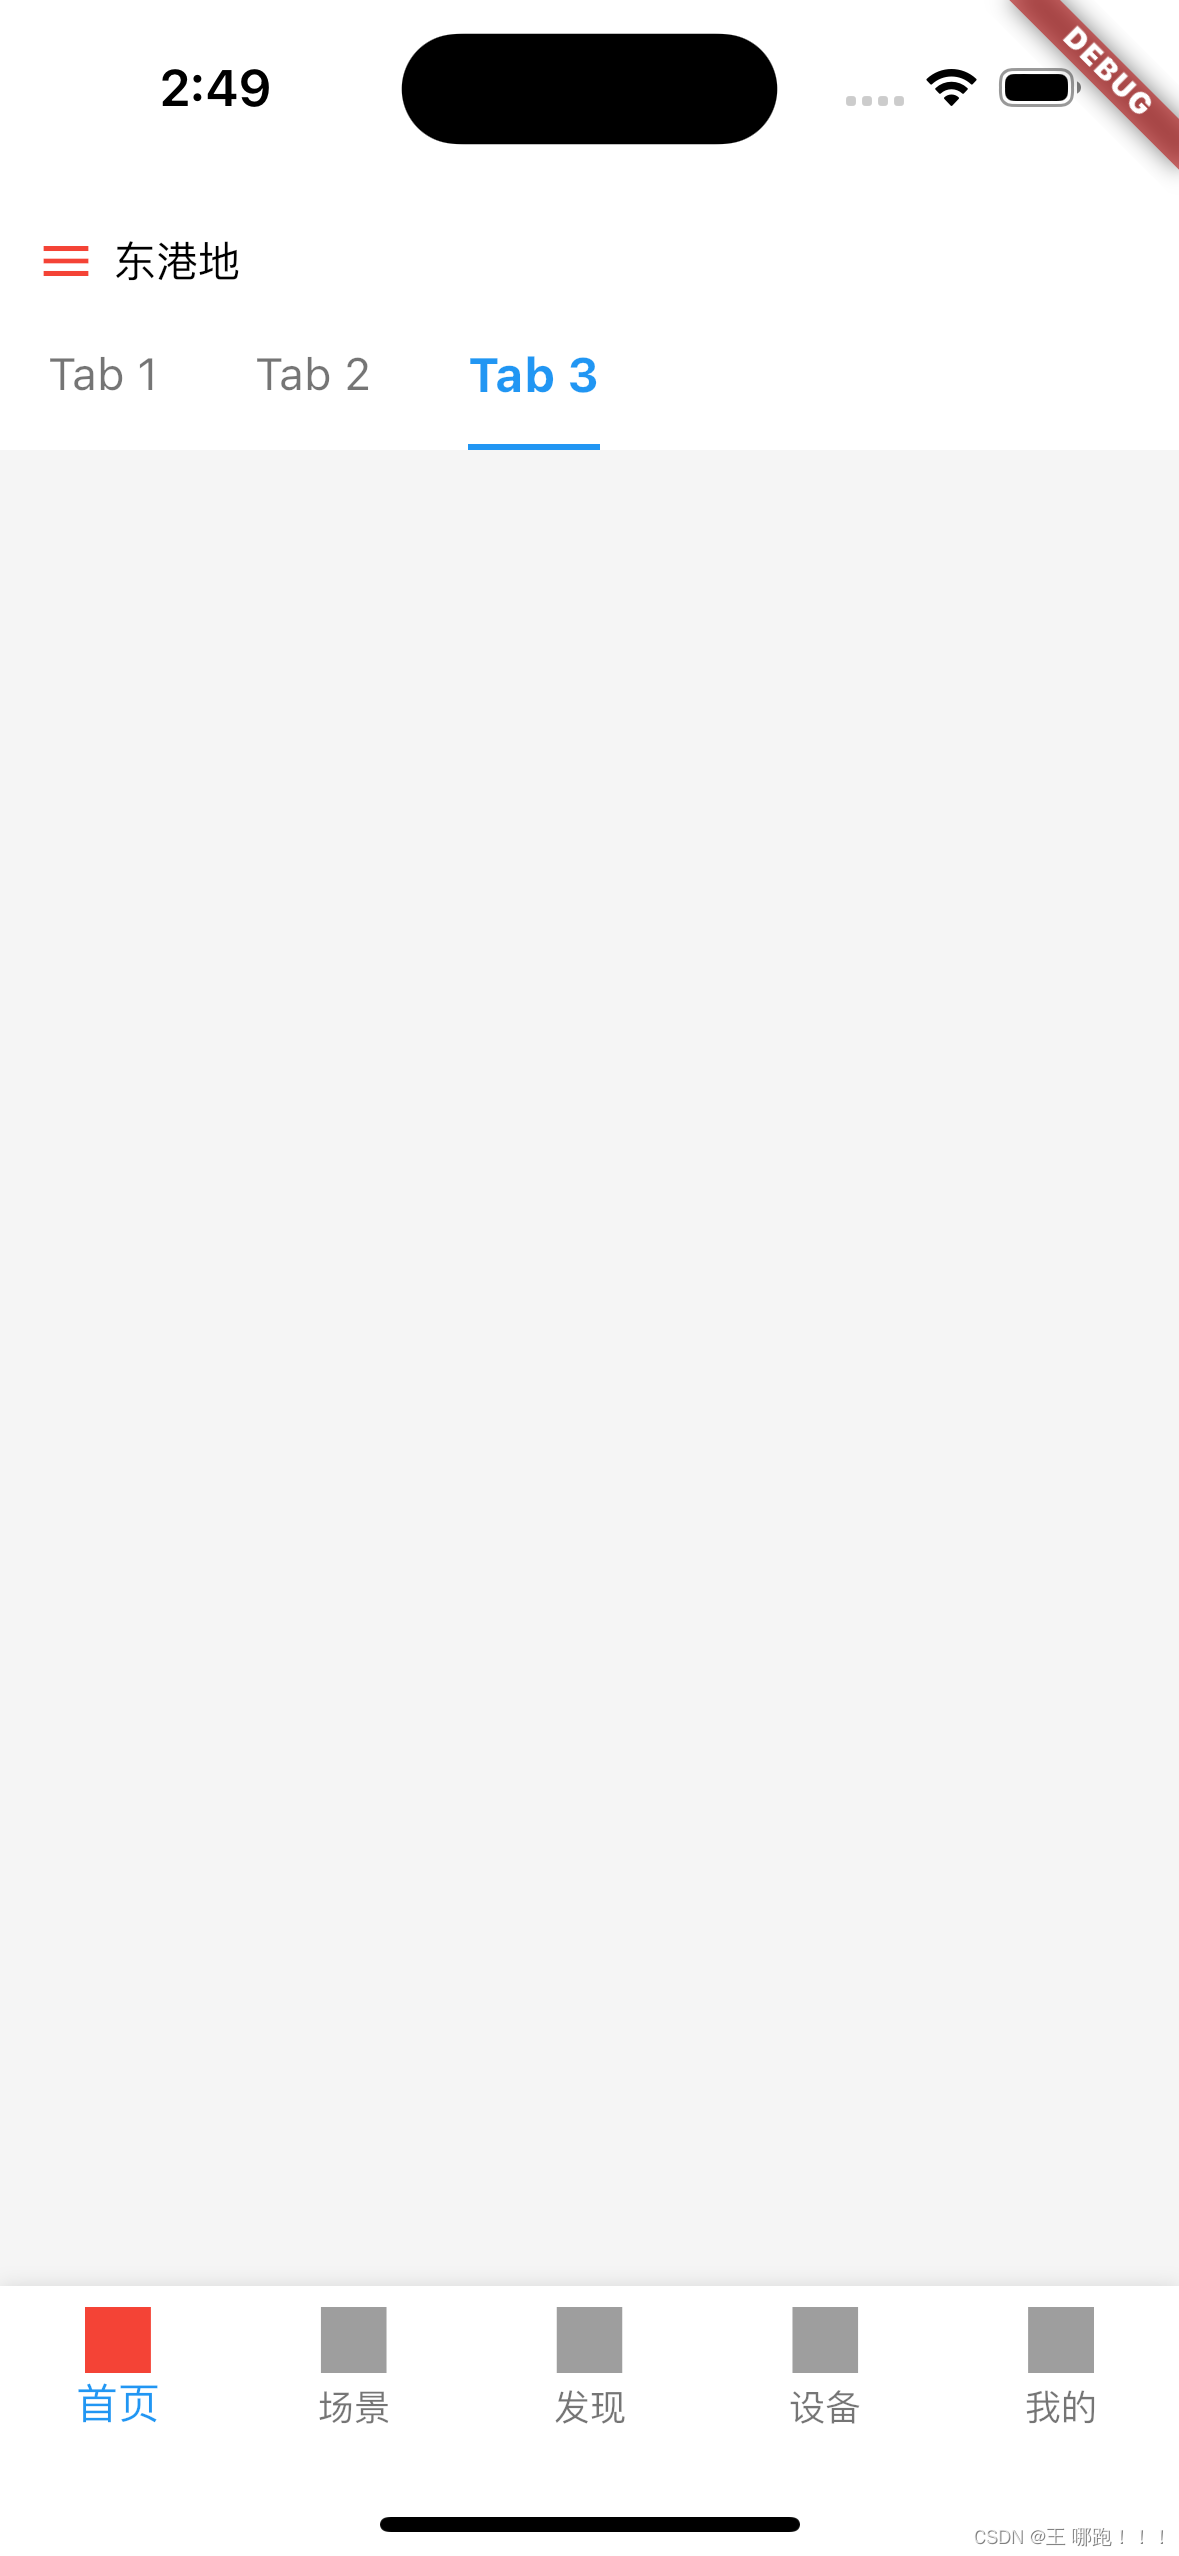
上述便是通过NestedScrollView 、SliverAppBar实现的效果,通过两个控件我们便可以实现上述的效果。
废话不多说直接上代码,代码的实现原理会以注释的形式实现:
import 'package:aboxmini/view/home/room/room_device_page.dart';
import 'package:flutter/material.dart';
import '../../model/app_model.dart';class HomeTabBar extends StatefulWidget {const HomeTabBar({super.key});@overrideState<HomeTabBar> createState() => _HomeTabBarState();
}class _HomeTabBarState extends State<HomeTabBar> with TickerProviderStateMixin {/// 自定义的一个类,此类可获取屏幕宽度等final AppModel _appModel = AppModel.share();/// 设置 中间展示区域的高度final double _topHeight = 180 + AppModel.share().safeTop + kToolbarHeight;/// 分栏控制器late TabController tabController = TabController(length: 3, vsync: this);/// 分栏控制器每一个标题final _tabs = <String>["Tab 1", "Tab 2", "Tab 3"];@overridevoid dispose() {tabController.dispose();super.dispose();}@overrideWidget build(BuildContext context) {return DefaultTabController(length: _tabs.length,child: NestedScrollView(headerSliverBuilder: (BuildContext context, bool innerBoxIsScrolled) {return <Widget>[SliverOverlapAbsorber(handle: NestedScrollView.sliverOverlapAbsorberHandleFor(context),sliver: SliverAppBar(/// 取消系统导航左边按钮leading: Container(),/// 设置背景色backgroundColor: Colors.white,/// 设置左边按钮宽度leadingWidth: _appModel.width,centerTitle: false,pinned: true,floating: false,snap: false,primary: true,/// 设置分栏区域上面的高度expandedHeight: 230.0,elevation: 10,//是否显示阴影,直接取值innerBoxIsScrolled,展开不显示阴影,合并后会显示forceElevated: innerBoxIsScrolled,///自定义导航和中间内容的展示flexibleSpace: _displayNavAndEnvInfo(),/// TabBar 分栏标题bottom: _addTabBar(),),),];},/// 分栏展示的页面信息body: _addTabBarView(),),);}/// 自定义导航和中间内容展示Widget _displayNavAndEnvInfo() {return Container(color: Colors.white,width: _appModel.width,height: _topHeight,child: Column(children: <Widget>[_addNav(),_displayEnvDevice(),],),);}/// 自定义导航 可随意定制Widget _addNav() {return SizedBox(width: _appModel.width,height: _appModel.safeTop + kToolbarHeight,child: Container(margin: EdgeInsets.only(top: _appModel.safeTop),height: kToolbarHeight,width: _appModel.width,alignment: Alignment.centerLeft,child: Row(children: <Widget>[GestureDetector(onTap: () {widget.z.toggle!();},child: Row(children: [Container(margin: const EdgeInsets.only(left: 12, right: 6),child: const Icon(Icons.menu,size: 20,color: Colors.red,),),Text("${_appModel.currentDatum?.hostname ?? ""}"),],),),Expanded(child: Container())],),),);}/// 导航和TabBar中间展示的内容,可随意自定义Widget _displayEnvDevice() {return Container(color: Colors.white,);}/// TabBar 展示样式自定义,可以滚动并且居左展示PreferredSize _addTabBar() {return PreferredSize(/// 设置高度preferredSize: const Size.fromHeight(35),child: Align(/// 设置展示方式alignment: Alignment.centerLeft,/// TabBar选中、未选中样式child: TabBar(/// 是否允许滚动 isScrollable: true,unselectedLabelColor: Colors.black54,unselectedLabelStyle: const TextStyle(fontSize: 15),labelColor: Colors.blue,labelStyle:const TextStyle(fontSize: 16, fontWeight: FontWeight.bold),indicatorSize: TabBarIndicatorSize.label,tabs: _tabs.map((String name) => Tab(text: name)).toList(),),),);}/// TabBar 分栏下的各个页面Widget _addTabBarView() {return TabBarView(children: _tabs.map((String name) {// 分栏下的页面(可随意定义、也可以设置成Text等控件),实现方式还有其他方式return RoomDevicePage();}).toList(),);}
}
以上便是菜单悬浮的效果实现,注释写的很详细,直接粘贴复制即可实现。
