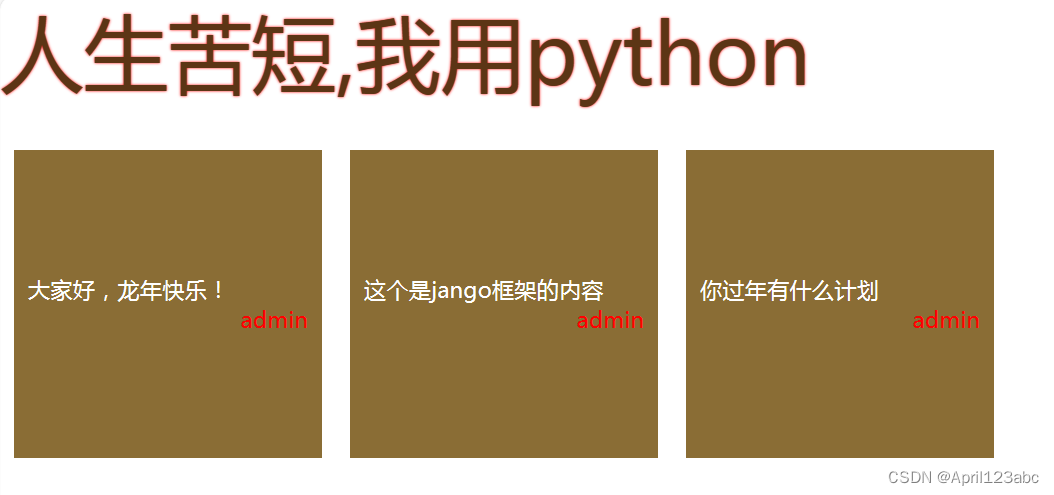
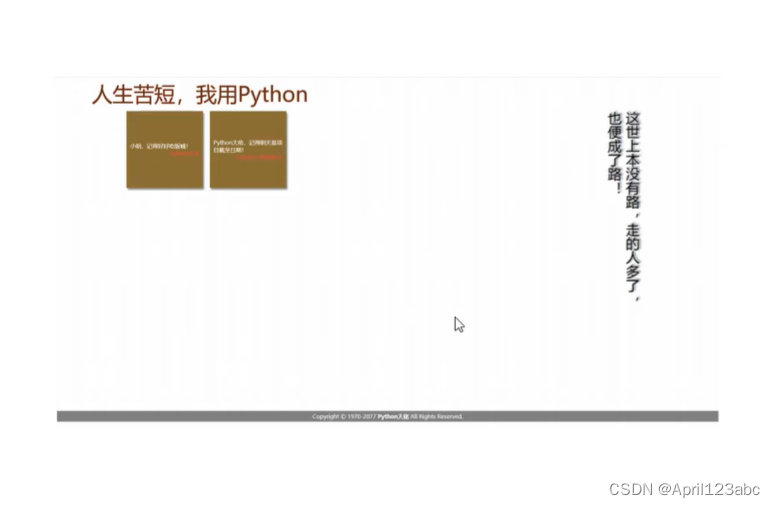
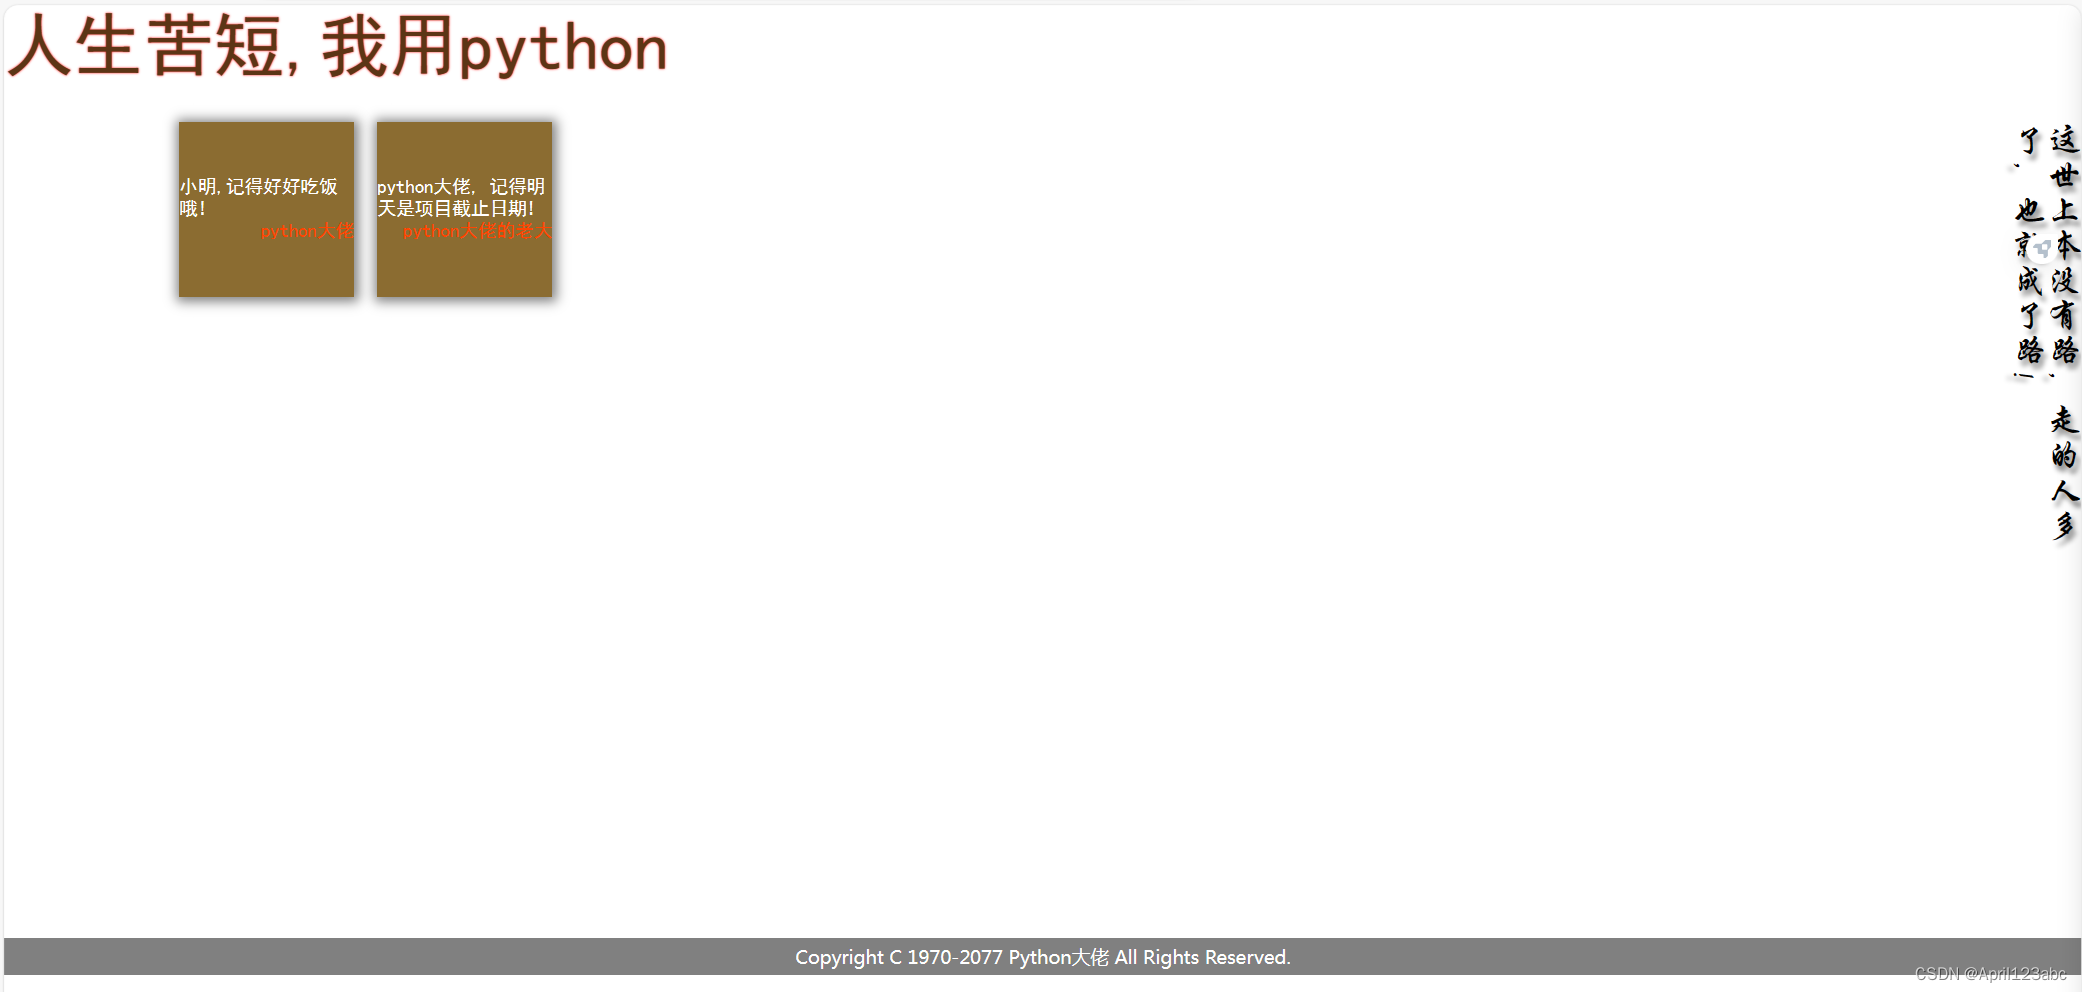
一、效果图
二、会用到的知识
- 目录结构与URL路由注册
- request与response对象
- 模板基础与模板继承
- ORM查询
- 后台管理
三、实现步骤
1. terminal 输入 django-admin startapp the_10回车

2. 注册, 在 tutorial子文件夹settings.py INSTALLED_APPS 中括号添加 "the_10"
INSTALLED_APPS = ['django.contrib.admin','django.contrib.auth','django.contrib.contenttypes','django.contrib.sessions','django.contrib.messages','django.contrib.staticfiles',"the_3","the_5","the_6","the_7","the_8","the_9","the_10",
]
3. 路由 tutorial子文件夹 urls.py
urlpatterns = [path('admin/', admin.site.urls),path('the_3/', include('the_3.urls')),path('the_4/', include('the_4.urls')),path('the_5/', include('the_5.urls')),path('the_7/', include('the_7.urls')),path('the_10/', include('the_10.urls')),
]
4. the_10文件夹新建子文件夹 urls.py
from django.urls import path
from .views import indexurlpatterns = [path('index/', index),
]
5. the_10文件夹内的 views.py
from django.shortcuts import render# Create your views here.def index(request):return render(request, "the_10/the_10_index.html")6. templates 文件夹创建 the_10子文件夹,再在the_10子文件夹 创建 the_10_index.html

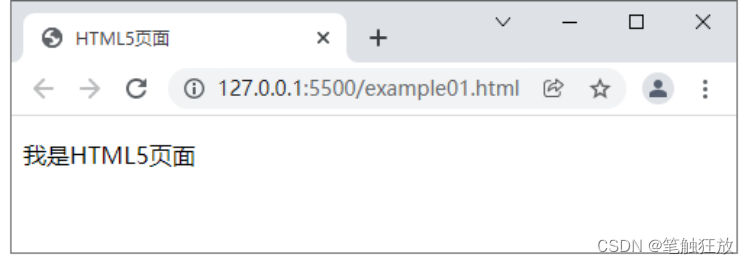
<!DOCTYPE html>
<html lang="en">
<head><meta charset="UTF-8"><title>web便签</title>
</head>
<body><h1>hello 2024</h1>
</body>
</html>
7. 运行tutorial, 点击 http://127.0.0.1:8000/, 地址栏 https://127.0.0.1:8000/the_10/index/

8. the_10_index.html 代码
<!DOCTYPE html>
<html lang="en">
<head><meta charset="UTF-8"><title>web便签</title><style>{# 归零#}*{padding: 0;margin: 0;}.appbar{height: 100px;color: rgb(92,53,21);/*给阴影*/text-shadow: 0 0 2px red;font-size: 60px;}.main{display: flex;}.content{width: 90%;height: 700px;display: flex;}.sidebar{width: 10%;height: 400px;font-size: 30px;/*文字上下展示,从右向左读*/writing-mode: vertical-rl;text-shadow: 3px 5px 5px  gray;}.footer{width: 100%;background: gray;text-align: center;color: white;padding: 5px 0;position: fixed;bottom: 0;}.card{align-content: center;display: flex;flex-wrap:wrap;align-items: center;width: 200px;height: 200px;background: rgb(138,109,53);justify-content: space-around;margin: 10px;padding: 10px;}.card .msg{width: 100%;text-align: left;color: white;}.card .username{width: 100%;text-align: right;color: red;}</style>
</head>
<body>
{#页眉#}<div class="appbar">人生苦短,我用python</div>
{#主体#}<div class="main">
{#        左边#}<div class="content"><div class="card"><div class="msg">小明,记得好好吃饭哦!</div><div class="username">python大佬</div></div><div class="card"><div class="msg">python大佬,记得明天是项目截止日期!</div><div class="username">python大佬的老大</div></div></div>
{#        右边#}<div class="sidebar">这世上本没有路,走的人多了,也便成了路!</div></div>
{#页脚#}<div class="footer">Copyright C 1970-2077 Python大佬 All Rights Reserved.</div>
</body>
</html>
9. 刷新浏览器,实现效果
 四、继承
四、继承
1. 在templates\the_10 创建base.html

2. 把the_10_index.html里面的内容全部复制到base.html里面, 然后清空the_10_index.html里面的内容, 然后写入 {% extends 'the_10/base.html' %}
{% extends 'the_10/base.html' %}3. 刷新浏览器,发现也能打印,证明the_10/已经引入成功

4. 在最外面的tutorial文件夹创建一个static的文件夹,专门用来存放css,js等内容, 然后在static文件夹创建一个css的文件,再在css文件夹创建the_10_base.css文件

5. 把base.html里面style里面的样式内容全部剪切到the_10_base.css里面,删除style标签,然后在the_10_base.css里面改下注释
/*归零*/*{padding: 0;margin: 0;}.appbar{height: 100px;color: rgb(92,53,21);/*给阴影*/text-shadow: 0 0 2px red;font-size: 60px;}.main{display: flex;}.content{width: 90%;height: 700px;display: flex;}.sidebar{width: 10%;height: 400px;font-size: 30px;/*文字上下展示,从右向左读*/writing-mode: vertical-rl;text-shadow: 3px 5px 5px gray;}.footer{width: 100%;background: gray;text-align: center;color: white;padding: 5px 0;position: fixed;bottom: 0;}.card{align-content: center;display: flex;flex-wrap:wrap;align-items: center;width: 200px;height: 200px;background: rgb(138,109,53);justify-content: space-around;margin: 10px;padding: 10px;}.card .msg{width: 100%;text-align: left;color: white;}.card .username{width: 100%;text-align: right;color: red;}6. 我想用这个样式 需要去tutorial\settings.py里面进行配置
STATIC_URL = '/static/'
STATICFILES_DIRS = [BASE_DIR / "static",
]
7. 配置好以后需要引入, 在templates\the_10\base.html 最上面添加 {% load static %}, 然后添加link标签 <link rel="stylesheet" href="{% static 'css/the_10_base.css'%}">
{% load static %}<!DOCTYPE html>
<html lang="en">
<head><meta charset="UTF-8"><title>web便签</title><link rel="stylesheet" href="{% static 'css/the_10_base.css'%}">
</head>
<body>
{#页眉#}<div class="appbar">人生苦短,我用python</div>
{#主体#}<div class="main">
{#        左边#}<div class="content"><div class="card"><div class="msg">小明,记得好好吃饭哦!</div><div class="username">python大佬</div></div><div class="card"><div class="msg">python大佬,记得明天是项目截止日期!</div><div class="username">python大佬的老大</div></div></div>
{#        右边#}<div class="sidebar">这世上本没有路,走的人多了,也便成了路!</div></div>
{#页脚#}<div class="footer">Copyright C 1970-2077 Python大佬 All Rights Reserved.</div>
</body>
</html>
8. 刷新浏览器,样式就有了,页面如步骤3
9. 对templates\the_10\base.html里面的content内容进行挖坑

10. 把上面的内容复制到the_10_index.html里面,然后把templates\the_10\base.html里面block内的内容删掉
the_10_index.html
{% extends 'the_10/base.html' %}{% block content %}
<div class="card"><div class="msg">小明,记得好好吃饭哦!</div><div class="username">python大佬</div>
</div>
<div class="card"><div class="msg">python大佬,记得明天是项目截止日期!</div><div class="username">python大佬的老大</div>
</div>
{% endblock %}
templates\the_10\base.html

11. 刷新浏览器,效果如步骤3
五、前后端交互
1. the_10\views.py做如下修改
from django.shortcuts import render# Create your views here.def index(request):l = [{'msg':'小红,一定要记得好好吃饭哦!', 'username':'python大佬'},{'msg': 'python大佬,记得明天是项目截止日期!一定要交,不交不准下班!', 'username': 'python大佬的老大'},]return render(request, "the_10/the_10_index.html",{'cards':l})2. templates\the_10\the_10_index.html
{% extends 'the_10/base.html' %}{% block content %}{% for i in cards %}<div class="card"><div class="msg">{{ i.msg }}</div><div class="username">{{ i.username }}</div>
</div>{% endfor %}
{% endblock %}
3. 刷新网页,自定义的内容就渲染出来了,这个就叫前后端不分离。

4. 这样就可以通过后端控制前端的内容,如果我们再加一条, 刷新网页,就自动加进去了。
{'msg': '还有一个月,就到农历新年了!', 'username': 'python大佬'},

六、连接数据库
1. the_10\models.py 写入代码
from django.db import models# Create your models here.class Card(models.Model):msg = models.CharField(max_length=200)# user = models.OneToOneField('auth.User',on_delete=models.CASCADE) # 一个用户只能发一个便签user = models.ForeignKey('auth.User', on_delete=models.CASCADE) # 一个用户可以发多个便签def __str__(self):return self.msg2. 迁移 , terminal 输入 python .\manage.py makemigrations回车
Migrations for 'the_10':
the_10\migrations\0001_initial.py
- Create model Card
3. terminal 再输入 python .\manage.py migrate 回车
Operations to perform:
Apply all migrations: admin, auth, contenttypes, sessions, the_10, the_6, the_8, the_9
Running migrations:
Applying the_10.0001_initial... OK
4. the_10\admin.py加内容
from django.contrib import admin
from the_10.models import Card# Register your models here.class CardAdmin(admin.ModelAdmin):# fields = ['pub_date','question_text']fieldsets = [('日期', {'fields':['user']}),('文本', {'fields': ['msg']}),]list_display = ('user','msg')admin.site.register(Card,CardAdmin)
5. 浏览器打开 站点管理 | Django 站点管理员

6. 点击 Cards, 增加内容

7. 从数据库中查询出来,the_10\views.py做如下更改
from django.shortcuts import render
from the_10.models import Card# Create your views here.def index(request):card = Card.objects.select_related().all()# l = [#     {'msg':'小红,一定要记得好好吃饭哦!', 'username':'python大佬'},#     {'msg': 'python大佬,记得明天是项目截止日期!一定要交,不交不准下班!', 'username': 'python大佬的老大'},#     {'msg': '还有一个月,就到农历新年了!', 'username': 'python大佬'},# ]return render(request, "the_10/the_10_index.html",{'cards':card})
8. templates\the_10\the_10_index.html 把username 改成user.username
{% extends 'the_10/base.html' %}{% block content %}{% for i in cards %}<div class="card"><div class="msg">{{ i.msg }}</div><div class="username">{{ i.user.username }}</div>
</div>{% endfor %}
9. 浏览器访问 web便签