目录
1.概述
1.1 Websocket
1.2 STOMP
1.3 源码
2.Springboot集成WS
2.1 添加依赖
2.2 ws配置
2.2.1 WebSocketMessageBrokerConfigurer
2.2.2 ChatController
2.2.3 ChatInRoomController
2.2.4 ChatToUserController
2.3 前端聊天配置
2.3.1 index.html和main.js
2.3.2 chatInRoom.html和chatInRoom.js
2.3.3 chatToUser.html和chatToUser.js
2.4 测试
2.4.1 基础的发布订阅测试
2.4.2 群聊测试
2.4.3 私聊测试
3 参考总结
最近在研究通过spring-boot-websocket开发简单的聊天应用,以下对这几天做一下总结。
关于WebRTC原理我主要是通过《WebRTC音视频实时互动技术原理、实战与源码分析》这本书了解底层的框架和实现思路,电子版资料可以私聊我。
1.概述
1.1 Websocket
WebSocket 连接允许客户端和服务器进行全双向通信,以便任一方都可以通过建立的连接将数据推送到另一端。WebSocket 只需要建立一次连接,就可以一直保持连接状态。这相比于轮询方式的不停建立连接显然效率要大大提高。
如果仅使用WebSocket完成群聊、私聊功能时需要自己管理session信息,但通过STOMP协议时,Spring已经封装好,开发者只需要关注自己的主题、订阅关系即可。

1.2 STOMP
STOMP即“面向消息的简单文本协议”,提供了能够协作的报文格式,以至于 STOMP 客户端可以与任何 STOMP 消息代理(Brokers)进行通信,从而为多语言,多平台和 Brokers 集群提供简单且普遍的消息协作。
STOMP 协议可以建立在WebSocket 之上,也可以建立在其他应用层协议之上。通过 Websocket建立 STOMP 连接,也就是说在 Websocket 连接的基础上再建立 STOMP 连接。最终实现如上图所示,这一点可以在代码中有一个良好的体现。
主要包含如下几个协议事务:
- CONNECT:启动与服务器的流或 TCP 连接
- SEND:发送消息
- SUBSCRIBE:订阅主题
- UNSUBSCRIBE:取消订阅
- BEGIN:启动事务
- COMMIT:提交事务
- ABORT:回滚事务
- ACK:确认来自订阅的消息的消费
- NACK:告诉服务器客户端没有消费该消息
- DISCONNECT:断开连接
1.3 源码
git地址:https://github.com/BAStriver/spring-boot-websocket-chat-app
下载路径:https://download.csdn.net/download/BAStriver/88711460
2.Springboot集成WS
2.1 添加依赖
<dependencies><dependency><groupId>org.springframework.boot</groupId><artifactId>spring-boot-starter-web</artifactId></dependency><dependency><groupId>org.springframework.boot</groupId><artifactId>spring-boot-starter-websocket</artifactId></dependency><dependency><groupId>org.springframework.boot</groupId><artifactId>spring-boot-starter-test</artifactId><scope>test</scope></dependency><dependency><groupId>org.projectlombok</groupId><artifactId>lombok</artifactId></dependency><dependency><groupId>org.springframework</groupId><artifactId>spring-messaging</artifactId><version>6.0.7</version></dependency>
</dependencies>
2.2 ws配置
2.2.1 WebSocketMessageBrokerConfigurer
这里主要是配置STOMP协议端点、消息代理。
并且设置了前端发布消息的前缀为/app,和消息代理的前缀/topic(@SendTo中为/topic/*)。
// register STOMP endpoints
@Override
public void registerStompEndpoints(StompEndpointRegistry registry) {registry.addEndpoint("/ws") // this is the endpoint which should be set in SockJS client.setAllowedOriginPatterns("*") // allow cross-domain request.withSockJS(); // use SockJS protocol
}// register message broker
@Override
public void configureMessageBroker(MessageBrokerRegistry registry) {// while sending messages in front end, the path should add the prefix as /appregistry.setApplicationDestinationPrefixes("/app");// enable and set the prefixes of broker paths, like /topic/public// without this prefix, it will block those sent messagesregistry.enableSimpleBroker("/topic", "/user");// while sending messages to user in front end, the path should add the prefix as /user// default is /userregistry.setUserDestinationPrefix("/user");
}
2.2.2 ChatController
以下是基础的控制器,通过sendMessage()发布消息,通过addUser()把订阅者加入到session管理,并最终返回到订阅路径/topic/public。
@MessageMapping("/chat.sendMessage")
@SendTo("/topic/public")
public ChatMessage sendMessage(@Payload ChatMessage chatMessage
) {return chatMessage;
}@MessageMapping("/chat.addUser")
@SendTo("/topic/public")
public ChatMessage addUser(@Payload ChatMessage chatMessage,SimpMessageHeaderAccessor headerAccessor
) {// Add username in web socket sessionheaderAccessor.getSessionAttributes().put("username", chatMessage.getSender());return chatMessage;
}
经过上面的方法可以实现发布订阅模式。
值得注意的是,如果没有配置@SendTo,则消息会默认返回到@MessageMapping的路径给订阅者。
2.2.3 ChatInRoomController
这个主要是实现群聊。
@MessageMapping("/chat/{roomId}")
@SendTo("/topic/chat/{roomId}") // if not add @SendTo, then by default will send to the path /topic/chat/{roomId}
public ChatMessage sendMessage(@DestinationVariable String roomId, ChatMessage message) {log.info("roomId: {}", roomId);return message;
}// if need the {roomId} in @SendTo,
// then should add {roomId} in @MessageMapping and sent roomId from front end.
// otherwise, it could not resolve placeholder 'roomId' in value "/topic/chat/{roomId} of @SendTo
@MessageMapping("/chat.addUserToRoom/{roomId}")
@SendTo("/topic/chat/{roomId}")
public ChatMessage addUser(@Payload ChatMessage chatMessage,SimpMessageHeaderAccessor headerAccessor
) {// Add username in web socket sessionheaderAccessor.getSessionAttributes().put("username", chatMessage.getSender());return chatMessage;
}
值得注意的是,如果@SendTo需要{roomId}这个参数,那么在@MessageMapping()中也需要传入{roomId}。
2.2.4 ChatToUserController
这个主要实现单独发布消息到指定的订阅者。
@MessageMapping("/chatToUser/{userId}")
@SendTo(value = "/topic/chatToUser/{userId}")
public ChatMessage sendMessage(@DestinationVariable String userId, ChatMessage message,SimpMessageHeaderAccessor headerAccessor) {log.info("send to the userId: {}", userId);log.info("message: {}", message);//        Set<StompAuthenticatedUser> collect = simpUserRegistry.getUsers().stream()
//                .map(simpUser -> StompAuthenticatedUser.class.cast(simpUser.getPrincipal()))
//                .collect(Collectors.toSet());
//        collect.forEach(user -> {
//            if(user.getNickName().equals(userId)) {
//                simpMessagingTemplate.convertAndSendToUser(userId, "/chatToUser/"+userId, message);
//            }
//        });return message;
}@MessageMapping("/chat.helloUser/{userId}")
@SendTo("/user/chat/{userId}")
public ChatMessage helloUser(@DestinationVariable String userId,@Payload ChatMessage chatMessage,SimpMessageHeaderAccessor headerAccessor
) {// Add username in web socket sessionheaderAccessor.getSessionAttributes().put("username", chatMessage.getSender());headerAccessor.getSessionAttributes().put("userid", userId);// use the tool to send the message to public topic directly, without @MessageMapping// simpMessagingTemplate.convertAndSend("/user/chat/" + userId, chatMessage);return chatMessage;
}//@MessageMapping("/chat.sendMessage")
@GetMapping("/testSendMessage")
public void testSendMessage(ChatMessage message) {// use the tool to send the message to public topic directly, without @MessageMappingsimpMessagingTemplate.convertAndSend("/topic/public", message);
}
值得注意的是,这里的@MesssageMapping()不要和前面的重复了。
同样的,也可以通过如下的代码实现发布消息。
simpMessagingTemplate.convertAndSend("/user/chat/" + userId, chatMessage);其实这个部分和#2.2.3同理,不同的是私聊其实可以用@SendToUser。
2.3 前端聊天配置
SockJS 是一个浏览器的 JavaScript库,它提供了一个类似于网络的对象,SockJS 提供了一个连贯的,跨浏览器的JavaScriptAPI,它在浏览器和 Web 服务器之间创建了一个低延迟、全双工、跨域通信通道。SockJS 的一大好处在于提供了浏览器兼容性。即优先使用原生WebSocket,如果浏览器不支持 WebSocket,会自动降为轮询的方式。如果你使用 Java 做服务端,同时又恰好使用 Spring Framework 作为框架,那么推荐使用SockJS。
2.3.1 index.html和main.js
对应#2.2.2的前端页面和脚本。
这里初始化一个sockjs实例,其中的/ws指定了#2.2.1的STOMP端点。
function connect(event) {username = document.querySelector('#name').value.trim();if(username) {usernamePage.classList.add('hidden');chatPage.classList.remove('hidden');const header = {"User-ID": new Date().getTime().toString(),"User-Name": username};var socket = new SockJS('/ws'); // set the STOMP endpointstompClient = Stomp.over(socket);stompClient.connect(header, onConnected, onError);}event.preventDefault();
}
当客户端和服务Connected之后,开始订阅/topic/public的消息以及设置send()的消息发布路径。
function onConnected() {// Subscribe to the Public TopicstompClient.subscribe('/topic/public', onMessageReceived);// Tell your username to the serverstompClient.send("/app/chat.addUser", // prefix with /app{},JSON.stringify({sender: username, type: 'JOIN'}))connectingElement.classList.add('hidden');
}function sendMessage(event) {var messageContent = messageInput.value.trim();if(messageContent && stompClient) {var chatMessage = {sender: username,content: messageInput.value,type: 'CHAT'};stompClient.send("/app/chat.sendMessage", {}, JSON.stringify(chatMessage));messageInput.value = '';}event.preventDefault();
}值得注意的是,这里send()的时候要记得加/app作为前缀。
2.3.2 chatInRoom.html和chatInRoom.js
对应#2.2.3的前端页面和脚本。
初始化sockjs实例和上面的一样,但要注意的是Connected之后的订阅和发布路径加上了{room}作为聊天室的id。
function onConnected() {// Subscribe the message of the {room}stompClient.subscribe('/topic/chat/'+room, onMessageReceived);// Tell your username to the serverstompClient.send("/app/chat.addUserToRoom/"+room, // prefix with /app{},JSON.stringify({sender: username, type: 'JOIN'}))connectingElement.classList.add('hidden');
}function sendMessage(event) {var messageContent = messageInput.value.trim();if(messageContent && stompClient) {var chatMessage = {sender: username,content: messageInput.value,type: 'CHAT'};stompClient.send("/app/chat/"+room, {}, JSON.stringify(chatMessage));messageInput.value = '';}event.preventDefault();
}
2.3.3 chatToUser.html和chatToUser.js
对应#2.2.3的前端页面和脚本。
初始化sockjs实例和上面的一样,但要注意的是Connected之后的订阅和发布路径加上了{username}和{userid}作为私聊对象id。
function onConnected() {console.log('username: ', username);console.log('userid: ', userid);// Subscribe the message with {userid}stompClient.subscribe('/user/chat/' + username, onMessageReceived);stompClient.subscribe('/topic/chatToUser/' + username, onMessageReceived);// Tell your username to the serverstompClient.send("/app/chat.helloUser/" + username, // prefix with /app{},JSON.stringify({sender: username, type: 'JOIN'}))connectingElement.classList.add('hidden');
}function sendMessage(event) {var messageContent = messageInput.value.trim();if (messageContent && stompClient) {var chatMessage = {sender: username,content: messageInput.value,type: 'CHAT'};stompClient.send("/app/chatToUser/" + userid, {}, JSON.stringify(chatMessage));messageInput.value = '';}event.preventDefault();
}
2.4 测试
2.4.1 基础的发布订阅测试
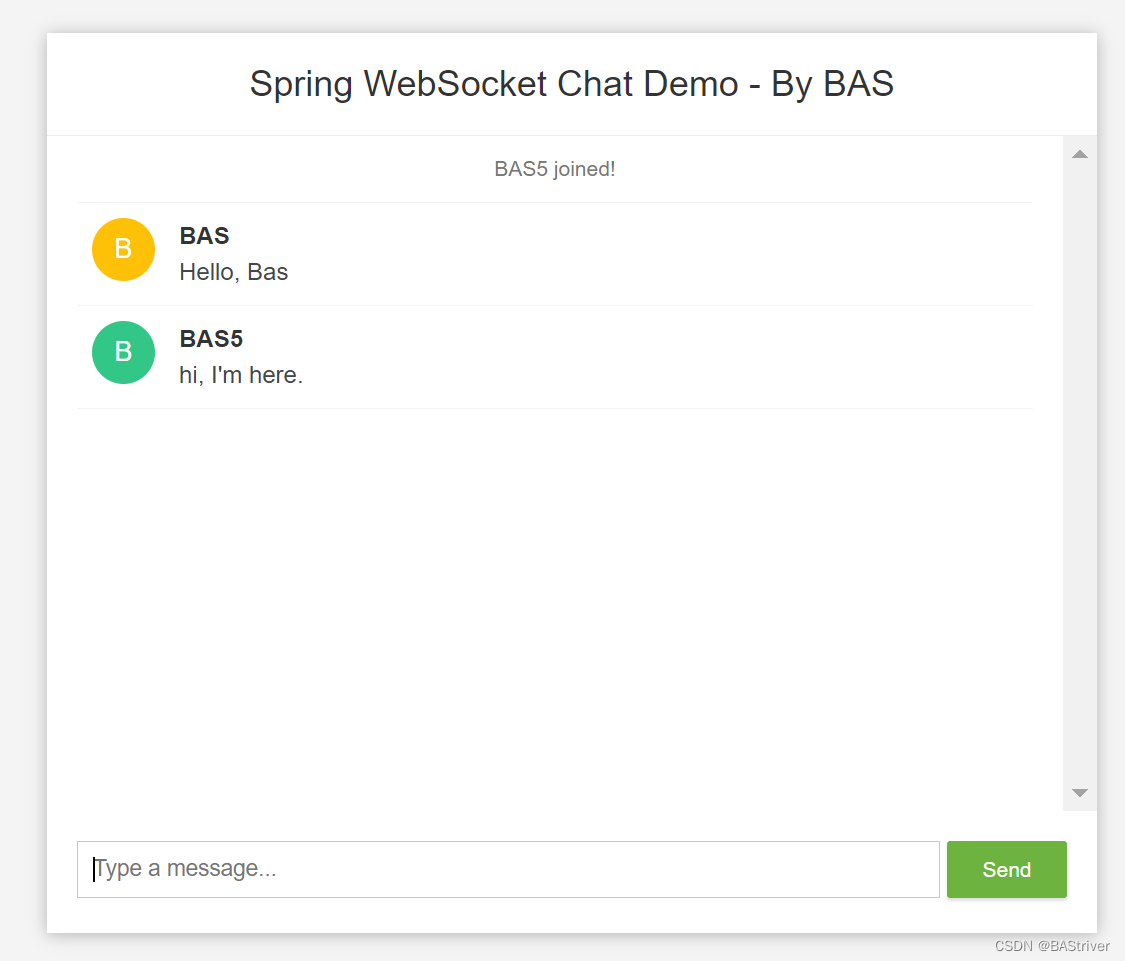
这里测试的#2.3.1的部分。
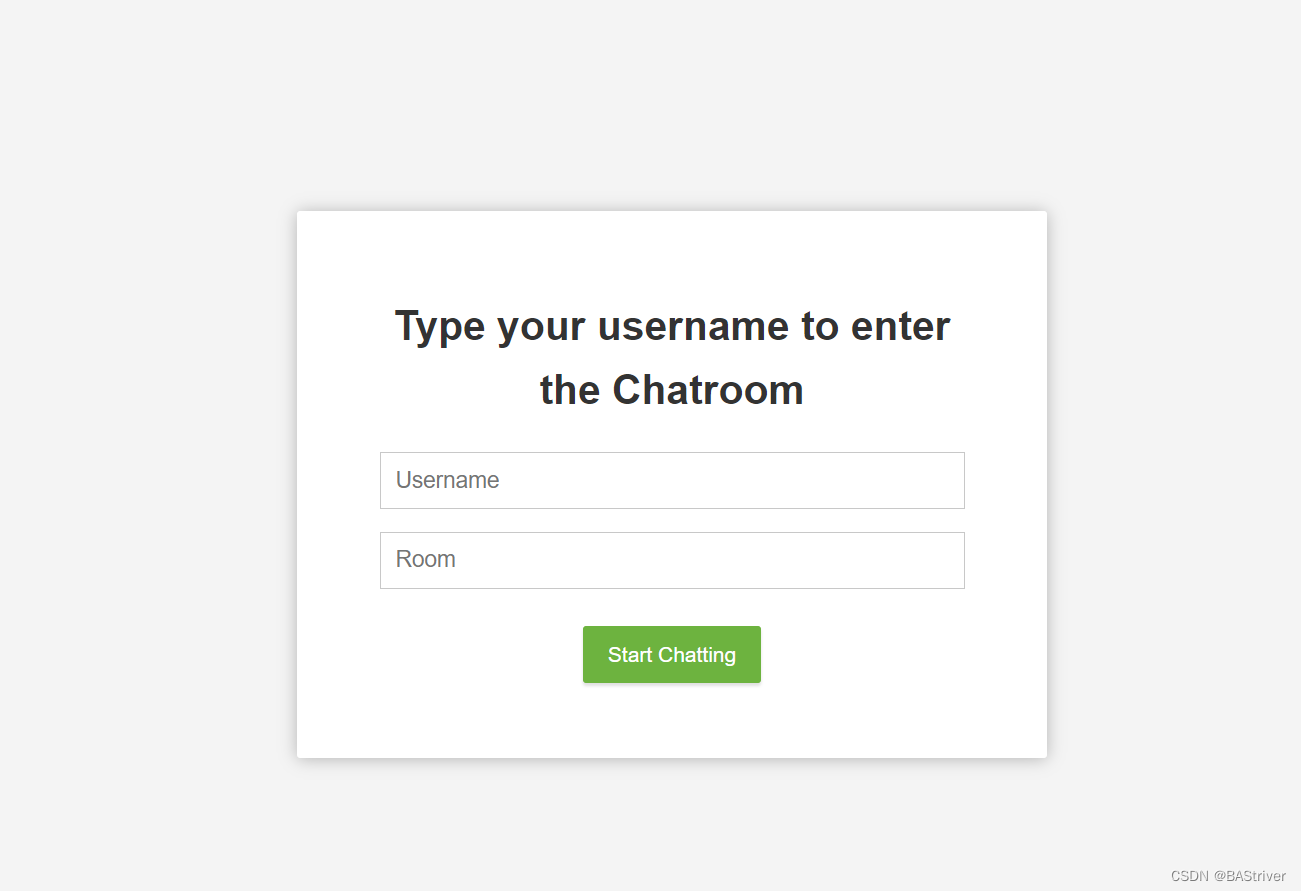
首先是登录界面,进入:http://localhost:8080/index.html

打开两个index页面,然后输入username之后实现聊天。
第一个index.html登入BAS用户,第二个页面登入BAS55。

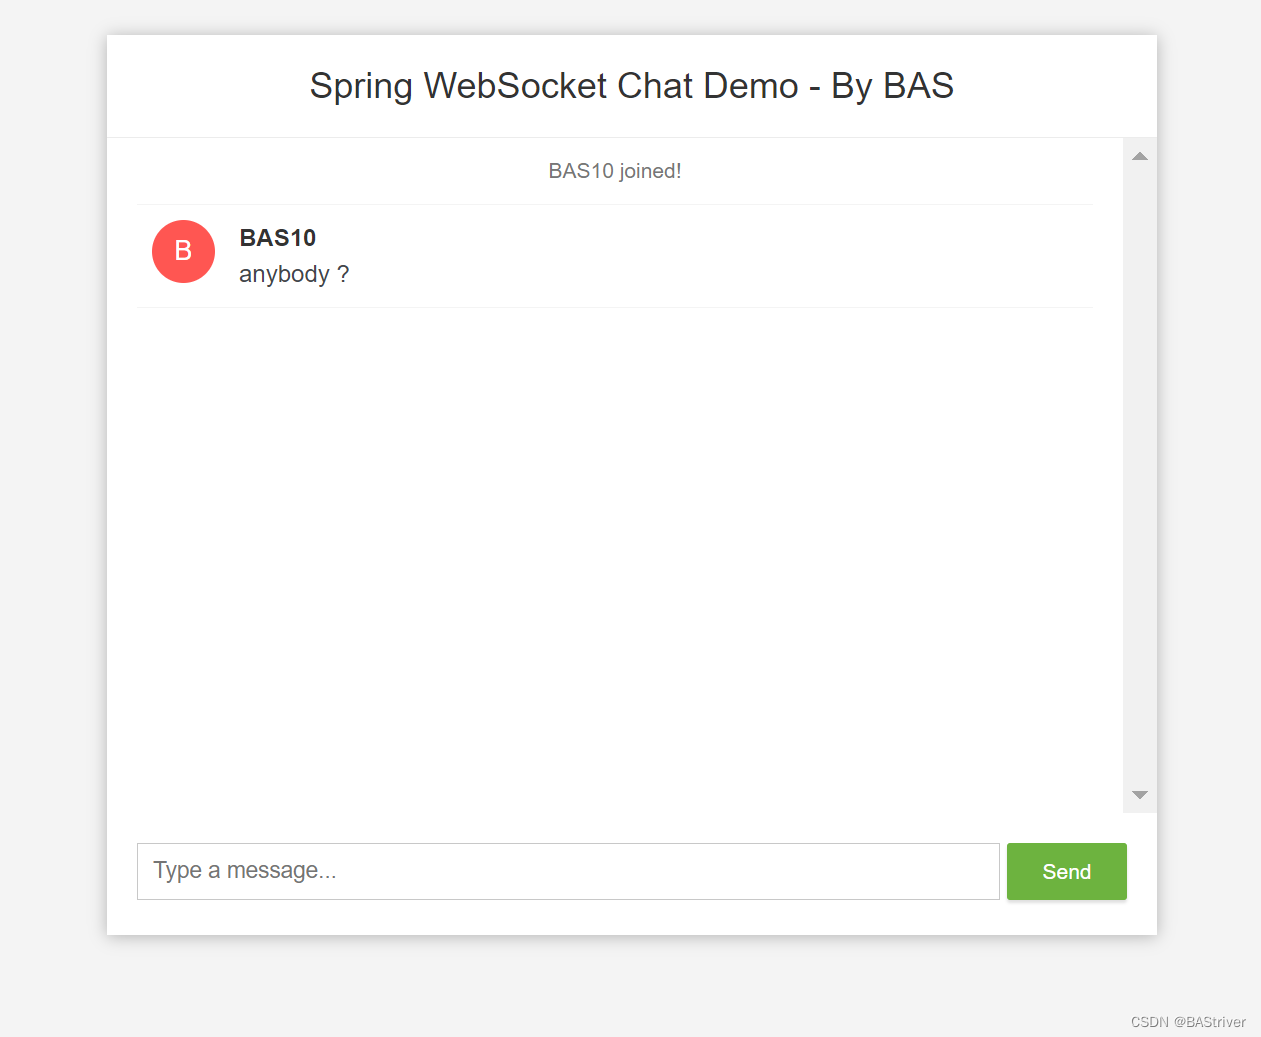
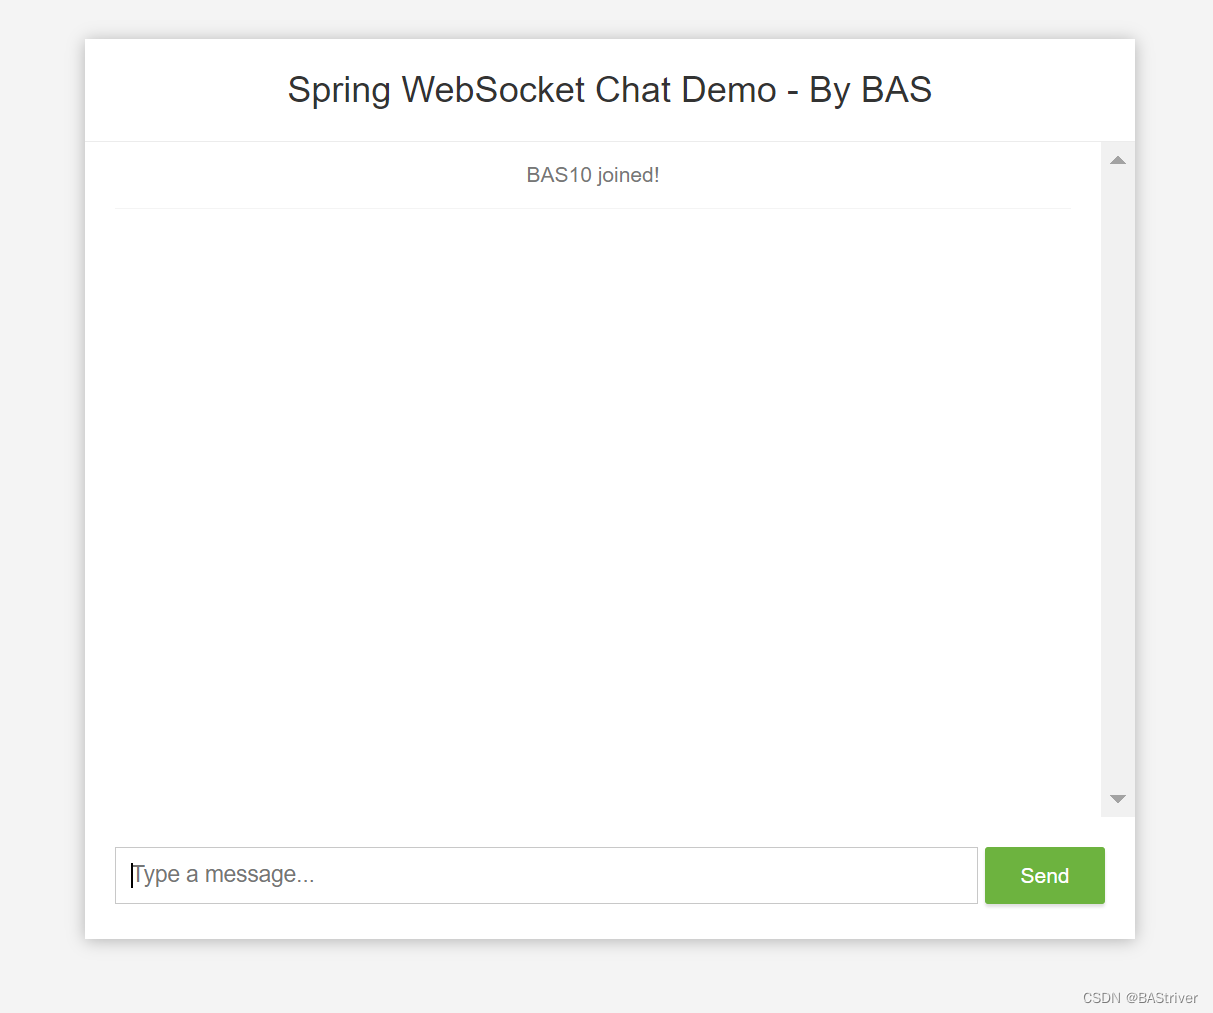
2.4.2 群聊测试
这里测试的#2.3.2的部分。
首先是登录界面,进入:http://localhost:8080/chatInRoom.html
第一个index.html登入BAS用户(Room: 12345),
第二个页面登入BAS55(Room: 12345),
第三个页面登入BAS10(Room: 123),BAS10单独在一个房间。


2.4.3 私聊测试
这里测试的#2.3.3的部分。
首先是登录界面,进入:http://localhost:8080/chatToUser.html

第一个index.html登入BAS用户(Chat To: BAS5),
第二个页面登入BAS55(Chat To: BAS),
第三个页面登入BAS10(Chat To: BAS9)。


3 参考总结
以下是开发过程中参考并且觉得挺有帮助的资料:
SpringBoot——整合WebSocket(STOMP协议) - 简书
Spring Boot系列 WebSocket集成简单消息代理_websocketmessagebrokerconfigurer-CSDN博客
WebSocket的那些事(4-Spring中的STOMP支持详解)_simpuserregistry 为空-CSDN博客
注:
1.关于@MessageMapping()的使用可以参考:Spring Boot中的@MessageMapping注解:原理及使用-CSDN博客
2.关于AbstractWebSocketHandler的使用可以参考:WebSocket基本概念及在Spring Boot中的使用 - 知乎
3.关于@SendTo()和@SendToUser()的区别和使用可以参考:在Spring WebSocket中使用@SendTo和@SendToUser进行消息路由 - 实时互动网
Spring-messaging (STOMP) @SendTo 与 @SendToUser的区别-CSDN博客