渲染上下文:
目的:修改WindowsWindow的结构,把glad抽离出来
WindowsWindow.h:新建m_Context
#pragma once
#include "YOTO/Window.h"
#include <YOTO/Renderer/GraphicsContext.h>
#include<GLFW/glfw3.h>
#include"YOTO/Log.h"struct GLFWwindow;
namespace YOTO {class WindowsWindow :public Window{public :WindowsWindow(const WindowProps& props);virtual ~WindowsWindow();void OnUpdate() override;inline unsigned int GetWidth() const override { return m_Data.Width; };inline unsigned int GetHeight() const override { return m_Data.Height; };inline void SetEventCallback(const EventCallbackFn& callback)override{ m_Data.EventCallback = callback; };void SetVSync(bool enable) ;bool IsVSync()const;//返回windowinline virtual void* GetNativeWindow() const { return m_Window; }private: virtual void Init(const WindowProps& props);virtual void ShutDown();private:GLFWwindow* m_Window;GraphicsContext* m_Context;struct WindowData {std::string Title;unsigned int Width, Height;bool VSync;EventCallbackFn EventCallback;};WindowData m_Data;};
}
WindowsWindow.cpp:把glad的API全部替换成m_Context的方法:
#include "ytpch.h"
#include "WindowsWindow.h"#include"YOTO/Event/ApplicationEvent.h"
#include"YOTO/Event/MouseEvent.h"
#include"YOTO/Event/KeyEvent.h"#include"Platform/OpenGL/OpenGLContext.h"
namespace YOTO {static bool s_GLFWInitialized = false;Window* Window::Creat(const WindowProps& props) {return new WindowsWindow(props);}WindowsWindow::WindowsWindow(const WindowProps& props) {Init(props);}WindowsWindow::~WindowsWindow() {ShutDown();}void WindowsWindow::Init(const WindowProps& props) {m_Data.Title = props.Title;m_Data.Width = props.Width;m_Data.Height = props.Height;YT_CORE_INFO("WindowsWindow:创建了{0},{1},{2}", props.Title, props.Width, props.Height);if (!s_GLFWInitialized) {int success = glfwInit();YT_CLIENT_ASSERT("WindowsWindow:不能创建新的glfw,{0}",success );glfwSetErrorCallback([](int error_code, const char* description) {YT_CORE_ERROR("WindowsWindow:GLFW错误:错误码({0}):{1} ", error_code, description);});s_GLFWInitialized = true;}m_Window = glfwCreateWindow((int)props.Width, (int)props.Height, m_Data.Title.c_str(), nullptr, nullptr);m_Context = new OpenGLContext(m_Window);m_Context->Init();glfwSetWindowUserPointer(m_Window, &m_Data);SetVSync(true);//GLFW回调,每次改变调用lambda里的部分//窗口大小回调glfwSetWindowSizeCallback(m_Window, [](GLFWwindow* window, int width, int height) {WindowData& data=*(WindowData*)glfwGetWindowUserPointer(window);data.Width = width;data.Height = height;WindowResizeEvent event(width, height);//调用回调函数data.EventCallback(event);});//窗口关闭回调glfwSetWindowCloseCallback(m_Window, [](GLFWwindow* window) {WindowData& data = *(WindowData*)glfwGetWindowUserPointer(window);WindowCloseEvent event;data.EventCallback(event);});//键盘按键回调glfwSetKeyCallback(m_Window, [](GLFWwindow* window, int key, int scancode, int action, int mods) {WindowData& data = *(WindowData*)glfwGetWindowUserPointer(window);switch (action) {case GLFW_PRESS:{KeyPressedEvent event(key, 0);data.EventCallback(event);break;}case GLFW_RELEASE:{KeyReleasedEvent event(key);data.EventCallback(event);break;}case GLFW_REPEAT:{KeyPressedEvent event(key, 1);data.EventCallback(event);break;}}});//鼠标按键回调glfwSetMouseButtonCallback(m_Window, [](GLFWwindow* window, int button, int action, int mods) {WindowData& data = *(WindowData*)glfwGetWindowUserPointer(window);switch (action){case GLFW_PRESS:{MouseButtonPressedEvent event(button);data.EventCallback(event);break;}case GLFW_RELEASE:{MouseButtonReleasedEvent event(button);data.EventCallback(event);break;}}});//滚轮回调glfwSetScrollCallback(m_Window, [](GLFWwindow* window, double xoffset, double yoffset) {WindowData& data = *(WindowData*)glfwGetWindowUserPointer(window);MouseScrolledEvent event((float)xoffset, (float)yoffset);data.EventCallback(event);});//鼠标位置回调glfwSetCursorPosCallback(m_Window, [](GLFWwindow* window, double xpos, double ypos) {WindowData& data = *(WindowData*)glfwGetWindowUserPointer(window);MouseMovedEvent event((float)xpos, (float)ypos);data.EventCallback(event);});//字符回调glfwSetCharCallback(m_Window, [](GLFWwindow* window, unsigned int codepoint) {WindowData& data = *(WindowData*)glfwGetWindowUserPointer(window);KeyTypedEvent event(codepoint);data.EventCallback(event);});}void WindowsWindow::ShutDown() {glfwDestroyWindow(m_Window);}void WindowsWindow::OnUpdate(){//轮询事件glfwPollEvents();//交换缓冲区m_Context->SwapBuffers();}void WindowsWindow::SetVSync(bool enable) {if (enable)glfwSwapInterval(1);elseglfwSwapInterval(0);m_Data.VSync = enable;}bool WindowsWindow::IsVSync() const {return m_Data.VSync;}
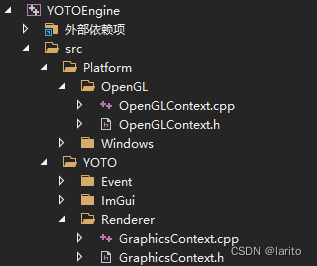
}新建类:OpenGLContext和GraphicsContext文件如下结构:
GraphicsContext.h:作为基类
#pragma oncenamespace YOTO {class GraphicsContext{public:virtual void Init()=0;virtual void SwapBuffers()=0;};
}
OpenGLContext.h:继承基类
#pragma once
#include"YOTO/Renderer/GraphicsContext.h"
#include"YOTO/Log.h"
struct GLFWwindow;
namespace YOTO {class OpenGLContext:public GraphicsContext{public:OpenGLContext(GLFWwindow * windowHandle);virtual void Init()override;virtual void SwapBuffers()override;private:GLFWwindow* m_WindowHandle;};}
OpenGLContext.cpp:实现Opengl的上下文:
#include "ytpch.h"
#include "OpenGLContext.h"
#include<GLFW/glfw3.h>
#include<glad/glad.h>
#include<gl/GL.h>
namespace YOTO {OpenGLContext::OpenGLContext(GLFWwindow* windowHandle):m_WindowHandle(windowHandle){YT_CORE_ASSERT(windowHandle, "handle为空");}void OpenGLContext::Init(){glfwMakeContextCurrent(m_WindowHandle);//在运行时获取OpenGL函数地址并将其保存在函数指针中供以后使用int status = gladLoadGLLoader((GLADloadproc)glfwGetProcAddress);YT_CORE_ASSERT(status, "glad初始化错误");}void OpenGLContext::SwapBuffers(){glfwSwapBuffers(m_WindowHandle);}
}
测试:正常显示
绘制三角形:
Application.h:添加缓冲区索引
#pragma once
#include"Core.h"
#include"Event/Event.h"
#include"Event/ApplicationEvent.h"
#include "YOTO/Window.h"
#include"YOTO/LayerStack.h"
#include"YOTO/ImGui/ImGuiLayer.h"
namespace YOTO {class YOTO_API Application{public:Application();virtual ~Application();void Run();void OnEvent(Event &e);void PushLayer(Layer* layer);void PushOverlay(Layer* layer);inline static Application& Get() {return * s_Instance;}inline Window& GetWindow() { return *m_Window; }private:bool  OnWindowClosed(WindowCloseEvent& e);std::unique_ptr<Window>  m_Window;ImGuiLayer *  m_ImGuiLayer;bool m_Running = true;LayerStack m_LayerStack;unsigned int m_VertexArray, m_VertexBuffer, m_IndexBuffer;static Application* s_Instance;};//在客户端定义Application* CreateApplication();
}
Application.cpp:设置缓冲区然后绘制
#include"ytpch.h"
#include "Application.h"#include"Log.h"
#include<glad/glad.h>
#include"Input.h"namespace YOTO {
#define BIND_EVENT_FN(x) std::bind(&x, this, std::placeholders::_1)Application* Application::s_Instance = nullptr;Application::Application() {YT_CORE_ASSERT(!s_Instance, "Application需要为空!")s_Instance = this;//智能指针m_Window = std::unique_ptr<Window>(Window::Creat());//设置回调函数m_Window->SetEventCallback(BIND_EVENT_FN(Application::OnEvent));//new一个Layer,放在最后层进行渲染m_ImGuiLayer = new ImGuiLayer();PushOverlay(m_ImGuiLayer);  //unsigned int id;//glGenBuffers(1, &id);//顶点数组:glGenVertexArrays(1, &m_VertexArray);glBindVertexArray(m_VertexArray);//顶点缓冲区glGenBuffers(1, &m_VertexBuffer);glBindBuffer(GL_ARRAY_BUFFER,m_VertexBuffer);float vertices[3 * 3] = {-0.5f,-0.5f,0.0f,0.5f,-0.5f,0.0f,0.0f,0.5f,0.0f,};//把数据传送给gpu,GL_STATIC_DRAW不断的用新数据刷新数组。告诉opengl这个缓冲区的数据布局glBufferData(GL_ARRAY_BUFFER, sizeof(vertices), vertices, GL_STATIC_DRAW);//启用数据的索引0glEnableVertexAttribArray(0);//设置缓冲区数据格式:缓冲区序号、顶点属性的大小、什么数据类型、会不会被归一化、glVertexAttribPointer(0, 3, GL_FLOAT, GL_FALSE, 3 * sizeof(float),nullptr);//创建索引缓冲区glGenBuffers(1, &m_IndexBuffer);glBindBuffer(GL_ELEMENT_ARRAY_BUFFER, m_IndexBuffer);unsigned int indices[3] = { 0,1,2 };//设置缓冲区格式glBufferData(GL_ELEMENT_ARRAY_BUFFER, sizeof(indices), indices, GL_STATIC_DRAW);//着色器//shader}Application::~Application() {}/// <summary>/// 所有的Window事件都会在这触发,作为参数e/// </summary>/// <param name="e"></param>void Application::OnEvent(Event& e) {//根据事件类型绑定对应事件EventDispatcher dispatcher(e);dispatcher.Dispatch<WindowCloseEvent>(BIND_EVENT_FN(Application::OnWindowClosed));//输出事件信息YT_CORE_INFO("Application:{0}",e);for (auto it = m_LayerStack.end(); it != m_LayerStack.begin();) {(*--it)->OnEvent(e);if (e.m_Handled)break;}}bool Application::OnWindowClosed(WindowCloseEvent& e) {m_Running = false;return true;}void Application::Run() {WindowResizeEvent e(1280, 720);if (e.IsInCategory(EventCategoryApplication)) {YT_CORE_TRACE(e);}if (e.IsInCategory(EventCategoryInput)) {YT_CORE_ERROR(e);}while (m_Running){glClearColor(0.2f, 0.2f, 0.2f,1);glClear(GL_COLOR_BUFFER_BIT);glBindVertexArray(m_VertexArray);glDrawElements(GL_TRIANGLES,3,GL_UNSIGNED_INT,nullptr); for (Layer* layer : m_LayerStack) {layer->OnUpdate();}//将ImGui的刷新放到APP中,与Update分开m_ImGuiLayer->Begin();for (Layer* layer : m_LayerStack) {layer->OnImGuiRender();}m_ImGuiLayer->End();m_Window->OnUpdate();}}void Application::PushLayer(Layer* layer) {m_LayerStack.PushLayer(layer);layer->OnAttach();}void Application::PushOverlay(Layer* layer) {m_LayerStack.PushOverlay(layer);layer->OnAttach();}
}
OpenGLContext.cpp:显示显卡的基本信息:
#include "ytpch.h"
#include "OpenGLContext.h"
#include<GLFW/glfw3.h>
#include<glad/glad.h>
#include<gl/GL.h>
namespace YOTO {OpenGLContext::OpenGLContext(GLFWwindow* windowHandle):m_WindowHandle(windowHandle){YT_CORE_ASSERT(windowHandle, "handle为空");}void OpenGLContext::Init(){glfwMakeContextCurrent(m_WindowHandle);//在运行时获取OpenGL函数地址并将其保存在函数指针中供以后使用int status = gladLoadGLLoader((GLADloadproc)glfwGetProcAddress);YT_CORE_ASSERT(status, "glad初始化错误");// 将我们窗口的上下文设置为当前线程的主上下文glfwMakeContextCurrent(m_WindowHandle);// 获取显卡OpenGL函数定义的地址int statu = gladLoadGLLoader((GLADloadproc)glfwGetProcAddress);YT_CORE_ASSERT(status, "Failed to initialize Glad!");YT_CORE_INFO("OpenGL 信息:");YT_CORE_INFO(" Vendor:{0}", (const char*)glGetString(GL_VENDOR));YT_CORE_INFO(" 显卡名:{0}", (const char*)glGetString(GL_RENDERER));YT_CORE_INFO(" 版本:{0}", (const char*)glGetString(GL_VERSION));}void OpenGLContext::SwapBuffers(){glfwSwapBuffers(m_WindowHandle);}
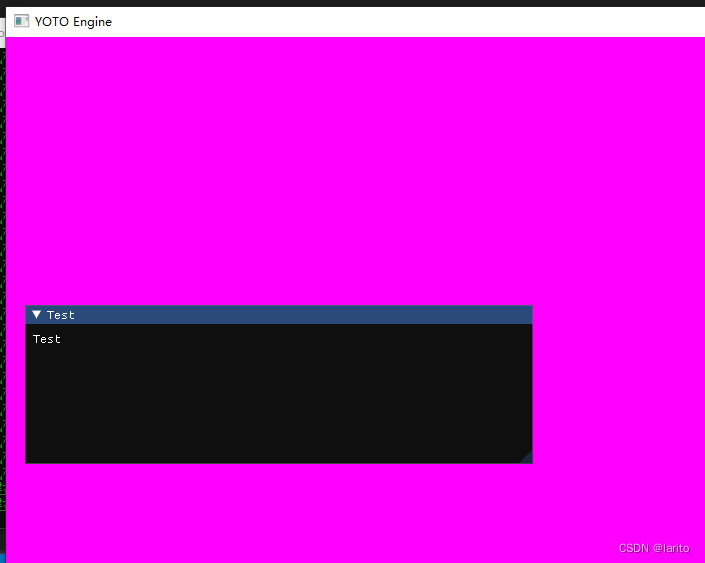
}测试:
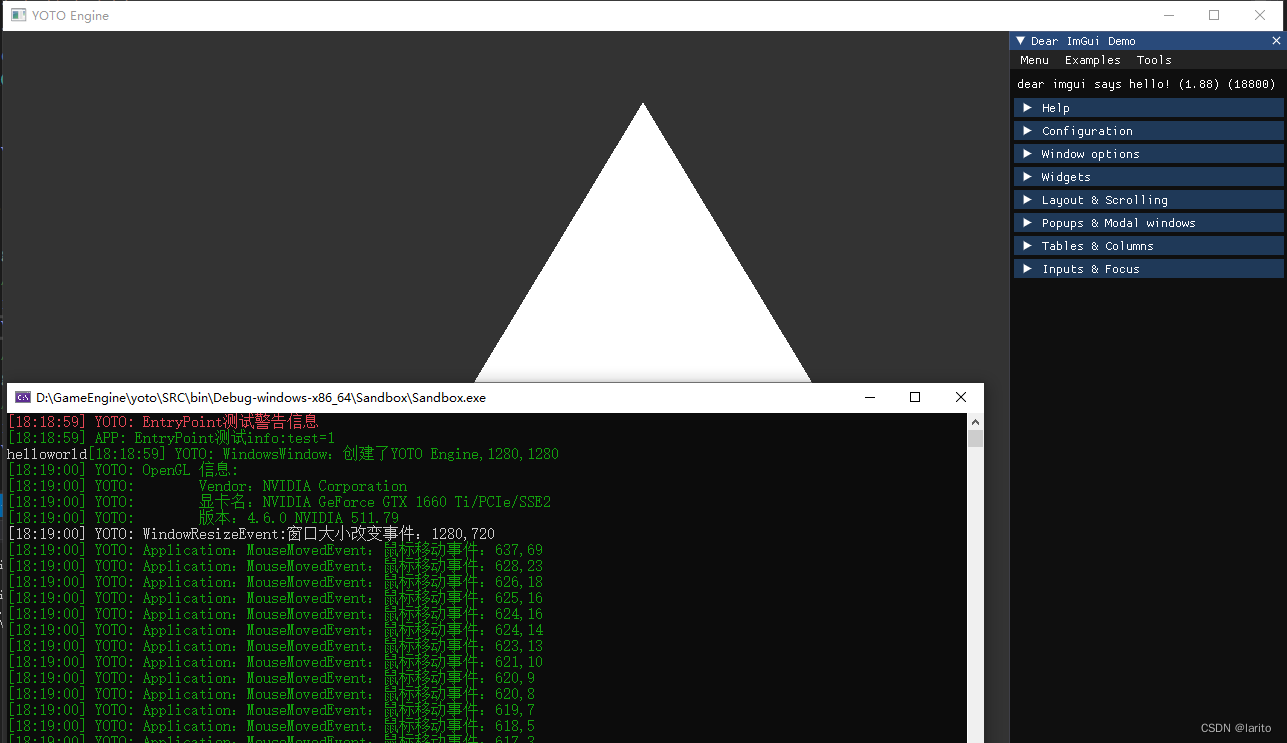
cool !