目录
- 前言
- 一、效果展示
- 二、实现步骤
- 1. 实现线条宽度(strokeWidth)的属性模块
- 2. 实线线条样式(strokeDashArray)的属性模块
- 3. 意料之外的“联动”
- 三、Show u the code
- 后记
前言
上一篇博文中,我们初步实现了右侧属性栏,通过属性栏,我们可以便捷得修改画布中对象的颜色相关属性。
这篇博文是《前端canvas项目实战——简历制作网站》付费专栏系列博文的第三篇——右侧属性栏(线条宽度&样式),主要的内容有:
- 针对线条对象: 扩充属性列表,使用户可以修改画布中选中的线条的宽度和样式(实线、虚线、点线等)。
一、效果展示
-
动手体验
CodeSandbox会自动对代码进行编译,并提供地址以供体验代码效果
由于CSDN的链接跳转有问题,会导致页面无法工作,请复制以下链接在浏览器打开:
https://4z795q.csb.app/ -
动态效果演示

- 本节之后,我们的简历能做成什么样子
我们可以修改线条的宽度和样式了。
二、实现步骤
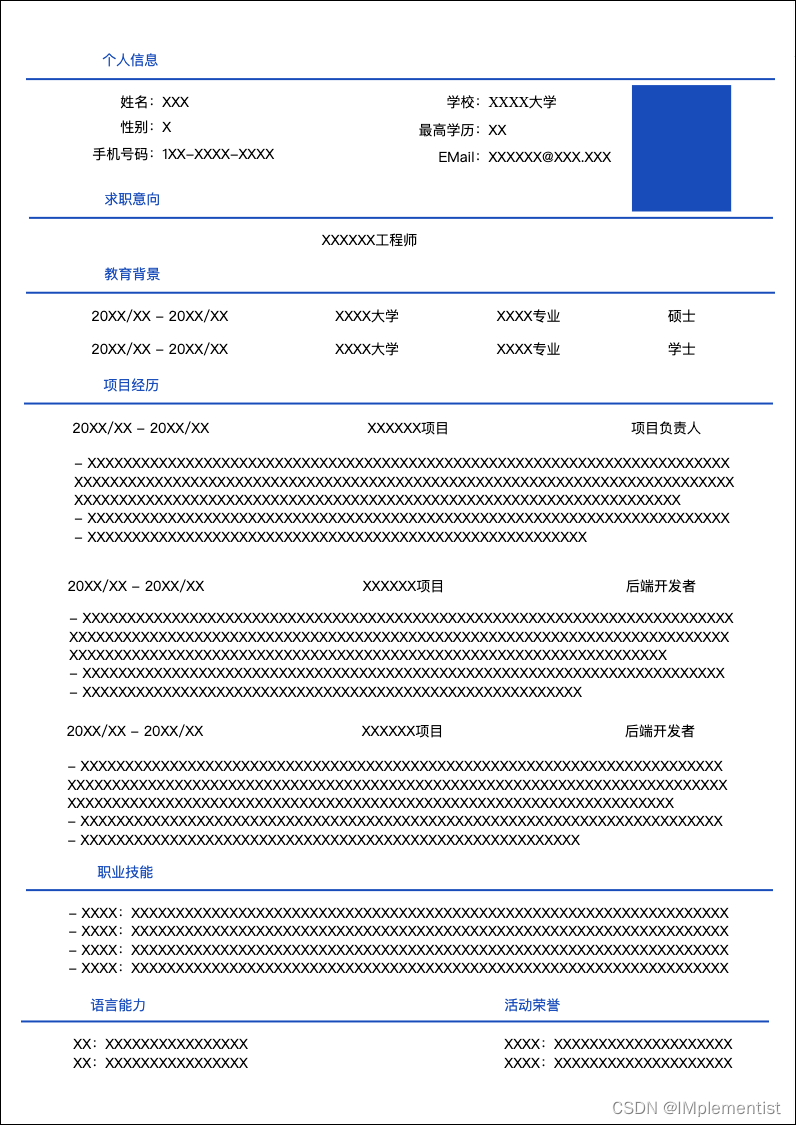
本节的实现的功能在我们的简历模板上没有太多的改变(只改变了蓝色分隔线的宽度,1 --> 2),但作为一个通用的编辑器,我们实现的功能还是很有价值的。下面开始实现:
1. 实现线条宽度(strokeWidth)的属性模块
这里我们要继续修改上一篇博文中的属性工厂——object-props.js,向其中添加一个控件StrokeWidthWrapper
const StrokeWidthWrapper = (props) => {const strokeWidthOptions = [1, 2, 3, 4, 5];// 下拉菜单选项列表const optionViews = strokeWidthOptions.map((option, index) => {return (<Option className="property-stroke-width"key={`stroke-width-${option}`} value={option} title={option}><div className="property-stroke-width-line" style={{ height: `${option}px` }} /></Option>);});return (<div className="property-row" key={props.key}><span className="property-title">宽度</span><div className="property-container"><Select value={strokeWidth} bordered={false} style={{ width: "100%" }}onChange={(value) => { handleChange("strokeWidth", value) }>{optionViews}</Select></div></div>);};
代码很简洁,分为 3 个部分:
- 定义可选的线条宽度列表
strokeWidthOptions,这里我设置了最小为1,最大为5,可以根据自己的需要做出调整。 - 通过
strokeWidthOptions构造出下拉菜单的选项列表optionViews - 组装模块
注意:
- 构造下拉菜单选项的代码中有一行
<div className="property-stroke-width-line" style={{ height:${option}px}} />,这里的作用是将下拉菜单的每个选项绘制成一条宽度对应的线条,如下图所示:2. 实现一个新模块后,要记得添加到属性列表中: 
const propertyWrapperMap = {...line: ["StrokeWrapper", "StrokeWidthWrapper"],...};
2. 实线线条样式(strokeDashArray)的属性模块
strokeDashArray和strokeWidth类似,但实现更复杂一些
const strokeDashArrayWrapper = (props) => {const strokeDashArrayOptions = [{ key: "实线", fabricValue: null, cssValue: "solid" },{ key: "虚线", fabricValue: [5, 5], cssValue: "dashed" },{ key: "点线", fabricValue: [1, 1], cssValue: "dotted" },];/*** 根据传入的value,返回对应的index*/const mapValueToIndex = (value) => {if (null !== value && Array.isArray(value)) {for (let i = 1; i < strokeDashArrayOptions.length; i++) {if (strokeDashArrayOptions[i].fabricValue[0] === value[0]) {return i;}}}return 0;};const optionViews = strokeDashArrayOptions.map((option, index) => {return (<Option className="property-stroke-width" key={`stroke-dasharray-${index}`}value={index} title={option.key}><div className="property-stroke-dasharray-line"style={{ borderTopStyle: option.cssValue }} /></Option>);});return (<div className="property-row" key={props.key}><span className="property-title">线条</span><div className="property-container"><Select value={mapValueToIndex(_recoverValue(strokeDashArray, strokeWidth))}bordered={false} style={{ width: "100%" }}onChange={(value) =>let adjustedValue = _adjustValue(strokeDashArrayOptions[value].fabricValue, strokeWidth);handleChange("strokeDashArray", adjustedValue);}>{optionViews}</Select></div></div>);};
可以看到,strokeDashArray的实现复杂很多,这里分别讲解:
- 方法
_adjustValue和_recoverValue: 这两个方法在这里没有给出代码,在下一小节会讲到。 - 这个模块的 value 不直接设置,设置的是选项列表中的索引
index(0, 1, 2, …),原因:antd的<Select.Option>不允许设置value=null,且只接受string和number类型。fabric.Line.strokeDashArray的默认值是null,同时接受数组(例如[2, 2])作为参数。
- 和
strokeWidth类似,这个模块的下拉菜单选项也由<div>标签来绘制。- 我们使用的是它的
border-top-style来表示线段样式,但其接受的值为string,比如实线为solid,虚线为dashed。 - 所以这个模块的
value拆分为fabricValue和cssValue两个。
- 我们使用的是它的
strokeDashArray实现的效果如下:

3. 意料之外的“联动”
本以为实现可以到此为止了,但是在测试中发现了一个问题。当我设置线条的样式为虚线(strokeDashArray=[5, 5]) 时,如果将线条宽度strokeWidth从1逐渐增大到5,一条细的虚线会变成粗的点线,如下图所示:
 --->
---> 
但按照常理,虚线加粗之后应该仍是虚线! 说明我们的实现还存在问题,对于上述strokeWidth和strokeDashArray两部分代码,我们作出以下调整:
- 将
strokeWidth作为strokeDashArray的系数 “联动” 起来,例如strokeWidth=1时虚线的strokeDashArray=[5, 5],strokeWidth=2时,strokeDashArray就变为[5 * 2, 5 * 2] = [10, 10]。 - 则有了以下代码,分别用来根据当前的线条宽度缩放
strokeDashArray数组中的每一位:
const _adjustValue = (value, factor) => {if (null === value) {return null;}return value.map((item) => item * factor);};const _recoverValue = (value, factor) => {if (null === value) {return null;}return value.map((item) => Math.round(item / factor));};
- 用户修改了线条宽度,应该同时通过
_adjustValue和_recoverValue更新strokeDashArray。修改strokeWidthWrapper中<Select>标签的onChange方法为:
onChange={(value) => {let adjustedValue = _adjustValue(_recoverValue(strokeDashArray, strokeWidth), value);handleChange("strokeDashArray", adjustedValue);handleChange("strokeWidth", value);}}
经过上述的调整,一条虚线的宽度由1放大到5时,仍是虚线。
 --->
---> 
三、Show u the code
按照惯例,本节的完整代码我也托管在了CodeSandbox中,点击前往,查看完整代码
后记
本节中,我们为线条对象Line实现了修改宽度和样式的属性模块。
在下一节中,我们会为线条两端加上端点,如箭头、圆点、菱形等。


![BUUCTF-Real-[PHP]XXE](https://img-blog.csdnimg.cn/direct/e6c9ec3e656e466581df7cd3330c1030.png)
