Combine 系列
- Swift Combine 从入门到精通一
- Swift Combine 发布者订阅者操作者 从入门到精通二
- Swift Combine 管道 从入门到精通三
- Swift Combine 发布者publisher的生命周期 从入门到精通四
- Swift Combine 操作符operations和Subjects发布者的生命周期 从入门到精通五
- Swift Combine 订阅者Subscriber的生命周期 从入门到精通六
- Swift 使用 Combine 进行开发 从入门到精通七
- Swift 使用 Combine 管道和线程进行开发 从入门到精通八
- Swift Combine 使用 sink, assign 创建一个订阅者 从入门到精通九
- Swift Combine 使用 dataTaskPublisher 发起网络请求 从入门到精通十
- Swift Combine 用 Future 来封装异步请求 从入门到精通十一
- Swift Combine 有序的异步操作 从入门到精通十二
- Swift Combine 使用 flatMap 和 catch错误处理 从入门到精通十三
- Swift Combine 网络受限时从备用 URL 请求数据 从入门到精通十四
- Swift Combine 通过用户输入更新声明式 UI 从入门到精通十五
- Swift Combine 级联多个 UI 更新,包括网络请求 从入门到精通十六
- Swift Combine 合并多个管道以更新 UI 元素 从入门到精通十七
- Swift Combine 通过包装基于 delegate 的 API 创建重复发布者 从入门到精通十八
- Swift Combine 响应NotificationCenter 的更新 从入门到精通十九
- Swift Combine 使用 ObservableObject 与 SwiftUI 模型作为发布源 从入门到精通二十
- Swift Combine 使用 XCTestExpectation 测试发布者 从入门到精通二十一
- Swift Combine 使用 PassthroughSubject 测试订阅者 从入门到精通二十二
- Swift Combine 使用从 PassthroughSubject 预定好的发送的事件测试订阅者 从入门到精通二十三
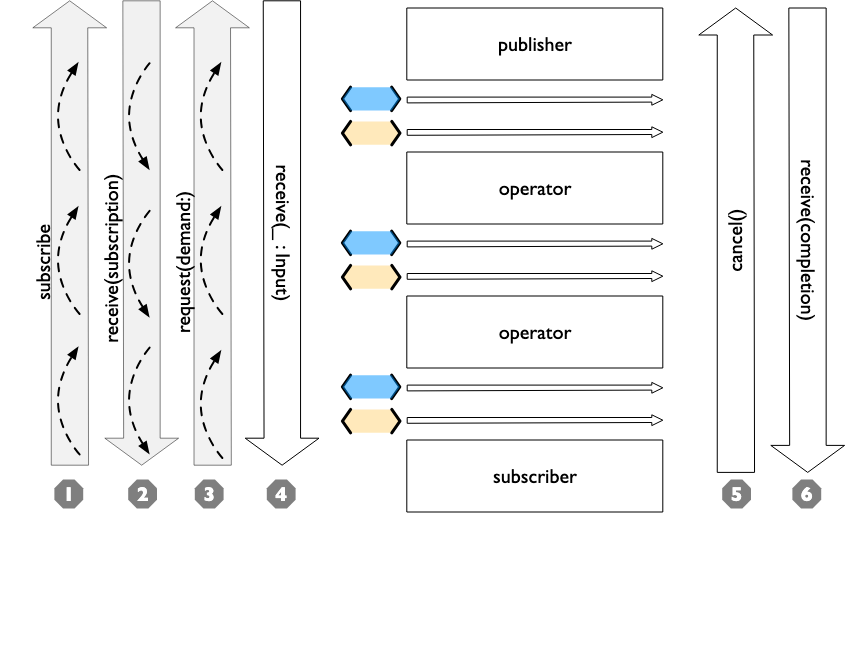
1. 使用 print 操作符调试管道
目的:为了了解管道中正在发生的事情,查看所有控制事件和数据交互。
我获取的最详细的信息来自有选择地使用 print 操作符。 缺点是它打印了大量信息,因此输出可能很快变得非常庞大。 要理解简单的管道,使用 .print() 作为没有任何参数的操作符是非常简单的。 一旦你想要添加多个 print 操作符,你可能要使用 string 参数,该参数会作为前缀放在输出中。
示例 级联多个 UI 更新,包括网络请求 在几个地方都有用到它,使用比较长的描述性前缀,以明确是哪个管道在提供信息。
通过连接到一个私有的 @Published 的变量 —— githubUserData,两个管道被层叠到了一起。 该示例代码中的两个相关管道:
UIKit-Combine/GithubViewController.swift
usernameSubscriber = $username.throttle(for: 0.5, scheduler: myBackgroundQueue, latest: true)// ^^ scheduler myBackGroundQueue publishes resulting elements// into that queue, resulting on this processing moving off the// main runloop..removeDuplicates().print("username pipeline: ") // debugging output for pipeline.map { username -> AnyPublisher<[GithubAPIUser], Never> inreturn GithubAPI.retrieveGithubUser(username: username)}// ^^ type returned in the pipeline is a Publisher, so we use// switchToLatest to flatten the values out of that// pipeline to return down the chain, rather than returning a// publisher down the pipeline..switchToLatest()// using a sink to get the results from the API search lets us// get not only the user, but also any errors attempting to get it..receive(on: RunLoop.main).assign(to: \.githubUserData, on: self)// using .assign() on the other hand (which returns an
// AnyCancellable) *DOES* require a Failure type of <Never>
repositoryCountSubscriber = $githubUserData.print("github user data: ").map { userData -> String inif let firstUser = userData.first {return String(firstUser.public_repos)}return "unknown"}.receive(on: RunLoop.main).assign(to: \.text, on: repositoryCountLabel)
当你运行 UIKit-Combine 示例代码时,随着我慢慢的输入用户名 heckj,终端会显示以下输出。 在进行这些查找的过程中,在最终的帐户之前发现并检索到了另外两个 github 帐户(hec 和 heck)。
模拟器的交互输出
username pipeline: : receive subscription: (RemoveDuplicates)
username pipeline: : request unlimited
github user data: : receive subscription: (CurrentValueSubject)
github user data: : request unlimited
github user data: : receive value: ([])
username pipeline: : receive value: ()
github user data: : receive value: ([])Set username to  h
username pipeline: : receive value: (h)
github user data: : receive value: ([])Set username to  he
username pipeline: : receive value: (he)
github user data: : receive value: ([])Set username to  hec
username pipeline: : receive value: (hec)Set username to  heck
github user data: : receive value: ([UIKit_Combine.GithubAPIUser(login: "hec", public_repos: 3, avatar_url: "https://avatars3.githubusercontent.com/u/53656?v=4")])username pipeline: : receive value: (heck)
github user data: : receive value: ([UIKit_Combine.GithubAPIUser(login: "heck", public_repos: 6, avatar_url: "https://avatars3.githubusercontent.com/u/138508?v=4")])Set username to  heckj
username pipeline: : receive value: (heckj)
github user data: : receive value: ([UIKit_Combine.GithubAPIUser(login: "heckj", public_repos: 69, avatar_url: "https://avatars0.githubusercontent.com/u/43388?v=4")])
一些放在 sink 闭包中,用来查看最终结果的无关打印语句已被删除。
你可以在开始时看到初始化订阅的设置,然后看到通知,包括通过 print 操作符传递的值的调试信息。 虽然上面的示例内容中未显示它,但你还会在出现错误时看到取消管道的事件,或在发布者报告没有进一步数据时的 completions 事件。
在操作符两侧使用 print 来了解其具体的操作方式也很有用。
一个这样做的例子如下,利用前缀显示 retry 操作符及其工作原理:
UsingCombineTests/RetryPublisherTests.swift
func testRetryWithOneShotFailPublisher() {// setuplet _ = Fail(outputType: String.self, failure: TestFailureCondition.invalidServerResponse).print("(1)>")  // 1.retry(3).print("(2)>")  // 2.sink(receiveCompletion: { fini inprint(" ** .sink() received the completion:", String(describing: fini))}, receiveValue: { stringValue inXCTAssertNotNil(stringValue)print(" ** .sink() received \(stringValue)")})
}
- 前缀 (1) 是显示 retry 操作符上方的交互行为。
- 前缀 (2) 是显示 retry 操作符之后的交互行为。
单元测试的输出
Test Suite 'Selected tests' started at 2019-07-26 15:59:48.042
Test Suite 'UsingCombineTests.xctest' started at 2019-07-26 15:59:48.043
Test Suite 'RetryPublisherTests' started at 2019-07-26 15:59:48.043
Test Case '-[UsingCombineTests.RetryPublisherTests testRetryWithOneShotFailPublisher]' started.
(1)>: receive subscription: (Empty)
(1)>: receive error: (invalidServerResponse)
(1)>: receive subscription: (Empty)
(1)>: receive error: (invalidServerResponse)
(1)>: receive subscription: (Empty)
(1)>: receive error: (invalidServerResponse)
(1)>: receive subscription: (Empty)
(1)>: receive error: (invalidServerResponse)
(2)>: receive error: (invalidServerResponse) ** .sink() received the completion: failure(UsingCombineTests.RetryPublisherTests.TestFailureCondition.invalidServerResponse)
(2)>: receive subscription: (Retry)
(2)>: request unlimited
(2)>: receive cancel
Test Case '-[UsingCombineTests.RetryPublisherTests testRetryWithOneShotFailPublisher]' passed (0.010 seconds).
Test Suite 'RetryPublisherTests' passed at 2019-07-26 15:59:48.054.Executed 1 test, with 0 failures (0 unexpected) in 0.010 (0.011) seconds
Test Suite 'UsingCombineTests.xctest' passed at 2019-07-26 15:59:48.054.Executed 1 test, with 0 failures (0 unexpected) in 0.010 (0.011) seconds
Test Suite 'Selected tests' passed at 2019-07-26 15:59:48.057.Executed 1 test, with 0 failures (0 unexpected) in 0.010 (0.015) seconds
- 在测试例子中,发布者总是返回失败,在输出结果中可以看到带有前缀 (1) 的错误信息,然后
retry操作符触发重新订阅。 - 在其中4次尝试(3次"重试")之后,你就会看到从管道中输出的错误。 当错误到达 sink 后,你会看到发出的
cancel信号,该信号在重试操作符之后停止。
虽然非常有效,但 print 操作符是一个钝器,它会生成大量的输出,你必须分析和审查它们以得到你想要的信息。 如果你想让标识和打印的内容更具选择性,或者如果你需要处理传输的数据才能更有意义地使用它们,那么你可以查看 handleEvents 操作符。 有关如何使用此操作符进行调试的更多详细信息,请查阅 使用 handleEvents 操作符调试管道。
参考
https://heckj.github.io/swiftui-notes/index_zh-CN.html
代码
https://github.com/heckj/swiftui-notes
