学习要求
● 熟悉Spring基础
● 熟悉Maven使用
环境要求
● Java8及以上
● Maven 3.3及以上:https://docs.spring.io/spring-boot/docs/current/reference/html/getting-started.html#getting-started-system-requirements
学习资料
● 文档地址: https://www.yuque.com/atguigu/springboot
○ 文档不支持旧版本IE、Edge浏览器,请使用chrome或者firefox
● 视频地址: http://www.gulixueyuan.com/ https://www.bilibili.com/video/BV19K4y1L7MT?p=1
● 源码地址:https://gitee.com/leifengyang/springboot2
01、Spring与SpringBoot
1、Spring能做什么
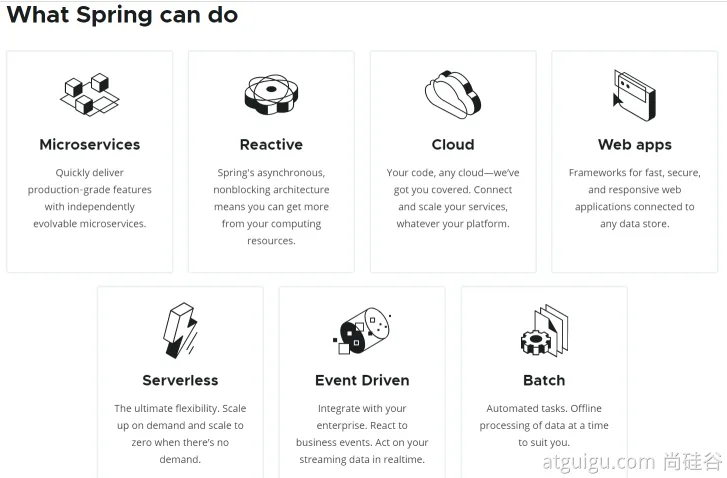
1.1、Spring的能力
1.2、Spring的生态
https://spring.io/projects/spring-boot
覆盖了:
web开发
数据访问
安全控制
分布式
消息服务
移动开发
批处理
…
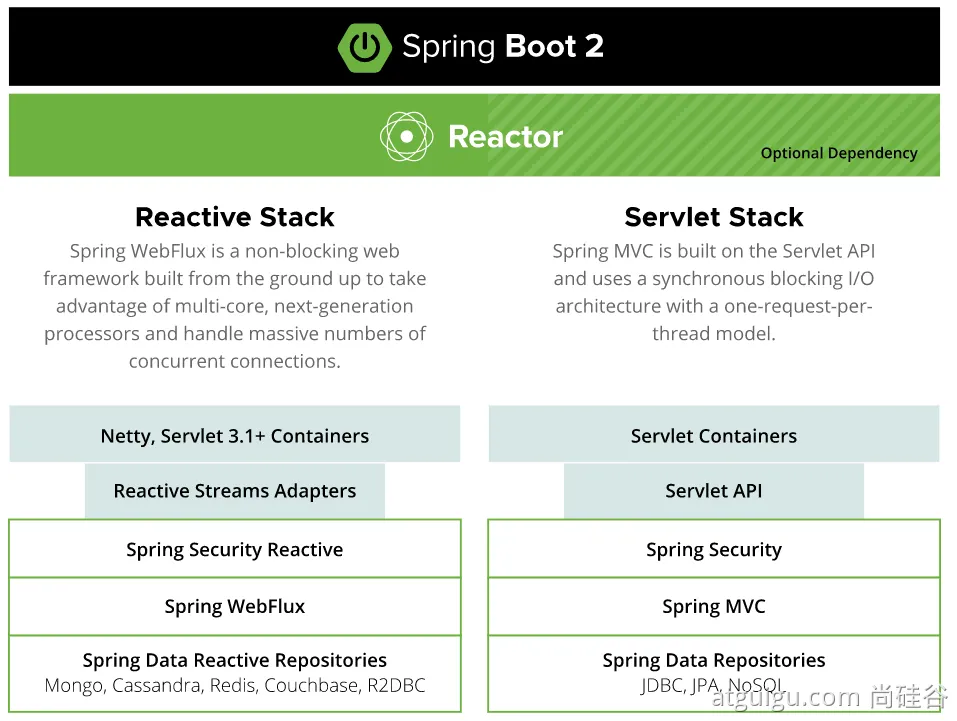
1.3、Spring5重大升级
1.3.1、响应式编程
1.3.2、内部源码设计
基于Java8的一些新特性,如:接口默认实现。重新设计源码架构。
2、为什么用SpringBoot
Spring Boot makes it easy to create stand-alone, production-grade Spring based Applications that you can "just run".
能快速创建出生产级别的Spring应用
2.1、SpringBoot优点
Create stand-alone Spring applications
创建独立Spring应用
Embed Tomcat, Jetty or Undertow directly (no need to deploy WAR files)
内嵌web服务器
Provide opinionated 'starter' dependencies to simplify your build configuration
自动starter依赖,简化构建配置
Automatically configure Spring and 3rd party libraries whenever possible
自动配置Spring以及第三方功能
Provide production-ready features such as metrics, health checks, and externalized configuration
提供生产级别的监控、健康检查及外部化配置
Absolutely no code generation and no requirement for XML configuration
无代码生成、无需编写XML
SpringBoot是整合Spring技术栈的一站式框架
SpringBoot是简化Spring技术栈的快速开发脚手架
2.2、SpringBoot缺点
人称版本帝,迭代快,需要时刻关注变化
封装太深,内部原理复杂,不容易精通
3、时代背景
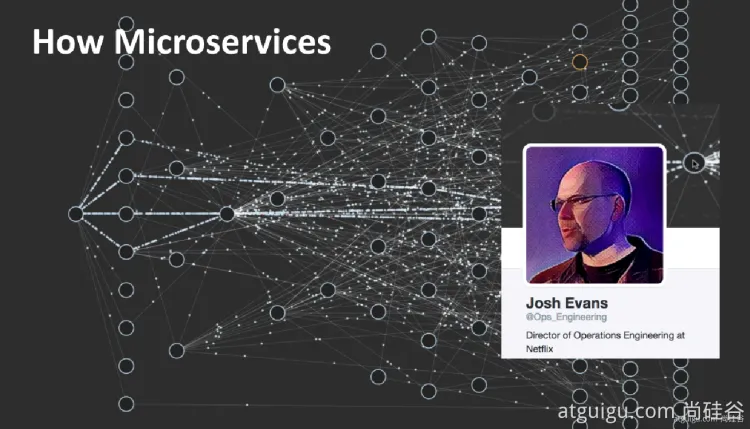
3.1、微服务
James Lewis and Martin Fowler (2014)  提出微服务完整概念。
https://martinfowler.com/microservices/
In short, the microservice architectural style is an approach to developing a single application
as a suite of small services, each running in its own process and communicating with lightweight mechanisms,
often an HTTP resource API. These services are built around business capabilities and independently deployable
by fully automated deployment machinery.
There is a bare minimum of centralized management of these services, which may be written in different
programming languages and use different data storage technologies.-- James Lewis and Martin Fowler (2014)
微服务是一种架构风格
一个应用拆分为一组小型服务
每个服务运行在自己的进程内,也就是可独立部署和升级
服务之间使用轻量级HTTP交互
服务围绕业务功能拆分
可以由全自动部署机制独立部署
去中心化,服务自治。服务可以使用不同的语言、不同的存储技术
3.2、分布式
分布式的困难
- 远程调用
- 服务发现
- 负载均衡
- 服务容错
- 配置管理
- 服务监控
- 链路追踪
- 日志管理
- 任务调度
…
分布式的解决
- SpringBoot + SpringCloud
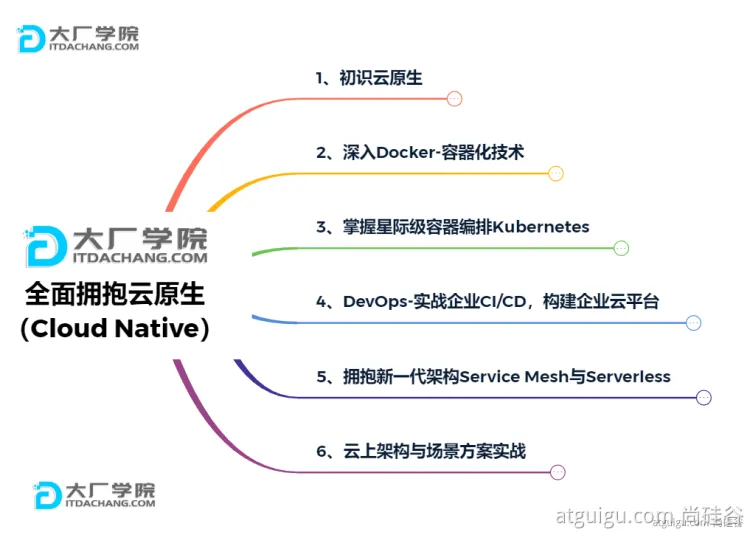
3.3、云原生
原生应用如何上云。 Cloud Native
上云的困难
- 服务自愈
- 弹性伸缩
- 服务隔离
- 自动化部署
- 灰度发布
- 流量治理
…
上云的解决
4、如何学习SpringBoot
4.1、官网文档架构
查看版本新特性;
https://github.com/spring-projects/spring-boot/wiki#release-notes
02、SpringBoot2入门
1、Maven设置
<mirrors><mirror><id>nexus-aliyun</id><mirrorOf>central</mirrorOf><name>Nexus aliyun</name><url>http://maven.aliyun.com/nexus/content/groups/public</url></mirror></mirrors><profiles><profile><id>jdk-1.8</id><activation><activeByDefault>true</activeByDefault><jdk>1.8</jdk></activation><properties><maven.compiler.source>1.8</maven.compiler.source><maven.compiler.target>1.8</maven.compiler.target><maven.compiler.compilerVersion>1.8</maven.compiler.compilerVersion></properties></profile></profiles>
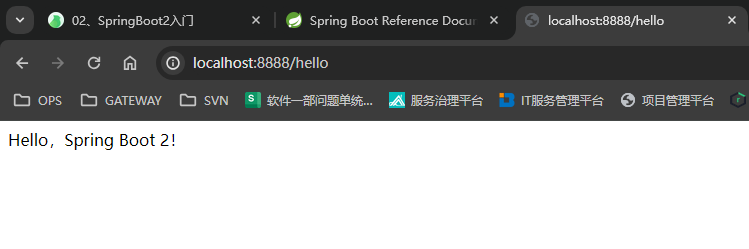
2、需求:浏览器发送/hello请求,响应Hello,Spring Boot 2!
2.1、创建Maven工程

2.2、 引入依赖
<parent><groupId>org.springframework.boot</groupId><artifactId>spring-boot-starter-parent</artifactId> <!--spring boot 框架--><version>2.3.4.RELEASE</version>
</parent><dependencies><dependency><groupId>org.springframework.boot</groupId><artifactId>spring-boot-starter-web</artifactId> <!--web服务的依赖,会导入Tomcat等一些列的库--></dependency></dependencies>
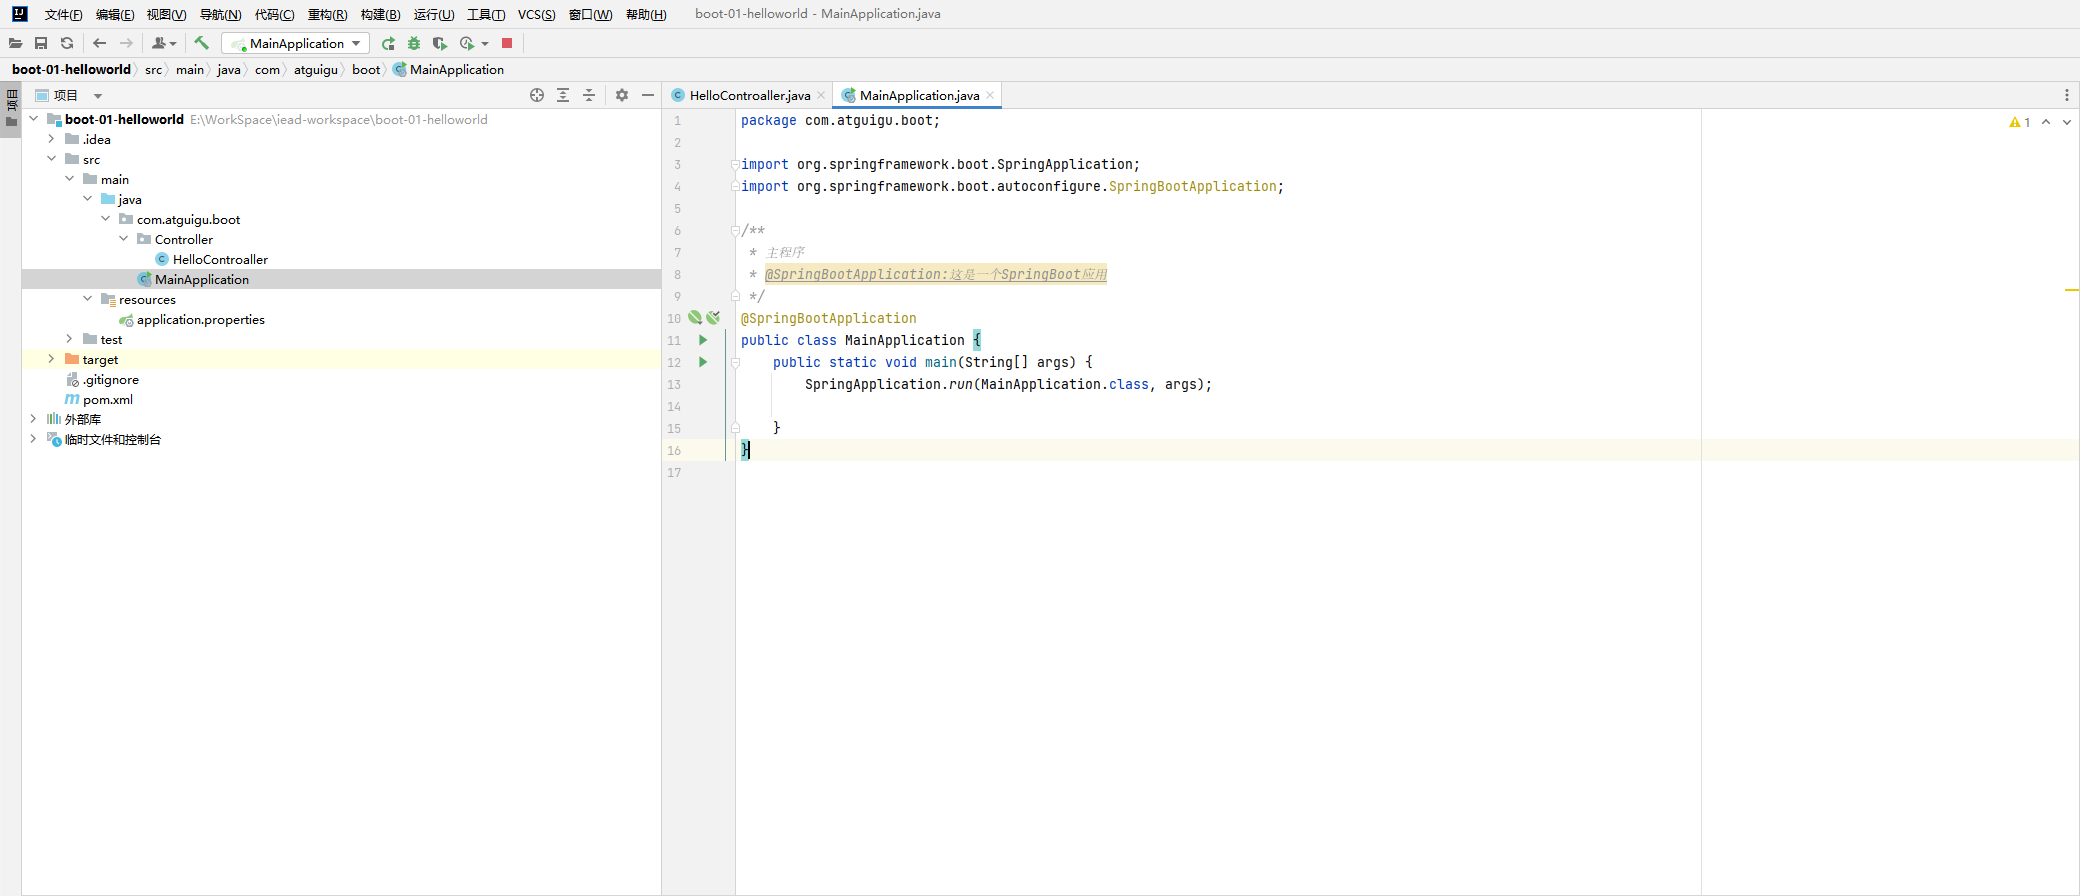
2.3、串讲主程序
package com.atguigu.boot;import org.springframework.boot.SpringApplication;
import org.springframework.boot.autoconfigure.SpringBootApplication;/*** 主程序* @SpringBootApplication:这是一个SpringBoot应用*/
@SpringBootApplication
public class MainApplication {public static void main(String[] args) {SpringApplication.run(MainApplication.class, args);}
}
2.4、编写业务代码
package com.atguigu.boot.Controller;import org.springframework.web.bind.annotation.RequestMapping;
import org.springframework.web.bind.annotation.RestController;//@ResponseBody
//@Controller@RestController
public class HelloControaller {@RequestMapping("/hello")public String handle01() {return "Hello,Spring Boot 2!";}
}
2.5、测试
直接运行main方法,然后在浏览器发起请求,浏览器应显示“Hello,Spring Boot 2!”。
2.6、简化配置
配置文件由application.properties统一管理
server.port=8888
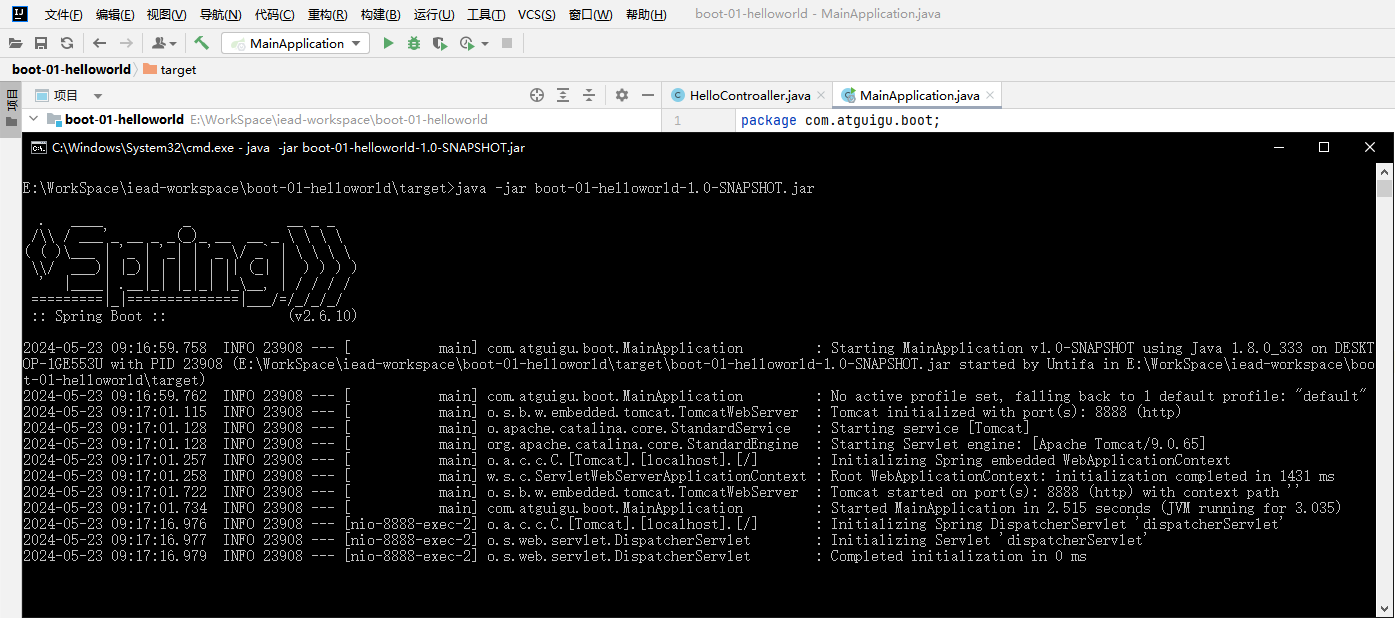
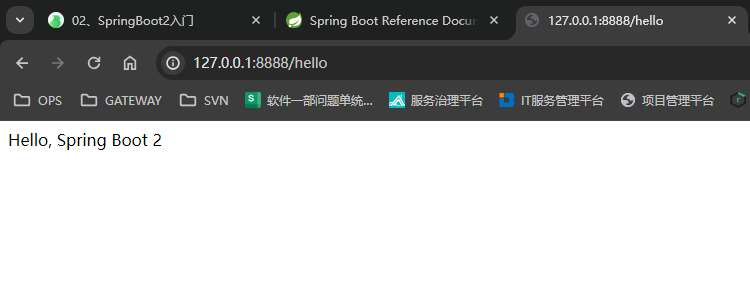
2.7、简化部署
以往我们在部署web应用时,会将项目打成war包,再部署到服务器上,现在可以直接将项目打成可以执行的jar包,直接在服务器执行即可。
<build><plugins><plugin><groupId>org.springframework.boot</groupId><artifactId>spring-boot-maven-plugin</artifactId></plugin></plugins></build>
03、自动装配及原理
1、SpringBoot的特点
1.1、依赖管理
- 父项目做依赖管理
<!--一般父项目都是用来做依赖管理的-->
<parent><groupId>org.springframework.boot</groupId><artifactId>spring-boot-starter-parent</artifactId><version>2.3.4.RELEASE</version>
</parent><!--spring-boot-starter-parent--><parent><groupId>org.springframework.boot</groupId><artifactId>spring-boot-dependencies</artifactId><version>2.3.4.RELEASE</version></parent><!--spring-boot-dependencies中几乎声明了所有开发中常用的依赖的版本号,这种机制称为自动版本仲裁机制-->
- 导入starter场景启动器
<!--
1、见到很多 spring-boot-starter-* : *就某种场景
2、只要引入starter,这个场景的所有常规需要的依赖我们都自动引入
3、SpringBoot所有支持的场景
https://docs.spring.io/spring-boot/docs/current/reference/html/using-spring-boot.html#using-boot-starter
4、见到的  *-spring-boot-starter: 第三方为我们提供的简化开发的场景启动器。
5、所有场景启动器最底层的依赖为spring-boot-starter
-->
<dependency><groupId>org.springframework.boot</groupId><artifactId>spring-boot-starter</artifactId><version>2.3.4.RELEASE</version><scope>compile</scope>
</dependency>
- 版本冲裁及版本管理
<!--
1、引入依赖默认都可以不写版本
2、引入非版本仲裁的jar,要写版本号。
查看spring-boot-dependencies里面规定当前依赖的版本用的key。
在当前项目里面重写配置。
--><properties><mysql.version>5.1.43</mysql.version></properties>
1.2、自动配置
- 自动配好Tomcat
- 引入Tomcat依赖。
- 配置Tomcat
- 自动配好SpringMVC
- 引入SpringMVC全套组件
- 自动配好SpringMVC常用组件(功能)
- 自动配好Web常见功能,如:字符编码问题
- SpringBoot帮我们配置好了所有web开发的常见场景
- 默认的包结构
- 主程序所在包及其下面的所有子包里面的组件都会被默认扫描进来
- 无需以前的包扫描配置
- 想要改变扫描路径,@SpringBootApplication(scanBasePackages=“com.atguigu”)
- 或者@ComponentScan 指定扫描路径
@SpringBootApplication
等同于
@SpringBootConfiguration
@EnableAutoConfiguration
@ComponentScan("com.atguigu.boot")
- 或者@ComponentScan 指定扫描路径
- 各种配置拥有默认值
- 默认配置最终都是映射到某个类上,如:MultipartProperties
- 配置文件的值最终会绑定每个类上,这个类会在容器中创建对象
- 按需加载所有自动配置项
- 非常多的starter
- 引入了哪些场景这个场景的自动配置才会开启
- SpringBoot所有的自动配置功能都在 spring-boot-autoconfigure 包里面
- …
2、容器功能
2.1、组件添加
-
@Configuration
基本使用- Full模式,配置类组件之间有依赖关系,方法会被调用得到之前的单实力组件。
- Lite模式,配置类组件之间无依赖关系,用Lite模式加速器启动过程,减少判断。
//#############################Configuration使用示例###################################################### /*** 1、配置类里面使用@Bean标注在方法上给容器注册组件,默认也是单实例的* 2、配置类本身也是组件* 3、proxyBeanMethods:代理bean的方法* Full(proxyBeanMethods = true)、【保证每个@Bean方法被调用多少次返回的组件都是单实例的】* Lite(proxyBeanMethods = false)【每个@Bean方法被调用多少次返回的组件都是新创建的】* 组件依赖必须使用Full模式默认。其他默认是否Lite模式****/ @Configuration(proxyBeanMethods = false) //告诉SpringBoot这是一个配置类 == 配置文件 public class MyConfig {/*** Full:外部无论对配置类中的这个组件注册方法调用多少次获取的都是之前注册容器中的单实例对象* @return*/@Bean //给容器中添加组件。以方法名作为组件的id。返回类型就是组件类型。返回的值,就是组件在容器中的实例public User user01(){User zhangsan = new User("zhangsan", 18);//user组件依赖了Pet组件zhangsan.setPet(tomcatPet());return zhangsan;}@Bean("tom")public Pet tomcatPet(){return new Pet("tomcat");} }//################################@Configuration测试代码如下######################################## @SpringBootConfiguration @EnableAutoConfiguration @ComponentScan("com.atguigu.boot") public class MainApplication {public static void main(String[] args) {//1、返回我们IOC容器ConfigurableApplicationContext run = SpringApplication.run(MainApplication.class, args);//2、查看容器里面的组件String[] names = run.getBeanDefinitionNames();for (String name : names) {System.out.println(name);}//3、从容器中获取组件Pet tom01 = run.getBean("tom", Pet.class);Pet tom02 = run.getBean("tom", Pet.class);System.out.println("组件:"+(tom01 == tom02));//4、com.atguigu.boot.config.MyConfig$$EnhancerBySpringCGLIB$$51f1e1ca@1654a892MyConfig bean = run.getBean(MyConfig.class);System.out.println(bean);//如果@Configuration(proxyBeanMethods = true)代理对象调用方法。SpringBoot总会检查这个组件是否在容器中有。//保持组件单实例User user = bean.user01();User user1 = bean.user01();System.out.println(user == user1);User user01 = run.getBean("user01", User.class);Pet tom = run.getBean("tom", Pet.class);System.out.println("用户的宠物:"+(user01.getPet() == tom));} } -
@Bean-用于将一个方法标记为Spring容器中的一个Bean。具体来说,@Bean注解可以用于方法上,该方法返回一个对象,该对象将被Spring容器管理和提供给其他程序组件使用,让IOC容器知道这个组件存在。(相当于创建对象);@Component-注解表明一个类会作为组件类,并告知Spring要为这个类创建bean,使用 @Component注解在一个类上,表示将此类标记为Spring容器中的一个Bean。(相当于创建对象)、@Controller-代表是一个控制器;@Service-代表是一个业务逻辑组件;@Repository-代表是一个数据库层组件
-
@ComponentScan-包扫描、@Import-为容器添加组件
/** 4、@Import({User.class, DBHelper.class})*      给容器中自动创建出这两个类型的组件、默认组件的名字就是全类名****/@Import({User.class, DBHelper.class})
@Configuration(proxyBeanMethods = false) //告诉SpringBoot这是一个配置类 == 配置文件
public class MyConfig {
}
@Import 高级用法: https://www.bilibili.com/video/BV1gW411W7wy?p=8
注解的解释及用法:http://t.csdnimg.cn/ASzxy -
@Conditional-条件装配:满足Conditional指定的条件,则进行组件注入
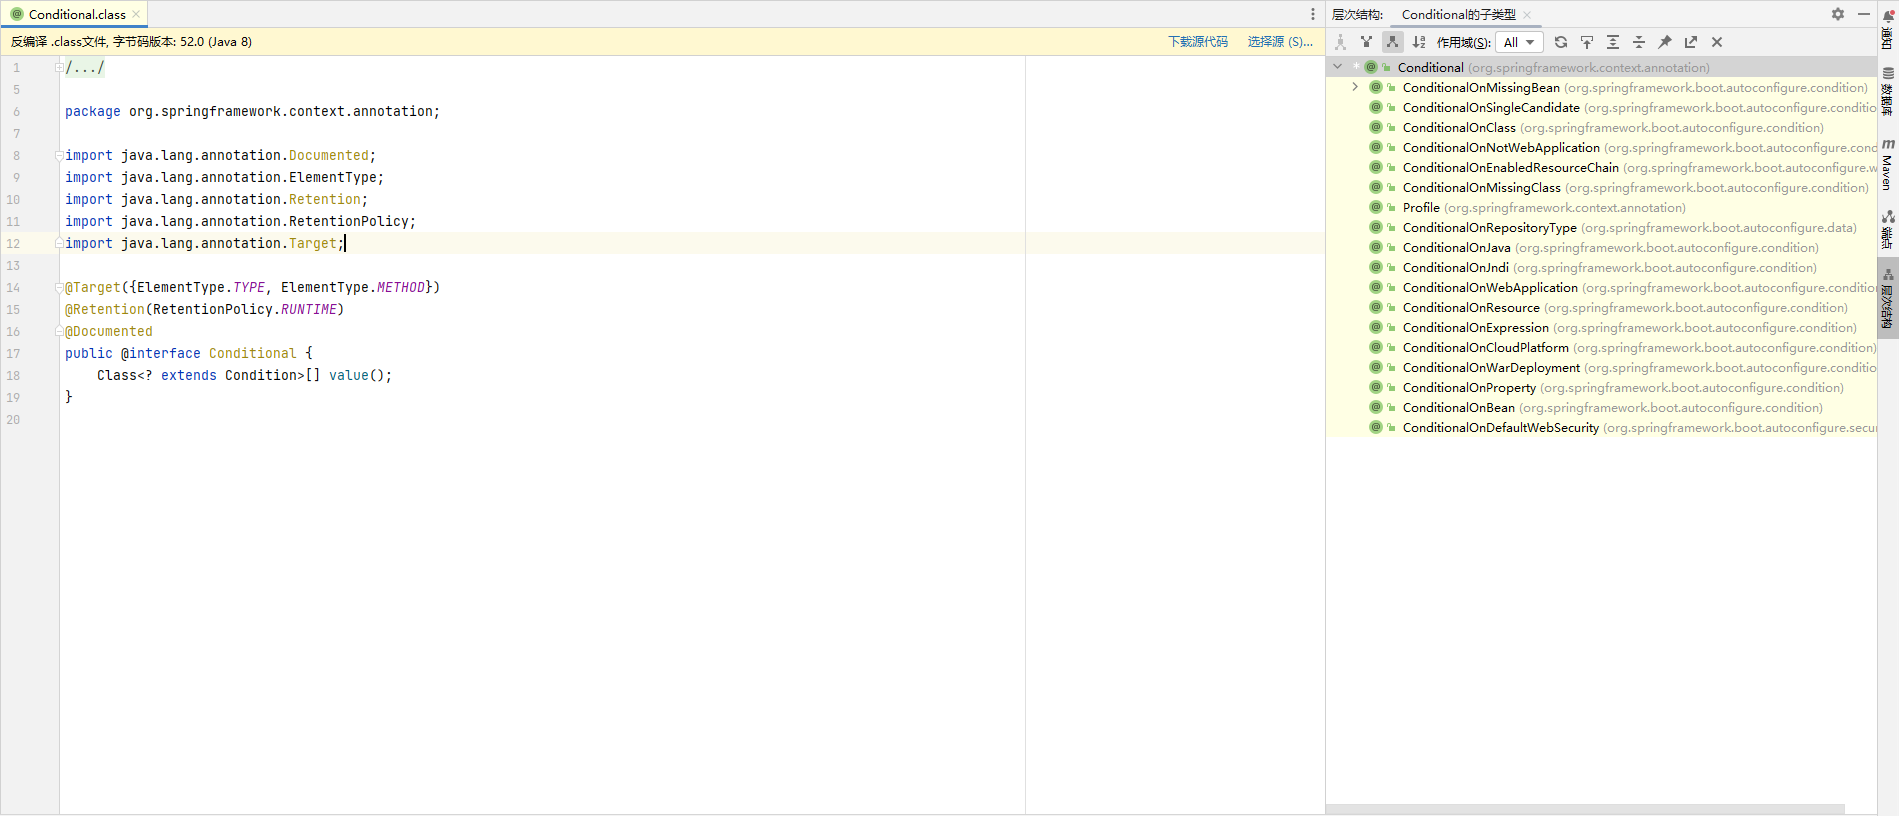
//=====================测试条件装配==========================
@Configuration(proxyBeanMethods = false) //告诉SpringBoot这是一个配置类 == 配置文件
//@ConditionalOnBean(name = "tom") //当容器中有组件tom组件时,则生成对应组件(myconfig、user01、tom22)
@ConditionalOnMissingBean(name = "tom") //当容器中没有tmo组件时,则生成对应组件(myconfig、user01、tom22)
// 组件的位置决定了会生成哪些组件,如果@ConditionalOnMissingBean位置在tomcatPet方法上,则只生成tom22
public class MyConfig {/*** Full:外部无论对配置类中的这个组件注册方法调用多少次获取的都是之前注册容器中的单实例对象* @return*/@Bean //给容器中添加组件。以方法名作为组件的id。返回类型就是组件类型。返回的值,就是组件在容器中的实例public User user01(){User zhangsan = new User("zhangsan", 18);//user组件依赖了Pet组件zhangsan.setPet(tomcatPet());return zhangsan;}@Bean("tom22")public Pet tomcatPet(){return new Pet("tomcat");}
}public static void main(String[] args) {//1、返回我们IOC容器ConfigurableApplicationContext run = SpringApplication.run(MainApplication.class, args);//2、查看容器里面的组件String[] names = run.getBeanDefinitionNames();for (String name : names) {System.out.println(name);}boolean tom = run.containsBean("tom");System.out.println("容器中Tom组件:"+tom);boolean user01 = run.containsBean("user01");System.out.println("容器中user01组件:"+user01);boolean tom22 = run.containsBean("tom22");System.out.println("容器中tom22组件:"+tom22);}
2.2、 原生配置文件引入
- @ImportResource 导入资源文件中配置的组件
<!--======================beans.xml=========================--> <?xml version="1.0" encoding="UTF-8"?> <beans xmlns="http://www.springframework.org/schema/beans"xmlns:xsi="http://www.w3.org/2001/XMLSchema-instance"xmlns:context="http://www.springframework.org/schema/context"xsi:schemaLocation="http://www.springframework.org/schema/beans http://www.springframework.org/schema/beans/spring-beans.xsd http://www.springframework.org/schema/context https://www.springframework.org/schema/context/spring-context.xsd"><bean id="haha" class="com.atguigu.boot.bean.User"><property name="name" value="zhangsan"></property><property name="age" value="18"></property></bean><bean id="hehe" class="com.atguigu.boot.bean.Pet"><property name="name" value="tomcat"></property></bean> </beans>@ImportResource("classpath:beans.xml") public class MyConfig {}//======================测试=================boolean haha = run.containsBean("haha");boolean hehe = run.containsBean("hehe");System.out.println("haha:"+haha);//trueSystem.out.println("hehe:"+hehe);//true
2.3、配置绑定
-
使用Java读取到properties文件中的内容,并且把它封装到JavaBean中,以供随时使用;
例子:public class getProperties {public static void main(String[] args) throws FileNotFoundException, IOException {Properties pps = new Properties();pps.load(new FileInputStream("a.properties"));Enumeration enum1 = pps.propertyNames();//得到配置文件的名字while(enum1.hasMoreElements()) {String strKey = (String) enum1.nextElement();String strValue = pps.getProperty(strKey);System.out.println(strKey + "=" + strValue);//封装到JavaBean。}}} -
@Component + @ConfigurationProperties
/*** 只有在容器中的组件,才会拥有SpringBoot提供的强大功能*/
@Component
@ConfigurationProperties(prefix = "mycar")
public class Car {private String brand;private Integer price;public String getBrand() {return brand;}public void setBrand(String brand) {this.brand = brand;}public Integer getPrice() {return price;}public void setPrice(Integer price) {this.price = price;}@Overridepublic String toString() {return "Car{" +"brand='" + brand + '\'' +", price=" + price +'}';}
}
@RestController public class Hello {@AutowiredCar car;@RequestMapping("/car")public Car car() {return car;}@RequestMapping("/hello")public String handle01() {return "Hello,Spring boot 2!";} }application.properties
mycar.brand=BYD
mycar.price=100000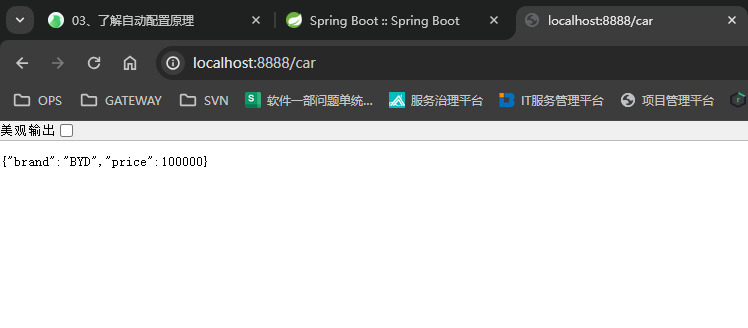
使用@Component注解,将组件注册到容器中,使用@ConfigurationProperties(prefix = “mycar”)注解,读取application.properties以mycar开头的配置项
-
@EnableConfigurationProperties + @ConfigurationProperties
package com.atguigu.boot.bean;import org.springframework.boot.context.properties.ConfigurationProperties;//@Component
@ConfigurationProperties(prefix = "mycar")
public class Car {private String brand;private Integer price;public Car() {}public String getBrand() {return brand;}public void setBrand(String brand) {this.brand = brand;}public Integer getPrice() {return price;}public void setPrice(Integer price) {this.price = price;}public Car(String brand, Integer price) {this.brand = brand;this.price = price;}@Overridepublic String toString() {return "Car{" +"brand='" + brand + '\'' +", price=" + price +'}';}
}
package com.atguigu.boot.config;import com.atguigu.boot.bean.Car; import com.atguigu.boot.bean.Pet; import com.atguigu.boot.bean.User; import org.springframework.boot.autoconfigure.condition.ConditionalOnMissingBean; import org.springframework.boot.context.properties.EnableConfigurationProperties; import org.springframework.context.annotation.Bean; import org.springframework.context.annotation.Configuration;@ConditionalOnMissingBean(name = "tmo") @Configuration(proxyBeanMethods = false) @EnableConfigurationProperties(Car.class) public class Myconfig {@Bean(name = "UserZS")public User user00() {return new User("zhangsan",5,new Pet("tom"));}@Bean(name = "TomCat")public Pet pet00() {return new Pet("tom");}@Beanpublic Pet Pet01() {return new Pet("jerry");} }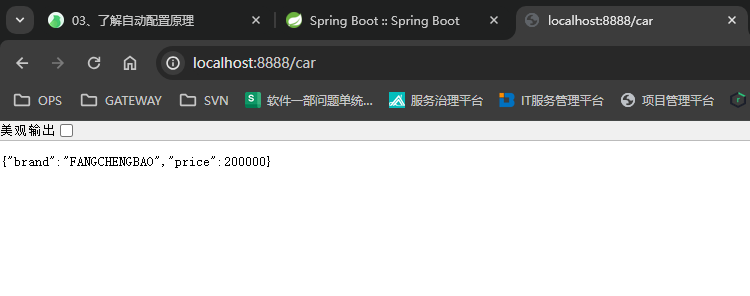
如果要注入的JavaBean是第三方或者无法添加注解@Component,则可以在控制类中使用@EnableConfigurationProperties注解来实现配置绑定
3、自动配置原理入门
3.1、引导加载自动配置类
@SpringBootApplication注解相当于下面三个注解的集合
@SpringBootConfiguration
@EnableAutoConfiguration
@ComponentScan(excludeFilters = { @Filter(type = FilterType.CUSTOM, classes = TypeExcludeFilter.class),@Filter(type = FilterType.CUSTOM, classes = AutoConfigurationExcludeFilter.class) })
public @interface SpringBootApplication{}
- @SpringBootConfiguration
@Configuration。代表当前是一个配置类 - @ComponentScan
指定扫描哪些,Spring注解; - @EnableAutoConfiguration
@AutoConfigurationPackage @Import(AutoConfigurationImportSelector.class) public @interface EnableAutoConfiguration {}-
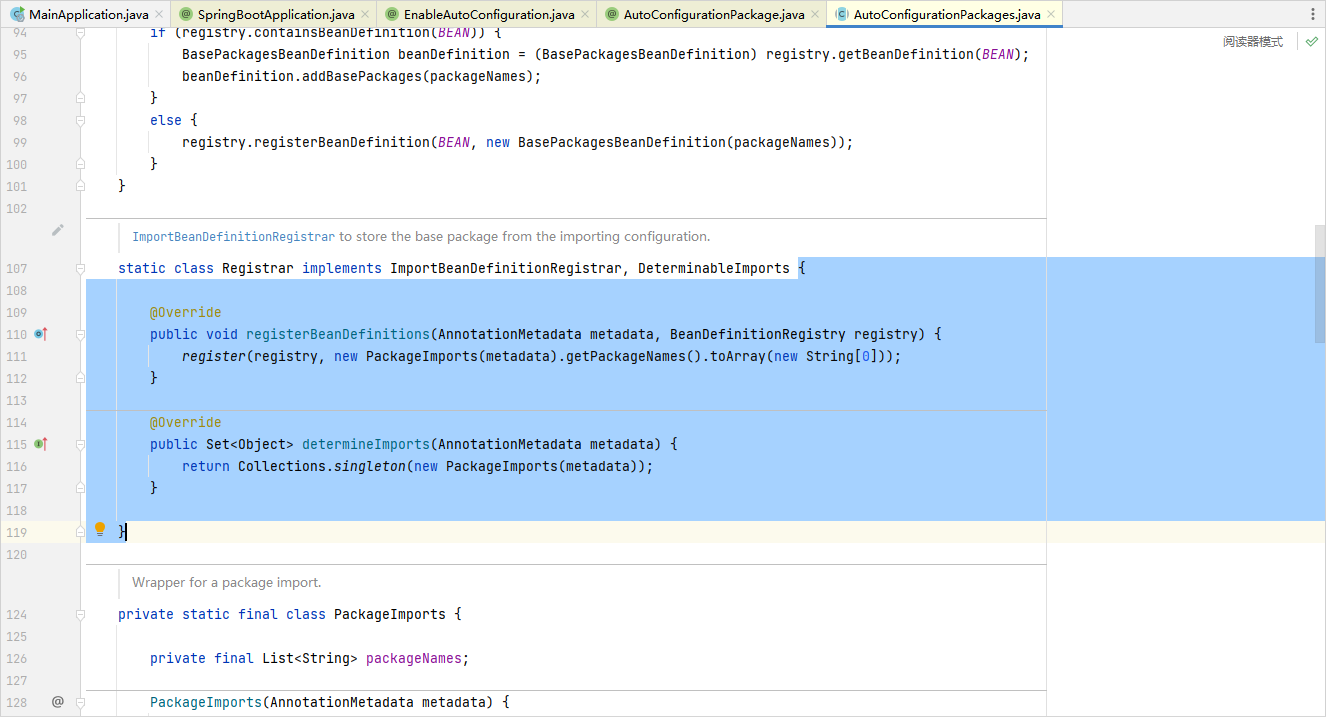
@AutoConfigurationPackage
自动配置包?指定了默认的包规则@Import(AutoConfigurationPackages.Registrar.class) //给容器中导入一个组件 public @interface AutoConfigurationPackage {}//利用Registrar给容器中导入一系列组件 //将指定的一个包下的所有组件导入进来?MainApplication 所在包下。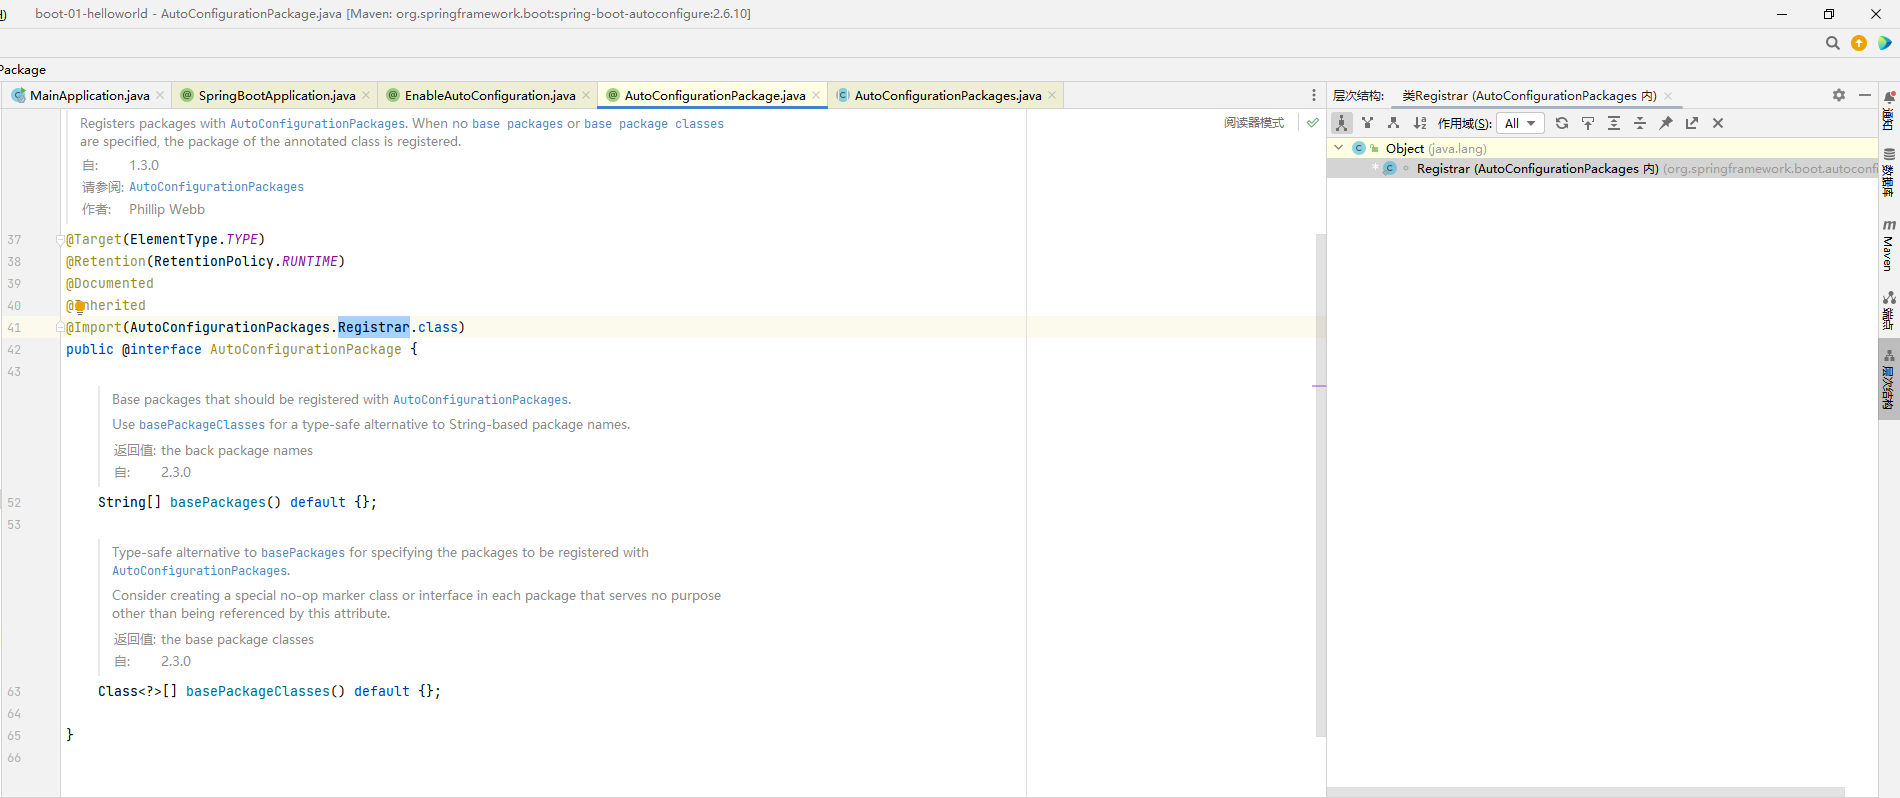
-
@Import(AutoConfigurationImportSelector.class)
1、利用getAutoConfigurationEntry(annotationMetadata);给容器中批量导入一些组件
2、调用List<String> configurations = getCandidateConfigurations(annotationMetadata, attributes)获取到所有需要导入到容器中的配置类
3、利用工厂加载 Map<String, List<String>> loadSpringFactories(@Nullable ClassLoader classLoader);得到所有的组件
4、从META-INF/spring.factories位置来加载一个文件。默认扫描我们当前系统里面所有META-INF/spring.factories位置的文件spring-boot-autoconfigure-2.3.4.RELEASE.jar包里面也有META-INF/spring.factories
-
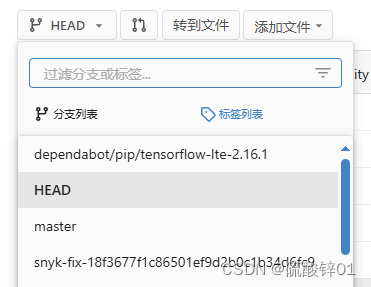
C:\Users\Untifa.m2\repository\org\springframework\boot\spring-boot-autoconfigure\2.6.10\spring-boot-autoconfigure-2.6.10.jar!\META-INF\spring.factories 文件里列出了spring-boot一启动就要加载到容器中的所有类,一共133个类,与debug时的数量一致
# Auto Configure
org.springframework.boot.autoconfigure.EnableAutoConfiguration=\
org.springframework.boot.autoconfigure.admin.SpringApplicationAdminJmxAutoConfiguration,\
org.springframework.boot.autoconfigure.aop.AopAutoConfiguration,\
org.springframework.boot.autoconfigure.amqp.RabbitAutoConfiguration,\
org.springframework.boot.autoconfigure.batch.BatchAutoConfiguration,\
...
org.springframework.boot.autoconfigure.webservices.client.WebServiceTemplateAutoConfiguration
3.2、按需开启自动配置项
虽然我们133个场景的所有自动配置启动的时候默认全部加载。xxxxAutoConfiguration
按照条件装配规则(@Conditional),最终会按需配置。
3.3、修改默认配置
@Bean
@ConditionalOnBean(MultipartResolver.class)  //容器中有这个类型组件
@ConditionalOnMissingBean(name = DispatcherServlet.MULTIPART_RESOLVER_BEAN_NAME) //容器中没有这个名字 multipartResolver 的组件
public MultipartResolver multipartResolver(MultipartResolver resolver) {//给@Bean标注的方法传入了对象参数,这个参数的值就会从容器中找。//SpringMVC multipartResolver。防止有些用户配置的文件上传解析器不符合规范// Detect if the user has created a MultipartResolver but named it incorrectlyreturn resolver;
}
//给容器中加入了文件上传解析器;
SpringBoot默认会在底层配好所有的组件。但是如果用户自己配置了以用户的优先
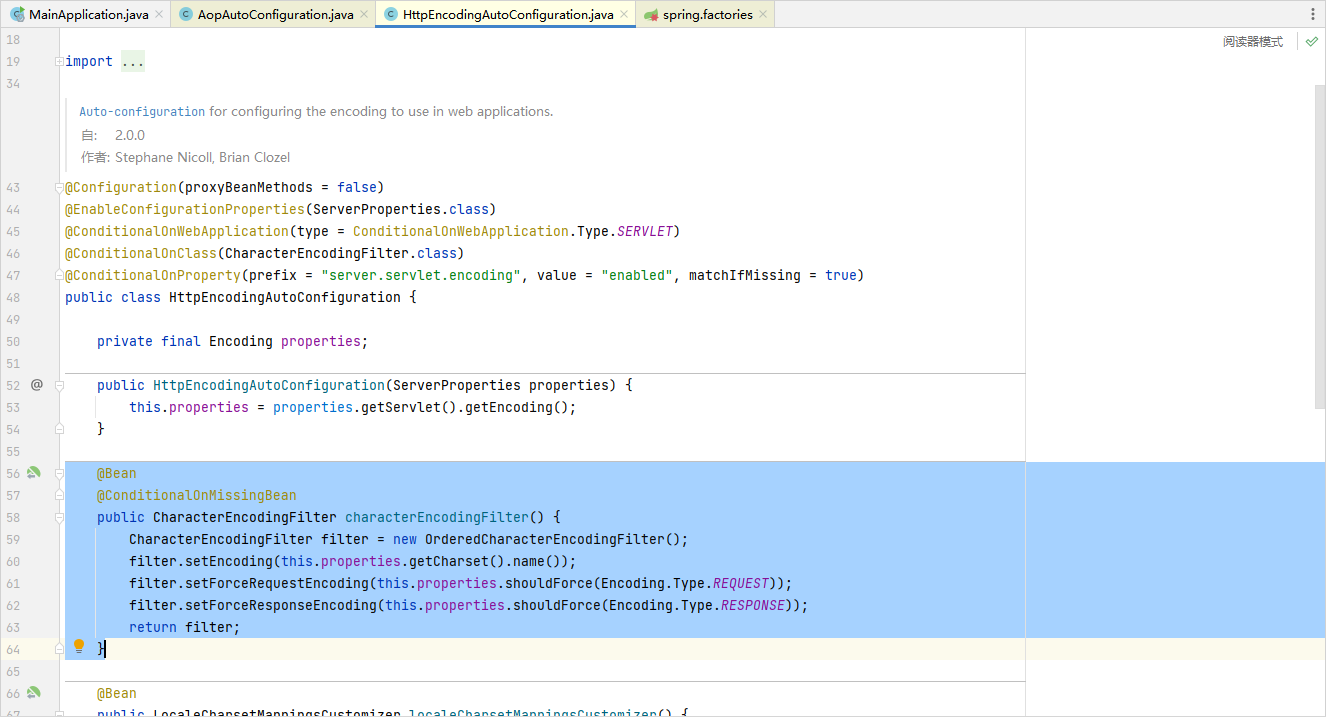
@Bean
@ConditionalOnMissingBean
public CharacterEncodingFilter characterEncodingFilter() {}
总结:
- SpringBoot先加载所有的自动配置类 xxxxxAutoConfiguration
- 每个自动配置类按照条件进行生效,默认都会绑定配置文件指定的值。xxxxProperties里面拿。xxxProperties和配置文件进行了绑定
- 生效的配置类就会给容器中装配很多组件
- 只要容器中有这些组件,相当于这些功能就有了
- 定制化配置
- 用户直接自己@Bean替换底层的组件
- 用户去看这个组件是获取的配置文件什么值就去修改。
xxxxxAutoConfiguration ---> 组件 ---> xxxxProperties里面取值 ----> application.properties
3.4、最佳实践
- 引入场景依赖
- https://docs.spring.io/spring-boot/reference/using/build-systems.html
- 查看自动配置了哪些(选做)
- 自己分析,引入场景对应的自动配置一般都生效了
- 配置文件中debug=true开启自动配置报告。Negative(不生效)\Positive(生效)
- 是否需要修改
- 参照文档修改配置项
https://docs.spring.io/spring-boot/docs/current/reference/html/appendix-application-properties.html#common-application-properties
自己分析。xxxxProperties绑定了配置文件的哪些。 - 自定义加入或者替换组件
@Bean、@Component。。。
自定义器 XXXXXCustomizer;
…
- 参照文档修改配置项
4、开发小技巧
4.1、Lombok
简化JavaBean开发
<!--1.首先引入依赖--><dependency><groupId>org.projectlombok</groupId><artifactId>lombok</artifactId></dependency>
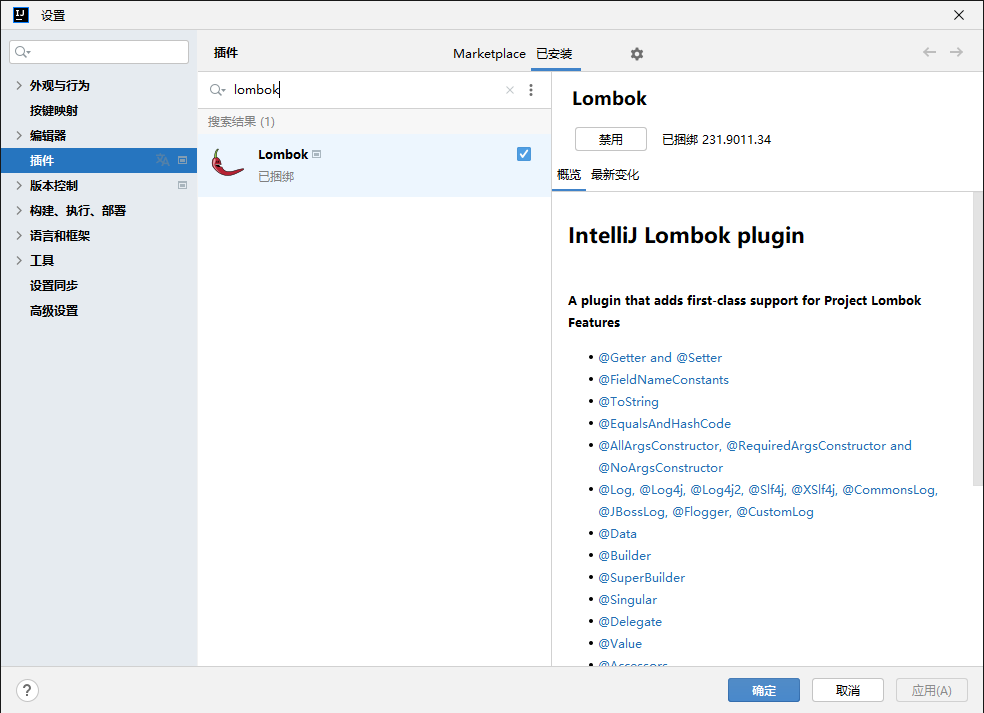
<!--2.idea中搜索安装lombok插件并安装 -->
package com.atguigu.boot.bean;import lombok.*;
import lombok.extern.slf4j.Slf4j;
import org.springframework.boot.context.properties.ConfigurationProperties;//@Component
@Data // 生成getter、setter方法
@ToString // 生成ToString方法
@AllArgsConstructor // 生成全参构造方法
@NoArgsConstructor // 生成无参构造方法
@EqualsAndHashCode // 生成hash值和equal方法
@Slf4j // 注入日志
@ConfigurationProperties(prefix = "mycar")
public class Car {private String brand;private Integer price;
}
4.2、dev-tools
<dependency><groupId>org.springframework.boot</groupId><artifactId>spring-boot-devtools</artifactId><optional>true</optional></dependency>
Ctrl+F9来重新编译项目
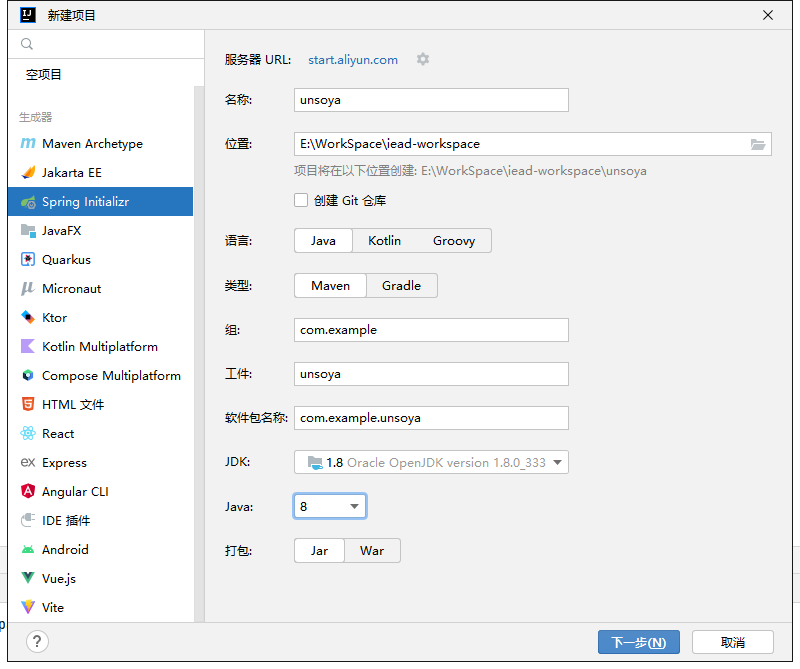
4.3、Spring Initailizr(项目初始化向导)


剞劂application.properties文件中文乱码问题