MinIO从入门到飞翔
文章目录
- MinIO从入门到飞翔
- 0、前言
- 1、分布式文件系统
- 2、MinIO 介绍
- 3、 MinIO安装(docker)
- 4、基本概念
- 5、通过代码上传文件到MinIO
- 6、封装MinIO为starter
- 7、在其他项目中集成封装好的模块
0、前言
对象存储是一种数据存储架构,设计用于管理和处理大量非结构化数据。与传统的文件存储和块存储不同,对象存储通过将数据分解为离散的、独立的单元或“对象”来存储每个对象包含数据本身、相关的元数据和一个唯一的标识符。
对象存储对比:
| 存储方式 | 优点 | 缺点 |
|---|---|---|
| 服务器磁盘 | 开发便捷,成本低 | 扩展困难 |
| 分布式文件系统 | 容易实现扩容 | 复杂度高 |
| 第三方存储 | 开发简单,功能强大,免维护 | 收费 |
1、分布式文件系统
分布式文件系统(Distributed File System, DFS)是一种文件系统,它使文件可以跨越多个服务器或存储设备存储和访问。DFS 通过网络将多个存储资源组合成一个统一的文件系统,使用户和应用程序可以像访问本地文件一样透明地访问远程文件。
分布式文件系统的关键特性:
- 透明性:用户和应用程序可以像访问本地文件一样访问远程文件,感受不到底层的复杂性。
- 高可用性:通过复制和冗余机制,确保即使某些节点或硬件发生故障,数据仍然可用。
- 可扩展性:能够处理随着数据量和用户数增加而增长的需求。
- 容错性:通过数据冗余和错误检测机制,保证系统能继续运行,即使发生部分硬件或网络故障。
- 性能:通过分布式架构,能够有效地处理大量并发访问请求。
2、MinIO 介绍
MinIO 是一个高性能的分布式对象存储系统,兼容 Amazon S3 云存储服务,Min10基于Apache License v2.0开源协议的对象存储服务,可以做为云存储的解决方案用来保存海量的图片,视频,文档。它专为大规模存储基础设施设计,能够高效地存储海量非结构化数据,如图片、视频、日志文件等。MinIO 提供了一组简单的 API,用户可以方便地进行数据存储和管理。

官方文档
MinIO 的关键特性
- 兼容性:
- 完全兼容 Amazon S3 API,使用户可以使用现有的 S3 客户端和工具。
- 高性能:
- 设计为高性能对象存储系统,能够支持每秒数十GB的数据吞吐量。
- 可扩展性:
- 支持横向扩展,允许用户通过添加更多的存储节点来扩展存储容量和性能。
- 简易部署:
- 提供简单的安装和配置过程,可以在几分钟内启动和运行。
- 数据保护:
- 通过纠删码(Erasure Coding)和位衰减(Bit Rot)保护机制确保数据完整性和持久性。
- 多租户支持:
- 支持多用户和多租户环境,提供隔离和权限管理。
- Kubernetes 集成:
- 提供原生的 Kubernetes Operator,方便在 Kubernetes 集群中部署和管理 MinIO。
3、 MinIO安装(docker)
如果你有 Docker 环境,可以通过以下命令快速拉取并运行 MinIO 容器:
-
拉取镜像
docker pull minio/minio -
创建容器
docker run -p 9000:9000 --name minio -d --restart=always -e "MINIO_ACCESS_KEY=minio" -e "MINIO_SECRET_KEY=minio123" -v /home/data:/data -v /home/config:/root/.minio minio/minio server /data -
访问minio系统:
http://<your_server_ip>:9000
如:http://192.168.200.130:9000
4、基本概念
-
bucket – 类比于文件系统的目录
-
Object – 类比文件系统的文件
-
Keys – 类比文件名
5、通过代码上传文件到MinIO
-
新建项目,导入pom文件
<dependencies><dependency><groupId>io.minio</groupId><artifactId>minio</artifactId><version>7.1.0</version></dependency><dependency><groupId>org.springframework.boot</groupId><artifactId>spring-boot-starter-web</artifactId></dependency><dependency><groupId>org.springframework.boot</groupId><artifactId>spring-boot-starter-test</artifactId></dependency><dependency><groupId>com.heima</groupId><artifactId>heima-file-starter</artifactId><version>1.0-SNAPSHOT</version></dependency></dependencies> -
创建test测试文件
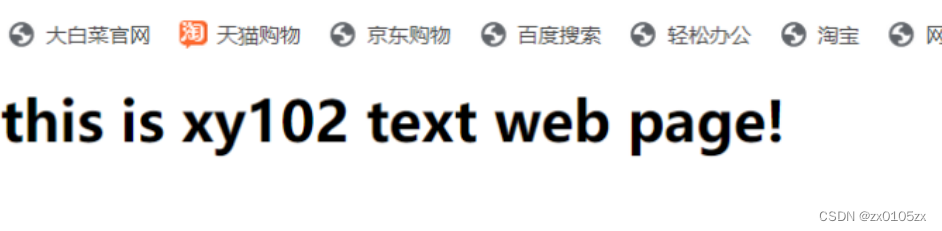
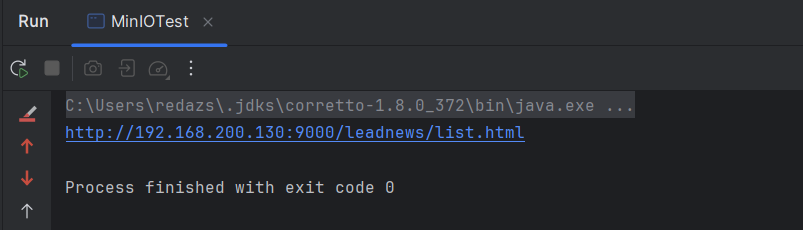
package com.heima.minio.test;import com.heima.file.service.FileStorageService; import io.minio.MinioClient; import io.minio.PutObjectArgs; import org.junit.Test; import org.springframework.beans.factory.annotation.Autowired; import org.springframework.boot.test.context.SpringBootTest;import java.io.FileInputStream; import java.io.FileNotFoundException;public class MinIOTest {public static void main(String[] args) {FileInputStream fileInputStream = null;try {fileInputStream = new FileInputStream("E:\\list.html");;//1.创建minio链接客户端MinioClient minioClient = MinioClient.builder().credentials("minio", "minio123").endpoint("http://192.168.200.130:9000").build();//2.上传PutObjectArgs putObjectArgs = PutObjectArgs.builder().object("list.html")//文件名.contentType("text/html")//文件类型.bucket("leadnews")//桶名词 与minio创建的名词一致.stream(fileInputStream, fileInputStream.available(), -1) //文件流.build();minioClient.putObject(putObjectArgs);System.out.println("http://192.168.200.130:9000/leadnews/list.html");} catch (Exception ex) {ex.printStackTrace();}} } -
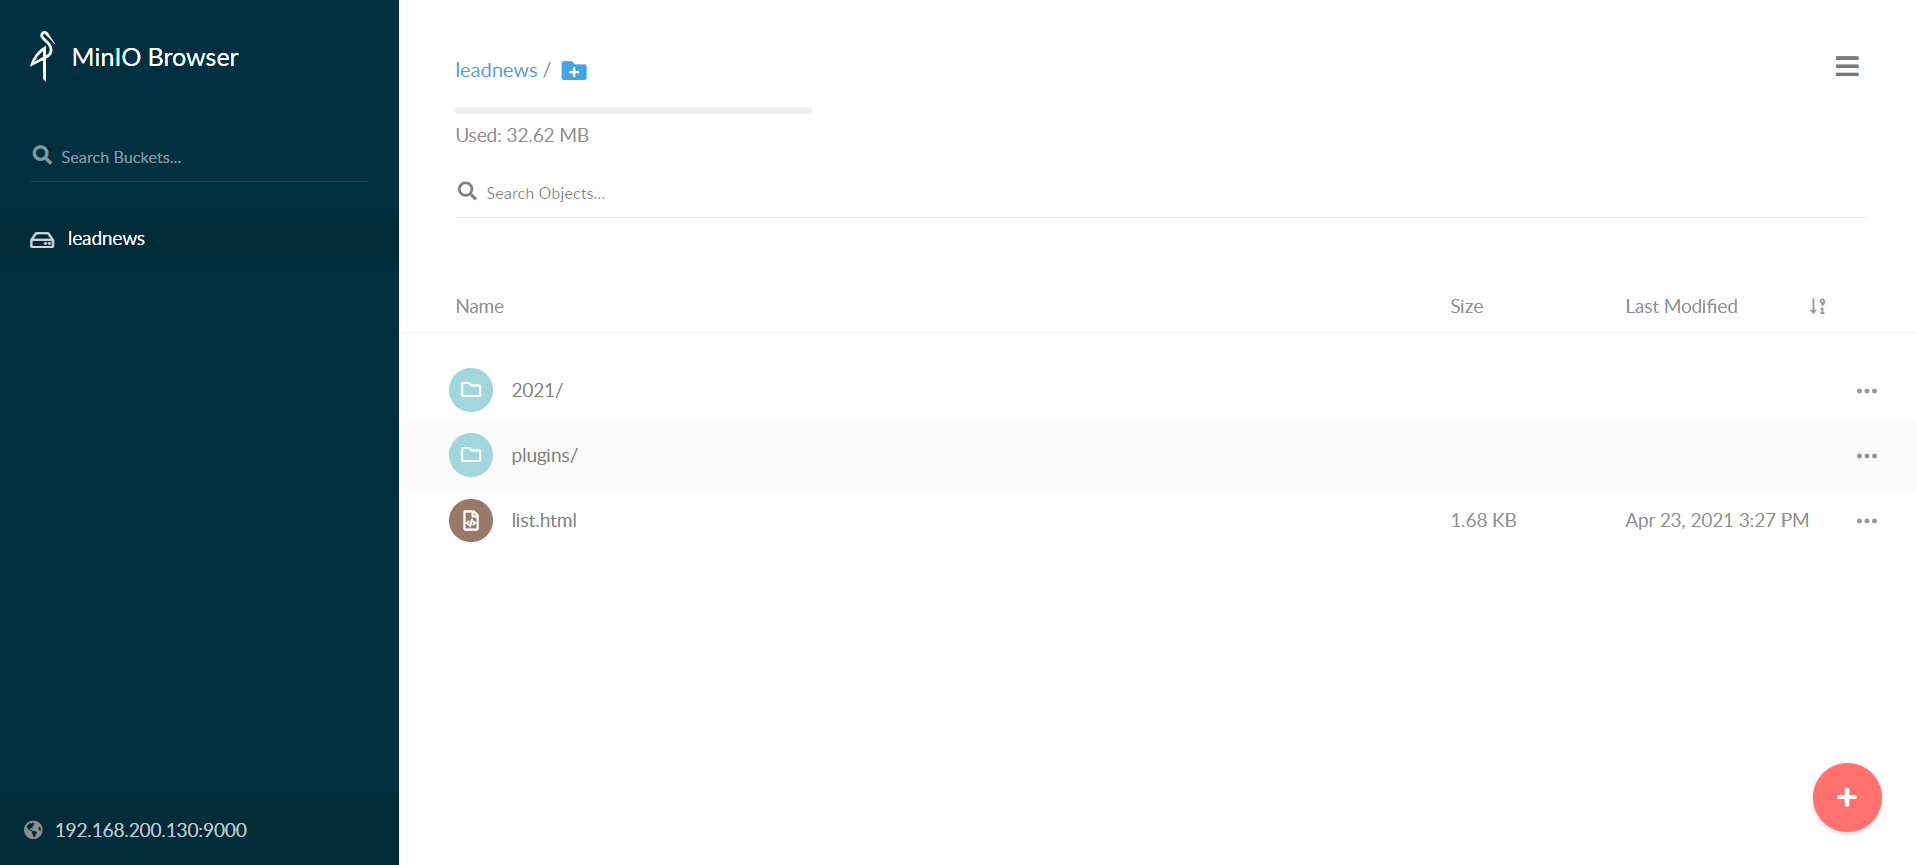
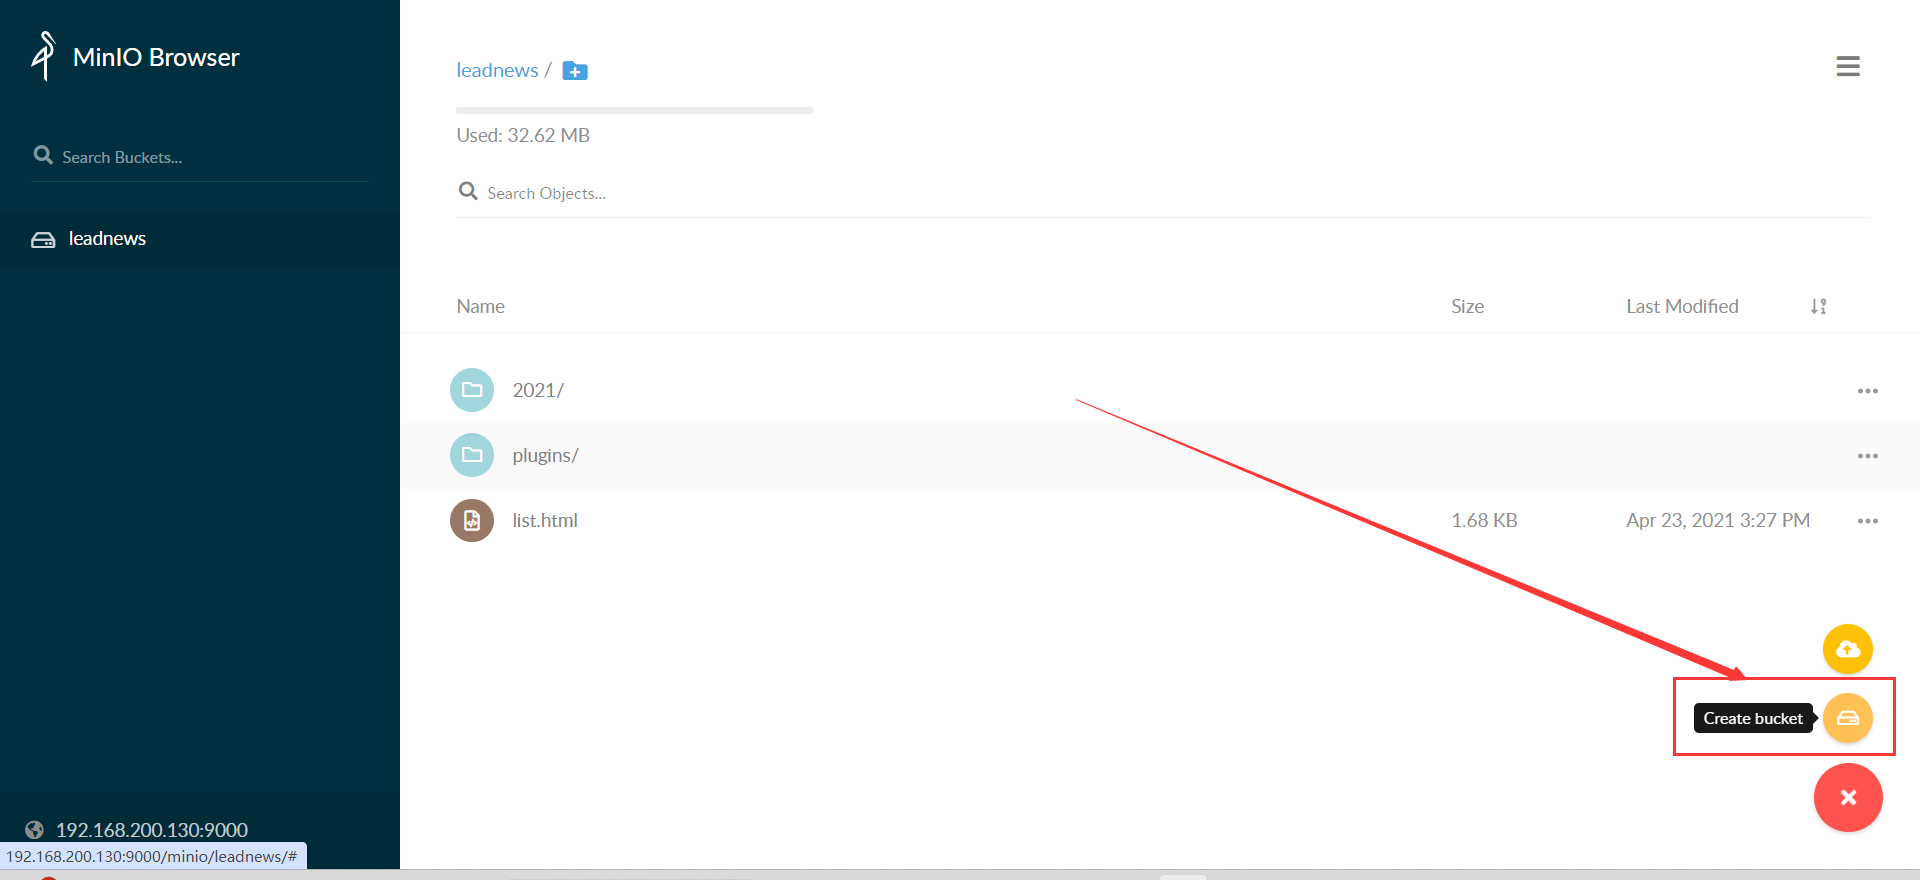
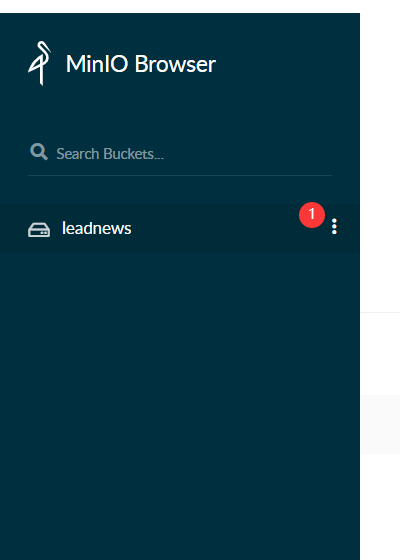
上传文件,点击控制台连接即可访问list.html文件
-
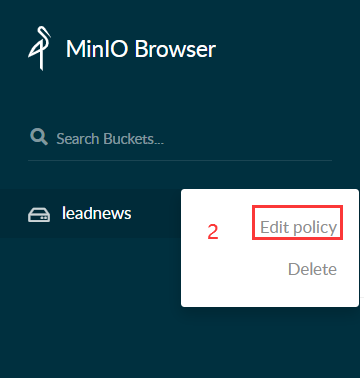
若不能访问,在minio控制系统中,打开访问权限

6、封装MinIO为starter
在项目中封装:
-
导入依赖
<dependency><groupId>org.springframework.boot</groupId><artifactId>spring-boot-autoconfigure</artifactId> </dependency> <dependency><groupId>io.minio</groupId><artifactId>minio</artifactId><version>7.1.0</version> </dependency> <dependency><groupId>org.springframework.boot</groupId><artifactId>spring-boot-starter</artifactId> </dependency> <dependency><groupId>org.springframework.boot</groupId><artifactId>spring-boot-configuration-processor</artifactId><optional>true</optional> </dependency> <dependency><groupId>org.springframework.boot</groupId><artifactId>spring-boot-starter-actuator</artifactId> </dependency> -
添加minio配置文件
package com.heima.file.config;import com.heima.file.service.FileStorageService; import io.minio.MinioClient; import lombok.Data; import org.springframework.beans.factory.annotation.Autowired; import org.springframework.boot.autoconfigure.condition.ConditionalOnClass; import org.springframework.boot.context.properties.EnableConfigurationProperties; import org.springframework.context.annotation.Bean; import org.springframework.context.annotation.Configuration;@Data @Configuration @EnableConfigurationProperties({MinIOConfigProperties.class}) //当引入FileStorageService接口时 @ConditionalOnClass(FileStorageService.class) public class MinIOConfig {@Autowiredprivate MinIOConfigProperties minIOConfigProperties;@Beanpublic MinioClient buildMinioClient() {return MinioClient.builder().credentials(minIOConfigProperties.getAccessKey(), minIOConfigProperties.getSecretKey()).endpoint(minIOConfigProperties.getEndpoint()).build();} } -
在spring管理的bean中注入MinIOFileStorageService(在spring.factories中)
org.springframework.boot.autoconfigure.EnableAutoConfiguration=\com.heima.file.service.impl.MinIOFileStorageService -
MinIOFileStorageService文件详情(大概就实现了对于文件资源上传的操作)
package com.heima.file.service.impl;import com.heima.file.config.MinIOConfig; import com.heima.file.config.MinIOConfigProperties; import com.heima.file.service.FileStorageService; import io.minio.GetObjectArgs; import io.minio.MinioClient; import io.minio.PutObjectArgs; import io.minio.RemoveObjectArgs; import lombok.extern.slf4j.Slf4j; import org.springframework.beans.factory.annotation.Autowired; import org.springframework.boot.context.properties.EnableConfigurationProperties; import org.springframework.context.annotation.Import; import org.springframework.util.StringUtils;import java.io.ByteArrayOutputStream; import java.io.IOException; import java.io.InputStream; import java.text.SimpleDateFormat; import java.util.Date;@Slf4j @EnableConfigurationProperties(MinIOConfigProperties.class) @Import(MinIOConfig.class) public class MinIOFileStorageService implements FileStorageService {@Autowiredprivate MinioClient minioClient;@Autowiredprivate MinIOConfigProperties minIOConfigProperties;private final static String separator = "/";/*** @param dirPath* @param filename yyyy/mm/dd/file.jpg* @return*/public String builderFilePath(String dirPath,String filename) {StringBuilder stringBuilder = new StringBuilder(50);if(!StringUtils.isEmpty(dirPath)){stringBuilder.append(dirPath).append(separator);}SimpleDateFormat sdf = new SimpleDateFormat("yyyy/MM/dd");String todayStr = sdf.format(new Date());stringBuilder.append(todayStr).append(separator);stringBuilder.append(filename);return stringBuilder.toString();}/*** 上传图片文件* @param prefix 文件前缀* @param filename 文件名* @param inputStream 文件流* @return 文件全路径*/@Overridepublic String uploadImgFile(String prefix, String filename,InputStream inputStream) {String filePath = builderFilePath(prefix, filename);try {PutObjectArgs putObjectArgs = PutObjectArgs.builder().object(filePath).contentType("image/jpg").bucket(minIOConfigProperties.getBucket()).stream(inputStream,inputStream.available(),-1).build();minioClient.putObject(putObjectArgs);StringBuilder urlPath = new StringBuilder(minIOConfigProperties.getReadPath());urlPath.append(separator+minIOConfigProperties.getBucket());urlPath.append(separator);urlPath.append(filePath);return urlPath.toString();}catch (Exception ex){log.error("minio put file error.",ex);throw new RuntimeException("上传文件失败");}}/*** 上传html文件* @param prefix 文件前缀* @param filename 文件名* @param inputStream 文件流* @return 文件全路径*/@Overridepublic String uploadHtmlFile(String prefix, String filename,InputStream inputStream) {String filePath = builderFilePath(prefix, filename);try {PutObjectArgs putObjectArgs = PutObjectArgs.builder().object(filePath).contentType("text/html").bucket(minIOConfigProperties.getBucket()).stream(inputStream,inputStream.available(),-1).build();minioClient.putObject(putObjectArgs);StringBuilder urlPath = new StringBuilder(minIOConfigProperties.getReadPath());urlPath.append(separator+minIOConfigProperties.getBucket());urlPath.append(separator);urlPath.append(filePath);return urlPath.toString();}catch (Exception ex){log.error("minio put file error.",ex);ex.printStackTrace();throw new RuntimeException("上传文件失败");}}/*** 删除文件* @param pathUrl 文件全路径*/@Overridepublic void delete(String pathUrl) {String key = pathUrl.replace(minIOConfigProperties.getEndpoint()+"/","");int index = key.indexOf(separator);String bucket = key.substring(0,index);String filePath = key.substring(index+1);// 删除ObjectsRemoveObjectArgs removeObjectArgs = RemoveObjectArgs.builder().bucket(bucket).object(filePath).build();try {minioClient.removeObject(removeObjectArgs);} catch (Exception e) {log.error("minio remove file error. pathUrl:{}",pathUrl);e.printStackTrace();}}/*** 下载文件* @param pathUrl 文件全路径* @return 文件流**/@Overridepublic byte[] downLoadFile(String pathUrl) {String key = pathUrl.replace(minIOConfigProperties.getEndpoint()+"/","");int index = key.indexOf(separator);String bucket = key.substring(0,index);String filePath = key.substring(index+1);InputStream inputStream = null;try {inputStream = minioClient.getObject(GetObjectArgs.builder().bucket(minIOConfigProperties.getBucket()).object(filePath).build());} catch (Exception e) {log.error("minio down file error. pathUrl:{}",pathUrl);e.printStackTrace();}ByteArrayOutputStream byteArrayOutputStream = new ByteArrayOutputStream();byte[] buff = new byte[100];int rc = 0;while (true) {try {if (!((rc = inputStream.read(buff, 0, 100)) > 0)) break;} catch (IOException e) {e.printStackTrace();}byteArrayOutputStream.write(buff, 0, rc);}return byteArrayOutputStream.toByteArray();} } -
具体模块下载:
链接:https://pan.baidu.com/s/17eWr0sLCOuF3bWoMravH_A?pwd=m6ls
7、在其他项目中集成封装好的模块
在第5步创建的项目中进行测试使用:
-
导入文件管理依赖(自己封装好的,第6步的模块)
<dependency><groupId>com.heima</groupId><artifactId>heima-file-starter</artifactId><version>1.0-SNAPSHOT</version></dependency> -
添加minio配置文件(application.yml文件中)
minio:accessKey: miniosecretKey: minio123bucket: leadnewsendpoint: http://192.168.200.130:9000readPath: http://192.168.200.130:9000 -
在spring管理的bean中注入FileStorageService
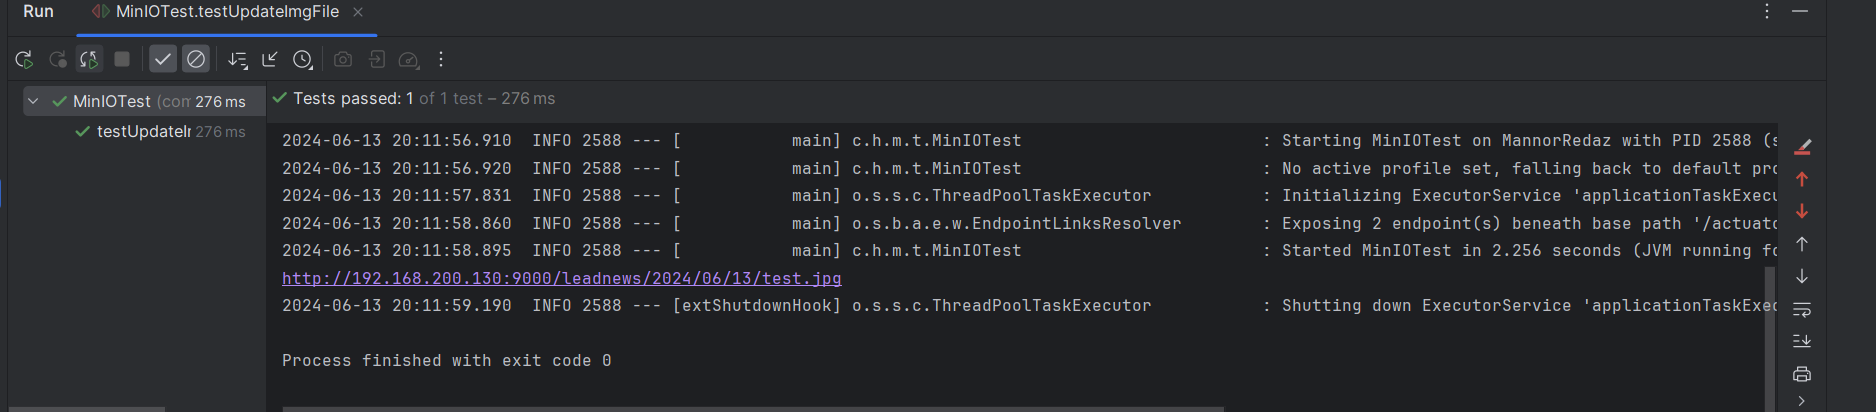
package com.heima.minio.test;import com.heima.file.service.FileStorageService; import io.minio.MinioClient; import io.minio.PutObjectArgs; import org.junit.Test; import org.springframework.beans.factory.annotation.Autowired; import org.springframework.boot.test.context.SpringBootTest;import java.io.FileInputStream; import java.io.FileNotFoundException;@SpringBootTest( classes = MinIOApplication.class) @RunWith(SpringRunner.class) public class MinIOTest {public static void main(String[] args) {@Autowiredprivate FileStorageService fileStorageService;@Testpublic void testUpdateImgFile() {try {FileInputStream fileInputStream = new FileInputStream("E:\\test.jpg");String filePath = fileStorageService.uploadImgFile("", "test.jpg", fileInputStream);System.out.println(filePath);} catch (FileNotFoundException e) {e.printStackTrace();}}} -
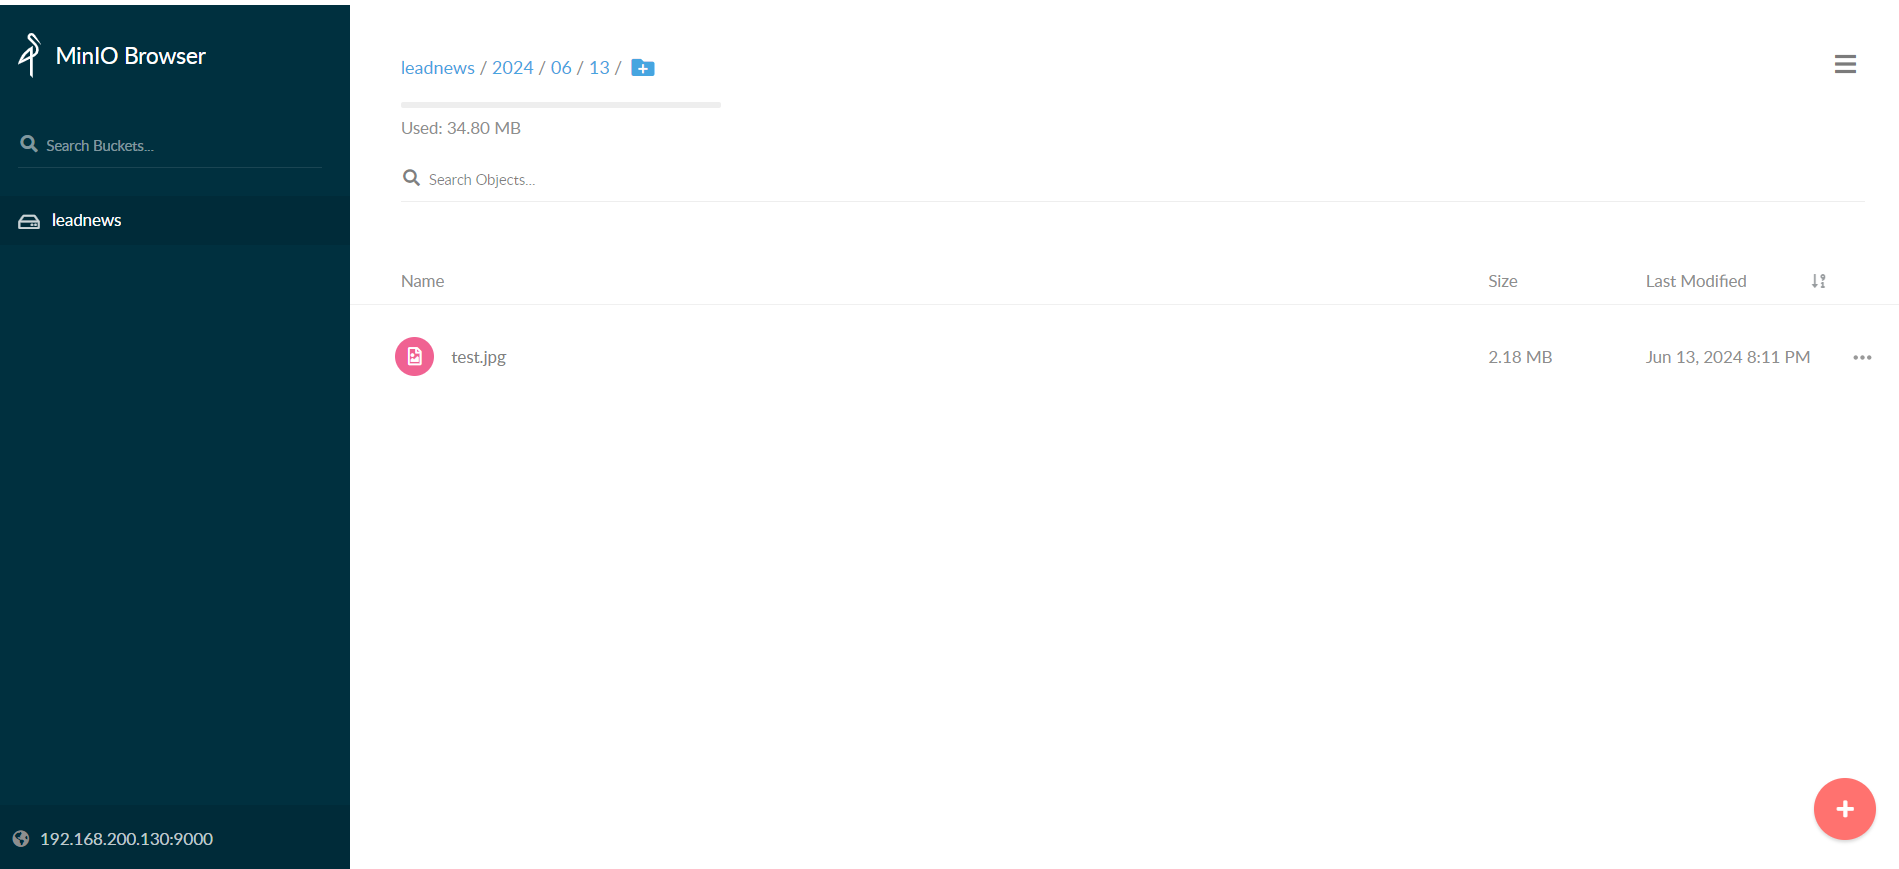
查看上传