文章目录
- 前言
- v1.1.x版本:vue集成看板娘(暂不使用,在v1.2.x已替换)
- 集成看板娘
- 实现看板娘拖拽效果
- 方案资源备份存储
- 当前最新调研:2024.10.2
- 开源方案1:OhMyLive2D(推荐)
- 开源方案2:fghrsh(提供后端接口)
- 开源方案3:live2dw(模型直接本地放置)
- 开源方案4:vue-live2d,支持vue(推荐,基于方案2改造)
- v1.2.x版本:集成vue-live2d
- 开发定位
- 集成步骤
- 效果展示
- 参考文章
前言
博主介绍:✌目前全网粉丝3W+,csdn博客专家、Java领域优质创作者,博客之星、阿里云平台优质作者、专注于Java后端技术领域。
涵盖技术内容:Java后端、大数据、算法、分布式微服务、中间件、前端、运维等。
博主所有博客文件目录索引:博客目录索引(持续更新)
视频平台:b站-Coder长路
下面的v1.1.x、v1.2.x指的是我的开源项目:https://gitee.com/changluJava/studio-vue
v1.1.x版本:vue集成看板娘(暂不使用,在v1.2.x已替换)
说明:在截止到哈希吗为46678653b6cd6636f4a375fe7243618547a12df7及之前,都是使用的这个方案,后续已替换下面的开源方案4。
集成看板娘
对应文件资源:
链接:https://pan.baidu.com/s/1q1s0hL7fxAz68fP5tV9SyQ
提取码:e6k2
在vue项目添加live2d可交互的看板娘
相关其他博客:
- https://www.fghrsh.net/post/123.html
效果:
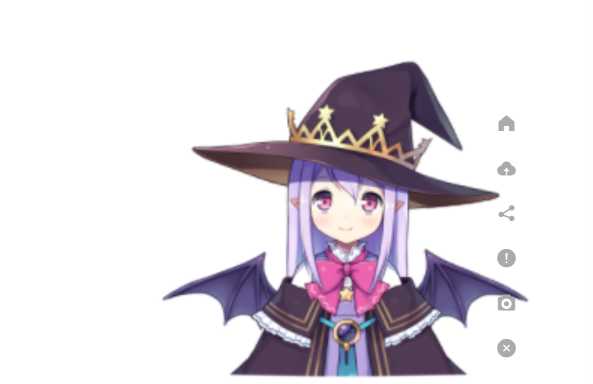
1、首先在index.html引入jquery
<script src="https://cdn.staticfile.org/jquery/2.2.4/jquery.min.js"></script>
或者你可以将jquery下载到本地引入,如:
npm install jquery //之后再main.js中全局引入
import $ from "jquery/dist/jquery"
window.jquery = window.$ = $
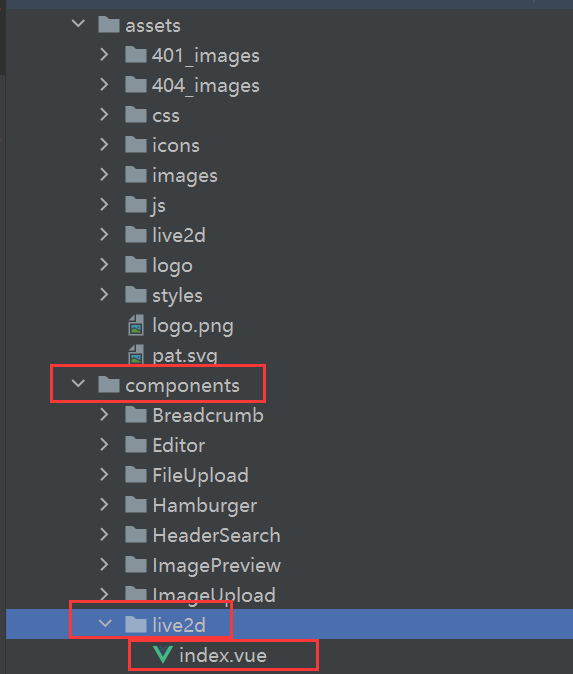
2、将对应四个文件放入
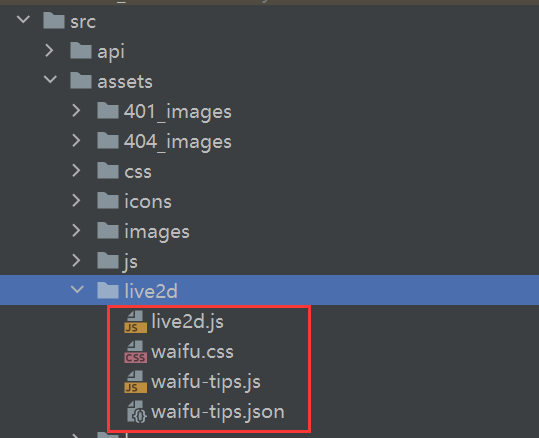
紧接着将对应的index.vue放入:
3、最后在layout组件中进行引入组件
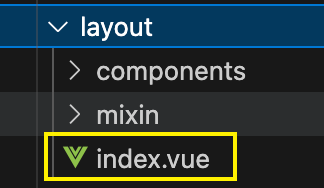
<Live2d />//引入看板娘
import Live2d from '@/components/live2d'components: {   // 引入组件Live2d},
实现看板娘拖拽效果
本质使用的jquery-ui以及对应的css文件实现的拖拽效果,要三个文件
由于在上面集成中的waifu-tips.js中本身就集成了拖拽:
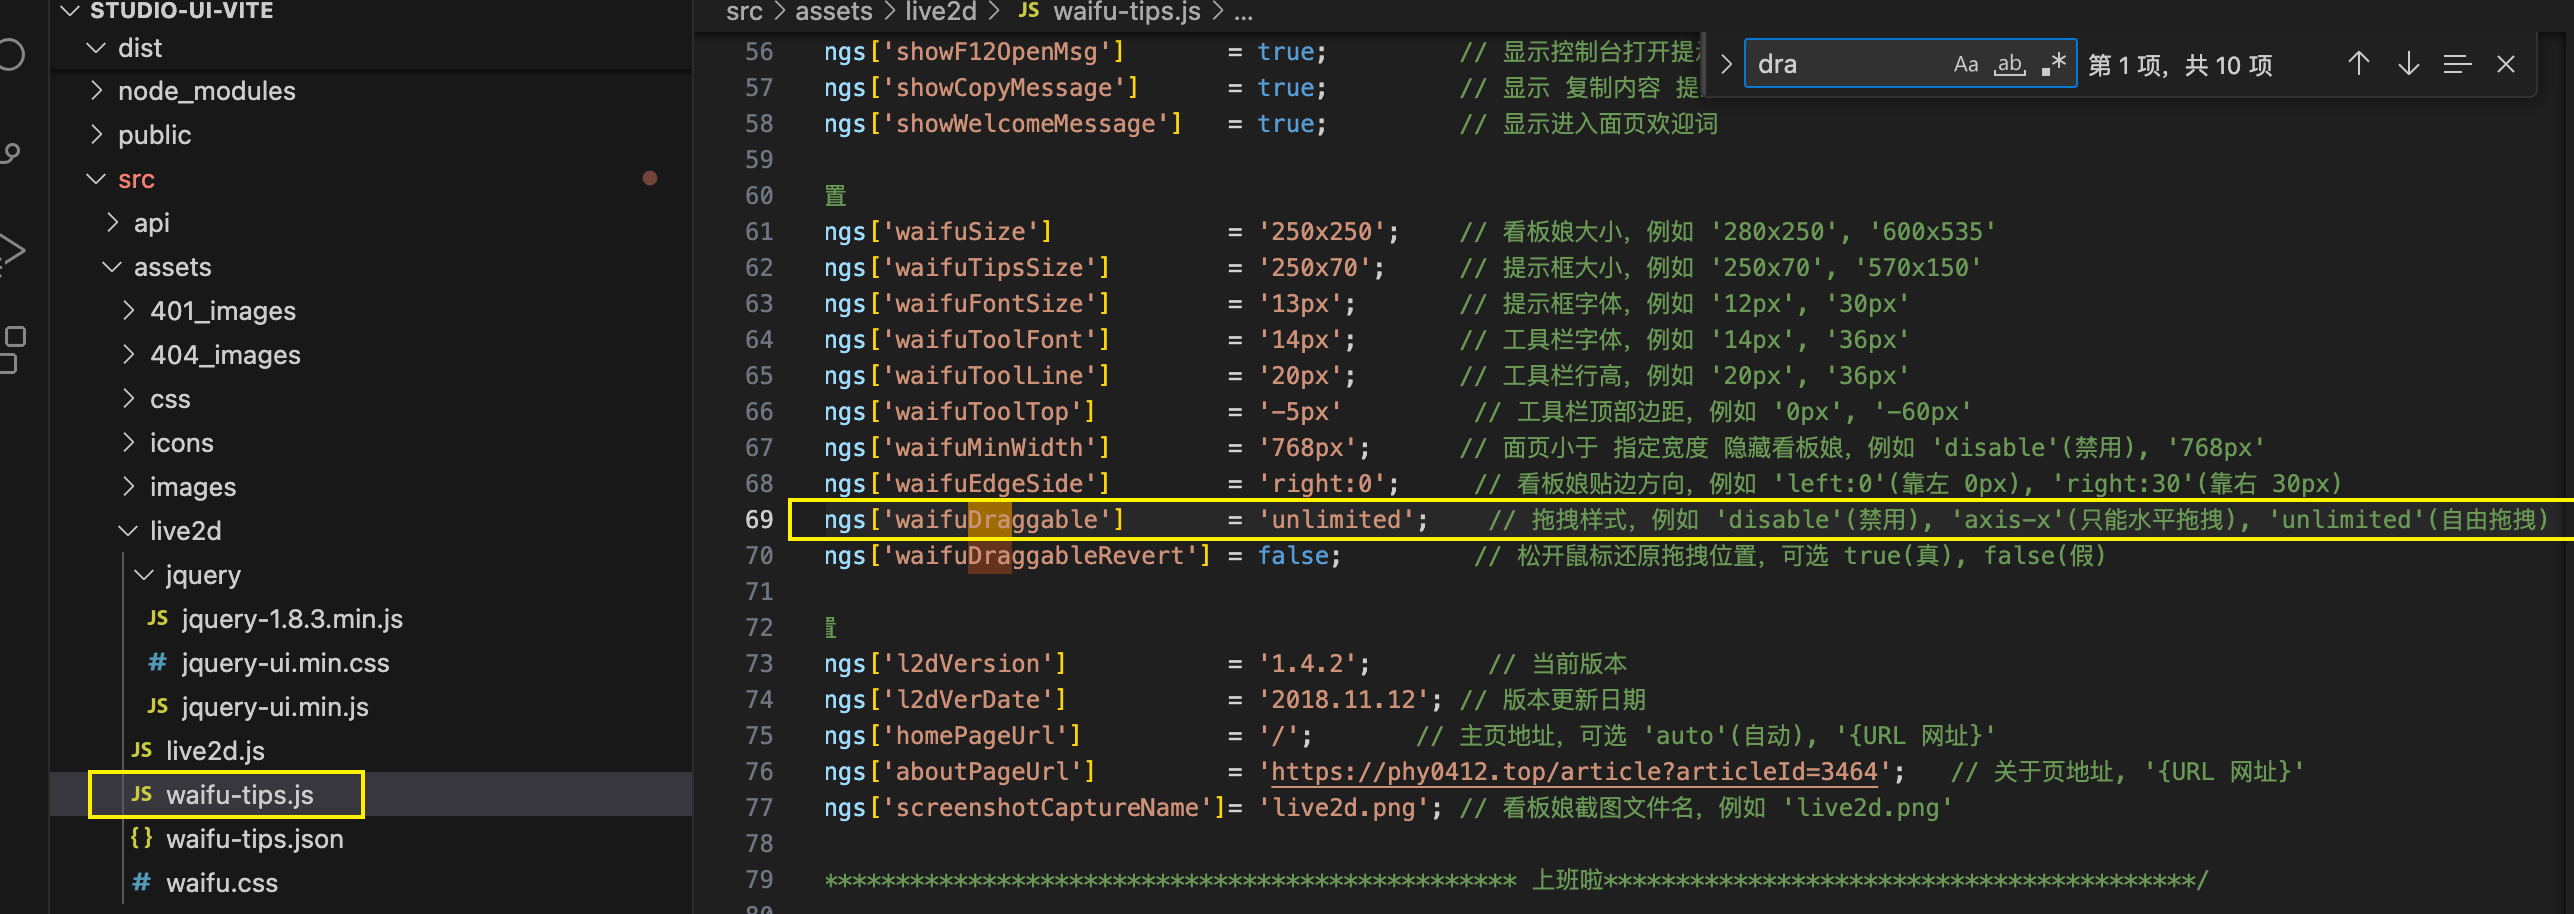
我们这里还需要引入jquery的ui库,其中应该是需要draggable函数支持:
网上的:demo案例
<style href="https://apps.bdimg.com/libs/jqueryui/1.10.4/css/jquery-ui.min.css"></style>
<script src="https://www.fghrsh.net/zb_system/script/jquery-1.8.3.min.js"></script>
<script src="https://www.fghrsh.net/zb_users/plugin/live2d/assets/jquery-ui.min.js"></script>
这是我自己上传到图床里的:备用
<style href="https://zhifengstudio.oss-cn-beijing.aliyuncs.com/assets/jquery-ui.min.css"></style>
<script src="https://zhifengstudio.oss-cn-beijing.aliyuncs.com/assets/jquery-1.8.3.min.js"></script>
<script src="https://zhifengstudio.oss-cn-beijing.aliyuncs.com/assets/jquery-ui.min.js"></script>
对于vue的话直接在index.html中进行引入
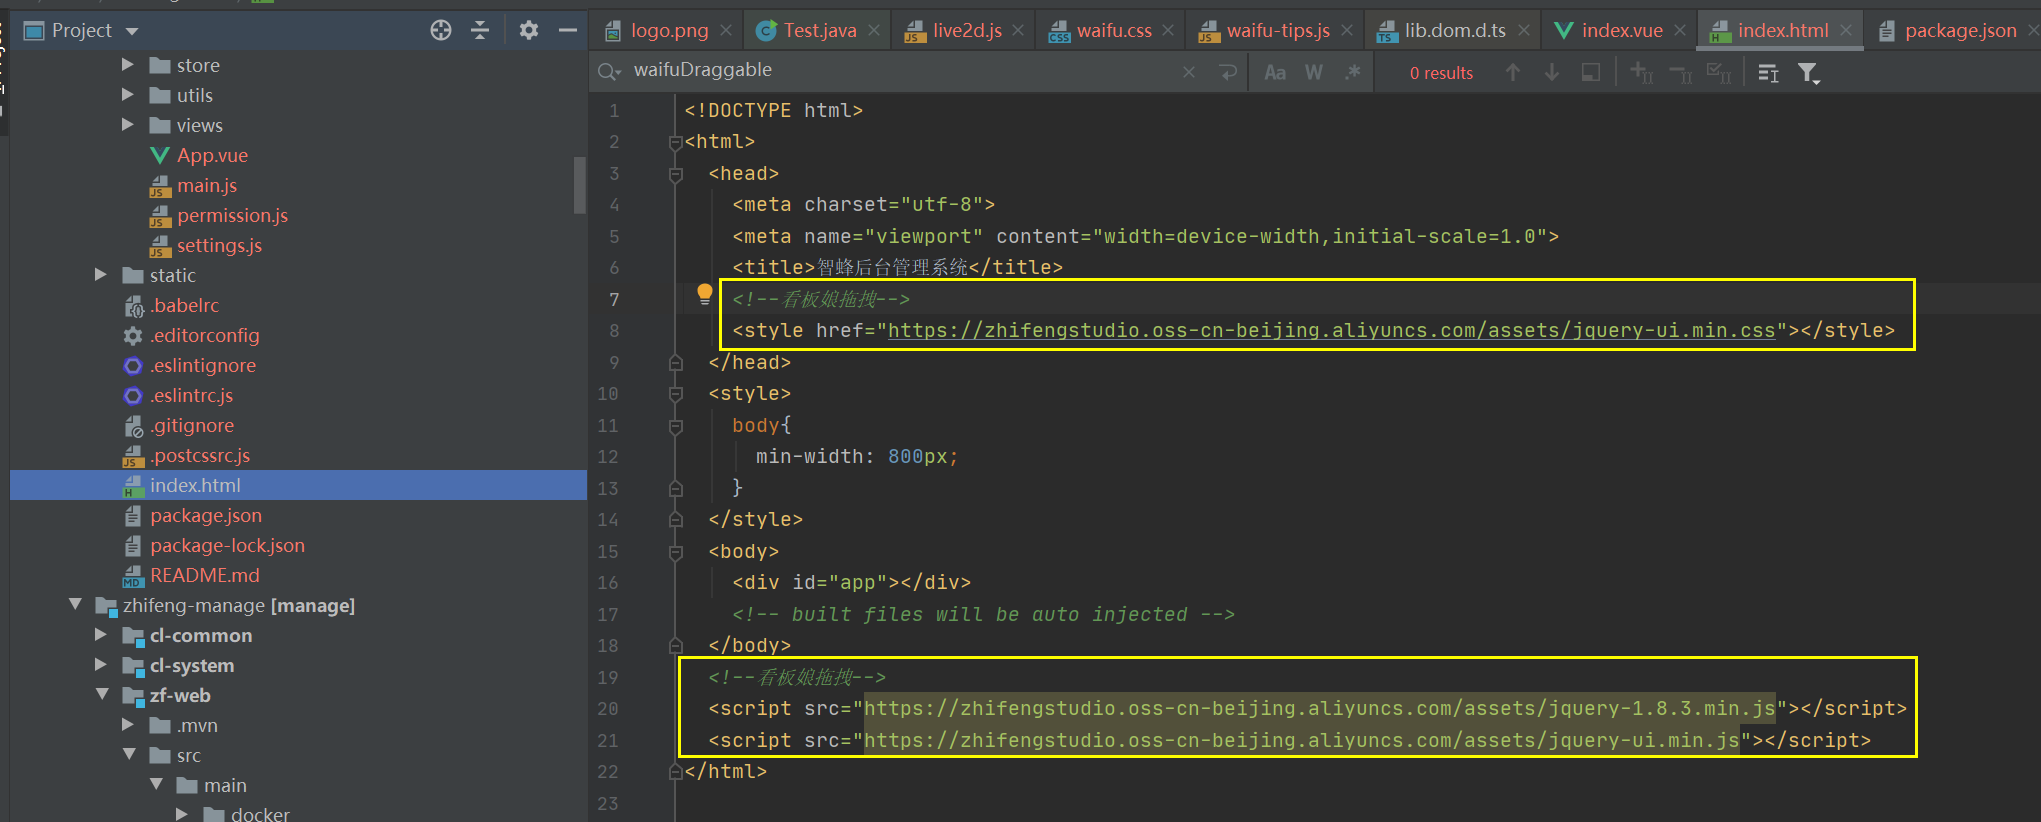
后面改为了放置到当前本地文件引用。
方案资源备份存储


链接:https://pan.baidu.com/s/1q4_IV0pzYtTlABmyDmM8_A
提取码:w6BC
当前最新调研:2024.10.2
开源方案1:OhMyLive2D(推荐)
官网:https://oml2d.com/
b站配套视频:https://www.bilibili.com/video/BV1TD421M7zm
github地址:https://github.com/oh-my-live2d/oh-my-live2d
应用场景:可直接应用于index.html相关的。
开源方案2:fghrsh(提供后端接口)
配套视频:live2d动态亚丝娜看板娘网页教程-零基础 https://www.bilibili.com/video/BV184411o75s
live2d-widget:https://github.com/xiazeyu/live2d-widget.js
live2d后端API以及源码插件:https://github.com/fghrsh
- 后端API:https://github.com/fghrsh/live2d_api
- 前端源码插件:https://github.com/fghrsh/live2d_demo
说明:实际上上面的vue集成方案就是基于当前的这个live2d-widget以及fghrsh进行二开的。配置过程可见:在vue项目添加live2d可交互的看板娘
问题描述:使用了这个目前会出现模型渲染有问题情况,后考虑使用vue-live2d。
开源方案3:live2dw(模型直接本地放置)
Vue中引入看板娘教程(见方式一):https://blog.csdn.net/qq_57485314/article/details/127892079
直接将所有模型放置到前端本地工程中。
开源方案4:vue-live2d,支持vue(推荐,基于方案2改造)
关于搭建 live2d api接口详细步骤:https://blog.csdn.net/RAXCL/article/details/127685261
该开源方案同样也使用到了 live2d api,开源up主个人自己搭建了一套api我们可以直接使用。
演示网址:https://evgo2017.com/repo/vue-live2d
github网址:https://github.com/evgo2017/vue-live2d
案例demo:https://github.com/evgo2017/vue-live2d/blob/master/example/App.vue
v1.2.x版本:集成vue-live2d
开发定位
位于开发分支:feat_1.2.x_fsstudio,提交哈希码:e3aadc69735949e92058a856fa84b3137438fec1
集成步骤
安装依赖:
npm install vue-live2d
封装vue组件:live2d.vue

<template><div><live2d:style="style":model="['Potion-Maker/Pio', 'school-2017-costume-yellow']":direction="direction":size="size"></live2d></div>
</template><script>
import live2d from 'vue-live2d'export default {name: 'Live2d',components: {live2d},data () {return {direction: 'right',style: 'position: fixed;bottom: 0;right: 20px;z-index: 1;font-size: 0;-webkit-transform: translateY(3px);transform: translateY(3px);',width: 500,height: 500,size: 260,tips: {mouseover: [{selector: '.vue-live2d',texts: ['这样可以修改默认语句']}]}}},created() {},methods: {}
}
</script><style scoped></style>
集成使用:

<Live2d/>// 引入live2d看板娘
import Live2d from '../components/live2d/index.vue'components: {   // 引入组件Live2d
},
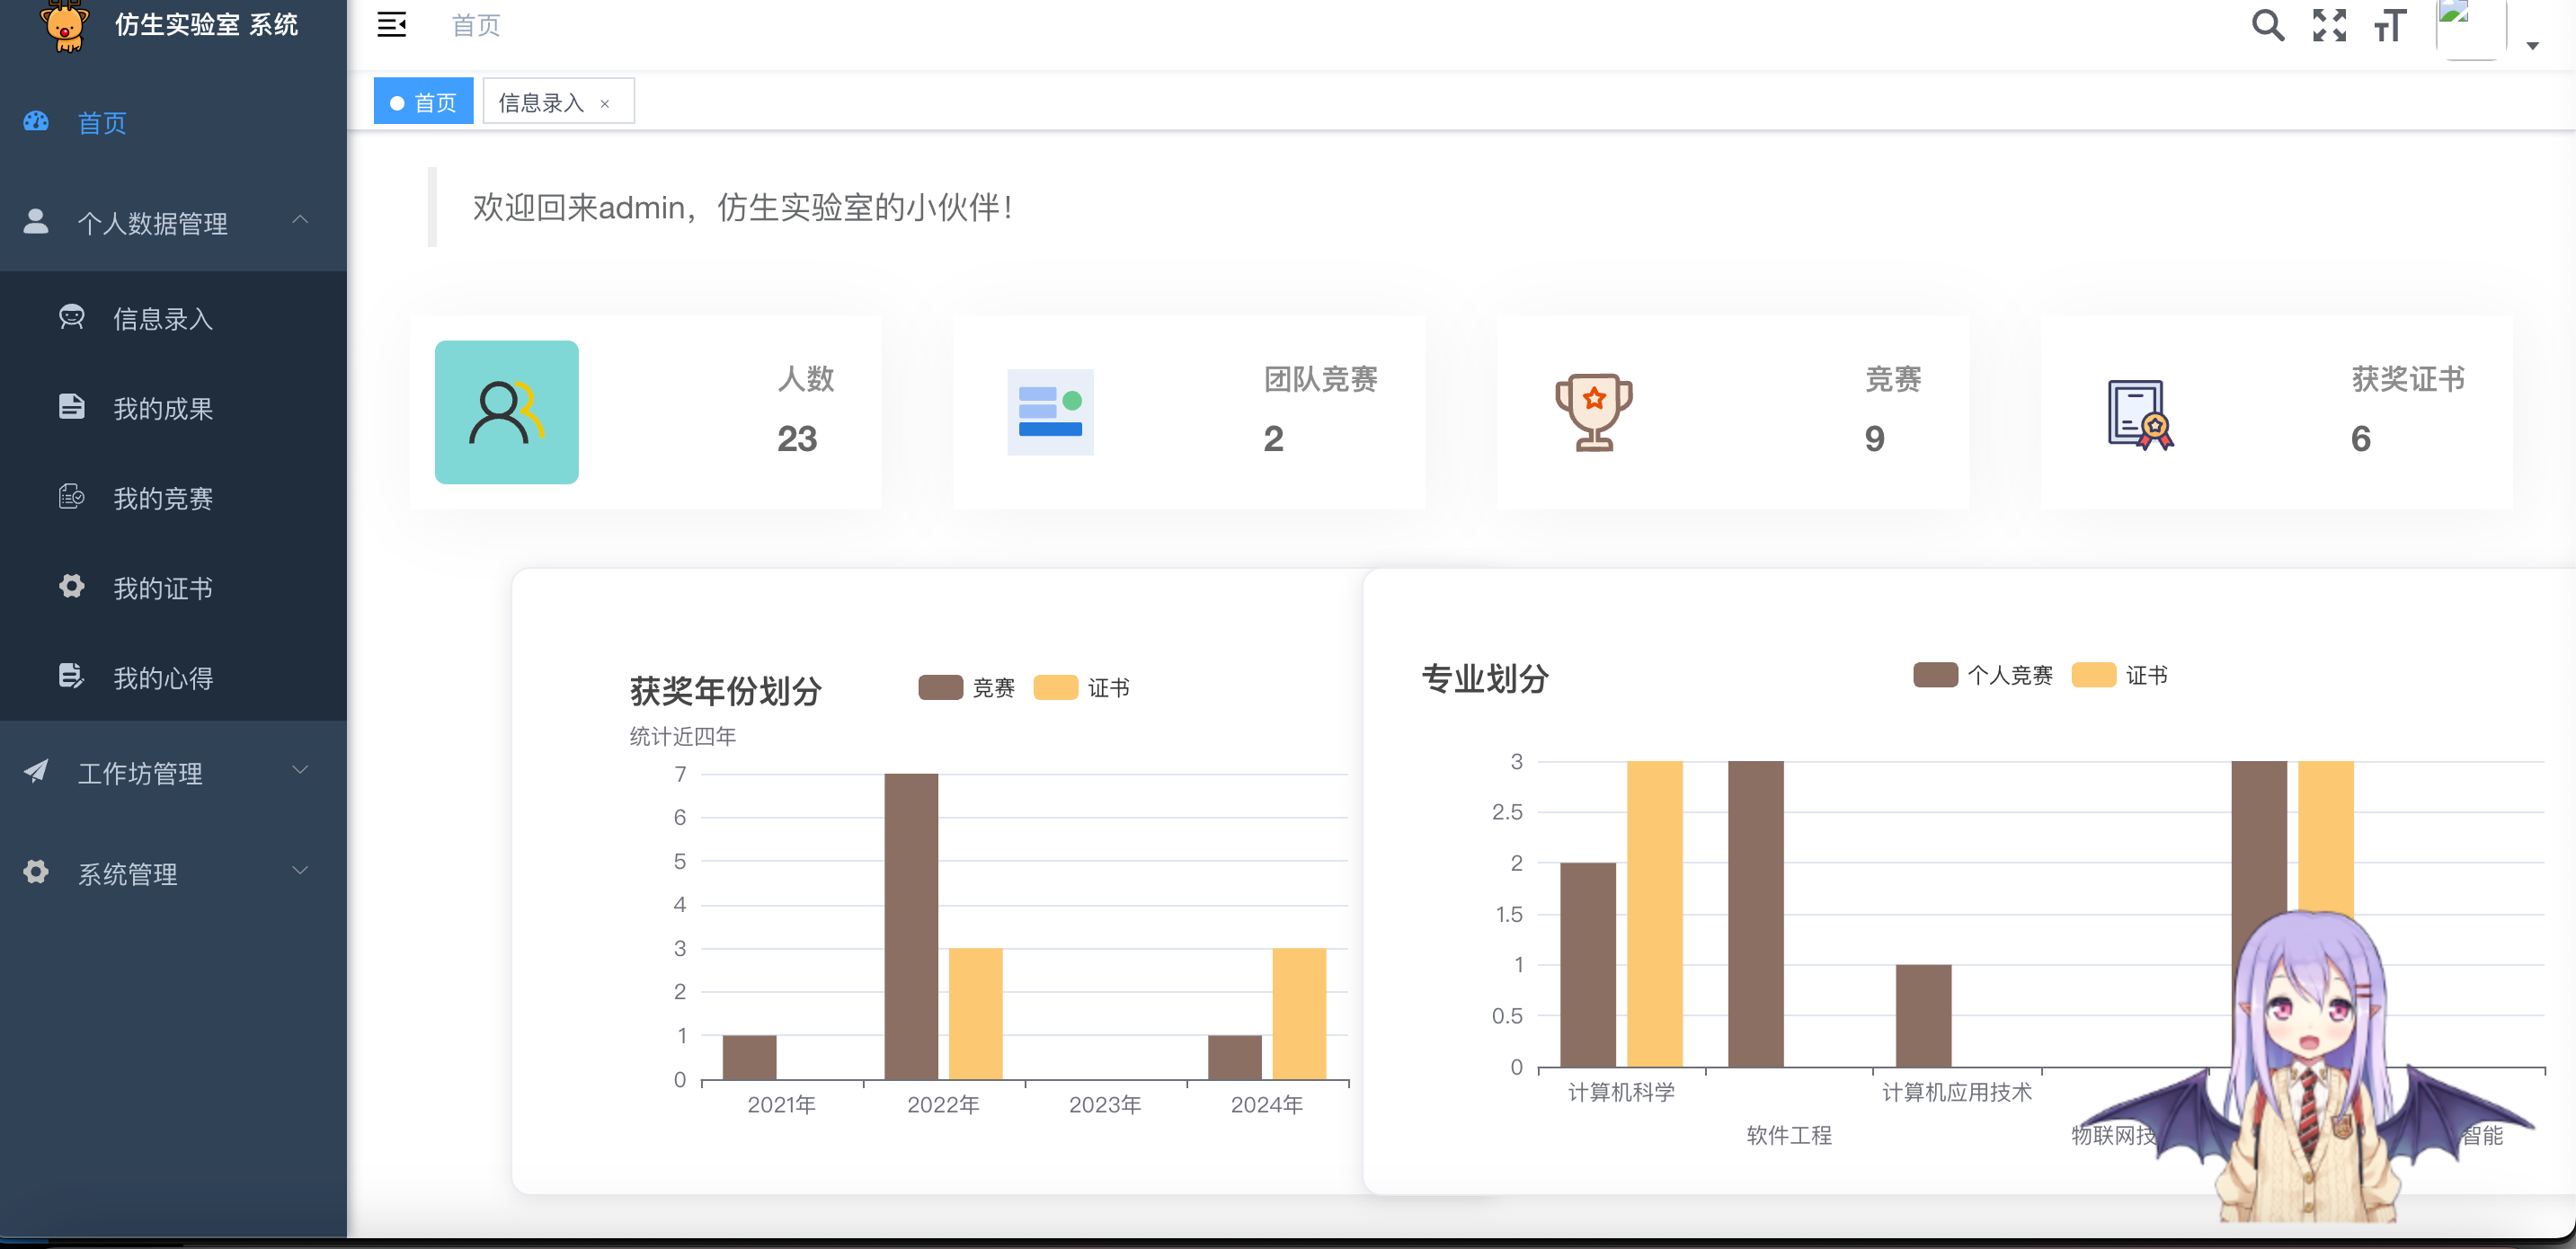
效果展示
参考文章
[1]. 搭建 live2d api接口详细步骤:https://blog.csdn.net/RAXCL/article/details/127685261
[2]. vue-live2d开源演示:https://evgo2017.com/repo/vue-live2d
整理者:长路 时间:2024.10.2


