文章目录
- 获取自定义机器人Webhook
- 使用Python发送消息
- 使用curl发送消息
- 使用DolphinScheduler发送告警
获取自定义机器人Webhook
1.1、创建群(然后将别人移出群聊)
1.2、单击
群设置>智能群助手
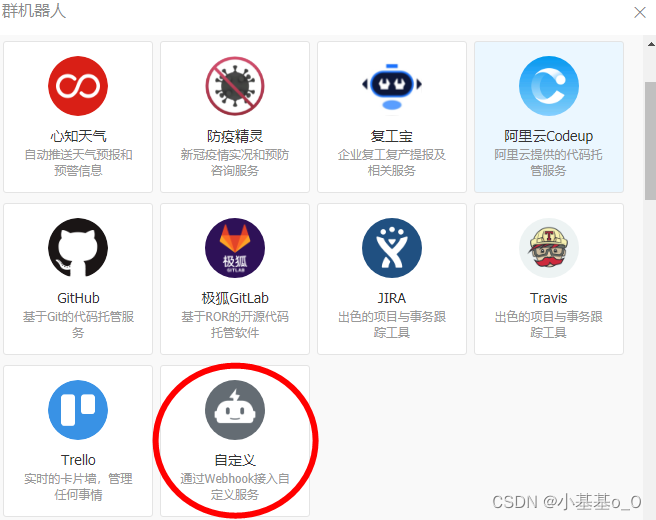
1.3、在机器人管理页面选择自定义机器人
1.4、输入机器人名字
1.5、创建完成,要记下
Webhook(就是消息发送的地址)
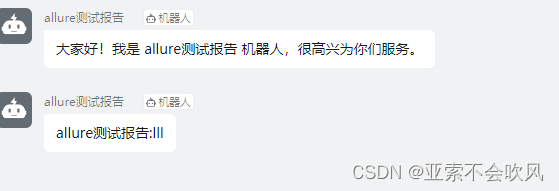
1.6、机器人创建完成后会在群报道,点击机器人头像也可查看
Webhook
使用Python发送消息
import hmac
from base64 import b64encode
from hashlib import sha256
from json import dumps
from time import time
from urllib import parse
from requests import post  # conda install requests# 网址
URL = 'https://oapi.dingtalk.com/robot/send?'
# 群标识
ACCESS_TOKEN = '把【Webhook】的【access_token】贴到这'
# 加签
SIGN = '把【加签】那串贴到这'
# 请求头
HEADERS = {'content-type': 'application/json'}def get_params():# 钉钉文档-加签方法:https://open.dingtalk.com/document/robots/customize-robot-security-settingstimestamp = str(round(time() * 1000))secret_enc = SIGN.encode('utf-8')string_to_sign_enc = '{}\n{}'.format(timestamp, SIGN).encode('utf-8')hmac_code = hmac.new(secret_enc, string_to_sign_enc, digestmod=sha256).digest()sign = parse.quote_plus(b64encode(hmac_code))# 返回请求参数return {'access_token': ACCESS_TOKEN,'sign': sign,'timestamp': timestamp,}def send(content):data = {"msgtype": "text","text": {"content": content,},"at": {"atMobiles": ["钉钉手机号"],"isAtAll": False},}data = dumps(data)print(post(url=URL, headers=HEADERS, data=data, params=get_params()))if __name__ == '__main__':send('告警测试')
使用curl发送消息
关闭
加签,开启自定义关键词
CentOS7安装curl命令
yum -y install curl
| 命令参数 | 原文 | 说明 |
|---|---|---|
-H, --header <header> | (HTTP) Extra header to use when getting a web page | 超文本传输协议的消息头 |
-d, --data <data> | Sends the specified data in a POST request to the HTTP server | 在POST请求中发送指定的数据到HTTP服务器 |
curl 'https://oapi.dingtalk.com/robot/send?access_token=XXXXXXXXXXXXXXXXX' \-H 'Content-Type: application/json' \-d '{"msgtype": "text","text": {"content": "告警测试"},"at": {"atMobiles": ["钉钉手机号"],"isAtAll": false}}'
使用DolphinScheduler发送告警
DS版本:3.0.1
1、安全中心>告警实例管理>创建告警实例>选择插件>DingTalk
2、复制






![开通与使用钉钉群机器人、企业微信等消息推送 [附API代码]](https://img-blog.csdnimg.cn/4936fa286e04436e9a8d5bb71fe73292.png?x-oss-process=image/watermark,type_d3F5LXplbmhlaQ,shadow_50,text_Q1NETiBA5bCP6ZSL5a2m6ZW_55Sf5rS75aSn54iG54K4,size_15,color_FFFFFF,t_70,g_se,x_16)



![[文献分享] 父母炎症性肠病与儿童自闭症(国家登记数据队列研究、连锁不平衡分数回归、多基因风险评分、孟德尔随机化)](https://img-blog.csdnimg.cn/c27610feacc14afeb0aa7787c7faf5dd.png)


