一.nginx简介
1.简介
2.特性
二.nginx安装
1.rpm包方式
(1)下载扩展源
(2)安装扩展rpm包,nginx -V查看配置参数,后面源码安装时要用到
2.源码方式
(1)建议提前下好所需要的部分包
(2)下载tar.gz包
(3)建议将包解压到/usr/local/src下,执行configure文件
(4)安装好上面需要的包,继续执行第一步
(5)一直到这步,configure文件就执行好了
(6)make,make install编译安装
三.nginx部分目录结构
1.conf目录
2.html目录
四.nginx配置文件说明
一.nginx简介
1.简介
nginx是一个轻量级的网页服务器、方向代理服务器和电子邮件代理服务器,具有配置灵活、静态资源高并发、系统资源占用少、拥有缓存服务等优点。
2.特性
(1)对于静态资源,高速,高并发访问和缓存,支持htto相应速率限制
(2)支持使用反向代理加速,缓存数据
(3)可实现负载均衡和节点健康检查
(4)支持FastCGI,SCGI,Memcached Servers等服务的急速和缓存
(5)支持基于域名、端口、IP的虚拟主机站点代理,可以进行访问控制
(6)支持Keep-alive和pipelined连接
(7)在代码上线时可以平滑重启,不影响基本功能
(8)可以对日志进行格式自定义、临时缓冲、快速轮训和rsyslog处理
(9)支持信号控制nginx进程
(10)支持url重写和正则表达式匹配
(11)支持PUT、DELETE、MKCOL、COPY、MOVE等特殊http请求方法
(12)支持邮件服务代理
二.nginx安装
前提要卸载或关闭apache的httpd
[root@localhost ~]# systemctl stop httpd
[root@localhost ~]# systemctl status httpd
● httpd.service - The Apache HTTP ServerLoaded: loaded (/usr/lib/systemd/system/httpd.service; disabled; vendor preset: disabled)Active: inactive (dead)Docs: man:httpd(8)man:apachectl(8)
1.rpm包方式
(1)下载扩展源
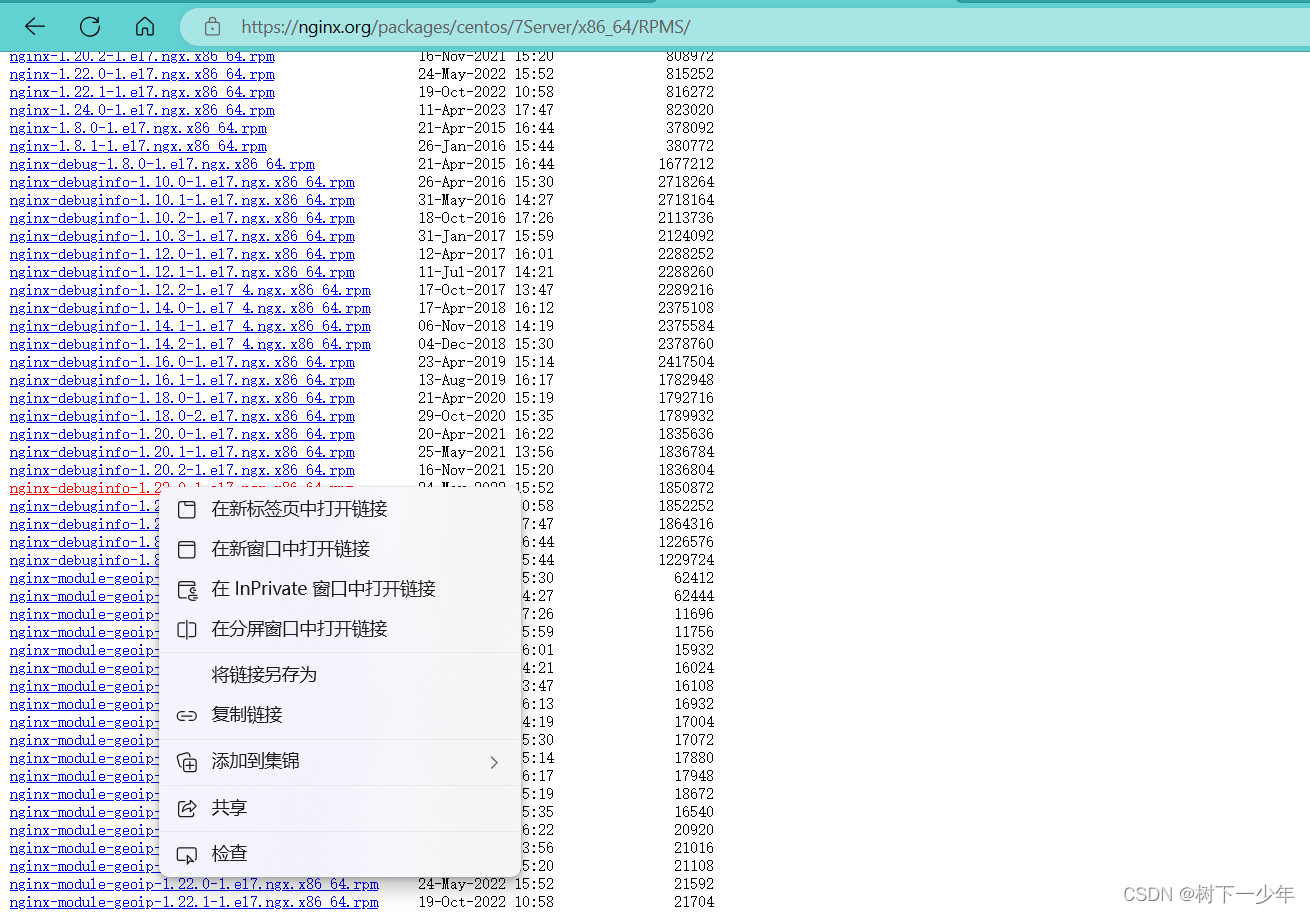
(2)安装扩展rpm包,nginx -V查看配置参数,后面源码安装时要用到
[root@localhost ~]# yum install https://nginx.org/packages/centos/7Server/x86_64/RPMS/nginx-debuginfo-1.22.0-1.el7.ngx.x86_64.rpm
[root@localhost ~]# yum install nginx-1.22.0-1.el7.ngx.x86_64.rpm -y
[root@localhost ~]# nginx -v
nginx version: nginx/1.22.0
[root@localhost ~]# nginx -V
nginx version: nginx/1.22.0
built by gcc 4.8.5 20150623 (Red Hat 4.8.5-44) (GCC)
built with OpenSSL 1.0.2k-fips  26 Jan 2017
TLS SNI support enabled
configure arguments: --prefix=/etc/nginx --sbin-path=/usr/sbin/nginx --modules-path=/usr/lib64/nginx/modules --conf-path=/etc/nginx/nginx.conf --error-log-path=/var/log/nginx/error.log --http-log-path=/var/log/nginx/access.log --pid-path=/var/run/nginx.pid --lock-path=/var/run/nginx.lock --http-client-body-temp-path=/var/cache/nginx/client_temp --http-proxy-temp-path=/var/cache/nginx/proxy_temp --http-fastcgi-temp-path=/var/cache/nginx/fastcgi_temp --http-uwsgi-temp-path=/var/cache/nginx/uwsgi_temp --http-scgi-temp-path=/var/cache/nginx/scgi_temp --user=nginx --group=nginx --with-compat --with-file-aio --with-threads --with-http_addition_module --with-http_auth_request_module --with-http_dav_module --with-http_flv_module --with-http_gunzip_module --with-http_gzip_static_module --with-http_mp4_module --with-http_random_index_module --with-http_realip_module --with-http_secure_link_module --with-http_slice_module --with-http_ssl_module --with-http_stub_status_module --with-http_sub_module --with-http_v2_module --with-mail --with-mail_ssl_module --with-stream --with-stream_realip_module --with-stream_ssl_module --with-stream_ssl_preread_module --with-cc-opt='-O2 -g -pipe -Wall -Wp,-D_FORTIFY_SOURCE=2 -fexceptions -fstack-protector-strong --param=ssp-buffer-size=4 -grecord-gcc-switches -m64 -mtune=generic -fPIC' --with-ld-opt='-Wl,-z,relro -Wl,-z,now -pie'
安装完成
2.源码方式
(1)建议提前下好所需要的部分包
[root@localhost nginx-1.22.0]# yum -y install make zlib zlib-devel gcc-c++ libtool openssl openssl-devel(2)下载tar.gz包

(3)建议将包解压到/usr/local/src下,执行configure文件
[root@localhost nginx-1.22.0]# pwd
/usr/local/src/nginx-1.22.0[root@localhost nginx-1.22.0]# ./configure --prefix=/etc/nginx --sbin-path=/usr/sbin/nginx --modules-path=/usr/lib64/nginx/modules --conf-path=/etc/nginx/nginx.conf --error-log-path=/var/log/nginx/error.log --http-log-path=/var/log/nginx/access.log --pid-path=/var/run/nginx.pid --lock-path=/var/run/nginx.lock --http-client-body-temp-path=/var/cache/nginx/client_temp --http-proxy-temp-path=/var/cache/nginx/proxy_temp --http-fastcgi-temp-path=/var/cache/nginx/fastcgi_temp --http-uwsgi-temp-path=/var/cache/nginx/uwsgi_temp --http-scgi-temp-path=/var/cache/nginx/scgi_temp --user=nginx --group=nginx --with-compat --with-file-aio --with-threads --with-http_addition_module --with-http_auth_request_module --with-http_dav_module --with-http_flv_module --with-http_gunzip_module --with-http_gzip_static_module --with-http_mp4_module --with-http_random_index_module --with-http_realip_module --with-http_secure_link_module --with-http_slice_module --with-http_ssl_module --with-http_stub_status_module --with-http_sub_module --with-http_v2_module --with-mail --with-mail_ssl_module --with-stream --with-stream_realip_module --with-stream_ssl_module --with-stream_ssl_preread_module --with-cc-opt='-O2 -g -pipe -Wall -Wp,-D_FORTIFY_SOURCE=2 -fexceptions -fstack-protector-strong --param=ssp-buffer-size=4 -grecord-gcc-switches -m64 -mtune=generic -fPIC' --with-ld-opt='-Wl,-z,relro -Wl,-z,now -pie'
#弹出来缺什么就安装它的开发包(devel)
(4)安装好上面需要的包,继续执行第一步
[root@localhost nginx-1.22.0]# yum install -y pcre-devel
[root@localhost nginx-1.22.0]# ./configure --prefix=/etc/nginx --sbin-path=/usr/sbin/nginx --modules-path=/usr/lib64/nginx/modules --conf-path=/etc/nginx/nginx.conf --error-log-path=/var/log/nginx/error.log --http-log-path=/var/log/nginx/access.log --pid-path=/var/run/nginx.pid --lock-path=/var/run/nginx.lock --http-client-body-temp-path=/var/cache/nginx/client_temp --http-proxy-temp-path=/var/cache/nginx/proxy_temp --http-fastcgi-temp-path=/var/cache/nginx/fastcgi_temp --http-uwsgi-temp-path=/var/cache/nginx/uwsgi_temp --http-scgi-temp-path=/var/cache/nginx/scgi_temp --user=nginx --group=nginx --with-compat --with-file-aio --with-threads --with-http_addition_module --with-http_auth_request_module --with-http_dav_module --with-http_flv_module --with-http_gunzip_module --with-http_gzip_static_module --with-http_mp4_module --with-http_random_index_module --with-http_realip_module --with-http_secure_link_module --with-http_slice_module --with-http_ssl_module --with-http_stub_status_module --with-http_sub_module --with-http_v2_module --with-mail --with-mail_ssl_module --with-stream --with-stream_realip_module --with-stream_ssl_module --with-stream_ssl_preread_module --with-cc-opt='-O2 -g -pipe -Wall -Wp,-D_FORTIFY_SOURCE=2 -fexceptions -fstack-protector-strong --param=ssp-buffer-size=4 -grecord-gcc-switches -m64 -mtune=generic -fPIC' --with-ld-opt='-Wl,-z,relro -Wl,-z,now -pie'
[root@localhost nginx-1.22.0]# yum install -y openssl-devel
[root@localhost nginx-1.22.0]# ./configure --prefix=/etc/nginx --sbin-path=/usr/sbin/nginx --modules-path=/usr/lib64/nginx/modules --conf-path=/etc/nginx/nginx.conf --error-log-path=/var/log/nginx/error.log --http-log-path=/var/log/nginx/access.log --pid-path=/var/run/nginx.pid --lock-path=/var/run/nginx.lock --http-client-body-temp-path=/var/cache/nginx/client_temp --http-proxy-temp-path=/var/cache/nginx/proxy_temp --http-fastcgi-temp-path=/var/cache/nginx/fastcgi_temp --http-uwsgi-temp-path=/var/cache/nginx/uwsgi_temp --http-scgi-temp-path=/var/cache/nginx/scgi_temp --user=nginx --group=nginx --with-compat --with-file-aio --with-threads --with-http_addition_module --with-http_auth_request_module --with-http_dav_module --with-http_flv_module --with-http_gunzip_module --with-http_gzip_static_module --with-http_mp4_module --with-http_random_index_module --with-http_realip_module --with-http_secure_link_module --with-http_slice_module --with-http_ssl_module --with-http_stub_status_module --with-http_sub_module --with-http_v2_module --with-mail --with-mail_ssl_module --with-stream --with-stream_realip_module --with-stream_ssl_module --with-stream_ssl_preread_module --with-cc-opt='-O2 -g -pipe -Wall -Wp,-D_FORTIFY_SOURCE=2 -fexceptions -fstack-protector-strong --param=ssp-buffer-size=4 -grecord-gcc-switches -m64 -mtune=generic -fPIC' --with-ld-opt='-Wl,-z,relro -Wl,-z,now -pie'
(5)一直到这步,configure文件就执行好了
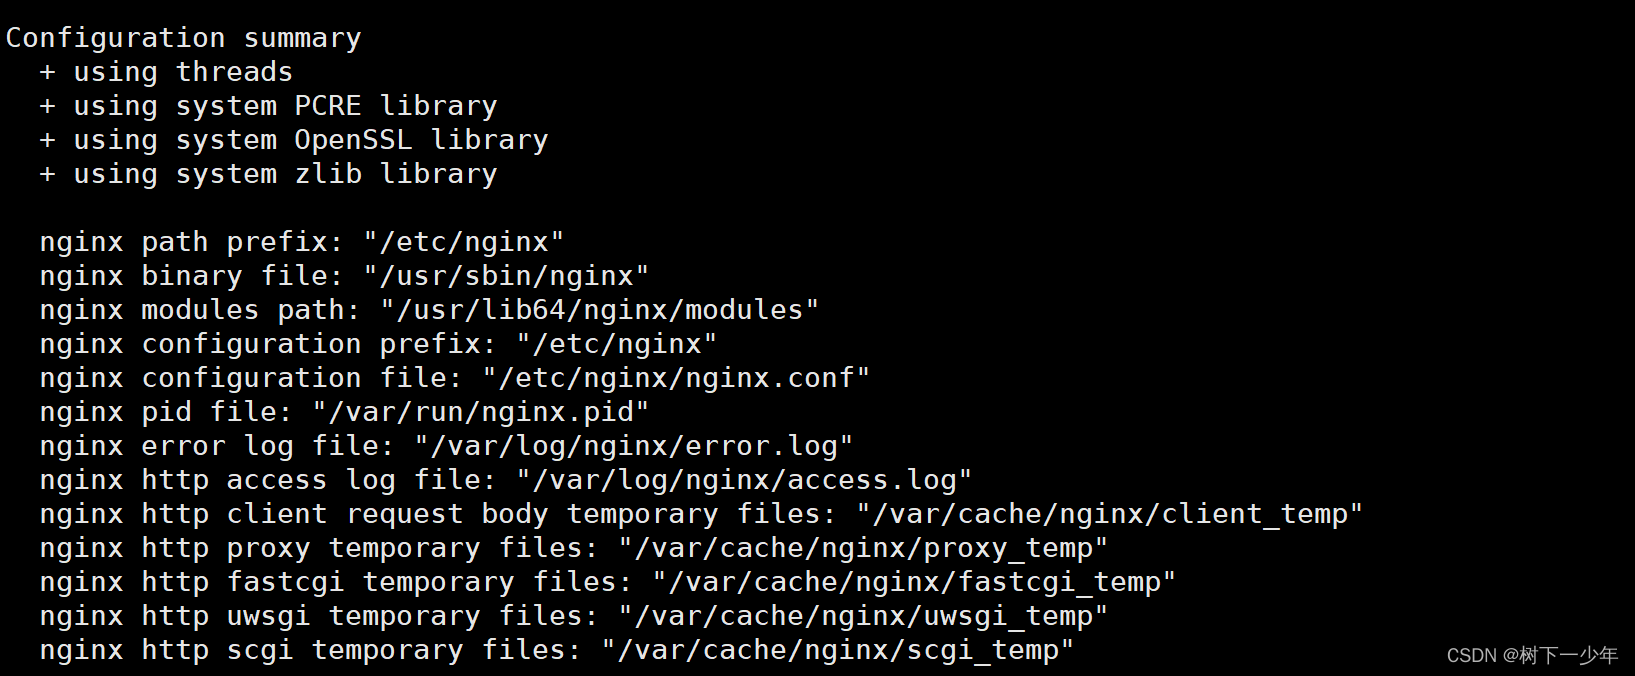
(6)make,make install编译安装
[root@localhost nginx-1.22.0]# make
[root@localhost nginx-1.22.0]# make install
[root@localhost nginx-1.22.0]# nginx -V
nginx version: nginx/1.22.0
built by gcc 4.8.5 20150623 (Red Hat 4.8.5-44) (GCC)
built with OpenSSL 1.0.2k-fips  26 Jan 2017
TLS SNI support enabled
configure arguments: --prefix=/etc/nginx --sbin-path=/usr/sbin/nginx --modules-path=/usr/lib64/nginx/modules --conf-path=/etc/nginx/nginx.conf --error-log-path=/var/log/nginx/error.log --http-log-path=/var/log/nginx/access.log --pid-path=/var/run/nginx.pid --lock-path=/var/run/nginx.lock --http-client-body-temp-path=/var/cache/nginx/client_temp --http-proxy-temp-path=/var/cache/nginx/proxy_temp --http-fastcgi-temp-path=/var/cache/nginx/fastcgi_temp --http-uwsgi-temp-path=/var/cache/nginx/uwsgi_temp --http-scgi-temp-path=/var/cache/nginx/scgi_temp --user=nginx --group=nginx --with-compat --with-file-aio --with-threads --with-http_addition_module --with-http_auth_request_module --with-http_dav_module --with-http_flv_module --with-http_gunzip_module --with-http_gzip_static_module --with-http_mp4_module --with-http_random_index_module --with-http_realip_module --with-http_secure_link_module --with-http_slice_module --with-http_ssl_module --with-http_stub_status_module --with-http_sub_module --with-http_v2_module --with-mail --with-mail_ssl_module --with-stream --with-stream_realip_module --with-stream_ssl_module --with-stream_ssl_preread_module --with-cc-opt='-O2 -g -pipe -Wall -Wp,-D_FORTIFY_SOURCE=2 -fexceptions -fstack-protector-strong --param=ssp-buffer-size=4 -grecord-gcc-switches -m64 -mtune=generic -fPIC' --with-ld-opt='-Wl,-z,relro -Wl,-z,now -pie'
安装完成
三.nginx部分目录结构
1.conf目录
[root@localhost nginx-1.22.0]# ll
total 804
drwxr-xr-x 6 1001 1001    326 Aug  9 19:25 auto
-rw-r--r-- 1 1001 1001 317070 May 24  2022 CHANGES
-rw-r--r-- 1 1001 1001 484445 May 24  2022 CHANGES.ru
drwxr-xr-x 2 1001 1001    168 Aug  9 20:30 conf
-rwxr-xr-x 1 1001 1001   2590 May 24  2022 configure
drwxr-xr-x 4 1001 1001     72 Aug  9 19:25 contrib
drwxr-xr-x 2 1001 1001     40 Aug  9 19:25 html   # Nginx 的默认站点目录
-rw-r--r-- 1 1001 1001   1397 May 24  2022 LICENSE
-rw-r--r-- 1 root root    387 Aug  9 19:49 Makefile
drwxr-xr-x 2 1001 1001     21 Aug  9 19:25 man
drwxr-xr-x 3 root root    174 Aug  9 20:26 objs
-rw-r--r-- 1 1001 1001     49 May 24  2022 README
drwxr-xr-x 9 1001 1001     91 Aug  9 19:25 src[root@localhost nginx-1.22.0]# pwd
/usr/local/src/nginx-1.22.0[root@localhost nginx-1.22.0]# tree conf
conf
├── fastcgi.conf   # fastcgi 相关参数的配置文件
├── fastcgi_params   # fastcgi 的参数文件
├── koi-utf
├── koi-win
├── mime.types   # 媒体类型
├── nginx.conf    # Nginx默认的主配置文件
├── scgi_params
├── uwsgi_params
└── win-utf0 directories, 9 files
2.html目录
[root@localhost nginx-1.22.0]# tree html
html
├── 50x.html   # 错误页面替代显示文件,出现错误时调用这个页面
└── index.html   # 默认的首页文件, 在实际环境中,一般用index.html、 index.php或index.jsp来做
四.nginx配置文件说明
[root@localhost ~]# vim /etc/nginx/nginx.conf #rpm包在这个文件,源码安装的配置文件是/usr/local/src/nginx-1.22.0/conf/nginx.conf
user  nginx;     #用户
worker_processes  auto;    #主模块命令,指定bnginx要开启的进程数,一般指定一个,如果cpu多多和,则和cpu数量一致即可error_log  /var/log/nginx/error.log notice;   #主模块命令,全局错误日志,debug(最详细),info,notice,warn,error,crit(最简略)
pid        /var/run/nginx.pid;  #主模块命令,指定进程id的存储文件位置#events指定设定nginx的工作模式和连接上限
events { #use 模式      (事件模块指令,放在events中指定nginx的工作模式,select-标准工作模式,poll-标准工作模式,kqueue-BDS系统高效工作模式,epoll-Linux平台首选高效工作模式,rtsig,/dev/poll)worker_connections  1024;   #事件模块指令,定义每个进程的最大连接数,默认1024,max_client客户端连接数=worker_processes*worker_connections,max_clients=worker_processes*worker_connections/4,当然这些设置也受文件系统打开数量限制,执行名“ulimit -n 65535”后生效
}#http服务配置
http {include       /etc/nginx/mime.types;    #include主模块命令,include配置文件default_type  application/octet-stream;  #http核心模块指令,octet-stream默认二进制流log_format  main  '$remote_addr - $remote_user [$time_local] "$request" ''$status $body_bytes_sent "$http_referer" ''"$http_user_agent" "$http_x_forwarded_for"';access_log  /var/log/nginx/access.log  main;sendfile        on;   #高效传输模式#tcp_nopush     on;keepalive_timeout  65;   #超时时间server {                    #server 区块listen 80;          #端口server_name localhost;      #域名location / {               #location区块,可以写多个root html;           #站点目录,路径不定,按我的源码安装方式那就在/usr/local/src/nginx-1.22.0/htmlindex index.html index.htm;     #首页文件} error_page 500 502 503 504 /50x.html;        #错误信息配置location = /50x.html {         #html文件位置root html;          #路径}}#gzip  on;  #是否开启压缩
include /etc/nginx/conf.d/*.conf;
}