最近在尝试用 LGTM 来实现 Go 微服务的可观测性,就顺便整理一下文档。
Tempo 会分为 4 篇文章:
- Tempo 的架构
- 官网测试实操跑通
- gin 框架发送 trace 数据到 tempo
- go-zero 微服务框架使用发送数据到 tempo
根据官方文档实操跑起来 tempo,中间根据自己需要改了一些,按照纯官网会有些跑不起来。
本文档用 docker-compose 启动,单独启动组件的,会在其他的文档描述。本文档主要目的在于用起来,怎么用得好,我现在也没研究太深。
所有本文档用到的配置文件,均在:zxmfke/lgtm: LGTM可观测性实战 (github.com)
git clone https://github.com/zxmfke/lgtm.git
让架构告诉我们需要什么组件来完成
【GO】LGTM_Grafana_Tempo(1)—架构
第一篇讲了 tempo 的架构,分为 Distributor,Ingester,Quier,Quier Fontend,Stroage,Compator,Matrics Generator/Backend。Distributor 意味着输入,所以得有个东西来发送 traces 数据。我们通过 github,可以找到 grafana 用来测试的 k6-tracing(初次看到,感觉就很吊)。
可能这个地方,有些人会想,好麻烦呀还要造数据,又要写代码。但是这个步骤却又是很重要的一步,相当于自测。开发前,也应该要想要的我要怎么自测,怎么测试我提供给别人的服务。
Ingester,Storage,Comptor 组成(泛) 我们的 tmepo,所以 tempo 肯定是必不可少的了。既然我们把数据发到tempo了,那我们就得做存储,为了测试所以就用 fs 来作为存储。数据存完,tempo 提供 quier,就表示我们可以查。Grafana 必然就是首选,毕竟是其旗下,因此 Grafana 也是需要的。最后一个,Matrics 要记在哪里呢?嗯,还是得要 prometheus 用来监控。不过,不开 matrics 的话,也可以不用 prometheus。
这样,本文档需要用到的所有组件就是,grafana,tempo,prometheus,k6-tracing。
文档使用镜像
-
grafana:grafana/grafana:10.1.0
-
tempo:grafana/tempo:2.2.1
去 docker hub 上看 tempo 的 tag 都是仓库名+commitid,其实直接拉取 github 上面最新 release 版本就行
-
prometheus:prom/prometheus:v2.46.0
-
k6-tracing:ghcr.io/grafana/xk6-client-tracing:v0.0.2
文档使用配置文件地址
都是在一个仓库,可以直接 clone 下来,等下直接 docker-compose 起就好
git clone https://github.com/zxmfke/lgtm.git
组件配置文件说明及重点修改说明
针对我跑的过程中碰到的几个点,简单说明下
grafana
grafana 的是 datasource 文件,这个文件可以减少使用者手动配置 tempo,prometheus 的步骤,这个值得自己在开发的时候借鉴。主要就是配置 tempo 和 prometheus,页面的配置也会在之后文档补上。
用 datasource 文件,创建的 source,在 grafana UI 上是不能编辑的,只能通过文件改了。
tempo
server:http_listen_port: 3200 # tempo 监听端口distributor: # 配置的是允许接入哪些类型的 trace 数据xxxxxingester:xxxxxcompactor:xxxxxmetrics_generator: # 配置的是 metrics 的数据往哪里发,主要就是写 promethus 的 URLregistry:external_labels:source: tempocluster: docker-composestorage:path: /tmp/tempo/generator/walremote_write:- url: http://promethus.ip:9090/api/v1/writesend_exemplars: truestorage:trace:backend: local # backend configuration to usewal:path: /tmp/tempo/wal # where to store the the wal locallylocal:path: /tmp/tempo/blocksoverrides:metrics_generator_processors: [service-graphs, span-metrics]
有看过第一篇架构的朋友,应该对配置文件里面的几个标题都很熟悉了。
解释(看的时候,查的资料)
wal
“wal” 是指 Write-Ahead Log(预写日志)。Write-Ahead Log 是一种持久化数据的技术,在系统发生崩溃或故障时,可以确保数据的可靠性和一致性。对于 Tempo 来说,“wal” 是一个配置项,用于指定预写日志文件的位置和设置。
通过使用 Write-Ahead Log,Tempo 可以将跟踪数据持久化到磁盘,以便在系统故障后能够恢复数据并保持数据的完整性。该日志文件记录了写入 Tempo 的跟踪数据的操作,以及相关的元数据。这种方式可以确保即使在系统崩溃时,跟踪数据也不会丢失,并且可以在系统恢复后重新加载。
overrides
“overrides” 是用于覆盖默认配置的配置项。它允许您对 Tempo 的行为进行细粒度的定制,以满足特定的需求和场景。
通过使用 “overrides” 配置项,您可以在 Tempo 中针对某些特定的组件、服务或操作进行个性化配置。这些覆盖配置可以覆盖全局配置中的默认设置,以便对特定组件或场景进行定制化设置。
Docker Compose YAML
# 如果有 git clone 的话,直接 cd tempo/docker-compose/local 即可
wget https://github.com/zxmfke/lgtm/blob/main/tempo/docker-compose/local/docker-compose.yaml -O docker-compose.yaml
version: "3"
services:tempo:image: grafana/tempo:2.2.1command: [ "-config.file=/etc/tempo.yaml" ]volumes:- ./tempo.yaml:/etc/tempo.yaml- ./tempo-data:/tmp/tempoports:- "14268:14268"  # jaeger ingest- "3200:3200"    # tempo- "9095:9095"    # tempo grpc- "4317:4317"    # otlp grpc- "4318:4318"    # otlp http- "9411:9411"    # zipkink6-tracing:image: ghcr.io/grafana/xk6-client-tracing:v0.0.2environment:- ENDPOINT=tempo:4317restart: alwaysdepends_on:- tempoprometheus:image: prom/prometheus:v2.46.0command:- --config.file=/etc/prometheus.yaml- --web.enable-remote-write-receiver- --enable-feature=exemplar-storagevolumes:- ./prometheus.yaml:/etc/prometheus.yamlports:- "9090:9090"grafana:image: grafana/grafana:10.1.0volumes:- ./grafana-datasources.yaml:/etc/grafana/provisioning/datasources/datasources.yamlenvironment:- GF_FEATURE_TOGGLES_ENABLE=traceqlEditorports:- "3000:3000"
注意事项
-
tempo 的 ports 是根据配置文件中 distributor 来的,开放哪些 receiver 就开哪些端口。
单点部署 tempo 的有一个很容易出错的地方,docker run 的时候只知道开放 3200 端口,以为 tempo 就起好了,但是往里面发 traces 数据的时候又写不进去。
-
k6-tracing 是往 tempo 发数据,所以必须得等 tempo 启动好
配置文件改动位置
grafana-dataresources.yaml
# 如果有 git clone 的话,直接 cd tempo/docker-compose/local 即可
wget https://github.com/zxmfke/lgtm/blob/main/tempo/docker-compose/local/grafana-dataresources.yaml -O grafana-dataresources.yaml
L9:prometheus.ip,改成部署的服务器IP
L20:tempo.ip,改成部署的服务器IP
prometheus.yaml
# 如果有 git clone 的话,直接 cd tempo/docker-compose/local 即可
wget https://github.com/zxmfke/lgtm/blob/main/tempo/docker-compose/local/prometheus.yaml -O prometheus.yaml
L11:tempo.ip,改成部署的服务器IP
tempo.yaml
# 如果有 git clone 的话,直接 cd tempo/docker-compose/local 即可
wget https://github.com/zxmfke/lgtm/blob/main/tempo/docker-compose/local/tempo.yaml -O tempo.yaml
L34:promethus.ip,改成部署的服务器IP
我是本地 docker-compose 起,所以改的都是部署的服务器IP地址。后面部署在别的地方 ,或者用创建docker network,都是可以的。
启动
docker-compose 的安装就不在这边描述了,Install Docker Desktop on Debian | Docker Docs,有完整的教程。
docker-compose up -d
启动过程可能会出现如下画面:

容器名称可能会不一样,这个没关系。启动完成后,执行 docker ps,就可以看到我们想要启动的 4 个容器。

停止
docker-compose down
页面访问
在通过之前描述,k6-tracing 是定时往 tempo 里面发数据,我们就来看一下 grafana 上面怎么看。
登入 grafana
浏览器请求 IP:3000,访问 grafana 的主页。第一次登入的话,账号密码是 admin/admin。

进入 explore 页面

选择一个 trace 查看

查看 service Graph
详细可看,Service graph view | Grafana Tempo documentation

Metrics
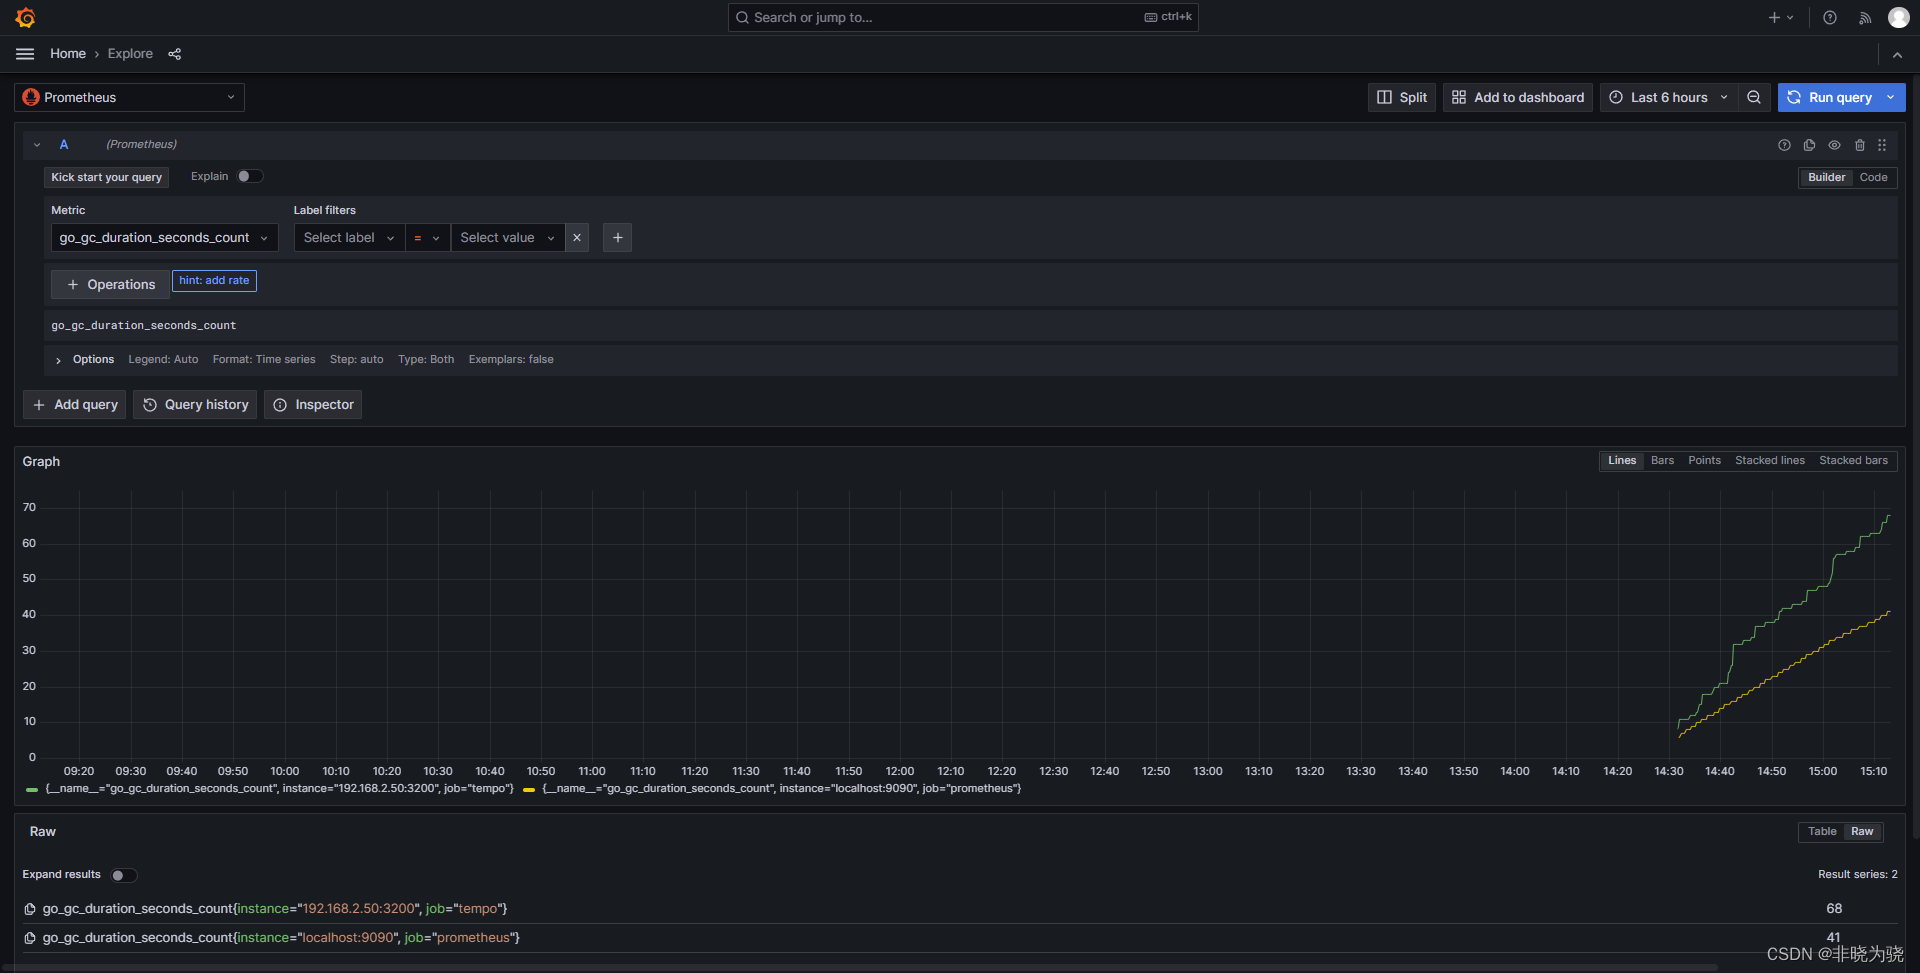
我们在 tempo 的配置项里面开启了 metrics_generator,所以可以通过 explore 里面选择 prometheus 来当做数据源,查看。在筛选器里面的 Metric 里面有非常多可选项。
