健康系统
项目建构:
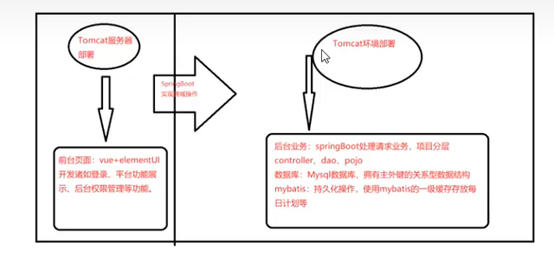
前后端分离,前端vue3,后端Java,springboot做跨域处理,前端将在vscode中 的tomcat下部署,后端将在ideal中集成的tomcat中部署
创建项目工程在ideal中直接选用springi…创建,选中web,sql中的mysdatatbasses
后端页面
在数据源中新建一个数据连接池application.yml:

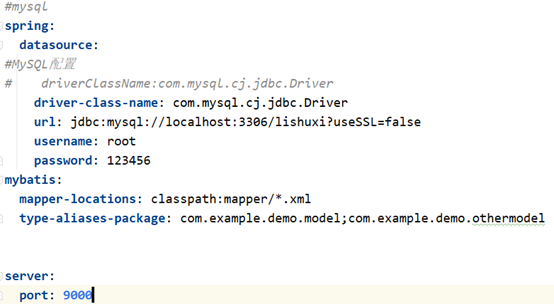
其中的 加载了数据库连接池的驱动

连接数据对象的地址,使用了jdbc进行连接
- 上面的 mybatis.mapper-locations 属性指定了 Mapper 接口文件所在的位置,mybatis.type-aliases-package 属性则指定了类型别名所在的包。你可以根据你的实际情况进行调整。
- 此时,Spring Boot 将使用这个端口号来启动 Web 服务器,为了防止后面前端页面中的tomcat中的端口重复
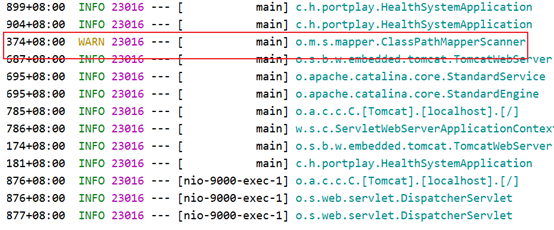
在浏览器中验证9000端口成功加载

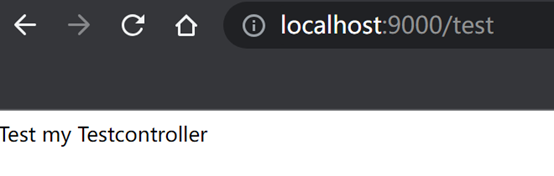
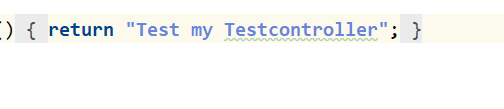
在Java类中创建测试案列test来展示项目的结构


在浏览器上输入地址后
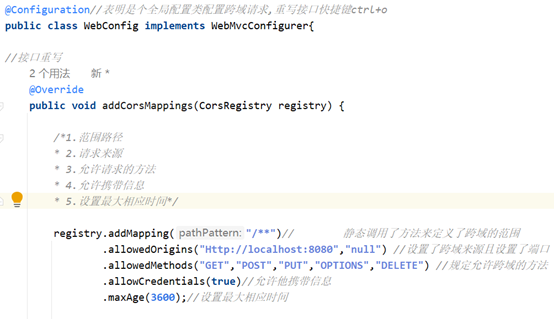
前后端分离导致他们的服务器端口通信不一致,需要让他们保持通信
前端页面:
环境准备:
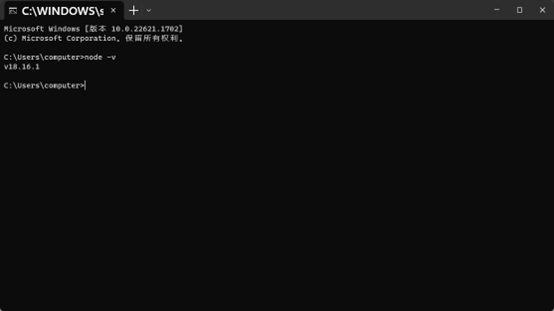
需要下载node.js才能使用vue框架
安装node.js包管理器
在安装完node.js后需要安装安装Nodejs下的包管理器,打开windows命令窗口,输入“npm install -g cnpm --registry=https://registry.npm.taobao.org
下载不了就国内镜像下载,可以更新一下版本,
安装vue-cli脚手架
切换到d盘目录安装脚手架:
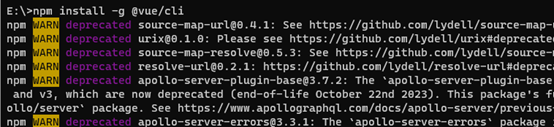
npm install -g @vue/cli
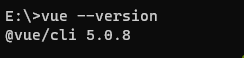
查看下版本
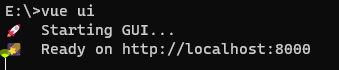
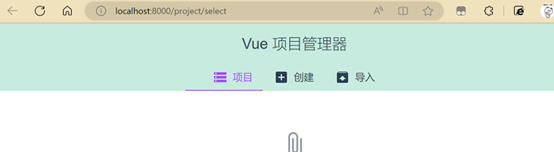
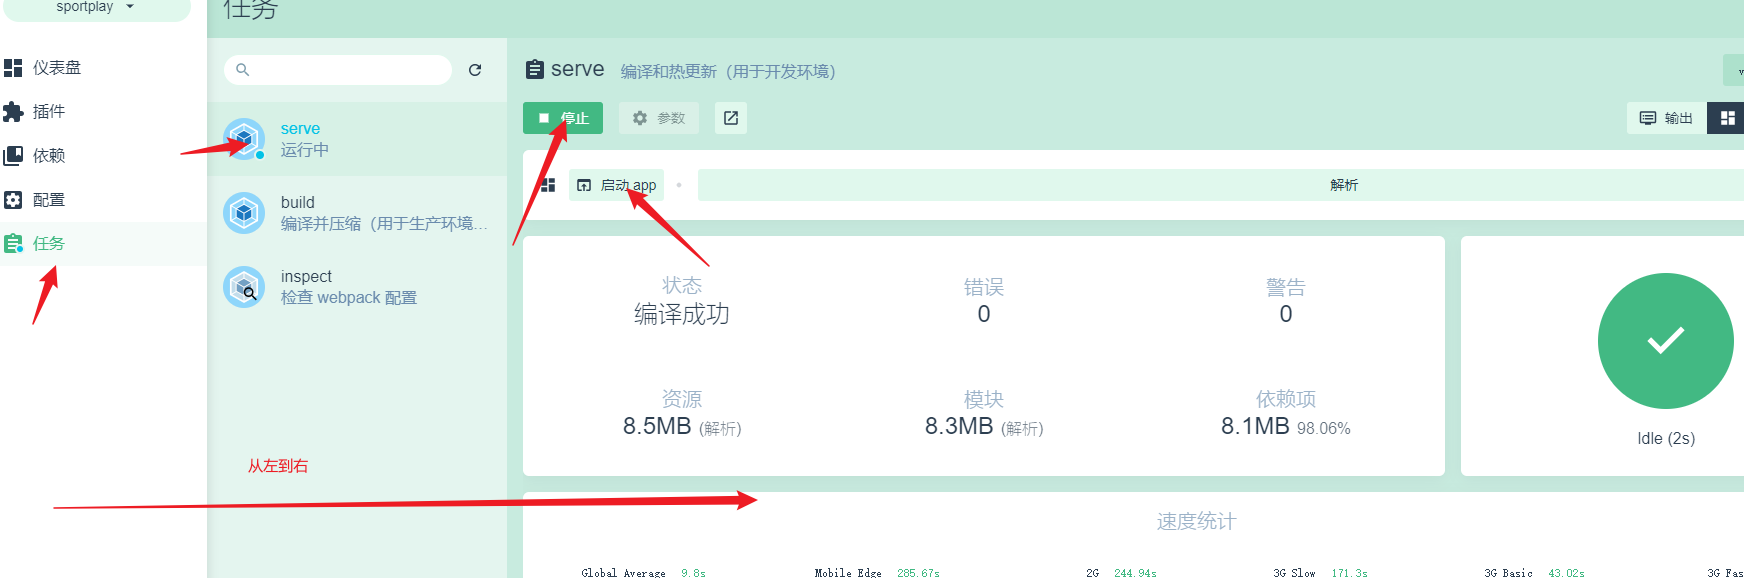
启动下可视化界面在对应的目录下:
成功启动:
初始预设项目的创建:
在D盘下创建此项目
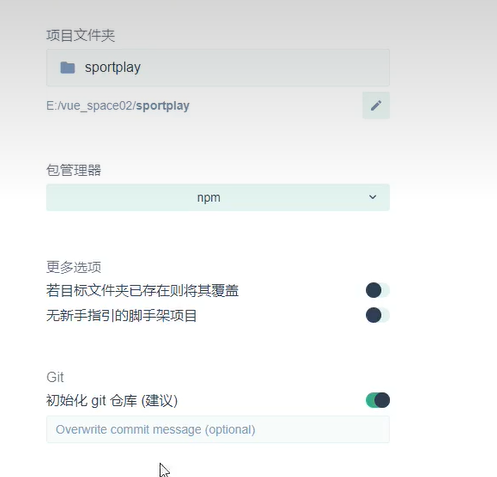


在最后创建的前一步
要选择创建的版本选择3.x版本的

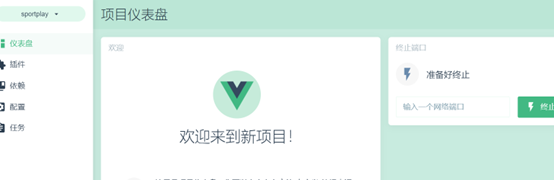
在创建完成后需要给vue添加一些组件在插件库里面添加插件
添加:插件,由于我是vue3所以使用plus版element


点击完成安装
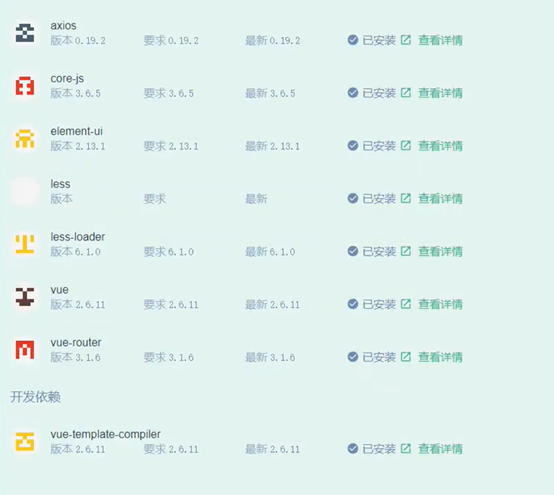
添加依赖:

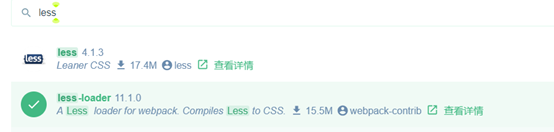
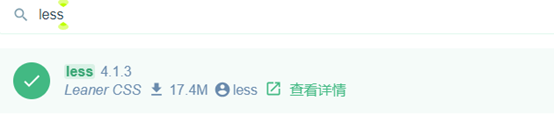
这几个就是帮助设计样式,和提交的
启动项目:
对基础页面进行删减:

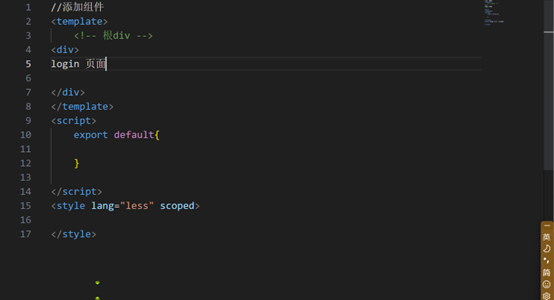
创建登录组件:
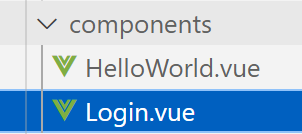
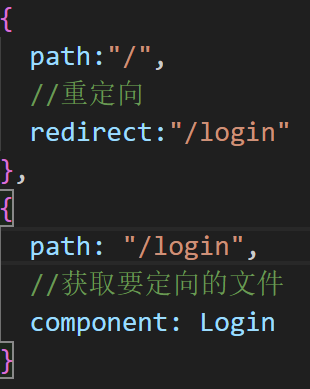
为了保证能访问到需要进行路由转发(index.js)

在app主界面修设置了路由转发

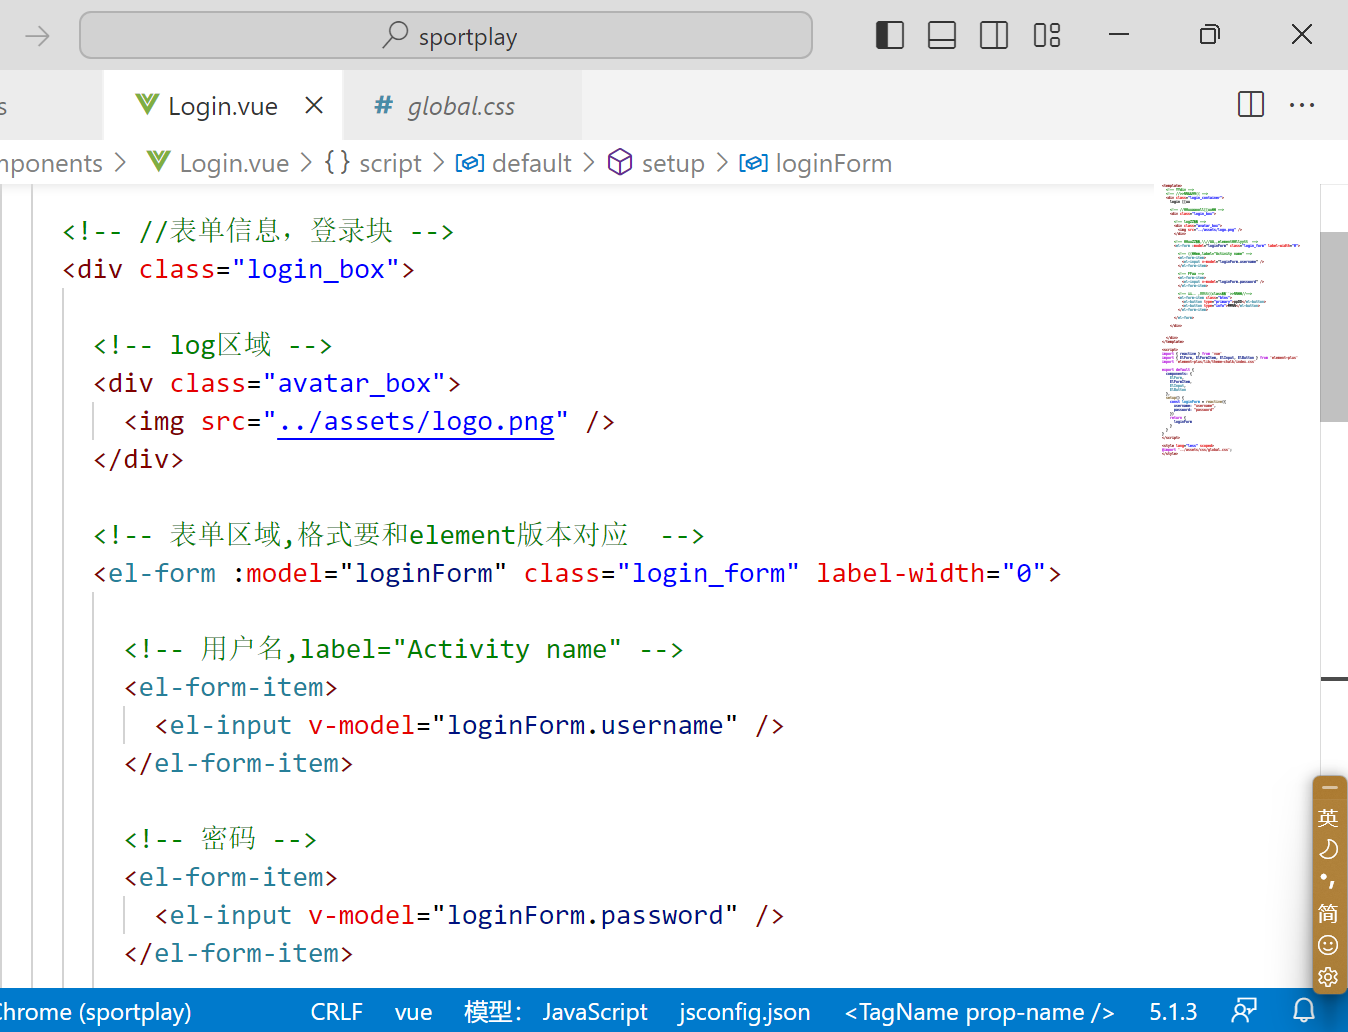
开发login组件:
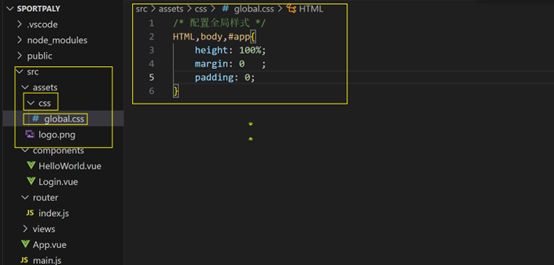
创建了全局的css样式global.css
在导入到全局变量
登录页面成功显示:

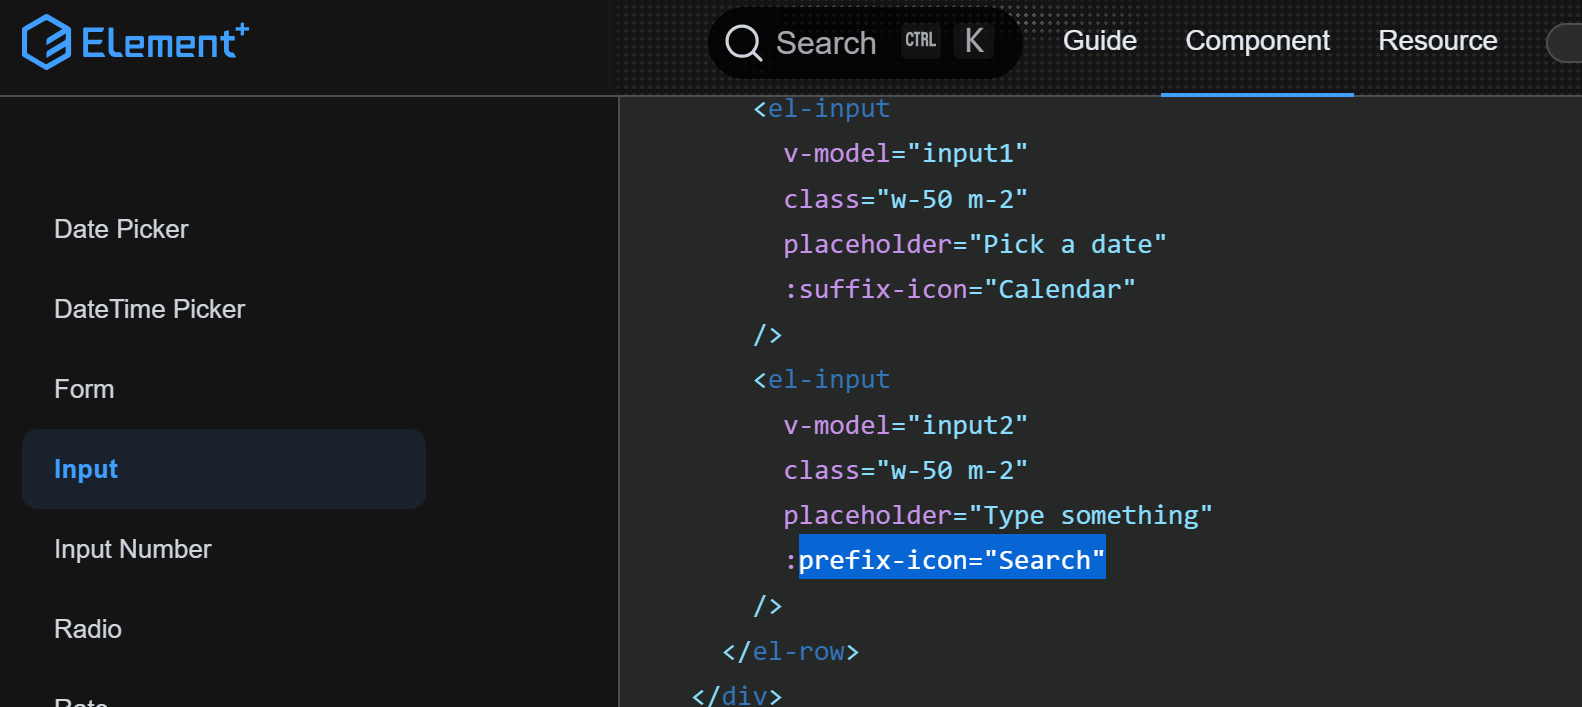
设置列表前面的搜索框
为了美化页面里面的图标需要下载好图标导入到项目


打开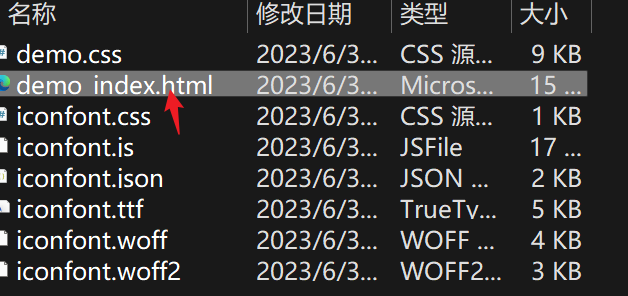
这里面有用法

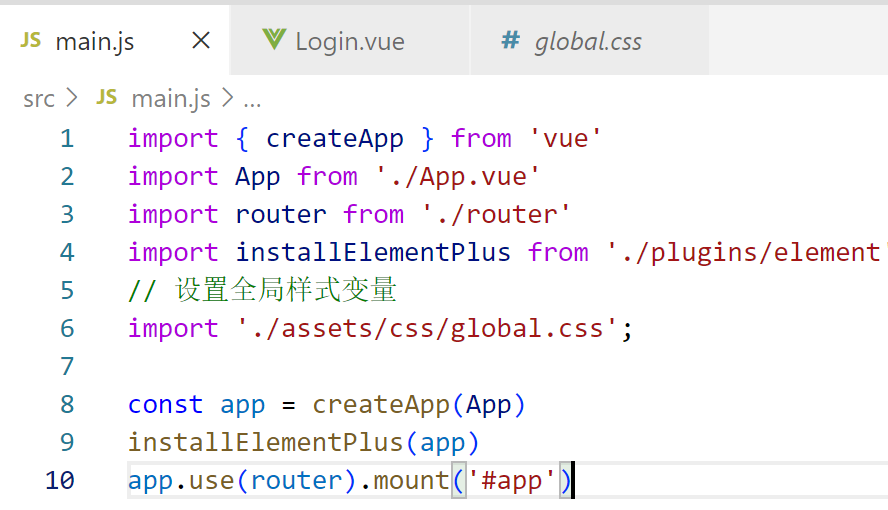
导入到项目在全局设置样式(main.js)
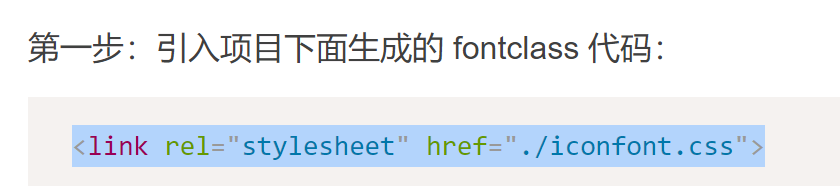


注意这里是在里面是有一个点的要去掉

样式添加:
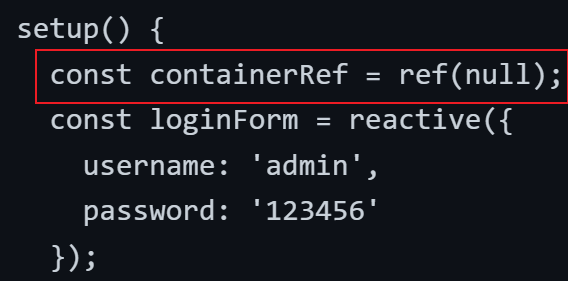
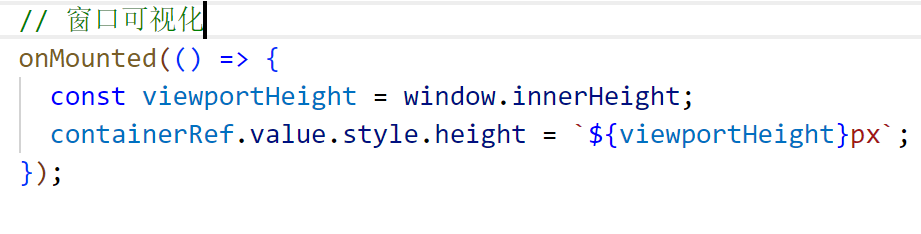
在global.css设置了登录容器的大小即为可视化窗口的大小

在login.vue中设置了容器的高度大小为可视化窗口的100%

设置了背景颜色和大小

成功让其填充到页面
设置了login——box登录容器的样式这里可以调整:

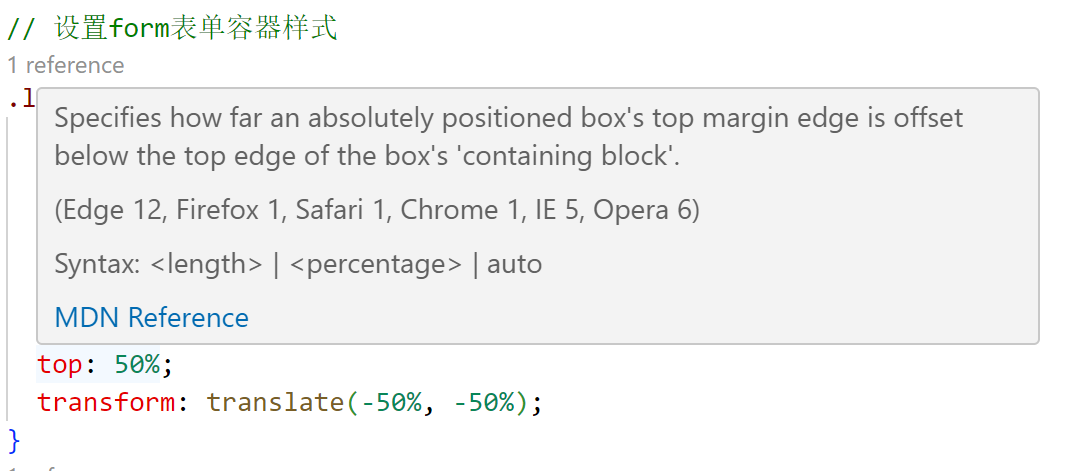
设置了form表单样式:
设置了log区域的div样式:
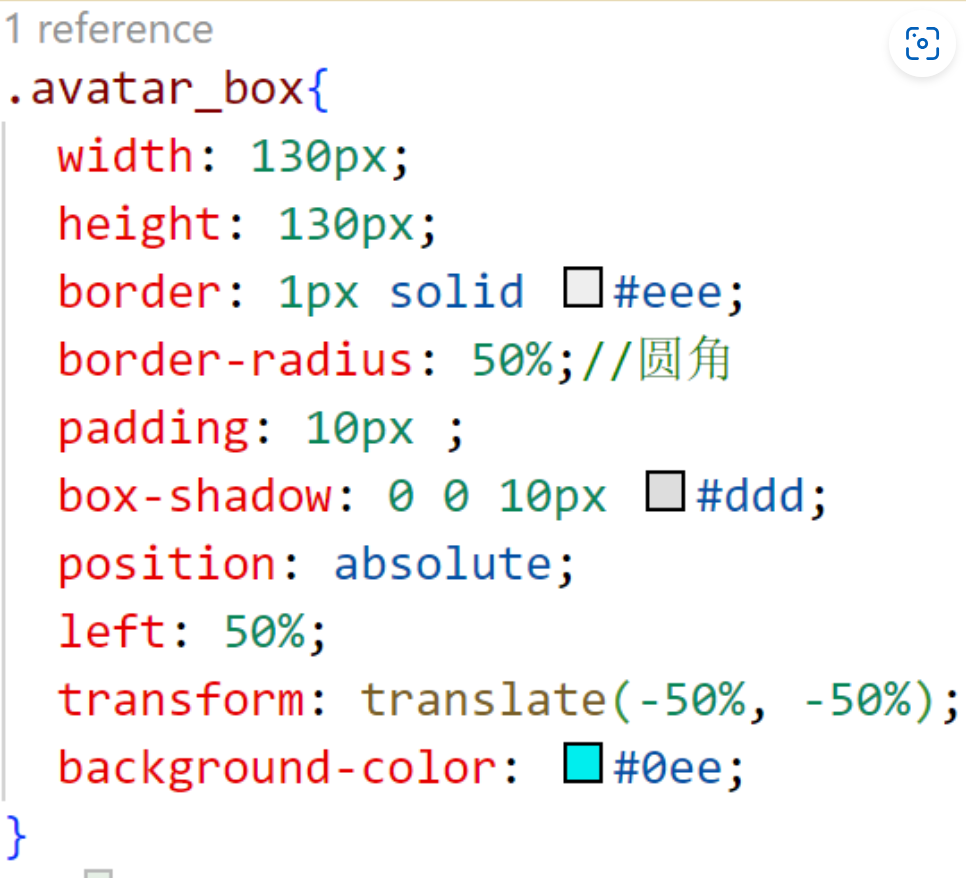
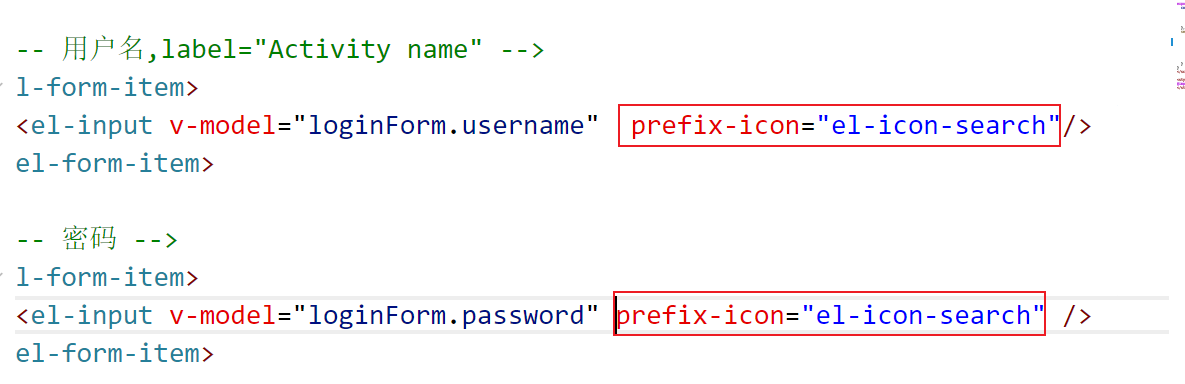
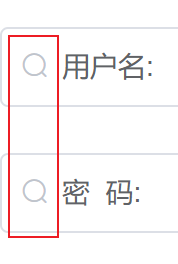
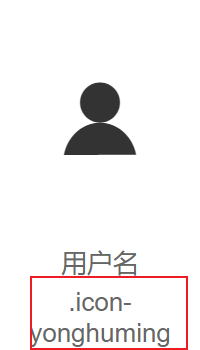
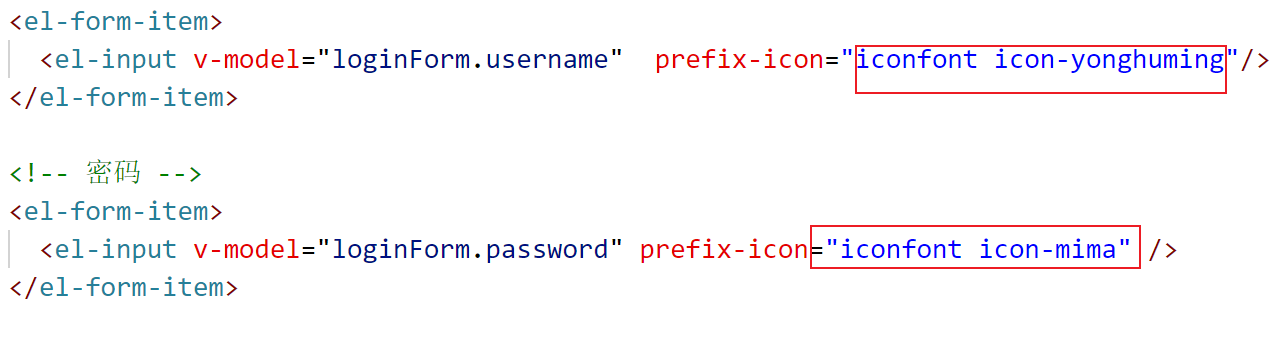
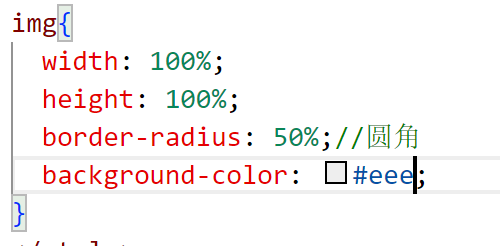
设置了图标:
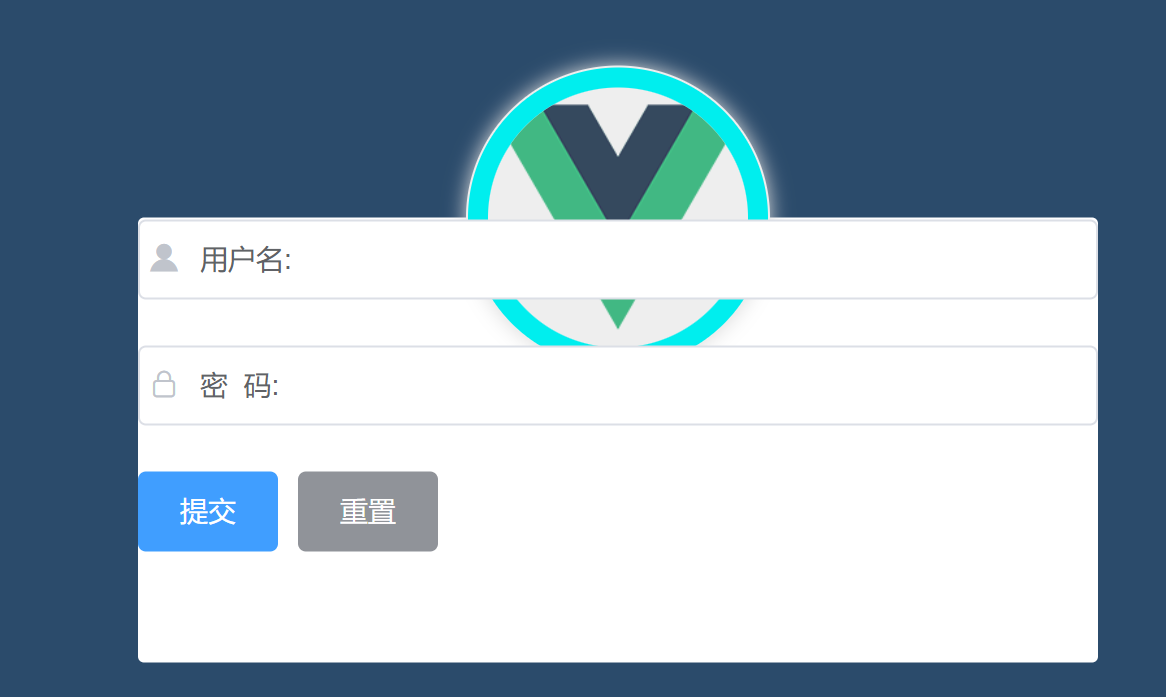
结果:
设置了登录按钮的样式边界:
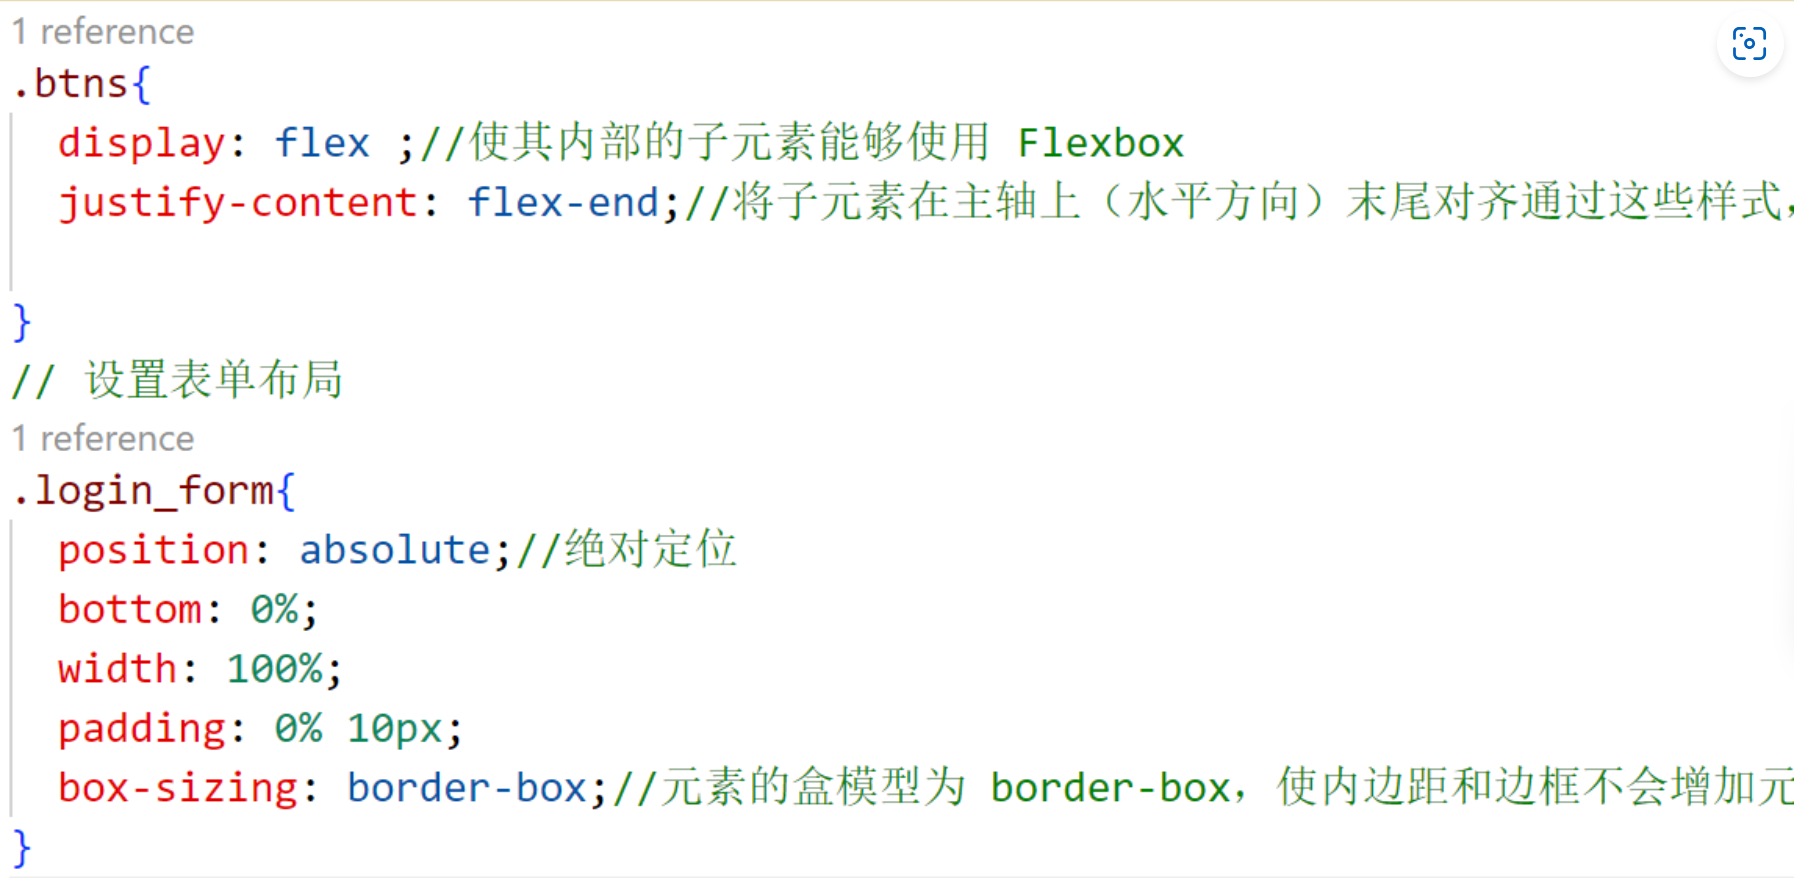
设置了form表单的样式:
调整后:
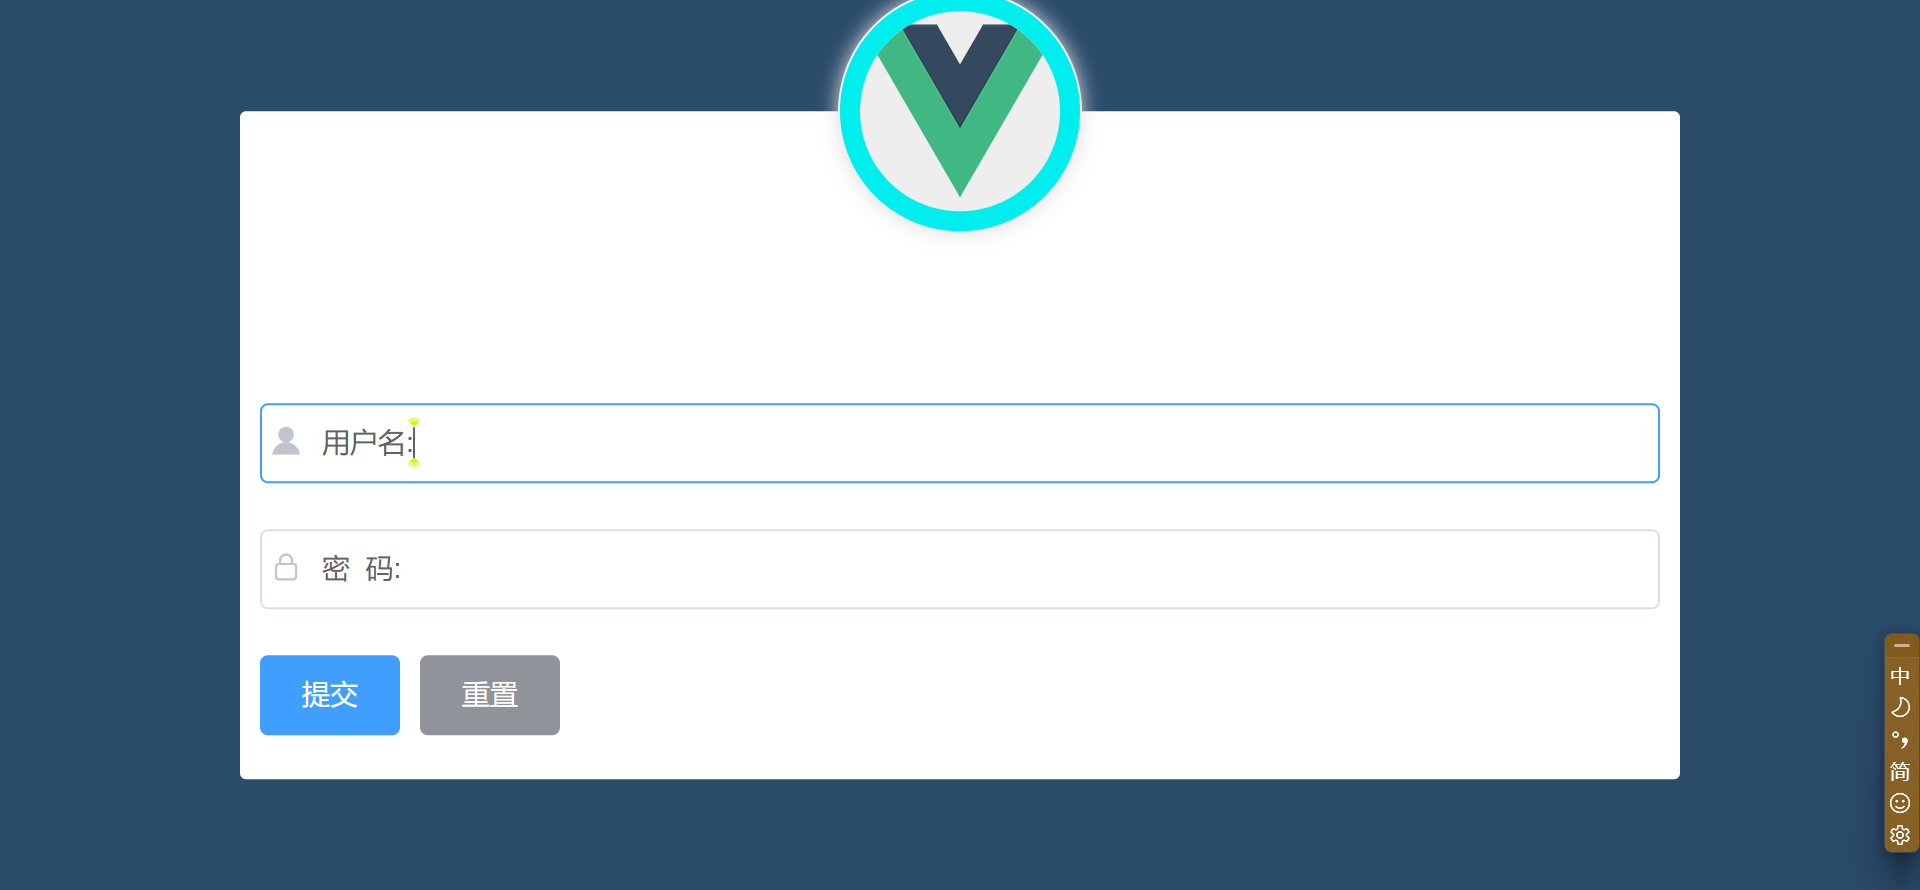
前端登录页面美化样式完成:
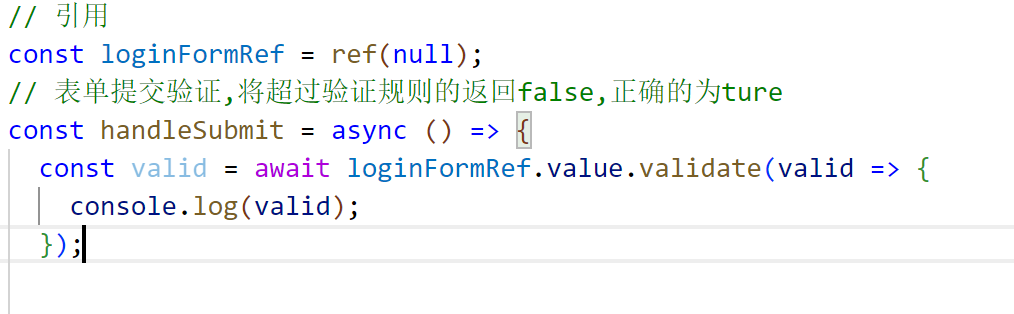
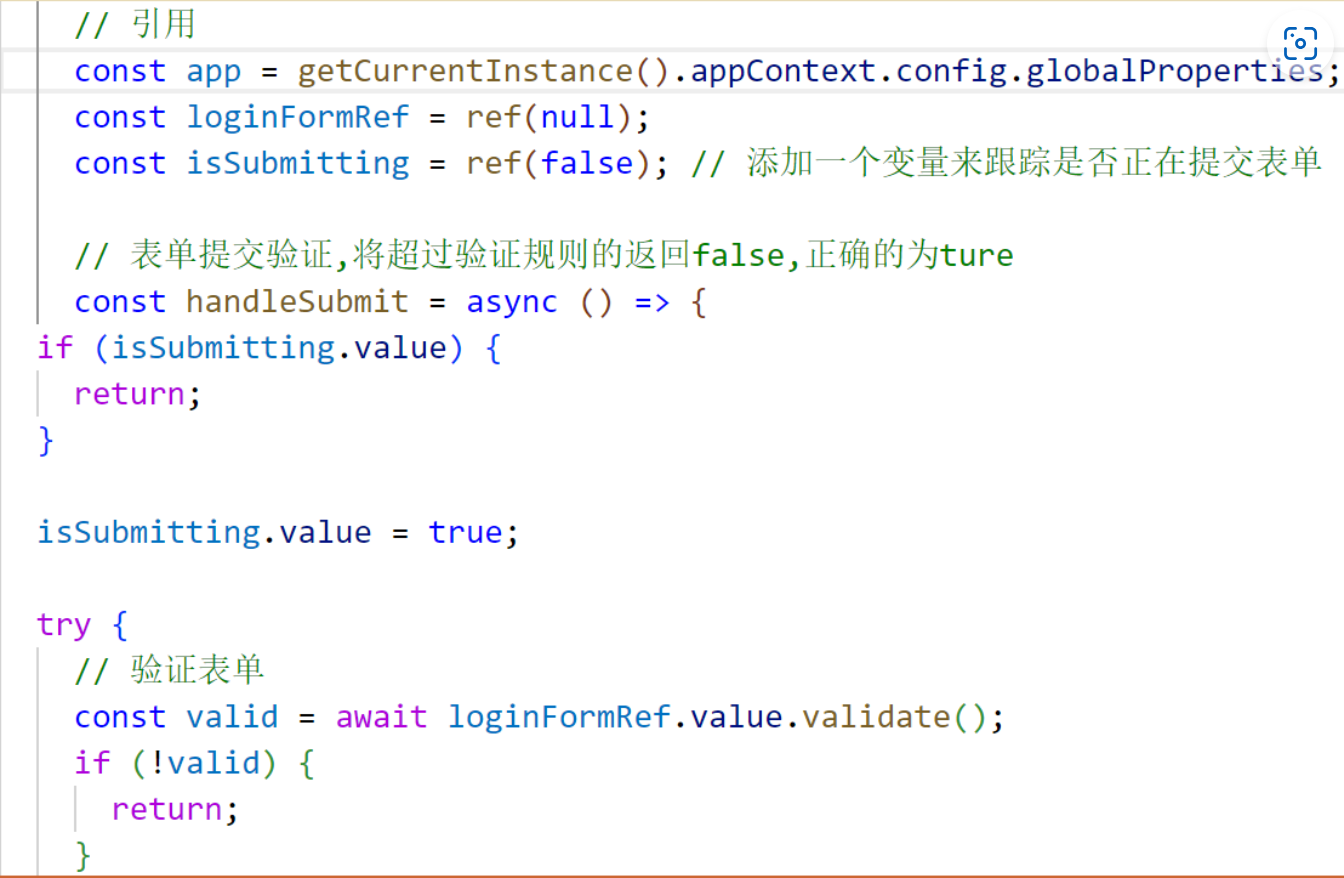
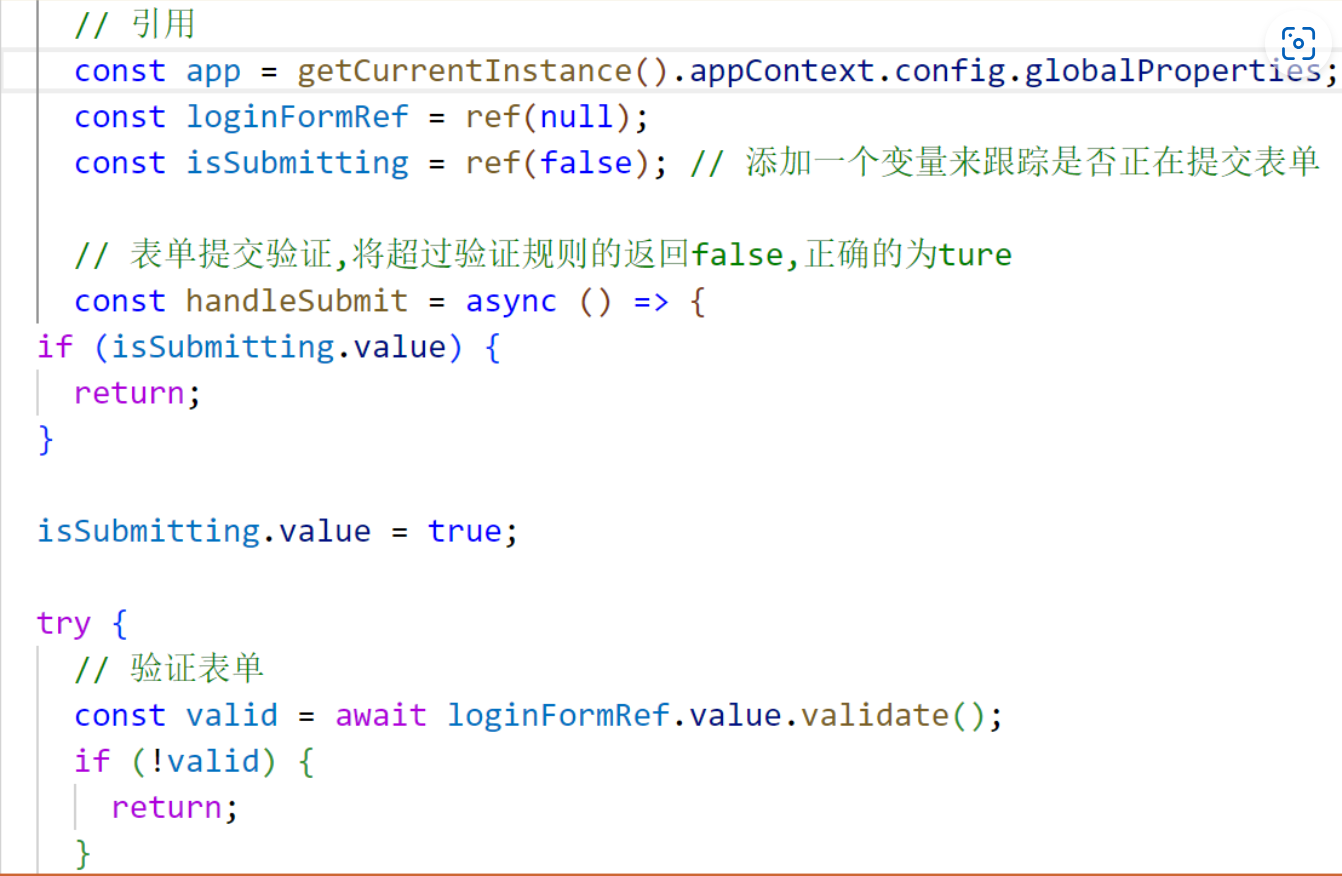
添加用户登录表单非空前验证:
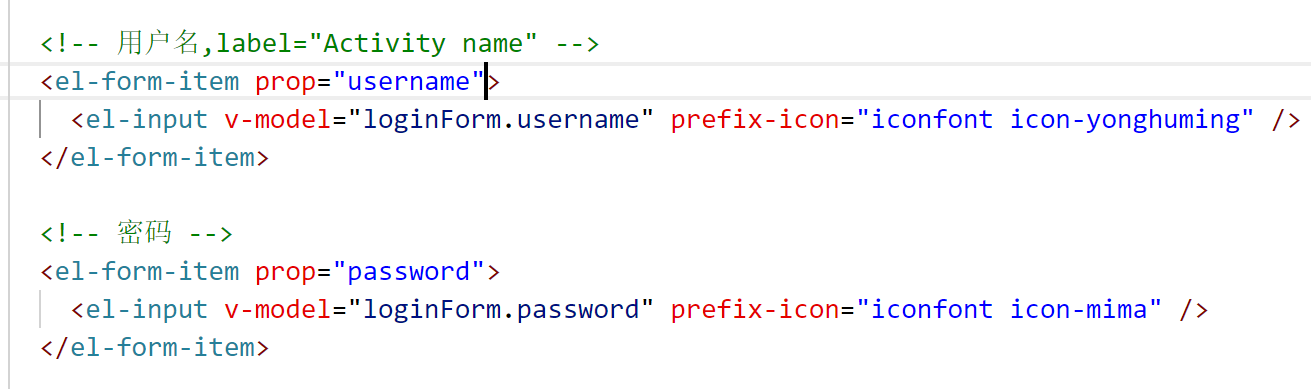
添加属性:


设置了用户名和密码的登录前必须输入验证:
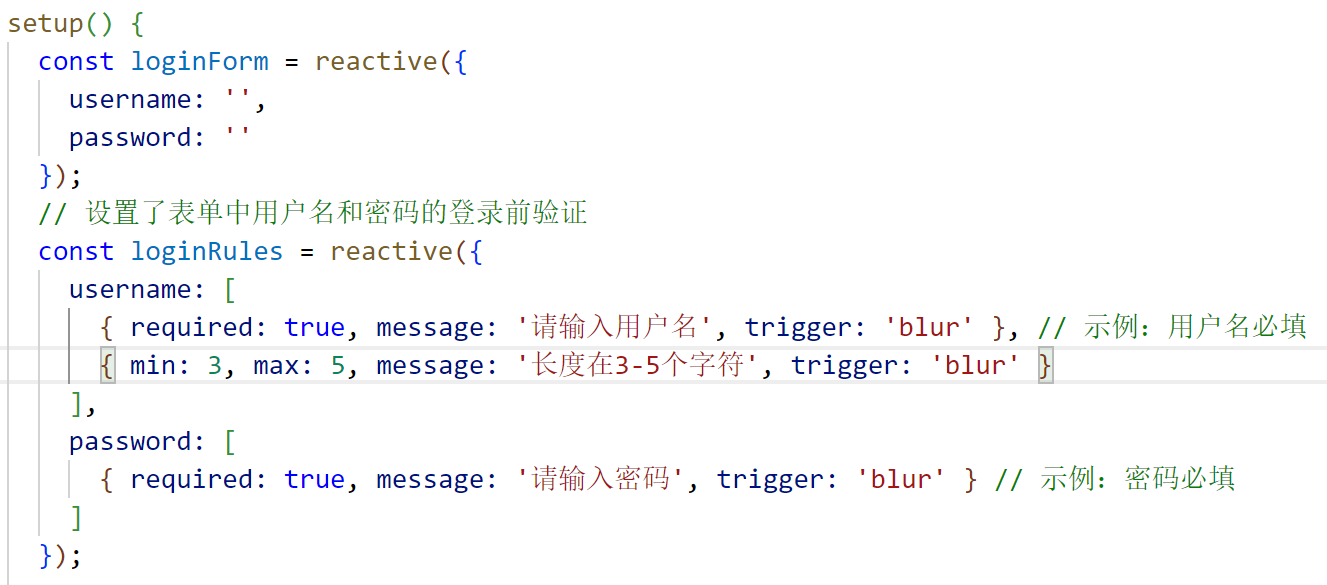
并且在对应的表单中绑定了对应的事件
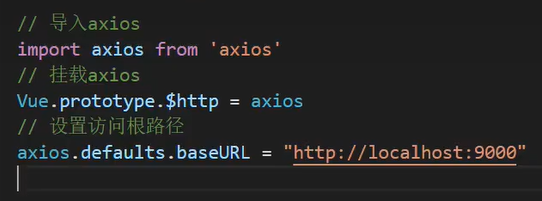
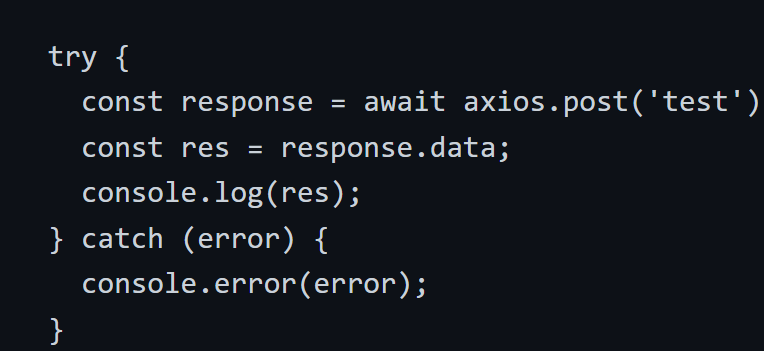
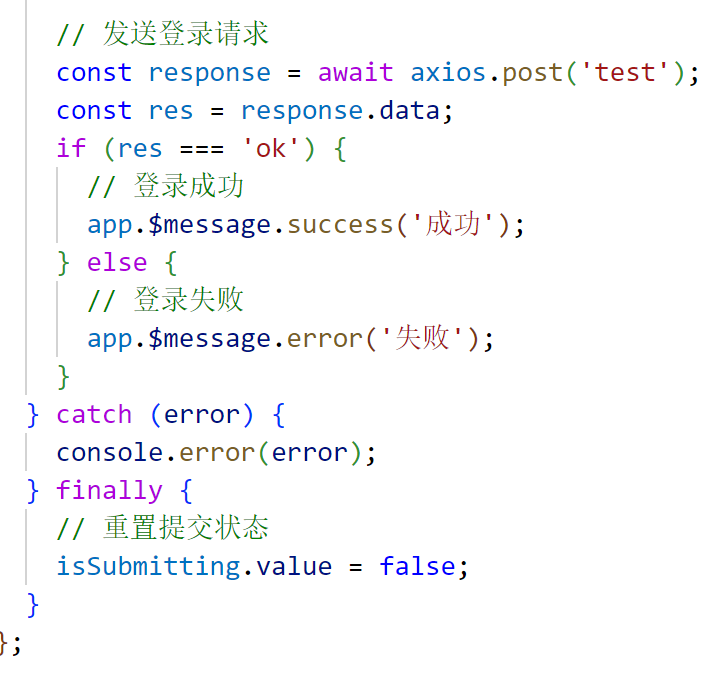
添加登录的提交需要导入axios
(vue2)
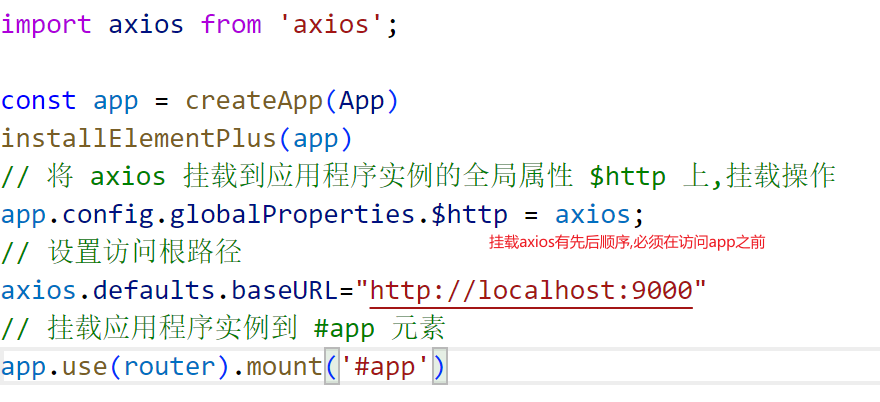
由于我使用的是vue3导致使用的挂载方法不一致,且挂载axios有先后顺序,必须在访问app之前挂载
(vue 3)
在密码框添加了防可见

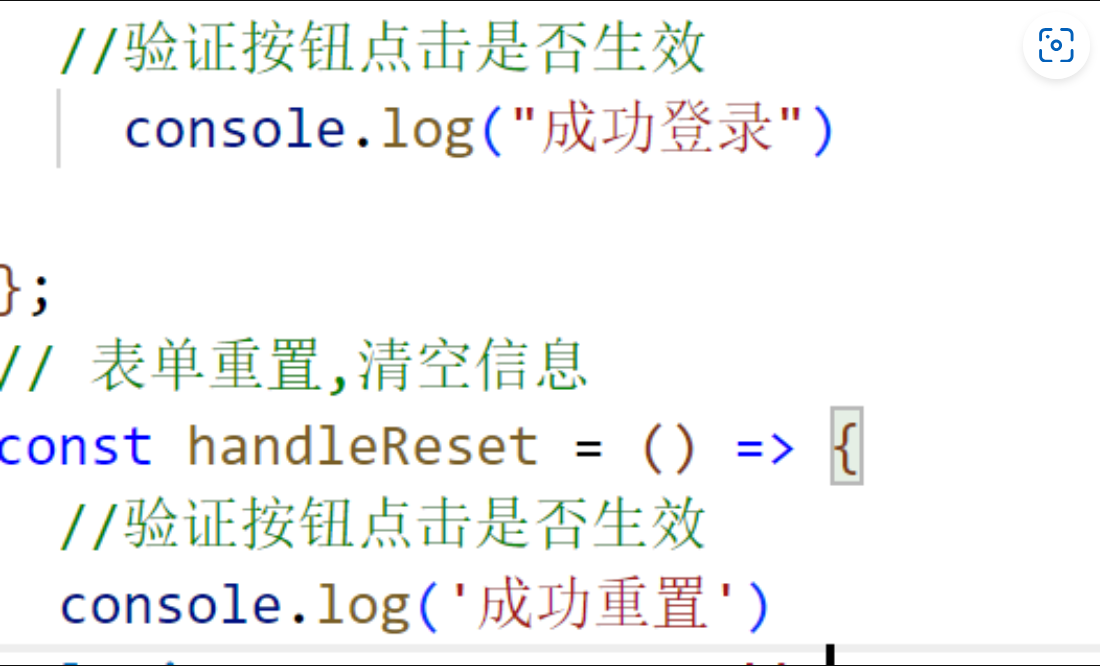
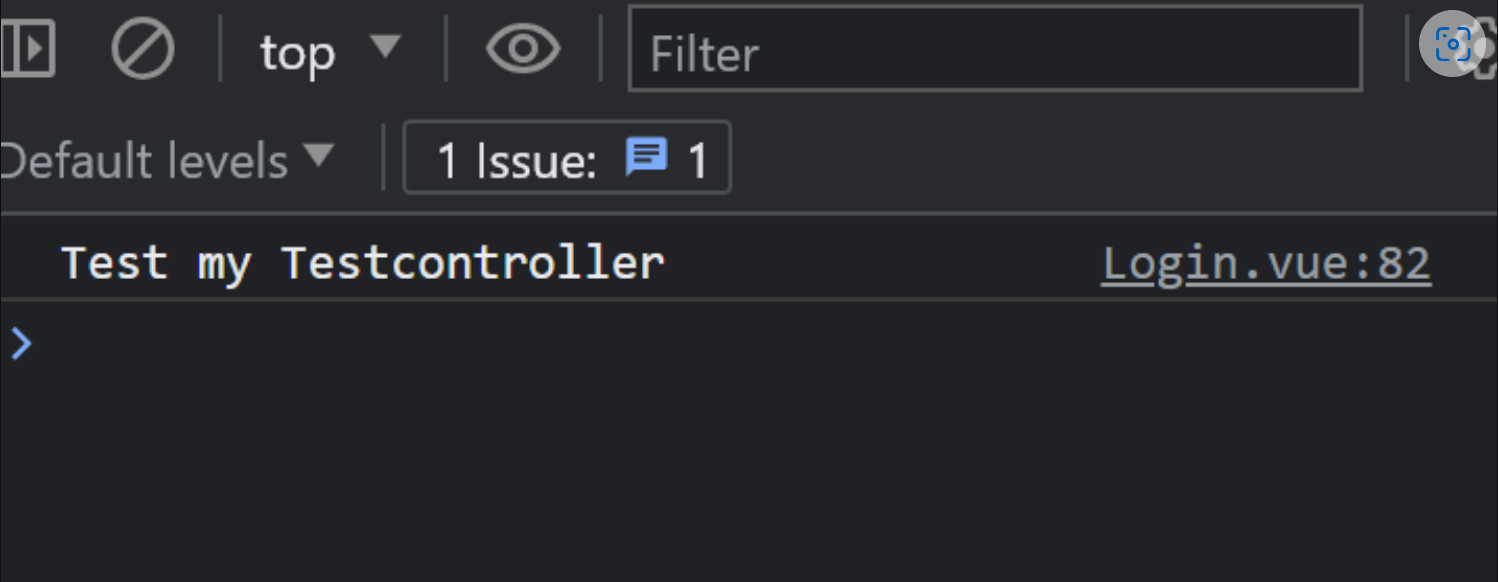
为了验证按钮点了之后是否生效我加了验证的日志
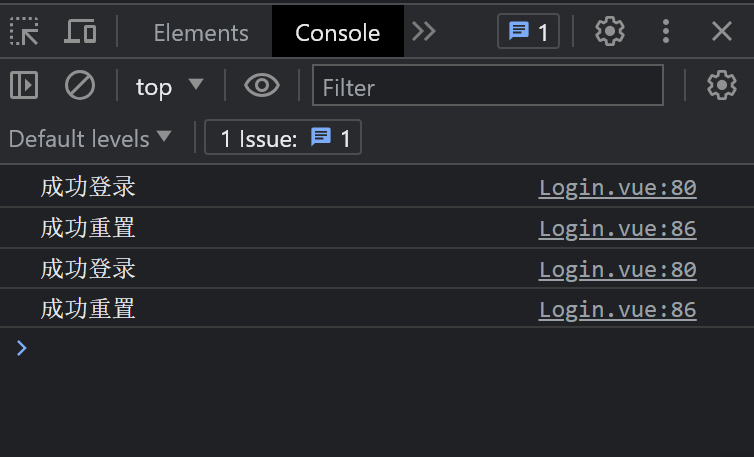
浏览器开发者工具下
在设置登录按钮的过程中由于vue3问题我修改了多次下面展示我修改的代码


这里我还将窗口的可视化进行了移动、
在点击登录和重置后,有信息输出表示成功了

登录显示后端数据测试
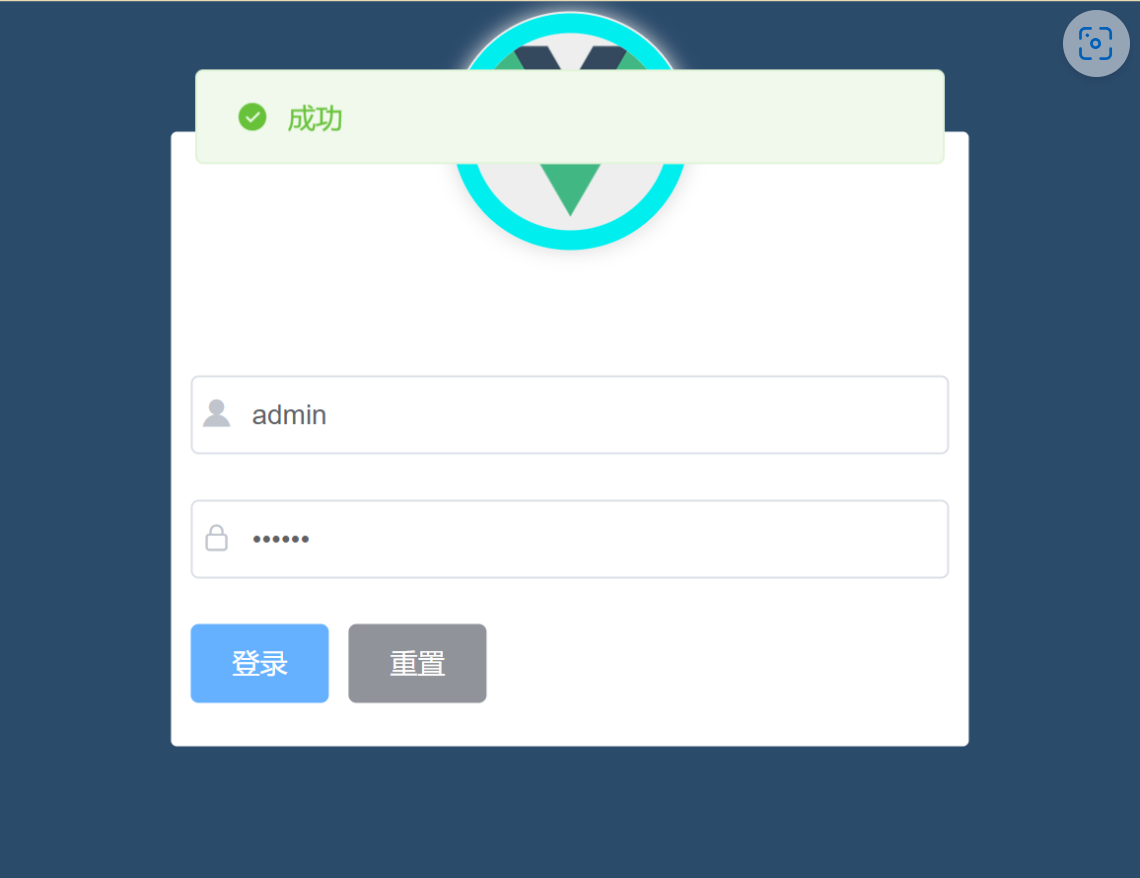
点击登录后成功显示
添加了点击登录按钮后提示的消息框


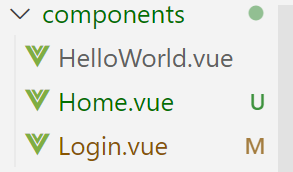
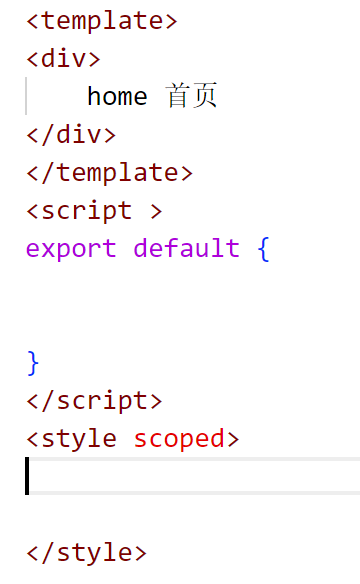
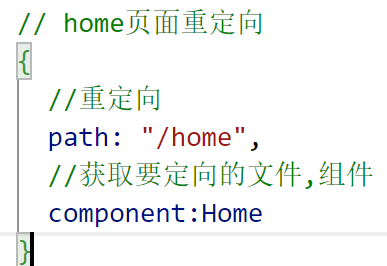
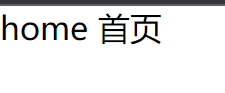
添加home首页创建home首页
在home页面写上基本框架
重定向路由页面让路由进行跳转

到此处完整的响应请求,基本完成,且前后端分离
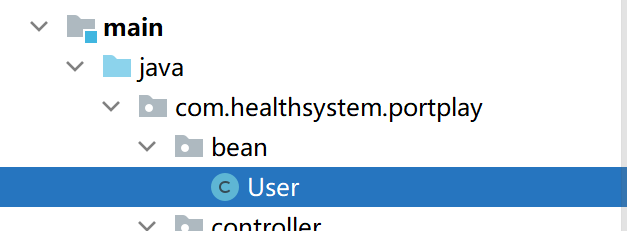
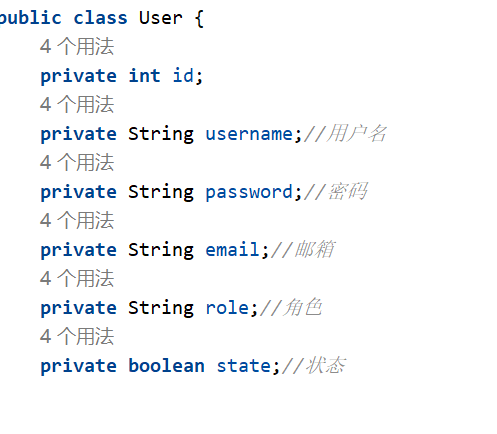
创建user对象进行封装(get,Set):
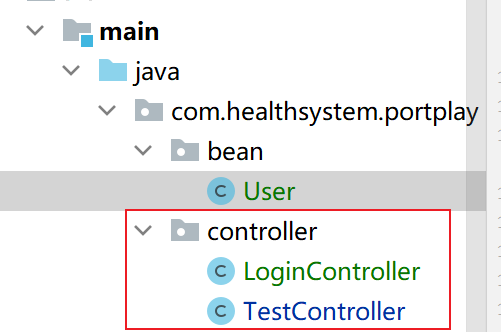
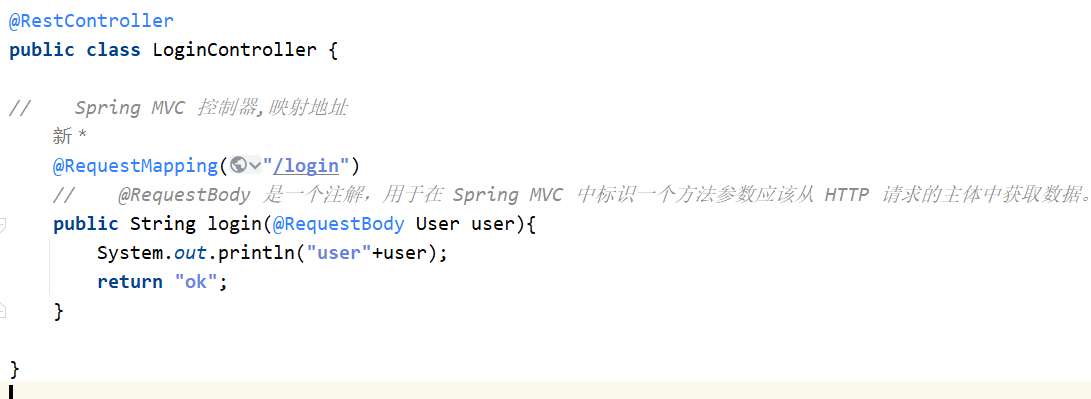
创建了一个登录控制器:
改变前端页面要访问的后台地址:

在点击登录后成功跳转login页面
在后端接收到创建的User 对象
在后台控制台,查看到创建的User对象

到这实体用户User的自动封装,自动创建,已经完成
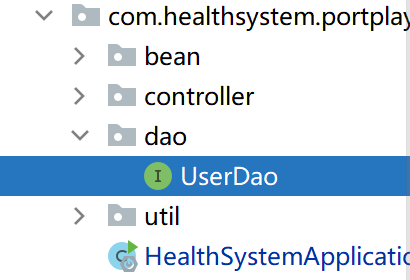
在dao成进行数据库的访问

编写了查询语句
返回了controller层,进行登录
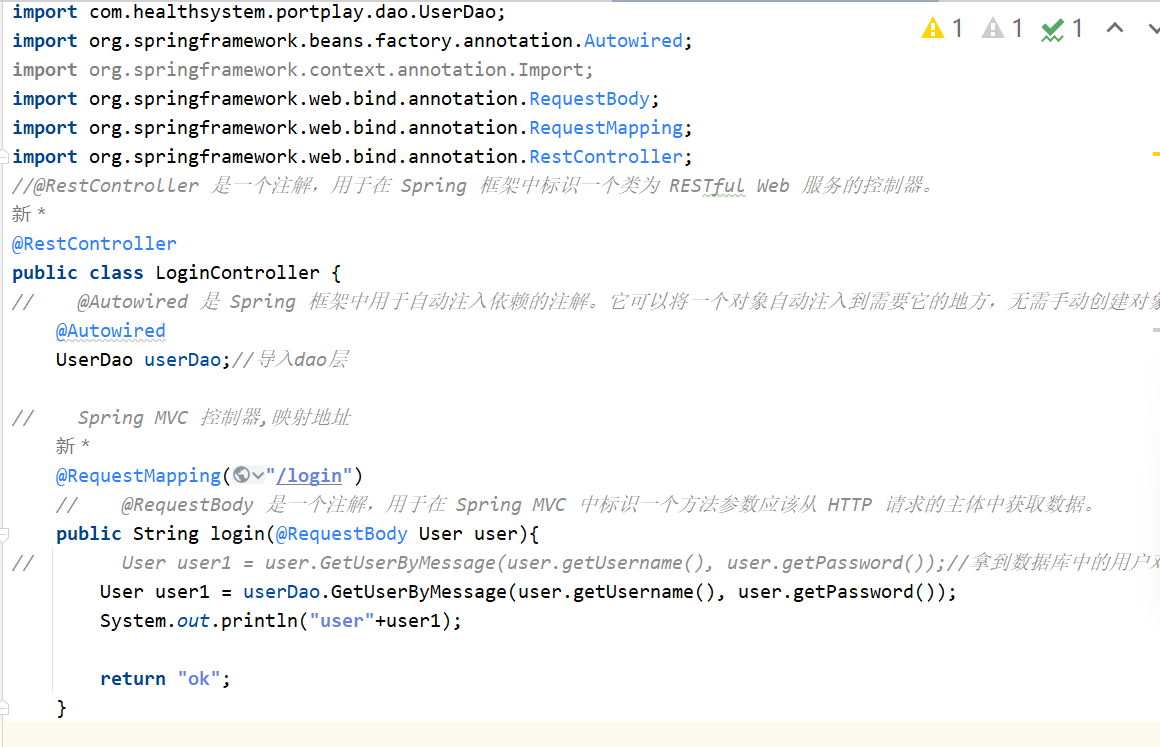
在主程序入口进行了扫描dao层中的包的操作

点击了登录后跳转到home页面,在后端会查询到数据中的用户信息


导入json特殊字符串,形成json对象

由于我是用的gradle创建的项目没有pom.xml文件,Gradle使用一个名为"build.gradle"(或者是"build.gradle.kts",如果你使用Kotlin脚本)的文件来定义项目的构建配置。这个文件包含了项目的依赖项、插件、任务和其他构建设置。

在login页面将对象转化为json字符串

在登录页面对跳转页面进行设置,设置了他的默认值是error,使用了json.tojsonstring来将对象和跳转页面进行返回

将从后端发送过来的数据的flag值和ok对比,进行跳转

在hom.vue中添加了退出按钮,并成功返回到登录页面

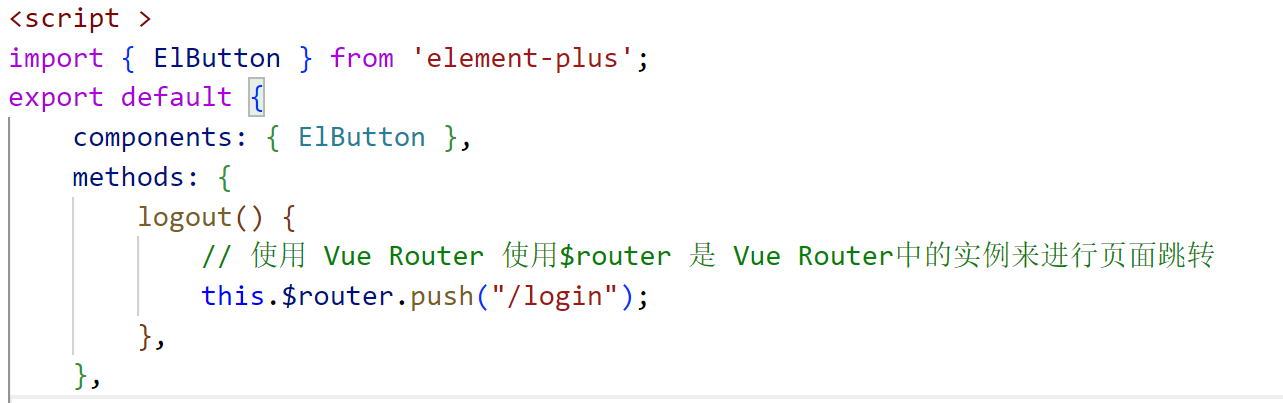
在点击了退出按钮后,成功返回到登录页面也就是login页面
在成功点击登录后,在浏览器调试页面查看会话中的存储数据,点击登录之后会在调试页面生成key 和值,在点击退出之后这些数据也不会清除,这样的安全性大大下降
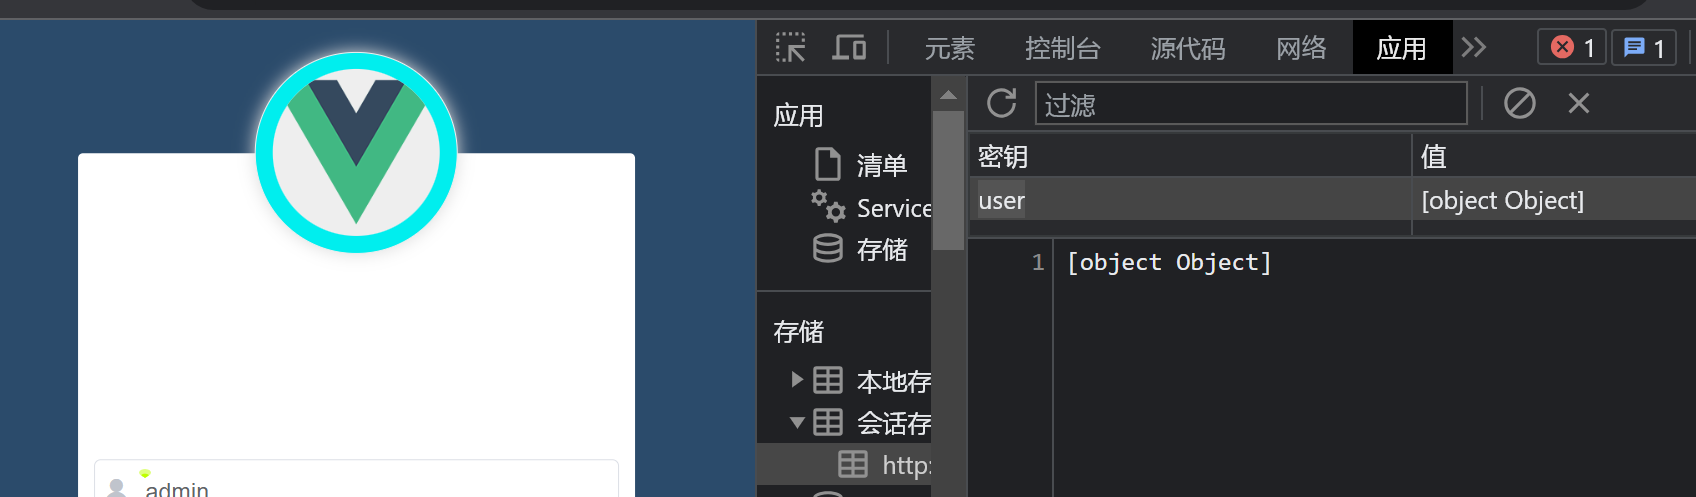
在home.vue中清除session
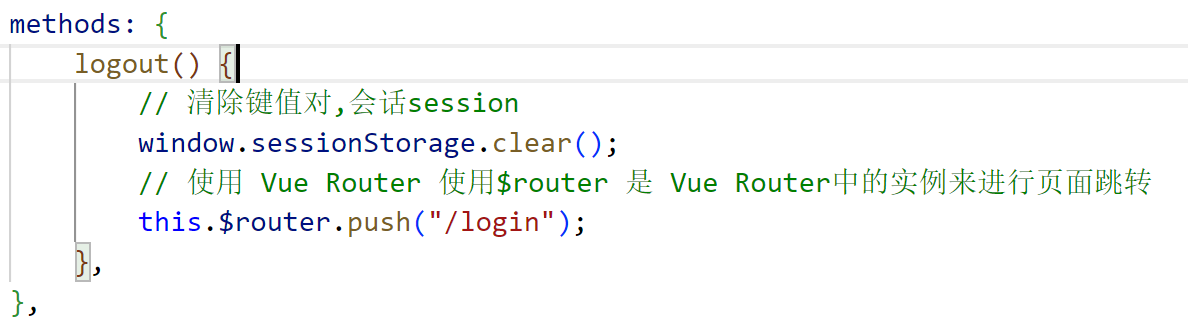
改了之后

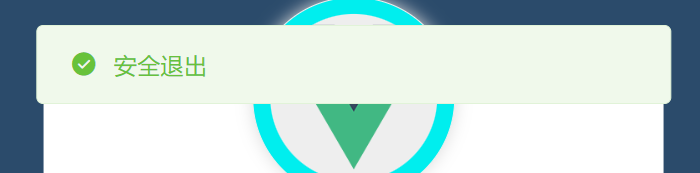
在设置完清楚会话session后我添加了一个安全退出的提示框(home.vue)

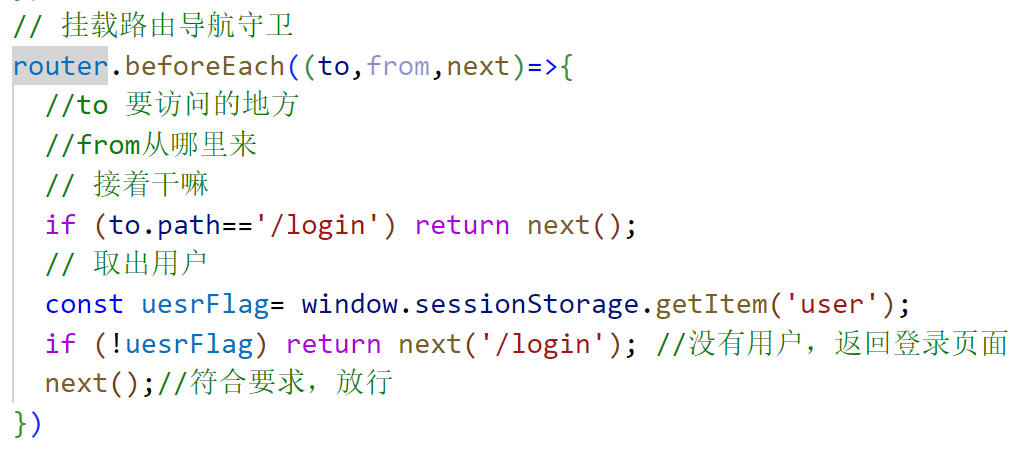
设置了路由守卫(index.js)
这段代码是使用 Vue Router 中的全局前置守卫 beforeEach,它的作用是在路由导航之前进行拦截和处理。
测试了登录页面正常登录,和退出
设置home页面的布局
在elemenet中找到containerd 容器布置器
Container | Element Plus (element-plus.org)
找到一个有头,有左有右,没有尾巴的布局
在home首页插入代码:
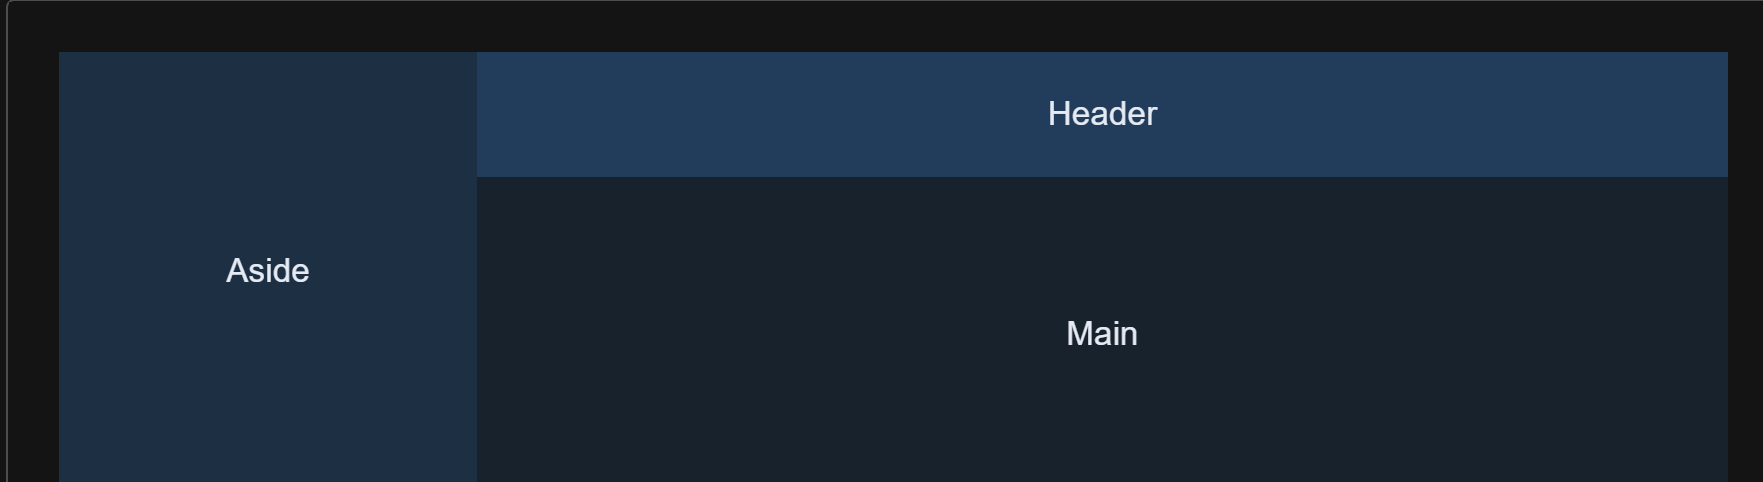
布局设置:
<template><!-- 公共布局组件 --><div class="common-layout"><!-- 整体布局容器引入container布局设置 --><el-container class="home-container"><!-- 侧边栏 --><el-aside width="200px">Aside</el-aside><!-- 主内容区域 --><el-container><!-- 页面头部 --><el-header>首页<!-- <ElButton class="btns1" type="info" @click="logout">安全退出</ElButton> --></el-header><!-- 页面主体 --><el-main>Main</el-main></el-container></el-container></div>
</template>
并在style中设置了布局样式
/* 布局器的填充 height: 100vh,可以确保布局容器填充整个视口的高度*/
.home-container{height: 100vh;
}
/* home主页样式设置 */
/* 头样式 */
.el-header{background-color: #373d41;
}
/* 侧边栏样式 */
.el-aside{background-color: #333744;
}
/* 主体样式 */
.el-main{background-color: #eaedf1;
}

在侧边栏里面添加了图标
<!-- 侧边栏 --><el-aside width="200px"><img src="../assets/OIP.png" alt=""></el-aside>

添加了文字信息设置了文字信息的样式
/* 头样式 */
.el-header {/* 背景颜色 */background-color: #373d41;/* 使用 Flexbox 布局 */display: flex;/* 在主轴上居中对齐 */justify-content: center;/* 在交叉轴上居中对齐 */align-items: center;/* 左边距设置为0% */padding-left: 0%;/* 文字颜色 */color: #fff;/* 字体大小 */font-size: 20px;
}

添加导航栏
导航 |元素加 (element-plus.org)
<el-menuactive-text-color="#ffd04b"background-color="#545c64"text-color="#fff"><el-sub-menu index="1"><template #title><el-icon><location /></el-icon><span>Navigator One</span></template><el-menu-item-group title="Group One"><el-menu-item index="1-1">item one</el-menu-item><el-menu-item index="1-2">item two</el-menu-item></el-menu-item-group><el-menu-item-group title="Group Two"><el-menu-item index="1-3">item three</el-menu-item></el-menu-item-group><el-sub-menu index="1-4"><template #title>item four</template><el-menu-item index="1-4-1">item one</el-menu-item></el-sub-menu></el-sub-menu><el-menu-item index="2"><el-icon><icon-menu /></el-icon><span>Navigator Two</span></el-menu-item><el-menu-item index="3" disabled><el-icon><document /></el-icon><span>Navigator Three</span></el-menu-item><el-menu-item index="4"><el-icon><setting /></el-icon><span>Navigator Four</span></el-menu-item></el-menu>
添加了注册按钮:
<el-button type="success" @click="register">注册</el-button>
在set中设置了register注册方法
// 注册按钮点击事件
const register = () => {app.$router.push("/SigIn");};
在return中设置了返回函数
register // 返回register函数
在路由中导入了注册的路径
// 导入SignIn主页
import SignIn from '../components/SigIn.vue'
设置了重定向的组件和路径
{// 重定向到这个路径path: "/SigIn",// 导入的组件component:SignIn}
在sigin页面添加了注册表单并设置了样式
<template><div class="container"><div class="form-wrapper"><h2 class="centered-title">---注册---</h2><form @submit.prevent="registerUser"><label for="username">用户名:</label><input type="text" v-model="username" required><br><label for="password">密码:</label><input type="password" v-model="password" required><br><label for="email">邮件:</label><input type="email" v-model="email" required><br><label>等级:</label><input type="checkbox" v-model="isAdmin" :value="true"><label>普通管理员</label><input type="checkbox" v-model="isUser" :value="true"><label>用户</label><br><button type="submit">注册</button></form></div></div>
</template><script>
export default {data() {return {username: "",password: "",email: "",isAdmin: false,isUser: false,};},methods: {registerUser() {// 在这里执行用户注册逻辑// 可以使用this.username、this.password、this.email等访问用户输入的数据// 可以使用this.isAdmin和this.isUser判断用户选择的等级// 发送表单数据到后端进行处理和存储// 可以使用axios或其他方法与后端进行通信},},
};
</script><style>
/* 样式设置开始 */.container {display: flex;justify-content: center;align-items: center;height: 100vh;/* 100% viewport height */background-image: url("../assets/register.png");background-size: cover;/* 将背景图铺满容器并保持纵横比例 */
}.form-wrapper {width: 400px;padding: 20px;background-color: rgba(241, 241, 241, 0.5);/* 将背景颜色设置为透明白色,透明度为0.5 */border-radius: 5px;
}.centered-title {text-align: center;/* 将标题文本居中显示 */
}form {display: flex;flex-direction: column;
}label {margin-bottom: 5px;
}input[type="text"],
input[type="password"],
input[type="email"] {padding: 8px;margin-bottom: 10px;border: 1px solid #ccc;border-radius: 4px;
}button {padding: 10px 20px;background-color: #007bff;color: #fff;border: none;border-radius: 4px;cursor: pointer;
}button:hover {background-color: #0056b3;
}/* 样式设置结束 */</style>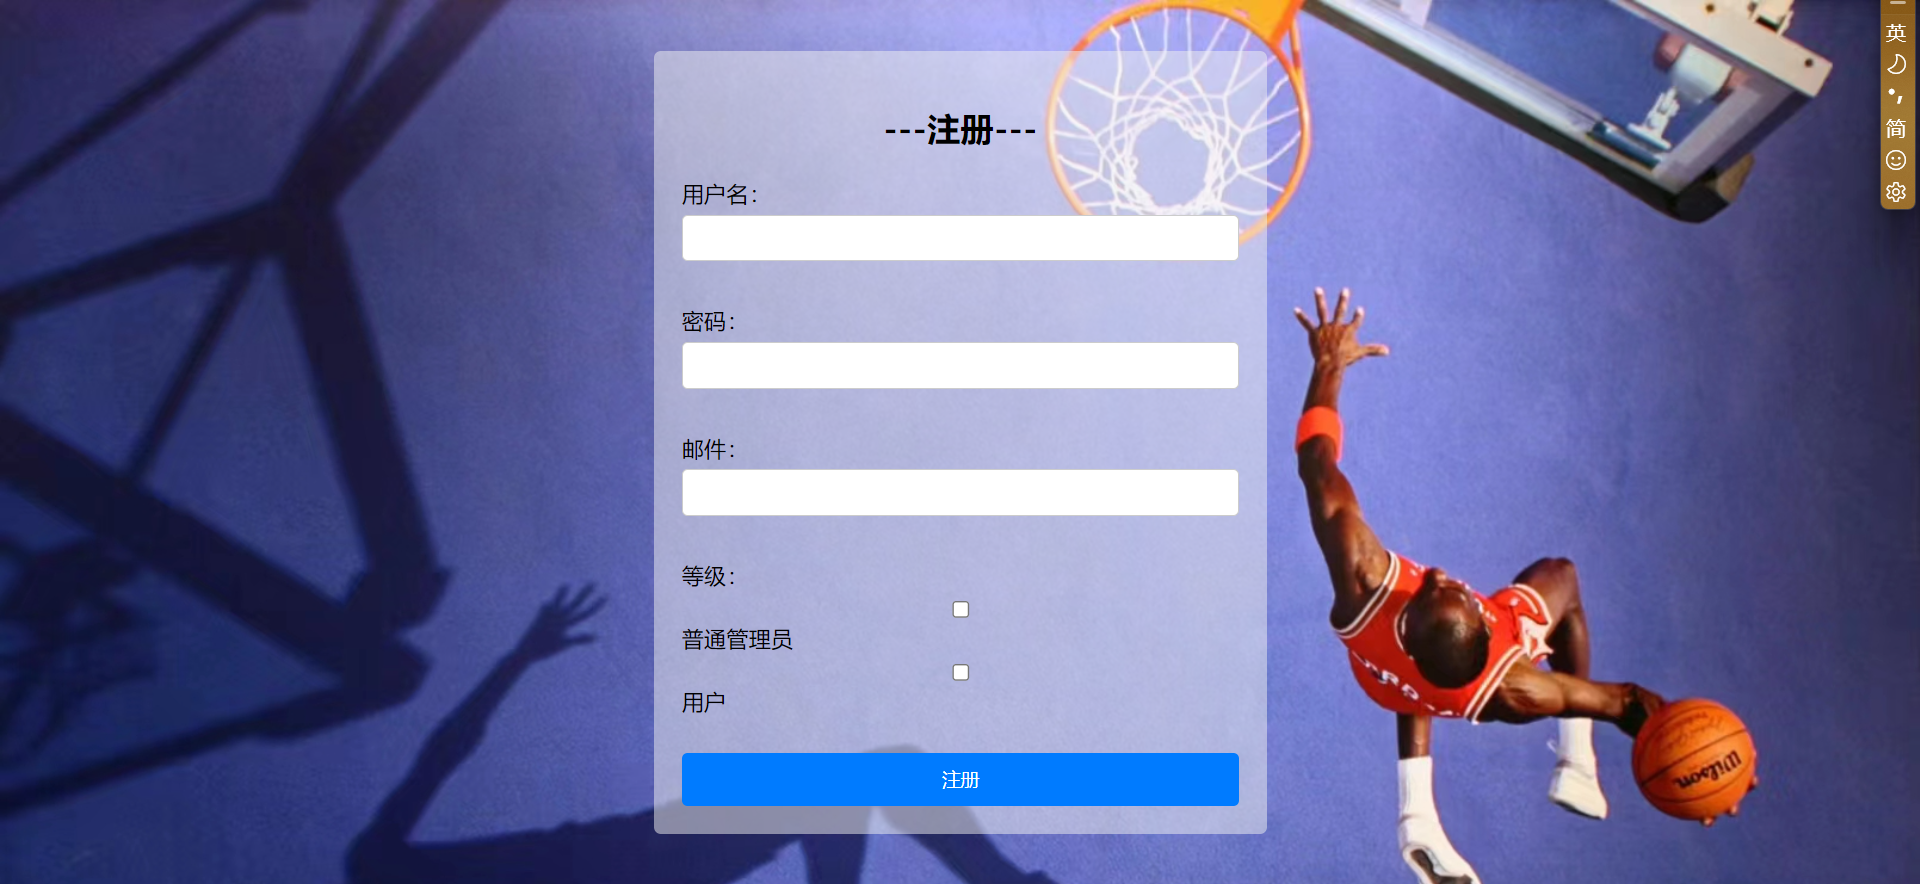
由于前面设置了路由守卫,导致了在login页面只能跳转到home页面,注册页面跳转不出来,我修改了路由守卫,让他不用验证用户,就能直接跳转到注册页面
if (to.path==="/sigin")return next();
将前端的注册页面完成,现在将前端收集的数据发送到后端
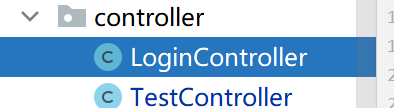
controller层
package com.healthsystem.portplay.controller;import com.healthsystem.portplay.bean.User;
import com.healthsystem.portplay.dao.UserDao;
import org.springframework.beans.factory.annotation.Autowired;
import org.springframework.web.bind.annotation.RequestBody;
import org.springframework.web.bind.annotation.RequestMapping;
import org.springframework.web.bind.annotation.RestController;@RestController
public class RegisterController {/*** 自动注入 UserDao 对象*/@AutowiredUserDao userDao;/*** 处理登录请求的方法** @param user 包含登录信息的 User 对象* @return 返回包含登录结果和用户信息的 JSON 字符串*/@RequestMapping("/register")public String registerUser(@RequestBody User user){userDao.save(user); // 假设 userDao 中有一个保存用户的方法 saveUser(User user)// 返回一个表示注册成功的 JSON 字符串return "{\"success\": true}";}
}
dao层来访问数据层
import com.healthsystem.portplay.bean.User;
import org.apache.ibatis.annotations.Param;
import org.springframework.stereotype.Repository;//"@Repository" 是一个注解,它用于在 Spring 框架中标识一个类为数据访问对象(DAO)。
@Repository
//定义接口,在login层实现
public interface UserDao {// 保存用户信息到数据库void save(User user);// "@Param" 是一个注解,它通常用于在使用 MyBatis 进行数据库访问时,标识方法参数与 SQL 语句中的参数的映射关系User GetUserByMessage(@Param("username") String username, @Param("password") String password);
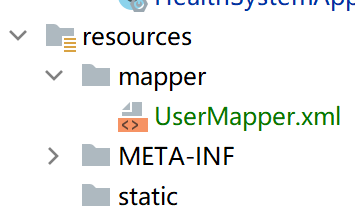
}uesrmapper.xml文件
<!DOCTYPE mapperPUBLIC "-//mybatis.org//DTD Mapper 3.0//EN""http://mybatis.org/dtd/mybatis-3-mapper.dtd">
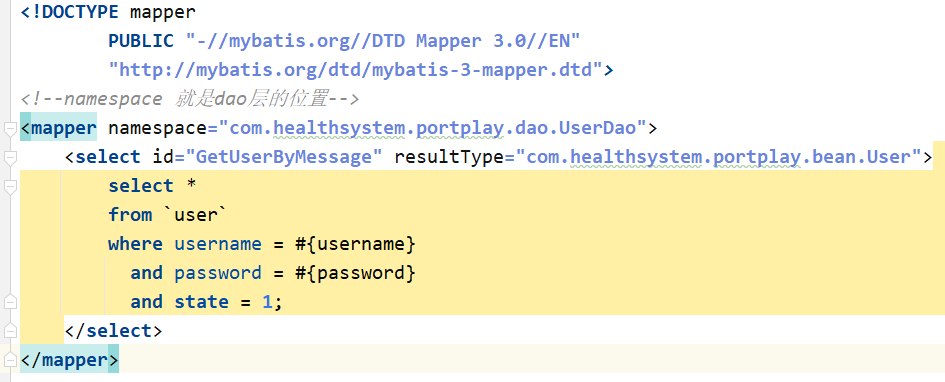
<!--namespace 就是dao层的位置-->
<mapper namespace="com.healthsystem.portplay.dao.UserDao"><select id="GetUserByMessage" resultType="com.healthsystem.portplay.bean.User">select *from `user`where username = #{username}and password = #{password}and state = 1;</select><insert id="save" parameterType="com.healthsystem.portplay.bean.User">INSERT INTO `user` (username, password, email) VALUES(#{username}, #{password}, #{email})</insert>
</mapper>
添加了注册成功会拉起登录程序,登录成功跳转到home首页
async submitFormData(formData) {// 发送表单数据到后端进行处理和存储const response = await axios.post('/register', formData);const res = response.data;// 假设后端返回的 JSON 结果中有一个名为 'success' 的字段,表示注册是否成功if (res.success) {// 注册成功ElMessage.success('成功');// 在注册成功后调用登录方法,传递注册的用户名和密码this.login(formData.username, formData.password);} else {// 注册失败ElMessage.error('失败');}},
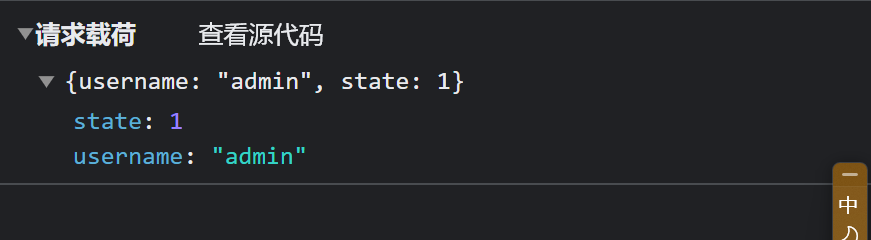
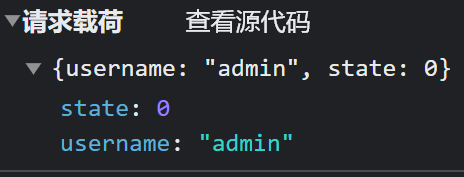
在其中我尝试了几次注册成功跳转失败,我去检查后端,和前端代码,并没有发现,没有发现问题,但是我还是将前端的拉起登录部分检查,以为是数据传送不到登录页面。睡了一会发现,应该不是这个问题,可能是数据库中的账户状态问题
当账户状态是0时,登录不了,我改变了他的状态


成功登录当首页
设置了一个联系的三个链接

在关于我们页面设置了关于我们,和联系我们的留言
<template><div class="about">健康是人类最宝贵的财富,而身体就像一台复杂的系统,由无数细胞、器官和生理功能组成。这个系统的优越运作,决定了我们的生活质量和幸福感。然而,我们对于这个系统的了解并不够深入,很多时候,我们可能忽视了健康的重要性,直到我们失去它才懂得后悔。<br><br>健康的系统由来并不是简单的积累,而是与我们的生活方式、饮食习惯和运动锻炼密切相关。首先,饮食是健康系统的基石。我们的身体需要各种营养来维持正常的生理功能,而这些营养来自于我们的日常饮食。如果我们长期摄入不健康的食物,就会导致营养不良和各种健康问题。<br><br>其次,运动锻炼是保持健康系统运转的关键。适量的运动可以促进血液循环,增强心肺功能,提高免疫力,还可以预防慢性疾病的发生。缺乏运动的人往往容易出现肥胖、高血压、高血脂等问题,严重影响身体健康。<br><br>此外,良好的生活习惯也是健康系统的重要组成部分。不良的生活习惯,如熬夜、吸烟、喝酒等,都会对健康造成不良影响。因此,我们应该养成良好的生活习惯,保持规律的作息和饮食,远离不健康的嗜好.<br><br>除此之外,精神健康也是健康系统不可或缺的一环。长期的压力、焦虑和抑郁会对身体产生负面影响,甚至导致心理疾病的发生。因此,我们要学会放松心情,保持积极的心态,学会应对生活中的各种挑战。<br><br></div>
</template>
<script>
</script>
<style lang="less">
.about{background-color: #f0f0f0;// background-image: url("../assets/register.png");background-size: cover;background-repeat: no-repeat;background-position: center;padding: 20px;border-radius: 5px;
}
</style>
<template><div><h2>留言</h2><form @submit.prevent="submitMessage"><label for="name">姓名:</label><input type="text" v-model="name" required><br><label for="email">邮箱:</label><input type="email" v-model="email" required><br><label for="message">留言内容:</label><textarea v-model="message" required></textarea><br><button type="submit">提交</button></form></div>
</template><script>
export default {data() {return {name: "",email: "",message: "",};},methods: {submitMessage() {// 在这里你可以编写将留言提交给后端的逻辑,或者执行其他你想要的操作。// 例如,你可以使用axios向后端服务器发送包含表单数据的POST请求。// 留言成功提交后,你可以显示成功消息或者将用户重定向到其他页面。},},
};
</script><style lang="less">
/* 如果需要,你可以在这里添加自定义样式来美化表单元素 */
</style>添加了常见问题页面的展示
<template><div class="faq"><h2>健康系统常见问题</h2><el-collapse v-model="activeTab"><!-- FAQ 1 --><el-collapse-item title="健康系统是什么?"><p>健康系统是一个在线健康管理平台,旨在帮助用户跟踪和管理他们的健康信息,包括健康指标、疾病历史、药物记录等。</p></el-collapse-item><!-- FAQ 2 --><el-collapse-item title="如何使用健康系统?"><p>使用健康系统非常简单。您只需创建一个账户并登录,然后填写您的健康信息,包括身高、体重、血压等。您还可以设置提醒和目标来帮助您管理健康。</p></el-collapse-item><!-- FAQ 3 --><el-collapse-item title="健康系统是否安全?"><p>是的,我们采取了多重安全措施来保护您的个人健康信息。所有数据都加密存储,并且只有您和授权的医疗专业人员才能访问您的健康数据。</p></el-collapse-item><!-- FAQ 4 --><el-collapse-item title="能否与医生共享我的健康数据?"><p>是的,您可以选择与您的医生或医疗团队共享您的健康数据。这样,他们可以更好地了解您的健康状况,并为您提供更加个性化的医疗建议。</p></el-collapse-item><!-- FAQ 5 --><el-collapse-item title="健康系统是否有手机应用?"><p>是的,我们提供了手机应用,您可以在iOS和Android设备上下载和安装健康系统的手机应用,方便您随时跟踪和管理您的健康信息。</p></el-collapse-item><!-- 添加更多的FAQ,按照相同的格式即可 --></el-collapse></div>
</template><script>
import { ref } from 'vue';export default {setup() {const activeTab = ref(0);return {activeTab};}
};
</script><style>
.faq {height: 100vh; /* 设置高度为视口的100%,让div元素铺满整个页面 */padding: 20px;background-color: #f0f0f0;border-radius: 5px;
}
</style>
文章目录
- **健康系统**
- 项目建构:
- **后端**页面
- **在数据源中新建一个数据连接池application.yml:**
- **在Java类中创建测试案列test来展示项目的结构**
- **前后端分离导致他们的服务器端口通信不一致,需要让他们保持通信**
- **前端页面:**
- **环境准备:**
- **需要下载node.js才能使用vue框架**
- **安装node.js包管理器**
- **安装vue-cli脚手架**
- **启动下可视化界面在对应的目录下:**
- **初始预设项目的创建:**
- **要选择创建的版本选择3.x版本的**
- **在创建完成后需要给vue添加一些组件在插件库里面添加插件**
- **添加依赖:**
- **启动项目:**
- **对基础页面进行删减:**
- **创建登录组件:**
- **为了保证能访问到需要进行路由转发(index.js)**
- **开发login组件:**
- 创建了全局的css样式global.css
- 登录页面成功显示:
- 设置列表前面的搜索框
- 样式添加:
- 在global.css设置了登录容器的大小即为可视化窗口的大小
- 在login.vue中设置了容器的高度大小为可视化窗口的100%
- 设置了form表单样式:
- 设置了log区域的div样式:
- 添加用户登录表单非空前验证:
- 添加属性:
- 并且在对应的表单中绑定了对应的事件
- **由于我使用的是vue3导致使用的挂载方法不一致,且挂载axios有先后顺序,必须在访问app之前挂载**
- **在密码框添加了防可见**
- 为了验证按钮点了之后是否生效我加了验证的日志
- 登录显示后端数据测试
- 添加了点击登录按钮后提示的消息框
- 添加home首页创建home首页
- 在home页面写上基本框架
- 创建user对象进行封装(get,Set):
- 创建了一个登录控制器:
- 到这实体用户User的自动封装,自动创建,已经完成
- 导入json特殊字符串,形成json对象
- 在成功点击登录后,在浏览器调试页面查看会话中的存储数据,点击登录之后会在调试页面生成key 和值,在点击退出之后这些数据也不会清除,这样的安全性大大下降
- 设置了路由守卫(index.js)
- 设置home页面的布局
- 在elemenet中找到containerd 容器布置器
- 布局设置:
- 并在style中设置了布局样式
- 在侧边栏里面添加了图标
- 添加了注册按钮:
- 在set中设置了register注册方法
- 在return中设置了返回函数
- 在路由中导入了注册的路径
- 设置了重定向的组件和路径
- controller层
- dao层来访问数据层
- uesrmapper.xml文件
- 重新设置了home主页的布局
- 设置了分界线在用户量,和用户状态上
- 直接显示用户名
- 我准备在我的用户量界面查询数据库信息然后通过图表显示在界面
- 查询数据的映射文件:
- 打算在用户状态里面画出用户名,和用户状态显示出他的状态开关和用户等级,并且支持用户状态的修改,在添加一个可以删除用户的按钮
- 现在需要在用户等级为用户的加上他的会员时间,需要有个起始时间,和截至时间,以天为单位
- 问题:
重新设置了home主页的布局
<div class="common-layout"><el-container><!-- 头部 --><el-header class="el-header"><!-- 头像显示当前登录的用户名称 --><el-button class="logout-button" @click="logout">退出</el-button></el-header><el-container><!-- 侧边栏 --><el-aside width="200px" class="aside-container"><el-menu :default-active="activeMenu" @select="handleMenuSelect" class="menu-container"><el-menu-item index="1">用户量</el-menu-item><el-menu-item-group class="el-menu-item-group__divider"></el-menu-item-group><!-- 分割线 --><el-menu-item index="2">用户状态</el-menu-item></el-menu></el-aside><!-- 主栏 --><el-main></el-main></el-container></el-container></div>
设置了分界线在用户量,和用户状态上
<el-aside width="200px" class="aside-container"><el-menu :default-active="activeMenu" @select="handleMenuSelect" class="menu-container"><el-menu-item index="1">用户量</el-menu-item><el-menu-item-group class="el-menu-item-group__divider"></el-menu-item-group><!-- 分割线 --><el-menu-item index="2">用户状态</el-menu-item></el-menu></el-aside>
直接显示用户名

将在点击用户量时,显示图标的功能去掉
项目报错问题解决的思路在一次打开项目的时候发现有问题由于没有截图保存在查看前端问题是发现是axios跨域处理有问题在后端的报错发现是User user1 = userDao.GetUserByMessage(user.getUsername(), user.getPassword());这行有问题我去看了我的dao层发现在GetUserByMessage发现这个方法有问题我去查看了我的xml映射文件修改了我的dao层位置和user的位置,重新运行的程序发现还是不行在日志中发现我的数据库链接池可能有问题,我重新写了一次我的数据库驱动,```xml
**driver-class-name**: com.mysql.cj.jdbc.Driver
```重新跑了一次程序发现成功运行
我准备在我的用户量界面查询数据库信息然后通过图表显示在界面
我想的是在后端查询到用户量按月份统计

在数据库查询到的数据,然后通过dao层,通过控制器,返回给前端,在前端绘制图表
查询数据的映射文件:
<select id="GetUserByMessage" resultType="com.healthsystem.portplay.bean.User">select *from `user`where username = #{username}and password = #{password}and state = 1;</select>
dao层将查询到的数据转到一个集合里面,包括,用户量,月份
List<Map<String,Object>>GetUserCountByMonth();
再通过控制器将集合里面的数据返回给前端
// 获取用户数量的控制器方法@GetMapping("/countByMonth")public List<Map<String,Object>>GetUserCountByMonth(){return userDao.GetUserCountByMonth();}
前端绘制图表并在打开页面就直接加载
		<!-- 主栏 --><!-- 用户量统计图组件 -->
<el-main><div v-if="activeMenu === '1'"><div><canvas ref="chartCanvasRef" width="400" height="200</canvas></div></div>
</el-main>
import axios from "axios";
import { Chart } from "chart.js";
const chartCanvasRef = ref(null); // 使用 ref() 函数声明 chartCanvasRef 变量
// 发送获取用户数量数据请求并绘制图表
async function fetchUserCount() {try {// 向 "/countByMonth" 端点发起 GET 请求以获取用户数量数据const response = await axios.get("/countByMonth");// 从响应中提取用户数量数据const userCount = response.data;// 从用户数量数据中提取月份标签和用户数量const monthLabels = userCount.map((data) => data.month);const userCounts = userCount.map((data) => data.user_count);// 获取用于绘制图表的 Canvas 上下文const ctx = chartCanvasRef.value.getContext("2d");// 使用 Chart.js 库创建一个新的条形图new Chart(ctx, {type: "bar", // 使用 "bar" 类型绘制条形图data: {labels: monthLabels, // 使用月份标签作为 X 轴datasets: [{label: "用户数量", // 数据集的标签data: userCounts, // 用户数量数据作为 Y 轴backgroundColor: "rgba(75, 192, 192, 0.2)", // 条形图的背景颜色borderColor: "rgba(75, 192, 192, 5)", // 条形图的边框颜色borderWidth: 1, // 条形图的边框宽度},],},options: {scales: {x: {type: "category", // 使用 "category" 类型作为 X 轴的标尺labels: monthLabels, // 使用月份标签作为 X 轴标尺上的刻度},y: {beginAtZero: true, // Y 轴从零开始},},},});} catch (error) {console.error("Error fetching user count:", error);}
}
// 页面加载时就自动显示用户量统计图表
onMounted(fetchUserCount);

打算在用户状态里面画出用户名,和用户状态显示出他的状态开关和用户等级,并且支持用户状态的修改,在添加一个可以删除用户的按钮
在vue3的官网,找到对应的开关的样式在测试页面做好测试

这个就是我需要的状态按钮的开关
<el-switch v-model="value" active-text="Open" inactive-text="Close" />
需要的是在点击了开关之后需要对value的值进行更新,我在测试页面对他进行了他操作
<template><el-switch:modelValue="value"@update:modelValue="updateValue"active-text="Open"inactive-text="Close"/>
</template><script setup>
import { ref } from "vue";// 使用 ref() 定义 value 变量
const value = ref(false);// 使用 updateValue 函数来处理更新 value 变量的事件
const updateValue = (newValue) => {value.value = newValue;
};
</script><style scoped>
/* 样式定义,可以根据需要添加样式 */
</style>

在这里我实现了开关打开的状态和关闭的切换
现在需要在用户等级为用户的加上他的会员时间,需要有个起始时间,和截至时间,以天为单位
已经在数据库里面添加了对应的会员的时间跨度

只需要按照用户名来区分,并且每个用户都要包括用户名、角色、状态、起始时间和结束时间,
SELECTusername,role,state,startTime,endTime
FROMuser
ORDER BYusername;

我在测试页面已经加上了状态转换的
问题:
将用户信息检索出来放入表中,设置了开关按钮,但是发现开关或者只能打开状态,关闭,不能关闭或者打开。经过几次排查,发现在点击了开关,让其关闭时候,我后端的update信息携带的state:1,不是我想要的0

我点击关闭了

等到轮询,发现状态为改变

在浏览器开发环境发现我的后端的updatestate
关闭是0
出问题代码

修改后

代码更新了,点击关闭

我的update也正常了
功能成功了后,加入主页面
表单界面|
<!-- 用户状态修改 --><div v-if="activeMenu === '2'"><table><thead><!-- 标签栏 --><tr><th>用户名</th><th>等级</th><th>开始时间</th><th>截止时间</th><th>状态</th></tr></thead><tbody><tr v-for="user in users" :key="user.username"><td>{{ user.username }}</td><td>{{ user.role }}</td><td>{{ user.startTime }}</td><td>{{ user.endTime }}</td><td><el-switchv-model="user.state"active-text=""inactive-text=""@change="handleSwitchChange(user)"/></td></tr></tbody></table><canvasref="userStatechartCanvasRef"width="400"height="200"></canvas></div>
import { ref, onMounted, onBeforeUnmount } from "vue";
//菜单2
const userStatechartCanvasRef = ref(null);
const users = ref([]);
// 在组件挂载前调用异步函数,获取用户名信息
// 定时器,每隔一段时间获取用户信息
let pollingInterval;
onMounted(async () => {try {// 页面加载时就自动显示用户量统计图表1fetchUserCount();// 在组件挂载前调用异步函数,获取用户名信息1getUserInfo();// 初始化时立即获取一次用户信息2await fetchUserInfo();// 设置定时器,每隔 5毫秒秒获取一次用户信息2pollingInterval = setInterval(fetchUserInfo, 5000); // 每 5毫 秒轮询一次drawChart();} catch (error) {console.error("Error fetching user information:", error);}
});
// onMounted(getUserInfo);
// 获取用户信息,在菜单2中的
async function fetchUserInfo() {try {const response = await axios.get("/UserInfo");users.value = response.data;} catch (error) {console.error("Error fetching user information:", error);}
}
// 使用 Chart.js 或其他绘图库绘制图表,
// 根据数据进行绘制菜单2中
function drawChart(canvasRef) {if (canvasRef) {const ctx = canvasRef.getContext("2d");}
}
// 用户状态的切换,菜单2中
function handleSwitchChange(user) {const newState = user.state ? 1 : 0;updateDatabaseState(user.username, newState).then(() => {// Update the user's state locallyuser.state = newState;}).catch((error) => {console.error("Error updating state:", error);});
}
// 将状态信息推送到后端,菜单2中
async function updateDatabaseState(username, newState) {try {const response = await axios.put("/updateState", {username: username,state: newState,});return response.data;} catch (error) {throw error;}
}// 在组件被销毁前清除定时器,菜单2中
onBeforeUnmount(() => {clearInterval(pollingInterval);
});其中有菜单1的,有1和2 标注
// 菜单2样式
table {border-collapse: collapse;width: 100%;
}th,
td {border: 1px solid #55d515;padding: 8px;text-align: left;
}th {background-color: #35e51e;
}
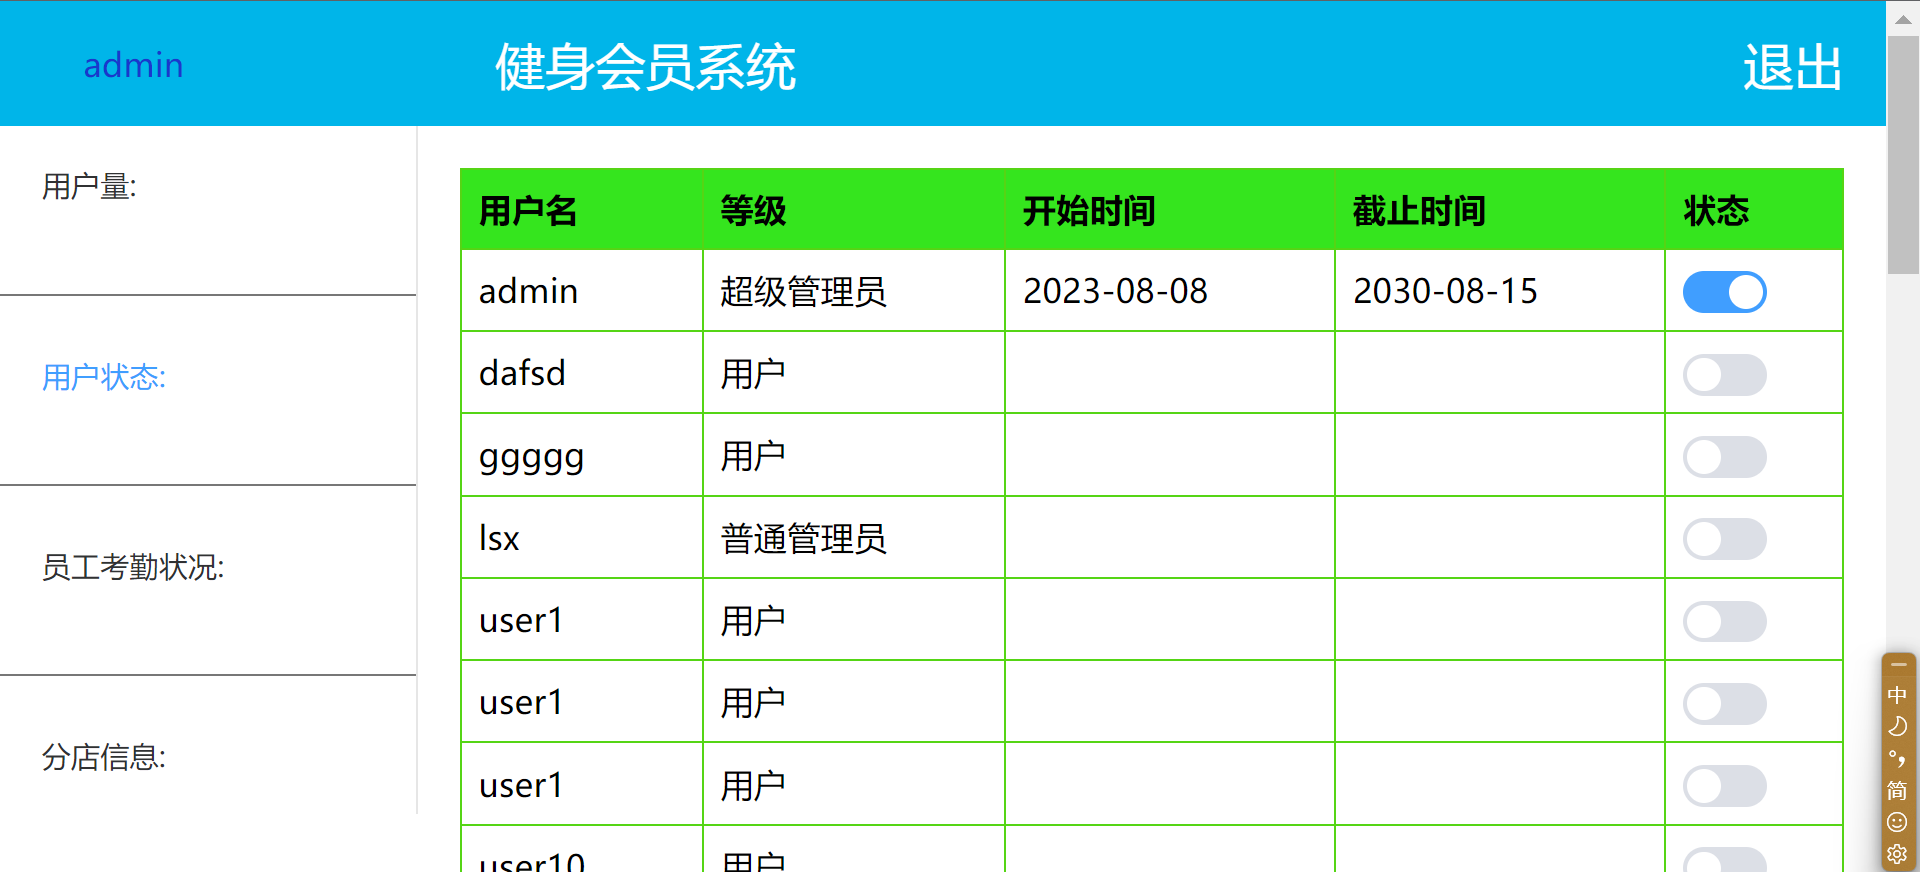
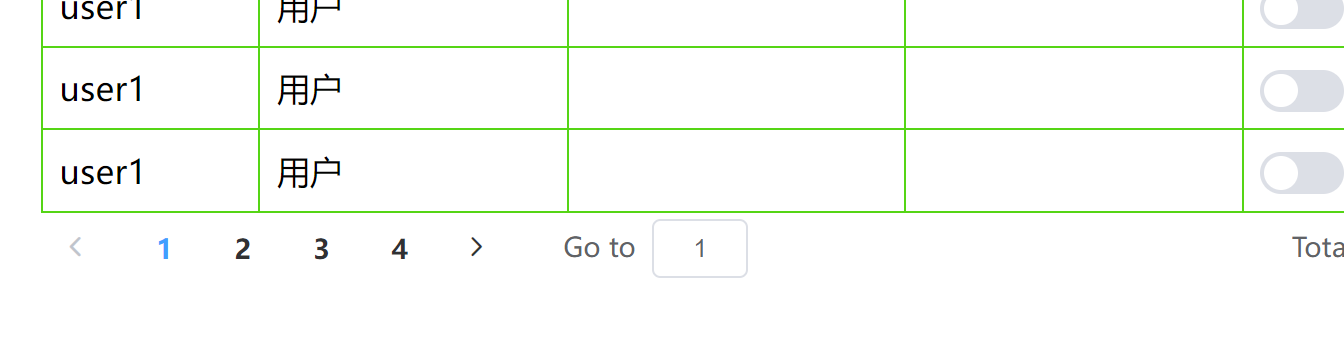
添加分页功能,他的数据展示在下页展示
添加了一个修改时间,时间是以天为单位来计算的

<td><inputtype="date"v-model="user.startTime"@change="updateTime(user)"/></td><td><inputtype="date"v-model="user.endTime"@change="updateTime(user)"/></td>
// 更新用户时间信息2
function updateTime(user) {const NewstartTime = user.startTime;const NewendTime = user.endTime;updateDatabaseTime(user.username, NewstartTime, NewendTime).then(() => {// Time updated successfullyuser.startTime = NewstartTime;user.endTime = NewendTime;}).catch((error) => {console.error("Error updating time:", error);});
}
// 将时间信息推送到后端
async function updateDatabaseTime(username, NewstartTime, NewendTime) {try {const response = await axios.put("/updateTime", {username: username,startTime: NewstartTime,endTime: NewendTime,});return response.data;} catch (error) {throw error;}
}
为了判断用户是否过期,想使用springboot中的定时任务来检查数据库中的用户时间信息是否过期,当你在Spring中创建一个 @Component 类时,它会被自动识别为一个Spring管理的组件。在你的情况下,你可以创建一个带有定时任务的组件,用来检查和更新用户状态。
@Component
public class CheckUserTimeSchedule {private final UserDao userDao;@Autowiredpublic CheckUserTimeSchedule(UserDao userDao) {this.userDao = userDao;}@Scheduled(fixedRate = 30000)public void checkAndUpdateUserStatus() {List<Map<String, Object>> usersMapList = userDao.GetUserInfo(); // 获取所有用户信息LocalDate currentDate = LocalDate.now();for (Map<String, Object> userMap : usersMapList) {String username = (String) userMap.get("username");LocalDate endTime = (LocalDate) userMap.get("endTime");if (endTime != null && endTime.isBefore(currentDate)) {// 用户的截止时间已过期,将状态更新为 false(已过期)userDao.updateUserState(username, false);}}System.out.println("检查并更新用户状态");}
}
创建一个员工表用来统计员工打卡情况
-- 创建员工表
CREATE TABLE employee (id INT NOT NULL,username VARCHAR(255) NOT NULL,sign_in DATETIME,PRIMARY KEY (id, username),FOREIGN KEY (id) REFERENCES user(id)
);
给表中插入用户等级为管理员的
insert into employee(id, username, sign_in) select id, username, null from user where role = '普通管理员';
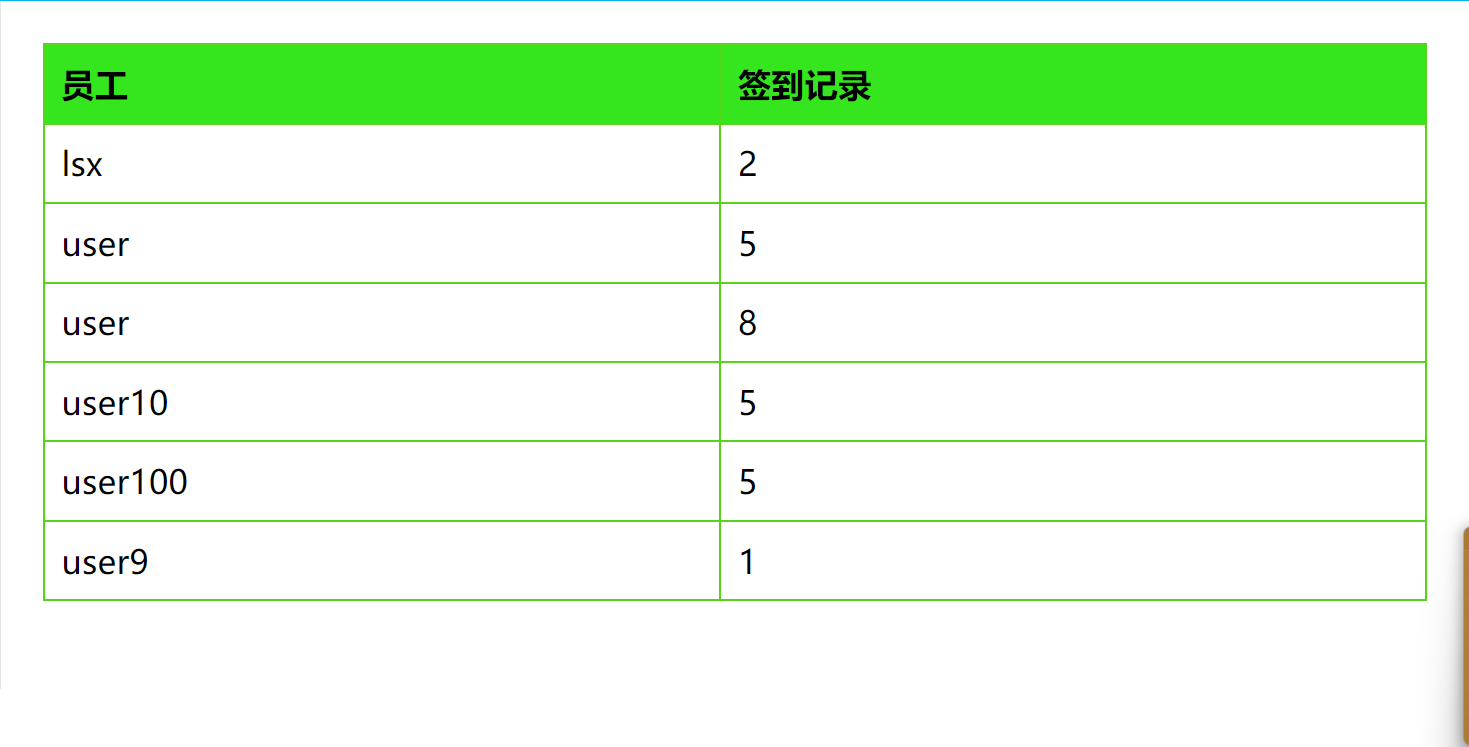
<div v-if="activeMenu === '3'"><table><thead><!-- 标签栏 --><tr><th>员工</th><th>签到记录</th></tr></thead><tbody><tr v-for="Employee in Employees" :key="Employee.username"><td>{{ Employee.username }}</td><td>{{ Employee.sign_in }}</td></tr></tbody></table><canvas ref="chartCanvasRefe" width="400" height="200"></canvas></div>
// 菜单3
const chartCanvasRefe = ref(null);
const Employees = ref([]);
pollingInterval = setInterval(pollEmployeeInfo, 60 * 1000); //每 1分钟 秒轮询一次
// 使用 Chart.js 或其他绘图库绘制图表,
// 根据数据进行绘制菜单2中
function drawChart(canvasRef, canvasRefe) {if (activeMenu === "1" && canvasRef) {const ctx = canvasRef.getContext("2d");}if (activeMenu === "3" && canvasRefe) {const ctx1 = canvasRefe.getContext("2d");}
}
// 获取员工信息,3
async function fetchEmployeeInfo() {try {const response = await axios.get("/employeeInfo");Employees.value = response.data;} catch (error) {console.error("Error fetching Employee information:", error);}
}
<select id="GetEmployeeInfo" parameterType="com.healthsystem.portplay.bean.Employee">select username, sign_infrom employeeorder by username;</select>
List<Map<String, Object>> GetEmployeeInfo();
package com.healthsystem.portplay.controller;import com.healthsystem.portplay.dao.UserDao;
import org.springframework.beans.factory.annotation.Autowired;
import org.springframework.web.bind.annotation.GetMapping;
import org.springframework.web.bind.annotation.RestController;import java.util.List;
import java.util.Map;@RestController
public class EmployeeInfo {
private final UserDao userDao;
@Autowiredpublic EmployeeInfo(UserDao userDao){this.userDao=userDao;}@GetMapping("/employeeInfo")public List<Map<String,Object>>GetEmployeeInfo(){return userDao.GetEmployeeInfo();}
}
为了区分普通管理员,和超级管理员,我添加了一个新的页面只用来显示,等级为用户的页面
<template><div><span class="username-text">{{ username }}</span><span class="logout-text" @click="logout">退出</span><canvas ref="userStatechartCanvasRef" width="400" height="0"></canvas><table><thead><!-- 标签栏 --><tr><th>用户名</th><th>开始时间</th><th>截止时间</th><th>状态</th></tr></thead><tbody><tr v-for="user in displayedUsers" :key="user.username"><td>{{ user.username }}</td><!-- 时间修改组件 --><td><inputtype="date"v-model="user.startTime"@change="updateTime(user)"/></td><td><inputtype="date"v-model="user.endTime"@change="updateTime(user)"/></td><!-- 用户状态切换组件 --><td><el-switchv-model="user.state"active-text=""inactive-text=""@change="handleSwitchChange(user)"/></td></tr></tbody></table><!-- 分页控制条 --><el-paginationv-if="totalUsers > pageSize":current-page="currentPage":page-size="pageSize":total="totalUsers"@current-change="handlePageChange"/></div>
</template><script setup>
import { ref, onMounted, onBeforeUnmount, computed } from "vue";
import { useRouter } from "vue-router";
import { ElMessage, ElPagination } from "element-plus";
import axios from "axios";
import { Chart } from "chart.js";
// 发送登录请求并获取用户的用户名,菜单
async function getUserInfo() {try {// 获取当前登录账号的信息const currentUser = JSON.parse(window.sessionStorage.getItem("user"));// 将用户名更新为当前登录用户的用户名username.value = currentUser.username;} catch (error) {console.error("Error getting username:", error);}
}
//菜单2
const userStatechartCanvasRef = ref(null);
const users = ref([]);
// 分页相关变量
const currentPage = ref(1);
const pageSize = ref(7); // 每页显示的条目数
const totalUsers = computed(() => users.value.length); // 计算总用户数量
// 退出登录
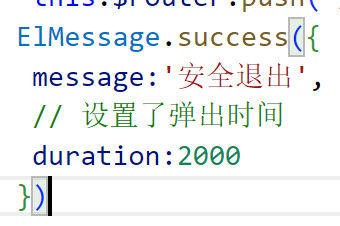
function logout() {// 清除键值对,会话 sessionwindow.sessionStorage.clear();// 使用 Vue Router 使用 router 是 Vue Router 中的实例来进行页面跳转router.push("/login"); // 路由到首页// 使用 Element Plus 的消息提示组件显示退出消息ElMessage.success({message: "安全退出",// 设置了弹出时间duration: 2000,});
}
// 在组件挂载前调用异步函数,获取用户名信息
// 定时器,每隔一段时间获取用户信息
let pollingInterval;
onMounted(async () => {try {// 在组件挂载前调用异步函数,获取用户名信息getUserInfo();// 初始化时立即获取一次用户信息,2await fetchUserInfo();// 设置定时器,每隔 1分钟获取一次用户信息pollingInterval = setInterval(() => {fetchUserInfo();}, 60 * 1000); // 每 1分钟 秒轮询一次// pollingInterval = setInterval(pollEmployeeInfo, 60 * 1000); //每 1分钟 秒轮询一次drawChart();} catch (error) {console.error("Error fetching user information:", error);}
});
// 获取用户信息,2
async function fetchUserInfo() {try {const response = await axios.get("/UserInfo");users.value = response.data;} catch (error) {console.error("Error fetching user information:", error);}
}
// 用户状态的切换,2
function handleSwitchChange(user) {const newState = user.state ? 1 : 0;updateDatabaseState(user.username, newState).then(() => {// Update the user's state locallyuser.state = newState;}).catch((error) => {console.error("Error updating state:", error);});
}
// 将状态信息推送到后端,2
async function updateDatabaseState(username, newState) {try {const response = await axios.put("/updateState", {username: username,state: newState,});return response.data;} catch (error) {throw error;}
}
// 计算当前页显示的用户列表,2
const displayedUsers = computed(() => {const startIndex = (currentPage.value - 1) * pageSize.value;const endIndex = startIndex + pageSize.value;return users.value.slice(startIndex, endIndex);
});// 处理分页改变事件,2
function handlePageChange(newPage) {currentPage.value = newPage;
}
// 更新用户时间信息2
function updateTime(user) {const NewstartTime = user.startTime;const NewendTime = user.endTime;updateDatabaseTime(user.username, NewstartTime, NewendTime).then(() => {// Time updated successfullyuser.startTime = NewstartTime;user.endTime = NewendTime;}).catch((error) => {console.error("Error updating time:", error);});
}
// 将时间信息推送到后端,2
async function updateDatabaseTime(username, NewstartTime, NewendTime) {try {const response = await axios.put("/updateTime", {username: username,startTime: NewstartTime,endTime: NewendTime,});return response.data;} catch (error) {throw error;}
}
// 在组件被销毁前清除定时器,菜单2中
onBeforeUnmount(() => {clearInterval(pollingInterval);
});
</script><style scoped>
/* 用户名文字样式 */
.username-text {color: #1a37cd;font-size: 16px;margin-left: 20px;/* 调整左边距 */
}
/* 退出文字样式 */
.logout-text {margin-left: auto;color: #fff;cursor: pointer;transition: color 0.3s;/* 平滑的颜色过渡效果 */
}
.logout-text:hover {text-decoration: underline;color: #18191a;/* 悬停时改变颜色,突出效果 */
}
/* 菜单2样式 */
table {border-collapse: collapse;width: 100%;
}th,
td {border: 1px solid #55d515;padding: 8px;text-align: left;
}th {background-color: #35e51e;
}</style>
他的功能是和超级用户差不多的
在菜单4中查询了数据库信息中的分店信息
设置了分页处理和菜单2一样,就不展示了
到这简单的前后端分离项目已经完成,只是记录自己的学习,欢迎大佬指正
t(“/updateState”, {
username: username,
state: newState,
});
return response.data;
} catch (error) {
throw error;
}
}
// 计算当前页显示的用户列表,2
const displayedUsers = computed(() => {
const startIndex = (currentPage.value - 1) * pageSize.value;
const endIndex = startIndex + pageSize.value;
return users.value.slice(startIndex, endIndex);
});
// 处理分页改变事件,2
function handlePageChange(newPage) {
currentPage.value = newPage;
}
// 更新用户时间信息2
function updateTime(user) {
const NewstartTime = user.startTime;
const NewendTime = user.endTime;
updateDatabaseTime(user.username, NewstartTime, NewendTime)
.then(() => {
// Time updated successfully
user.startTime = NewstartTime;
user.endTime = NewendTime;
})
.catch((error) => {
console.error(“Error updating time:”, error);
});
}
// 将时间信息推送到后端,2
async function updateDatabaseTime(username, NewstartTime, NewendTime) {
try {
const response = await axios.put(“/updateTime”, {
username: username,
startTime: NewstartTime,
endTime: NewendTime,
});
return response.data;
} catch (error) {
throw error;
}
}
// 在组件被销毁前清除定时器,菜单2中
onBeforeUnmount(() => {
clearInterval(pollingInterval);
});
他的功能是和超级用户差不多的在菜单4中查询了数据库信息中的分店信息设置了分页处理和菜单2一样,就不展示了到这简单的前后端分离项目已经完成,只是记录自己的学习,欢迎大佬指正


![[开学季]ChatPaper全流程教程](https://img-blog.csdnimg.cn/c391263913a147a1979e6597c6bb3166.png)