目录
一.引言
二.PT 数据流程
1.数据样式
2.生成代码
3.数据生成
三.SFT 数据流程
1.数据样式
2.生成代码
3.数据生成
四.RM 数据流程
1.生成逻辑
2.RM 模型测试
五.总结
一.引言
上篇文章 LLM - 批量加载 dataset 并合并介绍了如何加载多个文件并合成一个 dataset 数据集,本文基于上文生成的 dataset,生成后续任务所需的样式,这里任务分下面三个类型:
- pt 即 pretrain,预训练
- sft 即 Supervised fine tuning ,有监督的微调
- rm 即 reward model,奖励模型
Tips:
本文数据集与代码主要参考 Github LLaMA-Efficient-Tuning。
二.PT 数据流程
pretrain 的目的是对模型预训练,使得模型具备基础的知识。这里我们可以把知识理解为记忆面包,统统一股脑喂给模型即可。
1.数据样式
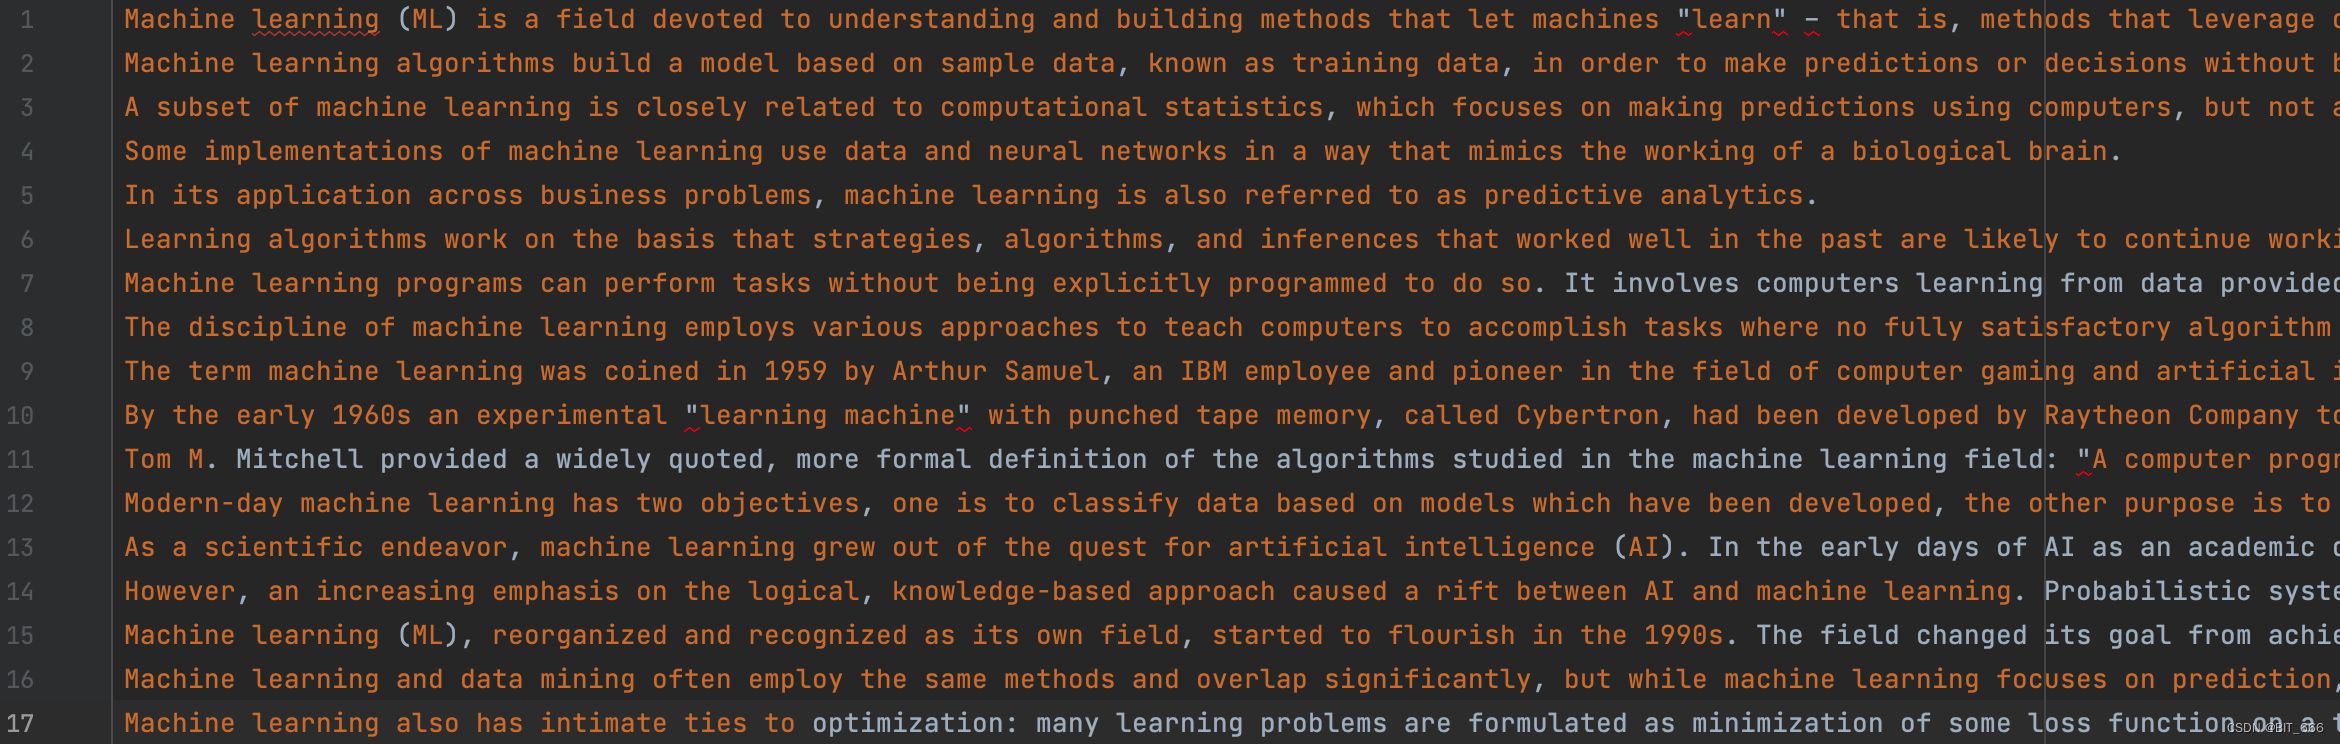
以 wiki_demo.txt 为例,其中每一行信息就是我们上面说到的记忆面包的知识。PT 也是一种自学习的方法,就像之前版本给出的那样,PT 的样本 source 和 target 是一样的。
2.生成代码
def preprocess_pretrain_dataset(examples: Dict[str, List[Any]]) -> Dict[str, Any]:# build grouped texts with format `X1 X2 X3 ...`if isinstance(getattr(tokenizer, "tokenizer", None), tiktoken.Encoding):token_kwargs = dict(allowed_special="all") # for tiktoken tokenizer (Qwen)else:token_kwargs = dict(add_special_tokens=True)if hasattr(tokenizer, "add_bos_token") and hasattr(tokenizer, "add_eos_token"):setattr(tokenizer, "add_bos_token", True) # for LLaMA tokenizersetattr(tokenizer, "add_eos_token", True)tokenized_examples = tokenizer(examples["instruction"], **token_kwargs)concatenated_examples = {k: list(chain(*tokenized_examples[k])) for k in tokenized_examples.keys()}total_length = len(concatenated_examples[list(concatenated_examples.keys())[0]])block_size = 512# we drop the small remainder, and if the total_length < block_size, we exclude this batchtotal_length = (total_length // block_size) * block_size# split by chunks of max_source_lengthresult = {k: [t[i: i + block_size] for i in range(0, total_length, block_size)]for k, t in concatenated_examples.items()}return result- examples: Dict[str, List[Any]]
examples 为我们加载文件数据得到的 dataset,这里默认 pretrain 要训练的知识存储在每条 json 的 instruction 字段中。
- tokenized_examples
通过 tokenizer 批量 tokenzier 文本能得到 input_ids,形式大概是 List[List] 嵌套。这里 Baichuan 模型可以不需要 bos_token_id 和 eos_token_id,LLaMA 需要 bos_token_id 和 eos_token_id。

- concatenated_examples
通过 chain 将 input_ids 与 attention_mask 都连在一起。
![]()
- result
将上面 chain 整合在一起的 input_ids 按照 block 为尺寸进行包装,并存储至 results 中。result 中的 input_ids 中每个 list 保持 block 的大小。
![]()
3.数据生成
import os.path
from datasets import load_dataset, concatenate_datasets, interleave_datasets
from typing import TYPE_CHECKING, Any, Dict, Generator, List, Literal, Union, Tuple
from transformers import GPT2Tokenizer
from itertools import chain
import tiktokentokenizer = GPT2Tokenizer.from_pretrained("gpt2")if __name__ == '__main__':# 多文件地址base_path = "/Users/LLaMA-Efficient-Tuning-main/data"data_files = ['alpaca_data_zh_51k.json', 'alpaca_gpt4_data_zh.json']strategy = 'concat'train_dataset = getBatchDataSet(base_path, data_files, strategy)kwargs = dict(num_proc=4,load_from_cache_file=False,desc="Running tokenizer on dataset")stage = 'pt'if stage == "pt":train_dataset = train_dataset.filter(lambda example: example["instruction"])preprocess_function = preprocess_pretrain_datasetcolumn_names = list(next(iter(train_dataset)).keys())dataset = train_dataset.select(range(1024)).map(preprocess_function,batched=True,remove_columns=column_names,**kwargs)limit = 5if stage == "pt":for source in dataset.select(range(limit))['input_ids']:print(len(source), source)
为了快速演示 demo,我们对原始数据集进行了 select 1024 的限制,并且在最后取 5 条数据打印,这里 tokenizer 为了便捷我们继续使用 GPT-2 进行测试:

这里 block_size = max_source_length = max_target_length = 512。
三.SFT 数据流程
1.数据样式
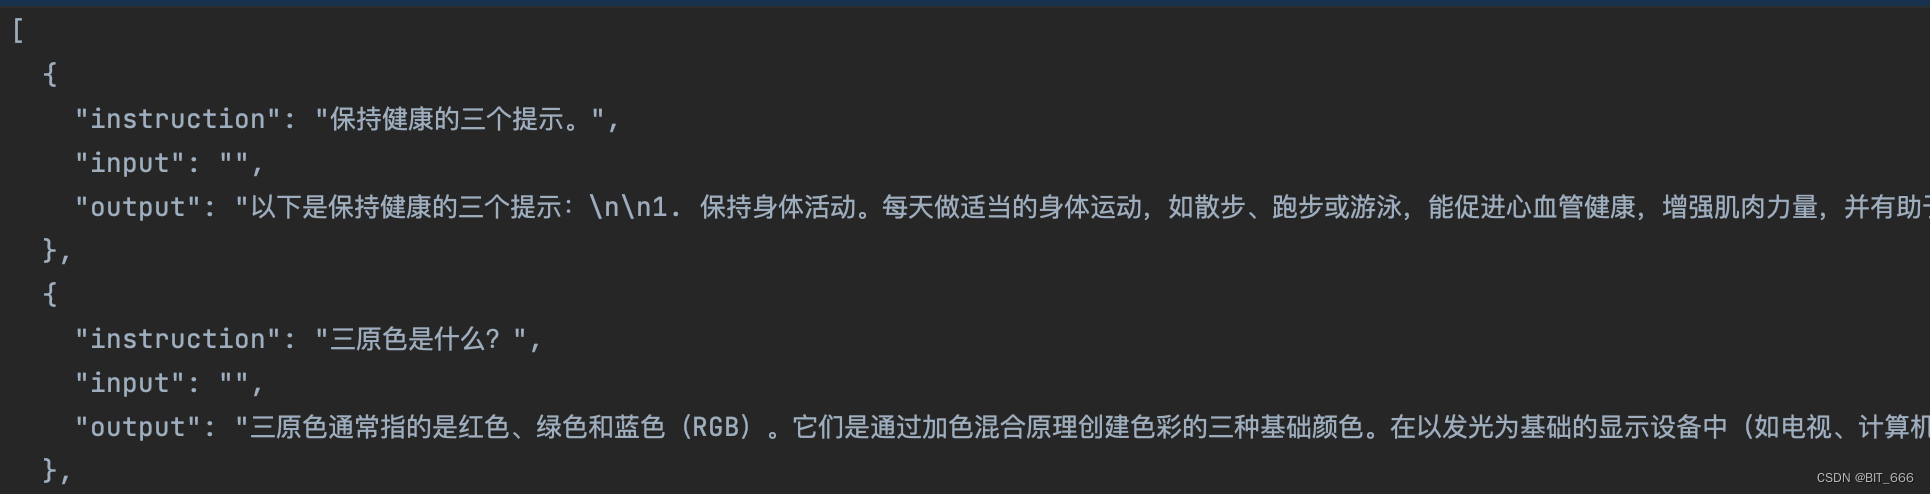
以 aplace_gpt4_data_zh.json 为例,SFT 有监督微调的数据以 QA 的形式提供,其中 instruction 可以作为 prompt 使用即 Q,如果 instrution 和 input 都有值,则逻辑会把二者拼接在一起作为统一个 Source。output 为 A ,在有监督微调的情况下,前面的 Prompt 会以 mask 的形式进行遮蔽,从而构造 label_ids。
2.生成代码
def preprocess_supervised_dataset(examples: Dict[str, List[Any]]) -> Dict[str, Any]:# build inputs with format `<bos> X Y <eos>` and labels with format `<ignore> ... <ignore> Y <eos>`# for multi turn examples, we only mask the prompt part in each prompt-response pair.model_inputs = {"input_ids": [], "attention_mask": [], "labels": []}max_source_length = 512max_target_length = 512max_length = max_source_length + max_target_lengthr"""Encodes formatted inputs to pairs of token ids.Turn 0: bos + prefix + sep + query resp + eosTurn t: sep + bos + query resp + eos"""# special tokensbos_ids = [tokenizer.bos_token_id]eos_ids = [tokenizer.eos_token_id]sep_ids = [tokenizer.sep_token_id]print("bos_id: %s eos_id: %s sep_id: %s" % (str(tokenizer.bos_token_id), str(tokenizer.eos_token_id), str(tokenizer.sep_token_id)))# 开始标记is_start = True# token 配置token_kwargs = dict(add_special_tokens=False)for query, response, history, system in construct_example(examples):input_ids, labels = [], []prefix = "{{system}}"prefix_ids = [] + tokenizer.encode(prefix, **kwargs)if is_start:if len(prefix_ids) != 0: # has prefixprefix_ids = bos_ids + prefix_ids + sep_idselse:prefix_ids = bos_ids# 重置is_start = Falseelse:prefix_ids = sep_ids + bos_idssource_ids = prefix_ids + tokenizer.encode(query, **token_kwargs)target_ids = tokenizer.encode(response, **token_kwargs) + eos_idsif len(source_ids) > max_source_length:source_ids = source_ids[:max_source_length]if len(target_ids) > max_target_length:target_ids = target_ids[:max_target_length]if len(input_ids) + len(source_ids) + len(target_ids) > max_length:breaksource_mask = [IGNORE_INDEX] * len(source_ids)input_ids += source_ids + target_idslabels += source_mask + target_idsmodel_inputs["input_ids"].append(input_ids)model_inputs["attention_mask"].append([1] * len(input_ids))model_inputs["labels"].append(labels)return model_inputs这里的生成代码相对 PT 较长一些,这里博主按块的形式分解:
- Init Model Input
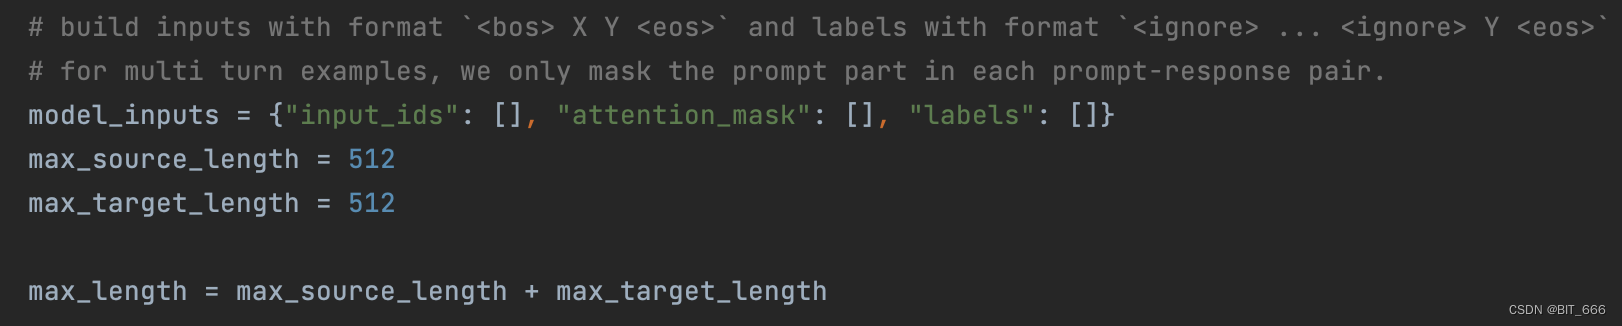
input_ids 和对应的 labels 即为有监督微调的监督部分,其次定义了 max_source_length 和 max_target_length,这个数值和不同模型支持的最大长度也有关系。
- Special Token
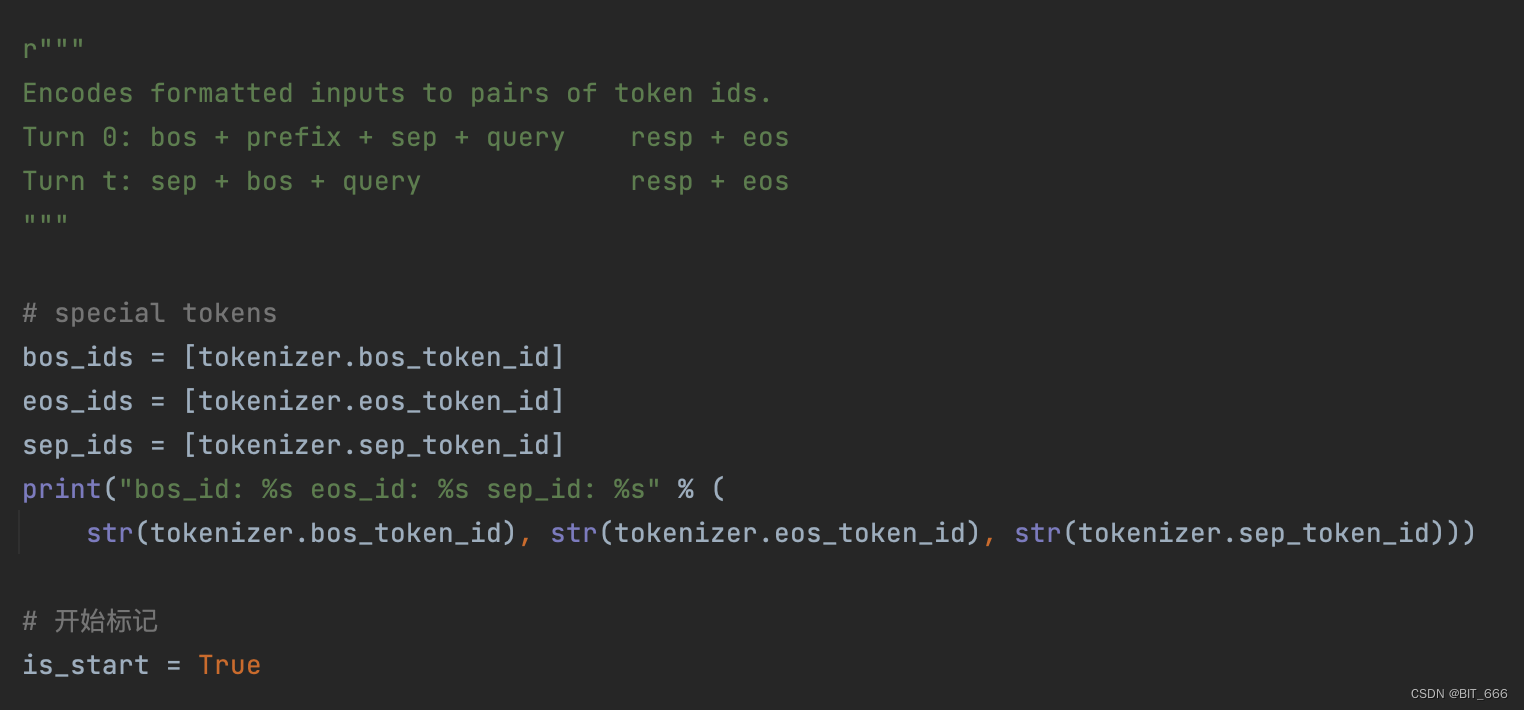
定义特殊的分割 token_id,同时需要注意第一个样本开头包含 bos。如果包含自定义的 template 模板或者前缀,也可以结合 sep 添加到 souce 中。
- Encode Query And Response
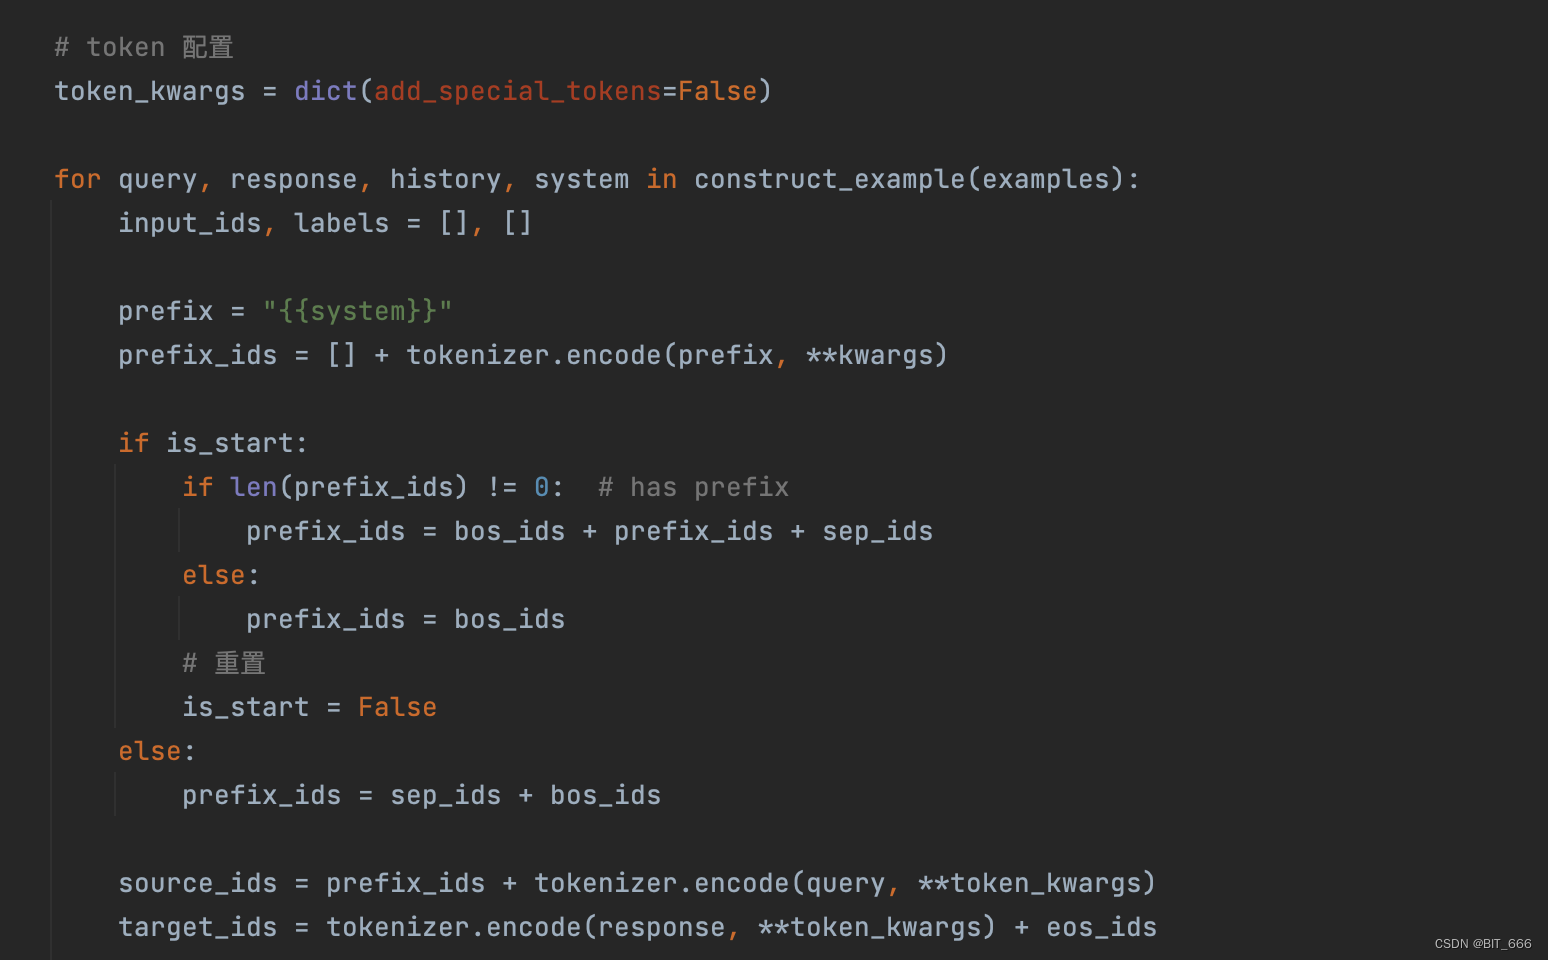
根据是否 start 以及是否包含 prefix,获取 prefix_ids,常规情况下,prefix_ids 只包含一个 bos_token_id,后续的样本需要在 bos_token_id 前增加一个 sep_token_id。source_id 通过 prefix_ids 和 query [instruction] token 得到的 ids 拼接而成,target_ids 通过 response [output] token 得到的 ids 和 eos_ids 拼接而成。
- construct_example

上面生成 token_ids 使用 construcj_example 对原始数据做了第一道处理,可以看到对应的 key 的关系。同时也看到如果有 input 输入,query 会将 input 拼接到一起构成新的 query。由于这里我们并未用到 history 和 system [框架里对应模板],所以这两个 None 可以忽略。
- get Model Input
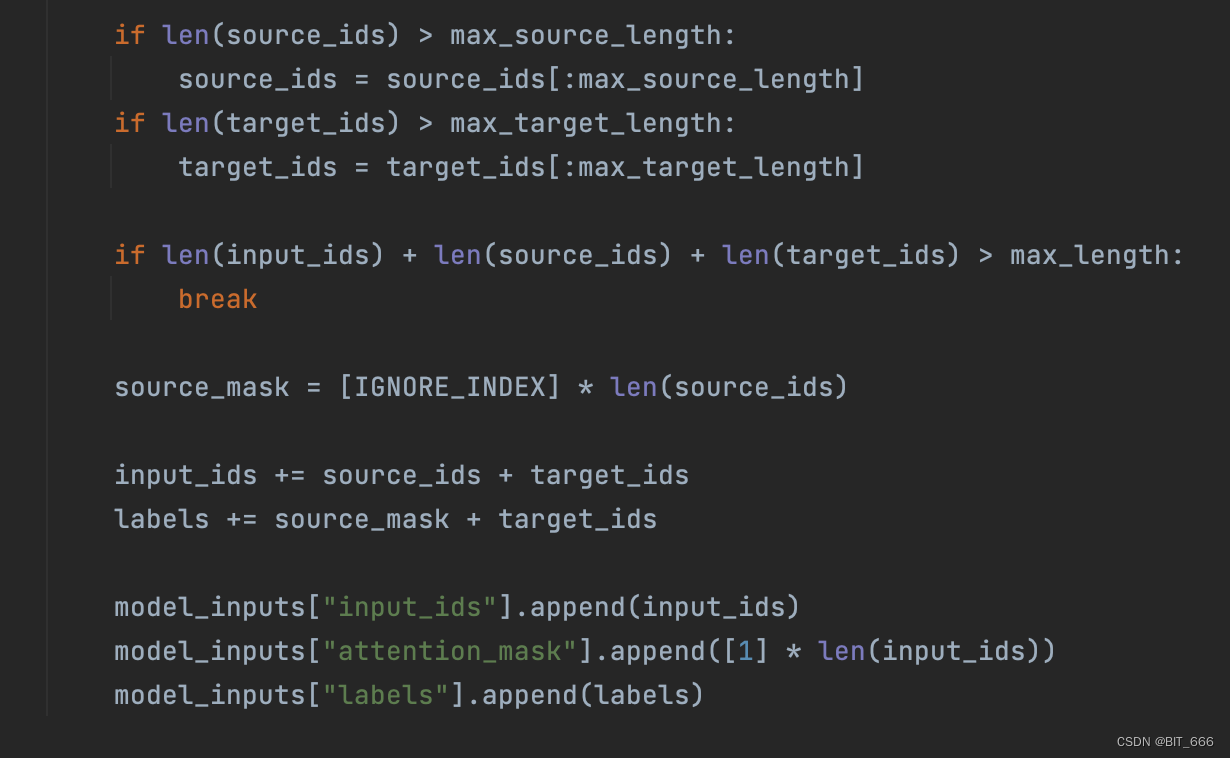
首先根据 init model input 的 max_length 相关定义对得到的 source_ids 和 target_ids 进行截断,并为 labels 构建 source_mask 将 source 部分遮蔽,其中 IGNORE_INDEX 为 -100。最终全部添加至 model_input 即可。
3.数据生成
if __name__ == '__main__':# 多文件地址base_path = "/Users/LLaMA-Efficient-Tuning-main/data"data_files = ['alpaca_data_zh_51k.json', 'alpaca_gpt4_data_zh.json']strategy = 'concat'train_dataset = getBatchDataSet(base_path, data_files, strategy)kwargs = dict(num_proc=4,load_from_cache_file=False,desc="Running tokenizer on dataset")stage = 'pt'if stage == "pt":train_dataset = train_dataset.filter(lambda example: example["instruction"])preprocess_function = preprocess_pretrain_datasetelif stage == 'sft':train_dataset = train_dataset.filter(lambda example: example["instruction"] and example["output"])preprocess_function = preprocess_supervised_datasetelse:raise ValueError("UnKnown process stage")column_names = list(next(iter(train_dataset)).keys())dataset = train_dataset.select(range(1024)).map(preprocess_function,batched=True,remove_columns=column_names,**kwargs)limit = 5if stage == "pt":for source in dataset.select(range(limit))['input_ids']:print(len(source), source)else:for source, target in zip(dataset.select(range(limit))['input_ids'], dataset.select(range(5))['labels']):print(source, target)添加 stage == 'sft' 的逻辑,下图为 GPT2-Tokenizer 对应的 special token:

最终的样例数据:

四.RM 数据流程
1.生成逻辑
RM 模型用于针对给定的 QA 对进行评分,因此训练 RM 模型需要传给模型好的回复和不好的回复,这里我们主要看代码的逻辑,不再输出测试。
def preprocess_pairwise_dataset(examples):# build input pairs with format `<bos> X`, `Y1 <eos>` and `Y2 <eos>`model_inputs = {"prompt_ids": [], "chosen_ids": [], "rejected_ids": []}for query, response, history, system in construct_example(examples):prompt_ids, chosen_ids = template.encode_oneturn(tokenizer, query, response[0], history, system)_, rejected_ids = template.encode_oneturn(tokenizer, query, response[1], history, system)if len(prompt_ids) > data_args.max_source_length:prompt_ids = prompt_ids[:data_args.max_source_length]if len(chosen_ids) > data_args.max_target_length:chosen_ids = chosen_ids[:data_args.max_target_length]if len(rejected_ids) > data_args.max_target_length:rejected_ids = rejected_ids[:data_args.max_target_length]model_inputs["prompt_ids"].append(prompt_ids)model_inputs["chosen_ids"].append(chosen_ids)model_inputs["rejected_ids"].append(rejected_ids)return model_inputs和前面 sft 的逻辑比较相似,sft 只有 source 和 target,这里 prompt 相当于 source,chosen_ids 相当于 positive_target 的 token ids,rejected_ids 相当于 negative_target 的 token ids,最终全部添加至 model_inputs 即可。原始样本的格式我们虽然未给出,但是大家可以自行构建,只需要在 sft 的基础上增加 bad case 即可,不过这一步需要有正负情感的数据标注。
2.RM 模型测试
Ziya 类模型提供原生的 Reward Model,下面我们展示下其工作流程:
import torch
from transformers import AutoModelForSequenceClassification,LlamaTokenizer
reward_model = AutoModelForSequenceClassification.from_pretrained("/data2/ziya/Ziya-LLaMA-7B-Reward", trust_remote_code=True)
reward_model = reward_model.eval().half().cuda()lora_reward_model = AutoModelForSequenceClassification.from_pretrained("./MergeZiya", trust_remote_code=True)
lora_reward_model = lora_reward_model.eval().half().cuda()tokenizer = LlamaTokenizer.from_pretrained("/data2/ziya/Ziya-LLaMA-7B-Reward",add_eos_token=True)prefix_user = "Human:"
prefix_bot = "\n\nAssistant:"
query = "列举一种空气污染。"
response = "一种常见的空气污染源是化石燃料的燃烧产生的尾气排放,包括来自汽车、卡车、飞机、火车和工业厂房的废气排放。这会导致大气中的二>氧化硫、氮氧化物、一氧化碳、臭氧和颗粒物(例如灰尘和烟雾)等污染物含量增加,对人类健康和环境造成不利影响。"text = prefix_user + query + prefix_bot+response
batch = tokenizer(text, return_tensors="pt", padding=True, truncation=True, max_length=1024)
with torch.no_grad():reward = reward_model(batch['input_ids'].cuda(), attention_mask = batch['attention_mask'].cuda())print("ori:",reward.item())reward = lora_reward_model(batch['input_ids'].cuda(), attention_mask = batch['attention_mask'].cuda())print("lora:",reward.item())
最终会打印一个 0-1 之间的值代表二者的相关性。
五.总结
经过前面的 Dataset 生成与本文的 PreProcess 预处理,我们已经得到可训的 Dataset,后续我们继续熟悉框架代码,看看 trainer 如何构建,整个训练任务怎么进行。