Windows
参考文章:从零开始,手把手教你本地部署Stable Diffusion Webui AI绘画(非最新版)
一键脚本安装
- 默认环境安装在项目路径的
venv下
conda create -n df_env python==3.10
- 安装pytorch:(正常用国内网就行)
python -m pip install --upgrade pip
# 阿里云源稳定
pip config set global.index-url https://mirrors.aliyun.com/pypi/simple/
# pip config set global.index-url https://pypi.tuna.tsinghua.edu.cn/simple
- 运行核心脚本
webui-user.bat
- 安装依赖:
pip install -r .\requirements.txt
pip install -r .\requirements_versions.txtpip install accelerate==0.21.0
- 踩坑特定环境版本:
pip install tb_nightly -i https://mirrors.aliyun.com/pypi/simple
运行
python3 launch.py --disable-nan-check
accelerate launch --num_cpu_threads_per_process=6 launch.py --disable-nan-check
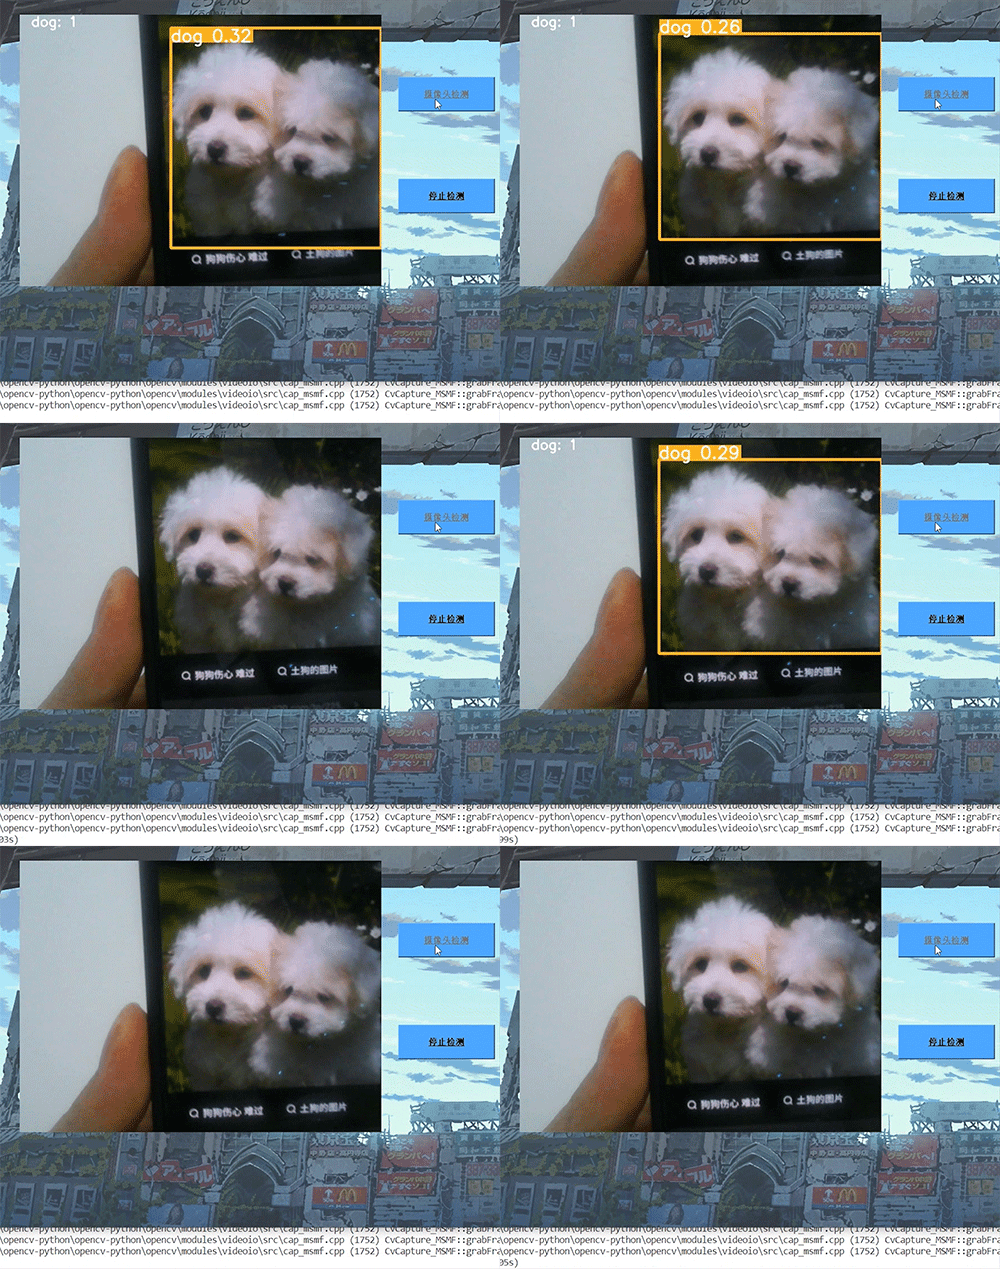
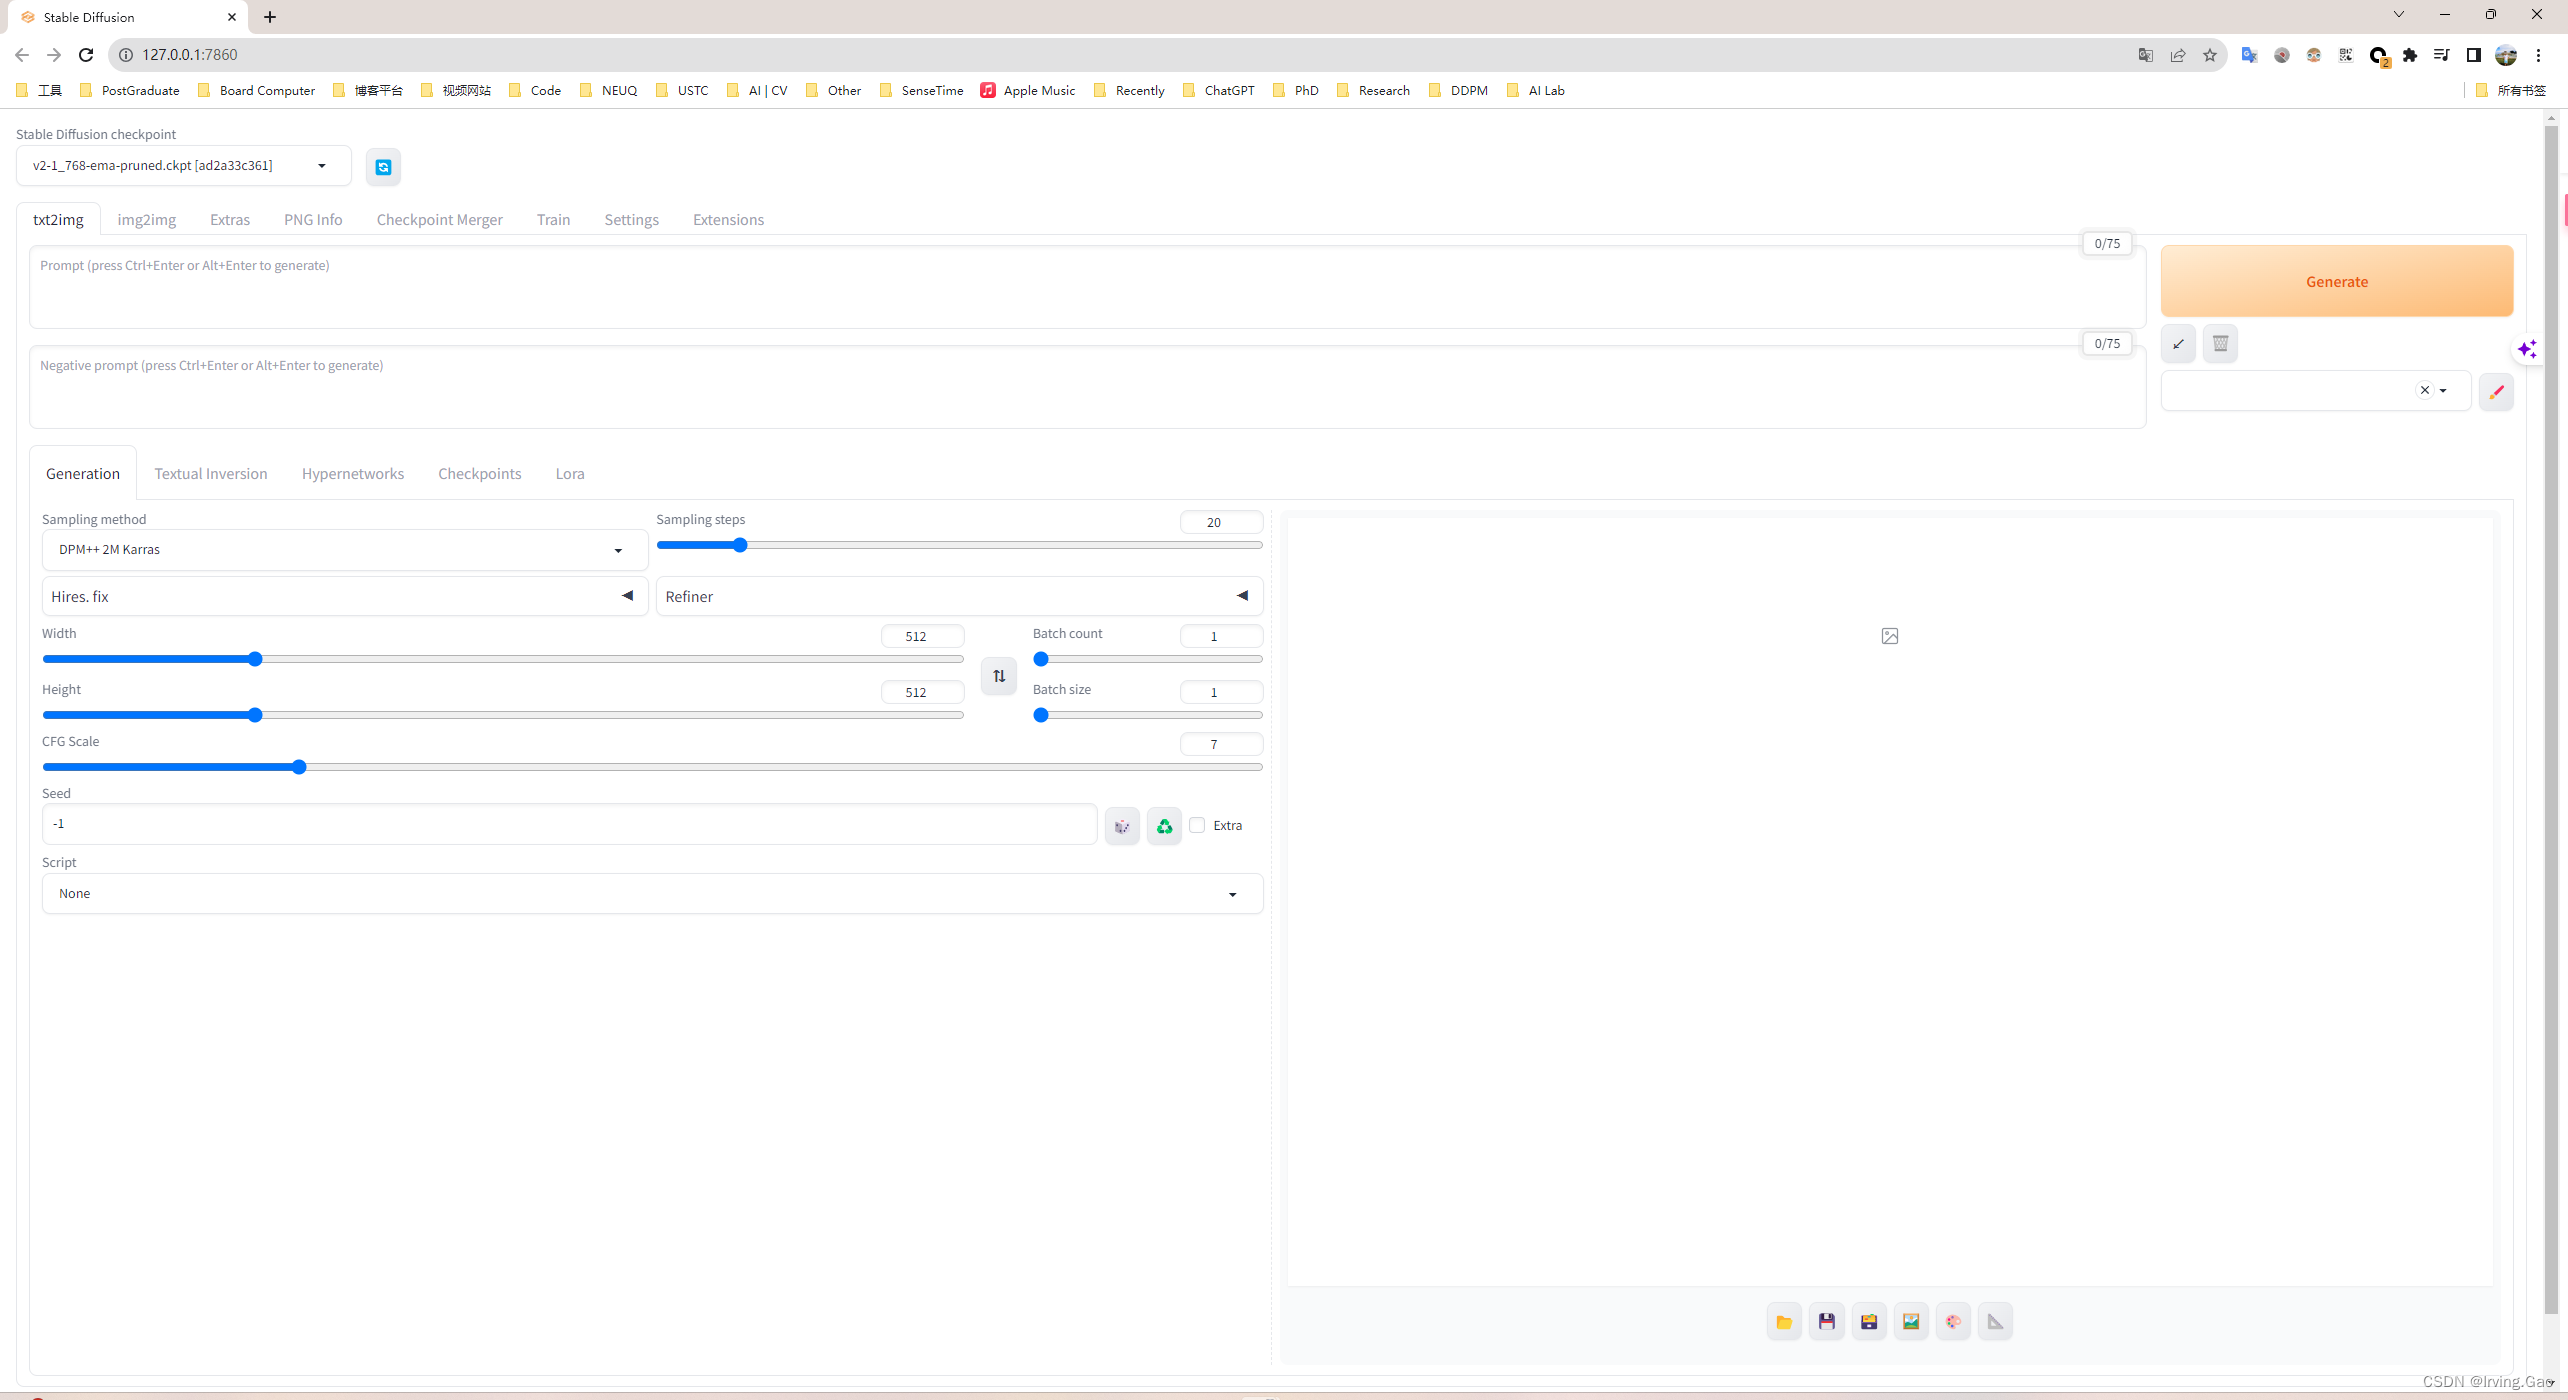
效果
下载模型
模型网站:
- 配置网络:
git config --global http.proxy "http://127.0.0.1:7890"
git config --global https.proxy "http://127.0.0.1:7890"
- 在webui路径下创建openai文件夹:
cd openai
git clone https://huggingface.co/openai/clip-vit-large-patch14

