archlinux
- 一、系统安装
- 二、系统配置及美化
- 2.1 中文输入法
- 2.2 安装virtualbox增强工具
- 2.3 终端美化
- 2.4 桌面面板美化
- 三、常用命令
一、系统安装
安装步骤人们已经总结了很多很全: Arch Linux图文安装教程
大体步骤:
- 磁盘分区
- 安装 Linux内核
- 配置系统(基本软件)
- 新建一个用户
- 图形界面+桌面安装(如X11、KDE桌面)
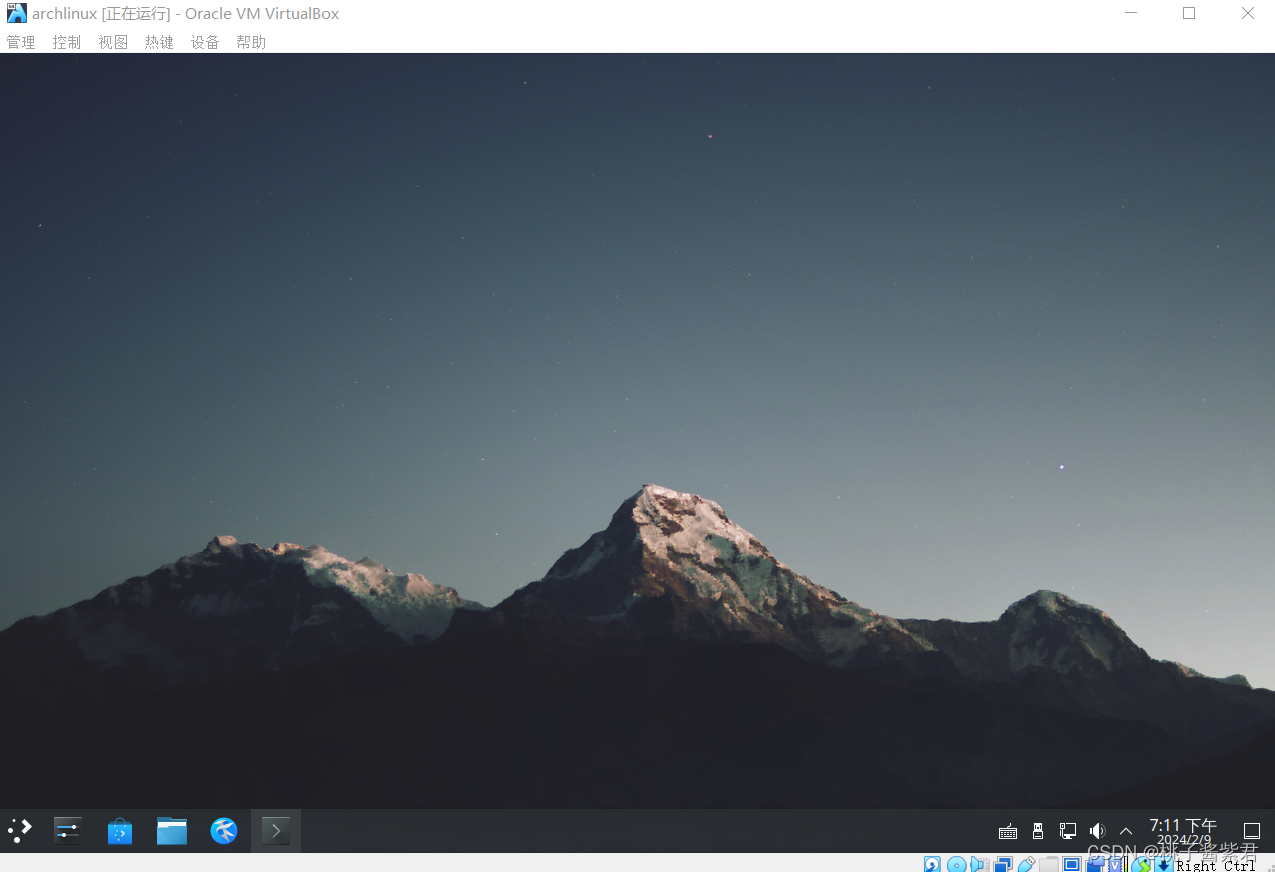
二、系统配置及美化
2.1 中文输入法
安装
sudo pacman -S fcitx5 fcitx5-chinese-addons fcitx5-gtk fcitx5-qt fcitx5-configtool
新建并在~/.xprofile里配置,重启即可:
export LANG=zh_CN.UTF-8
export LC_ALL=zh_CN.UTF-8
export GTK_IM_MODULE=fcitx
export QT_IM_MODULE=fcitx
export XMODIFIERS="@im=fcitx"
后续在桌面输入法配置可添加拼音输入法。
2.2 安装virtualbox增强工具
安装后重启
pacman -S virtualbox-guest-utils
2.3 终端美化
安装oh my posh,参考链接:Linux 终端美化
1、安装字体
oh my posh美化工具可以使用合适的字体,如Agave Nerd Font。安装后配置到终端。
2、可执行文件oh-my-posh
//下载
wget https://github.com/JanDeDobbeleer/oh-my-posh/releases/latest/download/posh-linux-amd64 -O /usr/local/bin/oh-my-posh
//记得赋予可执行权限
chmod +x /usr/local/bin/oh-my-posh
3、配置oh-my-posh主题
//下载解压到.poshthemes
mkdir ~/.poshthemes
wget https://github.com/JanDeDobbeleer/oh-my-posh/releases/latest/download/themes.zip -O ~/.poshthemes/themes.zip
unzip ~/.poshthemes/themes.zip -d ~/.poshthemes
chmod u+rw ~/.poshthemes/*.json
//配置到用户环境变量~/.bashrc,推荐主题 1_shell M365Princess montys
eval "$(oh-my-posh init bash --config ~/.poshthemes/M365Princess.omp.json)"
4、配置oh-my-posh字体颜色
//下载解压到.poshdircolors
git clone https://gitee.com/wq870406/dircolors-solarized.git
//配置到用户环境变量~/.bashrc
eval `dircolors ~/.poshdircolors/dircolors.ansi-light`
5、更新环境变量
. .bashrc
2.4 桌面面板美化
1、全局主题,搜索Aritim-Light。
2、底部latte dock栏。
sudo pacman -S latte-dock
3、顶部面板做状态栏。
添加部件:
- 本地:应用程序启动器、数字时钟、托盘等等。
- Plasma挂件(商店):netspeed widget、catwalk。
4、系统设置
- 外观:主题(Aritim-Light),图标(Fluent)
- 工作区间行为:透明度、缩放
- 开机和关机:开关机界面(Cat)
三、常用命令
1、软件包
pacman -S package_name	//安装软件包
pacman -Rs package_name	//删除指定软件包,及其所有没有被其他已安装软件包使用的依赖关系
pacman -Sc	//清理当前未被安装软件包的缓存(/var/cache/pacman/pkg)
pacman -Qdt	//找出孤立包
pacman -Syu	//升级系统和同步仓库数据
2、防火墙
pacman -S firewalld			//安装
systemctl start firewalld	//启动
systemctl enable firewalld	//开机自启firewall-cmd --help			//查看帮助
firewall-cmd --zone=public --add-port=80/tcp --permanent   //开启一个端口,(--permanent永久生效,没有此参数重启后失效)
firewall-cmd --reload		//重新载入配置
firewall-cmd --zone=public --remove-port=80/tcp --permanent	//删除此端口。
firewall-cmd --zone=public --add-service=http --permanent	//添加服务
firewall-cmd --zone=public --list-ports	//查看已经打开的端口。


