在我还没接触到微信小程序之前,通常使用轮播要么手写或使用swiper插件去实现,当我接触到微信小程序之后,我看到了微信小程序的强大之处,让我为大家介绍一下吧!
swiper与swiper-item一起使用可以做轮播图
基本使用,上代码:
<swiper class="swiper-container"><swiper-item><view class="item">A</view></swiper-item><swiper-item><view class="item">B</view></swiper-item><swiper-item><view class="item">C</view></swiper-item>
</swiper>
样式
.swiper-container {height: 150px;
}
.item{height: 100%;text-align: center;line-height: 150px;
}
swiper-item:nth-child(1) .item{background-color: pink;
}
swiper-item:nth-child(2) .item{background-color: red;
}
swiper-item:nth-child(3) .item{background-color: gold;
}
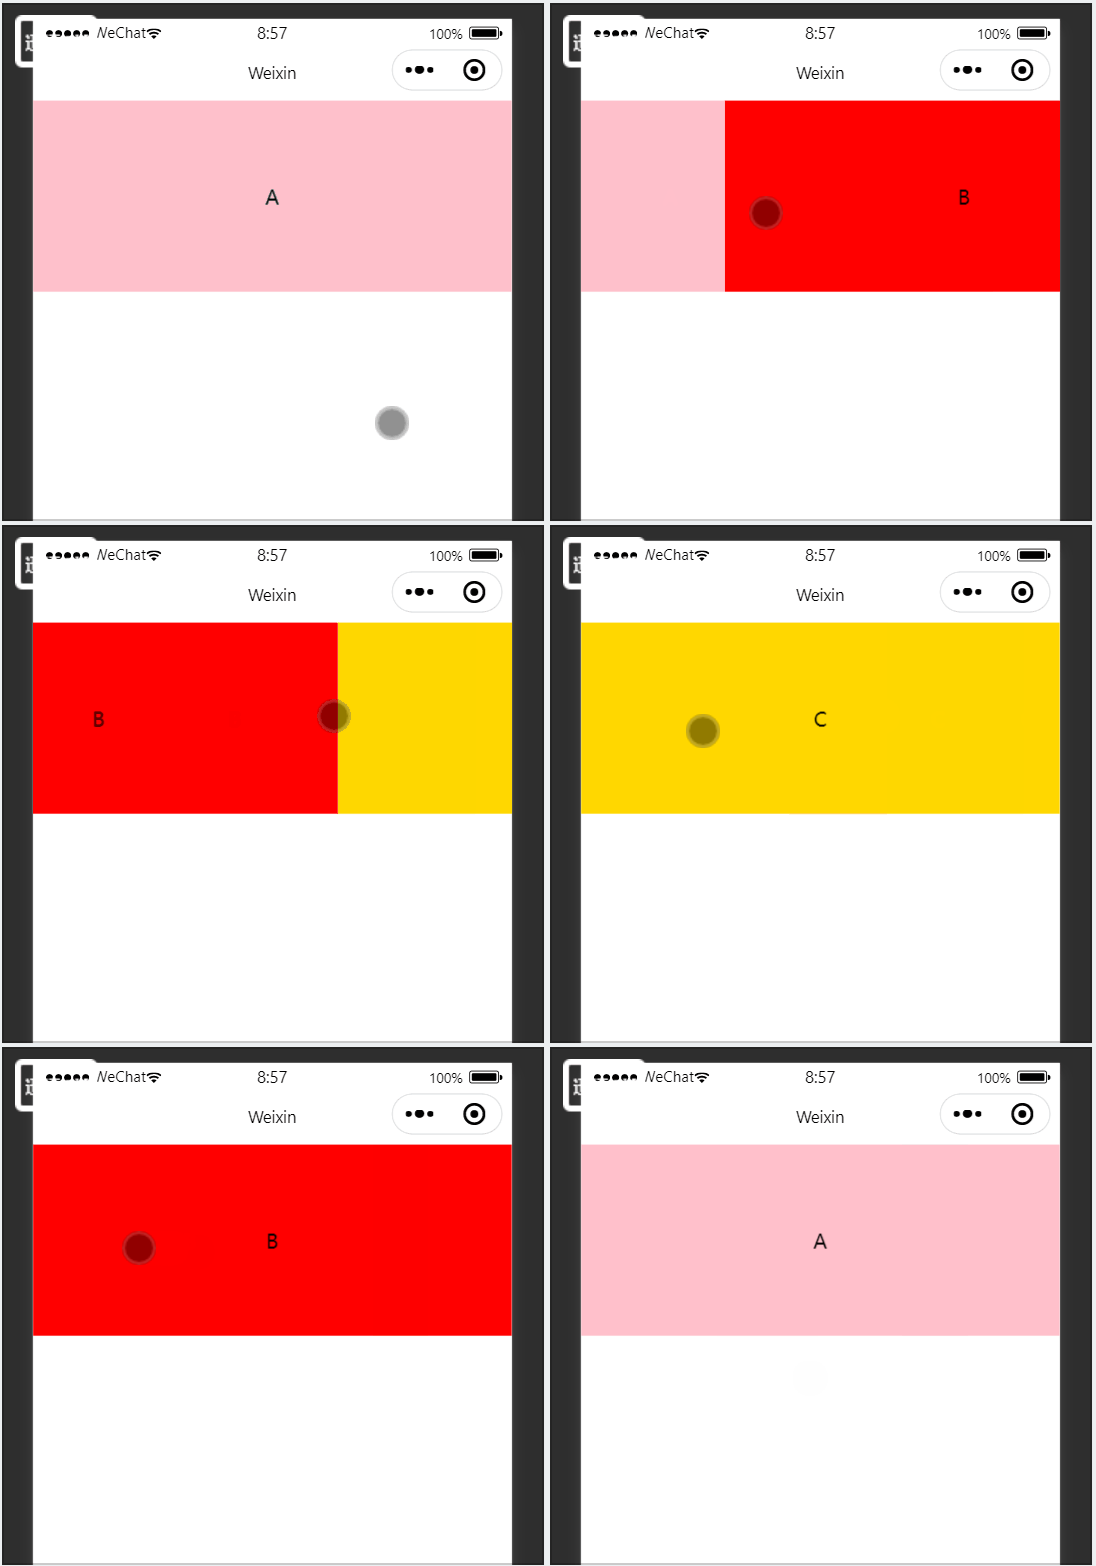
swiper当中常用的属性
| 属性 | 类型 | 默认值 | 说明 |
|---|---|---|---|
| indicator-dots | boolean | false | 是否显示面板指示点 |
| indicator-color | color | rgba(0, 0, 0,.3) | 指示点颜色 |
| indicator-active-color | color | false | 当前选中的指示点颜色 |
| autoplay | boolean | false | 是否自动切换 |
| interval | number | 5000 | 自动切换时间间隔 |
| circular | boolean | false | 是否采用衔接滑动 |
<!-- 属性 indicator-dots -->
<swiper class="swiper-container" indicator-dots indicator-color="#fff" indicator-active-color="red" autoplay interval="2000" circular><swiper-item><view class="item">A</view></swiper-item><swiper-item><view class="item">B</view></swiper-item><swiper-item><view class="item">C</view></swiper-item>
</swiper>
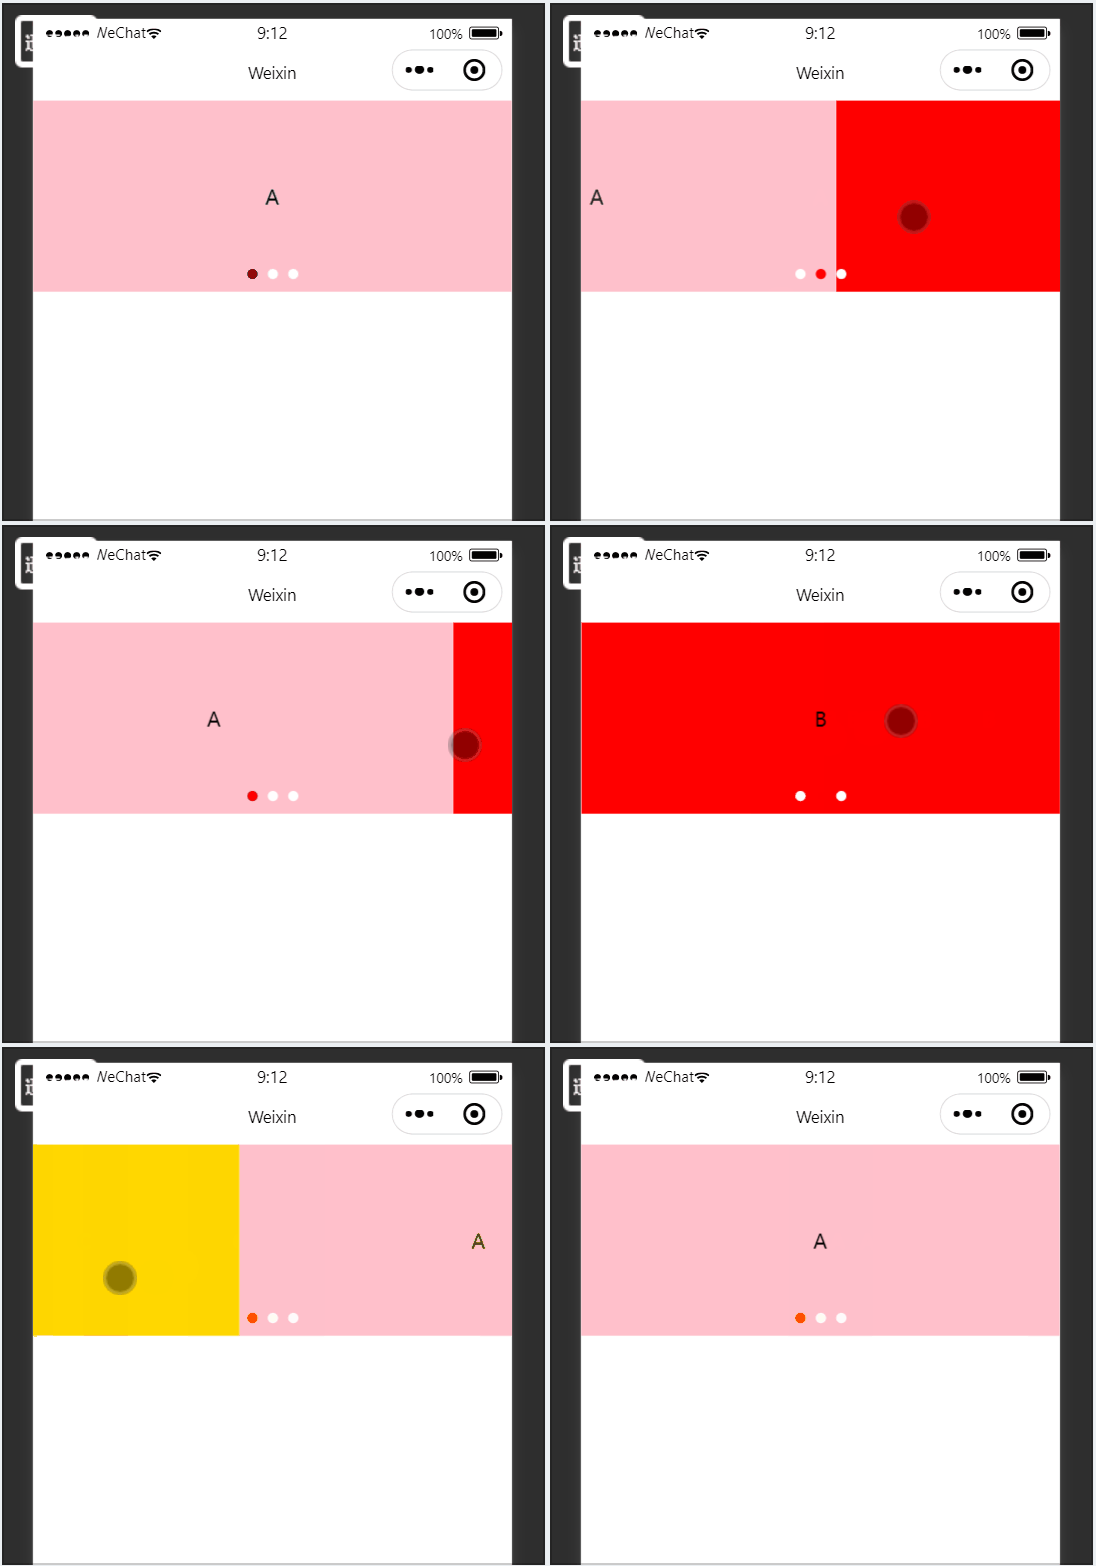
学如逆水行舟,不进则退,感谢大家的阅读!
