UI自动化测试重点思考--元素定位
- Selenium定位元素
- selenium中如何判断元素是否存在?
- 定位页面元素
- webdriver打开页面
- id定位
- name定位
- class_name定位
- tag_name 定位
- xpath定位
- css_selector定位
- link_text 定位
- partial_link 定位
- 总结
- selenium中元素定位的难点?
- Selenium验证码识别
- 自动化测试如何处理验证码?
- 01 简单验证码思路和代码实现
- 02 复杂验证码思路和代码实现
- 验证码识别的函数怎么写?
- pytest测试框架
- 编写规则
- pytest标记
- 创建test_02.py和test_03.py
- 显式指定函数名
- 格式
- 显示制定
- 模糊匹配函数名
- 格式
- 使用pytest.mark在函数上进行标记
- 格式
- 内置标记
- 参数化测试(数据驱动测试)DDT思想
- pytest fixture
- 定义
- 示例
- pytest的up和down
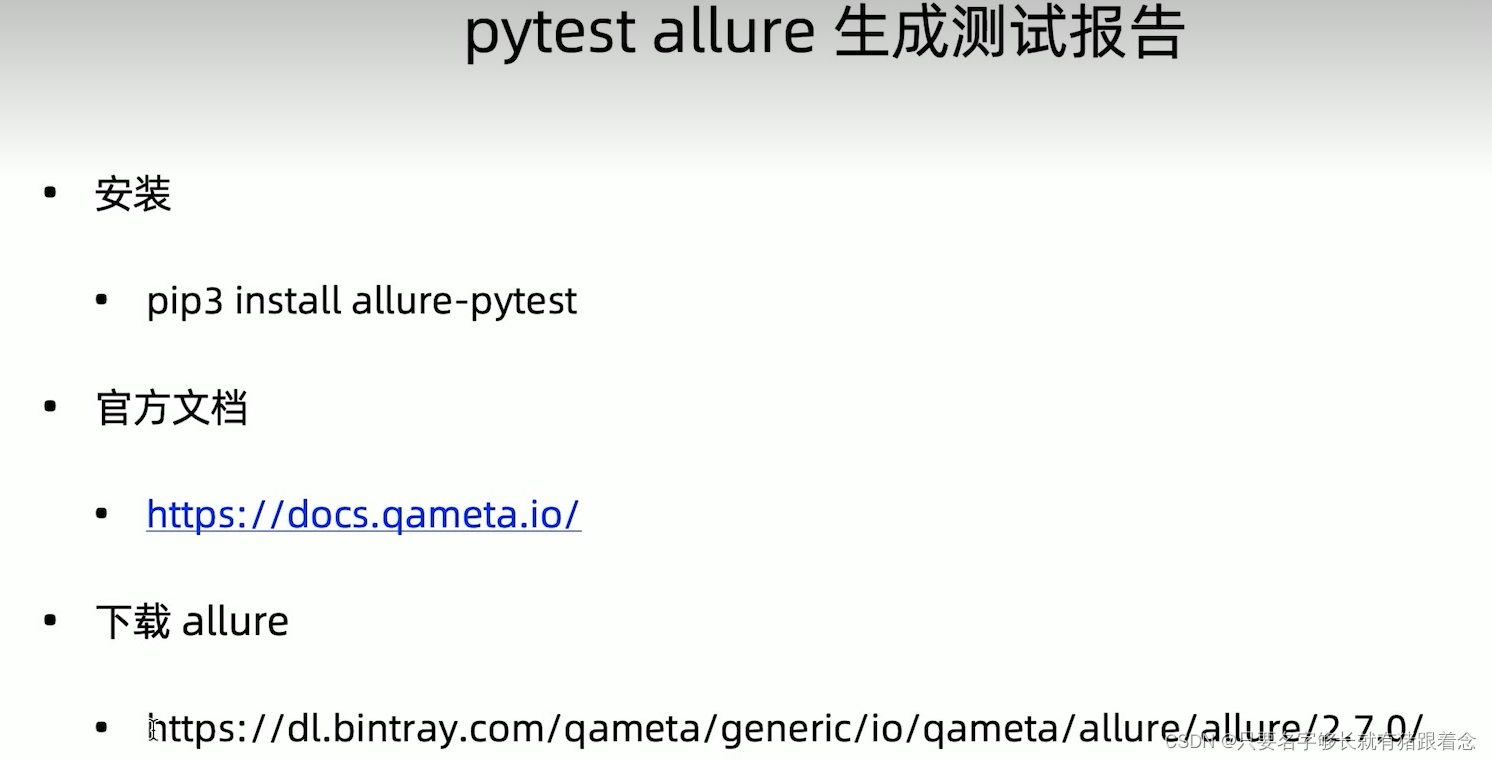
- allure测试报告
Selenium定位元素
selenium中如何判断元素是否存在?
定位页面元素
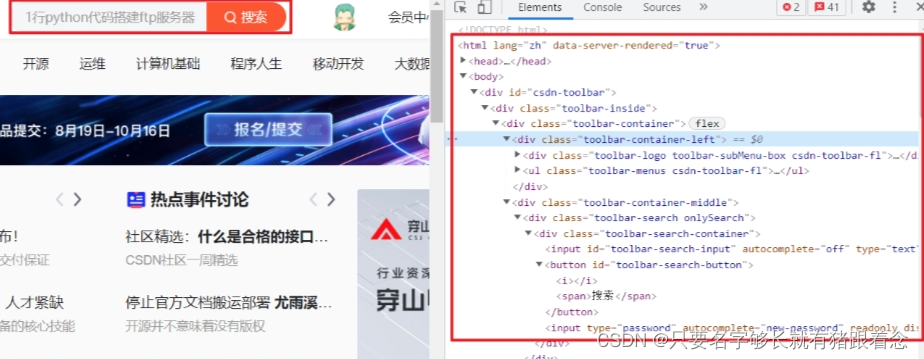
以我们熟知的 CSDN 为例,我们进入首页,按 【F12】 进入开发者工具。红框中显示的就是页面的代码,我们要做的就是从代码中定位获取我们需要的元素。
webdriver打开页面
想要定位并获取页面中的信息,首先要使用 webdriver 打开指定页面,再去定位。
from selenium import webdriver
# Chrome浏览器
driver = webdriver.Chrome()
driver.get('https://www.csdn.net/')
执行上面语句后会发现,浏览器打开 CSDN 主页后会马上关闭,想要防止浏览器自动关闭,可以添加下面代码。
# 不自动关闭浏览器
option = webdriver.ChromeOptions()
option.add_experimental_option("detach", True)# 将option作为参数添加到Chrome中
driver = webdriver.Chrome(chrome_options=option)
这样将上面的代码组合再打开浏览器就不会自动关闭了。
from selenium import webdriver# 不自动关闭浏览器
option = webdriver.ChromeOptions()
option.add_experimental_option("detach", True)# 注意此处添加了chrome_options参数
driver = webdriver.Chrome(chrome_options=option)
driver.get('https://www.csdn.net/')
id定位
标签的 id 具有唯一性,就像人的身份证,假设有个 input 标签如下。
<input id="toolbar-search-input" autocomplete="off" type="text" value="" placeholder="Python难在哪里?">
id="toolbar-search-input":定义了该元素的唯一标识符为 “toolbar-search-input”。这使得在HTML文档中可以通过这个标识符来识别和操作这个特定的输入框。
autocomplete="off":禁用了浏览器的自动填充功能,即不会提供输入建议。
type="text":指定了输入框的类型为文本输入框,用户可以在其中输入任意文本
value="":指定了输入框的初始值为空。
placeholder="Python难在哪里?":为输入框设置了一个占位符,当输入框为空时,显示此文本,提示用户输入的内容。
我们可以通过 id 定位到它,由于 id 的唯一性,我们可以不用管其他的标签的内容。
driver.find_element_by_id("toolbar-search-input")
name定位
name 指定标签的名称,在页面中可以不唯一。假设有个 meta 标签如下
<meta name="keywords" content="CSDN博客,CSDN学院,CSDN论坛,CSDN直播">
我们可以使用 find_element_by_name 定位到 meta 标签。
driver.find_element_by_name("keywords")
class_name定位
class 指定标签的类名,在页面中可以不唯一。假设有个 div 标签如下
<div class="toolbar-search-container">
我们可以使用 find_element_by_class_name 定位到 div 标签。
driver.find_element_by_class_name("toolbar-search-container")
tag_name 定位
每个 tag 往往用来定义一类功能,所以通过 tag 来识别某个元素的成功率很低,每个页面一般都用很多相同的 tag ,比如:<div>、<input> 等。这里还是用上面的 div 作为例子。
<div class="toolbar-search-container">
我们可以使用 find_element_by_class_name 定位到 div 标签。
driver.find_element_by_tag_name("div")
xpath定位
xpath 是一种在 XML 文档中定位元素的语言,它拥有多种定位方式,下面通过实例我们看一下它的几种使用方式。
<html><head>...<head/><body><div id="csdn-toolbar"><div class="toolbar-inside"><div class="toolbar-container"><div class="toolbar-container-left">...</div><div class="toolbar-container-middle"><div class="toolbar-search onlySearch"><div class="toolbar-search-container"><input id="toolbar-search-input" autocomplete="off" type="text" value="" placeholder="Python难在哪里?">根据上面的标签需要定位 最后一行 input 标签,以下列出了四种方式,xpath 定位的方式多样并不唯一,使用时根据情况进行解析即可。
# 绝对路径(层级关系)定位
driver.find_element_by_xpath("/html/body/div/div/div/div[2]/div/div/input[1]")
# 利用元素属性定位
driver.find_element_by_xpath("//*[@id='toolbar-search-input']"))
# 层级+元素属性定位
driver.find_element_by_xpath("//div[@id='csdn-toolbar']/div/div/div[2]/div/div/input[1]")
# 逻辑运算符定位
driver.find_element_by_xpath("//*[@id='toolbar-search-input' and @autocomplete='off']")
css_selector定位
CSS 使用选择器来为页面元素绑定属性,它可以较为灵活的选择控件的任意属性,一般定位速度比 xpath 要快,但使用起来略有难度。
CSS 选择器常见语法:
| 选择器 | 方法 | 例子 | 描述 |
|---|---|---|---|
| #id | ID选择器 | #toolbar-search-input {} | 选择 id 属性为 ‘toolbar-search-input’ 的元素。 |
| * | 通用选择器 | * {} | 选择文档中所有的元素。 |
| element | 元素选择器 | input {} | 选择指定类型的元素,比如 <input> 元素。 |
| element > element | 子元素选择器 | div > input {} | 选择作为 div 元素的直接子元素的 input 元素。 |
| element + element | 相邻兄弟选择器 | div + input {} | 选择与 div 元素相邻的 input 元素。 |
| [attribute=value] | 属性选择器 | [type='text'] {} | 选择具有指定属性和值的元素,比如 type 为 ‘text’ 的元素。 |
举个简单的例子,同样定位上面实例中的 input 标签
driver.find_element_by_css_selector('#toolbar-search-input')
driver.find_element_by_css_selector('html>body>div>div>div>div>div>div>input')
link_text 定位
link 专门用来定位文本链接,假如要定位下面这一标签。
<div class="practice-box" data-v-04f46969="">加入!每日一练</div>
我们使用 find_element_by_link_text 并指明标签内全部文本即可定位。
driver.find_element_by_link_text("加入!每日一练")
partial_link 定位
partial_link 翻译过来就是“部分链接”,对于有些文本很长,这时候就可以只指定部分文本即可定位,同样使用刚才的例子。
<div class="practice-box" data-v-04f46969="">加入!每日一练</div>
我们使用 find_element_by_partial_link_text 并指明标签内部分文本进行定位。
driver.find_element_by_partial_link_text("加入")
总结
| 序号 | 方法名 | 描述 |
|---|---|---|
| 1 | find_element_by_id | 通过 ID 属性定位单个元素 |
| 2 | find_element_by_name | 通过名称属性定位单个元素 |
| 3 | find_element_by_xpath | 通过 XPath 表达式定位单个元素 |
| 4 | find_element_by_link_text | 通过链接文本定位单个元素 |
| 5 | find_element_by_partial_link_text | 通过部分链接文本定位单个元素 |
| 6 | find_element_by_tag_name | 通过标签名称定位单个元素 |
| 7 | find_element_by_class_name | 通过类名定位单个元素 |
| 8 | find_element_by_css_selector | 通过 CSS 选择器定位单个元素 |
| 9 | find_elements_by_id | 通过 ID 属性定位多个元素 |
| 10 | find_elements_by_name | 通过名称属性定位多个元素 |
| 11 | find_elements_by_xpath | 通过 XPath 表达式定位多个元素 |
| 12 | find_elements_by_link_text | 通过链接文本定位多个元素 |
| 13 | find_elements_by_partial_link_text | 通过部分链接文本定位多个元素 |
| 14 | find_elements_by_tag_name | 通过标签名称定位多个元素 |
| 15 | find_elements_by_class_name | 通过类名定位多个元素 |
| 16 | find_elements_by_css_selector | 通过 CSS 选择器定位多个元素 |
selenium中元素定位的难点?
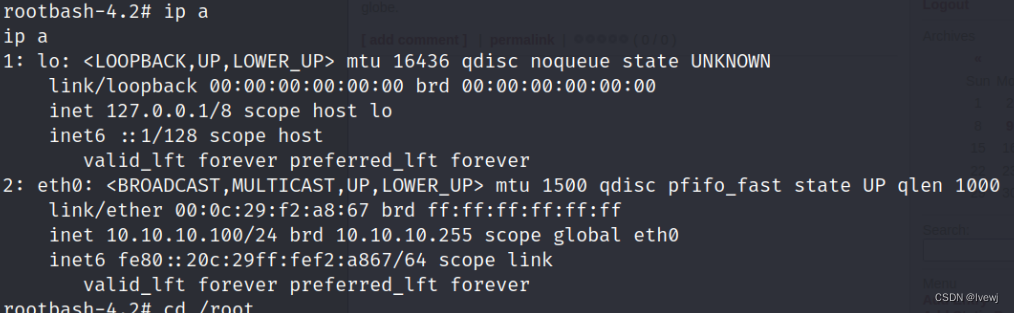
- 在 PyAutoGUI 中,
绝对定位元素的方法是使用屏幕坐标来定位元素,而不是像 Selenium WebDriver 那样使用 HTML 元素属性。用PyAutoGUI定位一个绝对位置的元素并进行操作(所有的定位都定位不到)
Selenium验证码识别
自动化测试如何处理验证码?
01 简单验证码思路和代码实现
1.截取整个页面
2.获得验证码坐标数据
3.根据坐标数据进行抠图
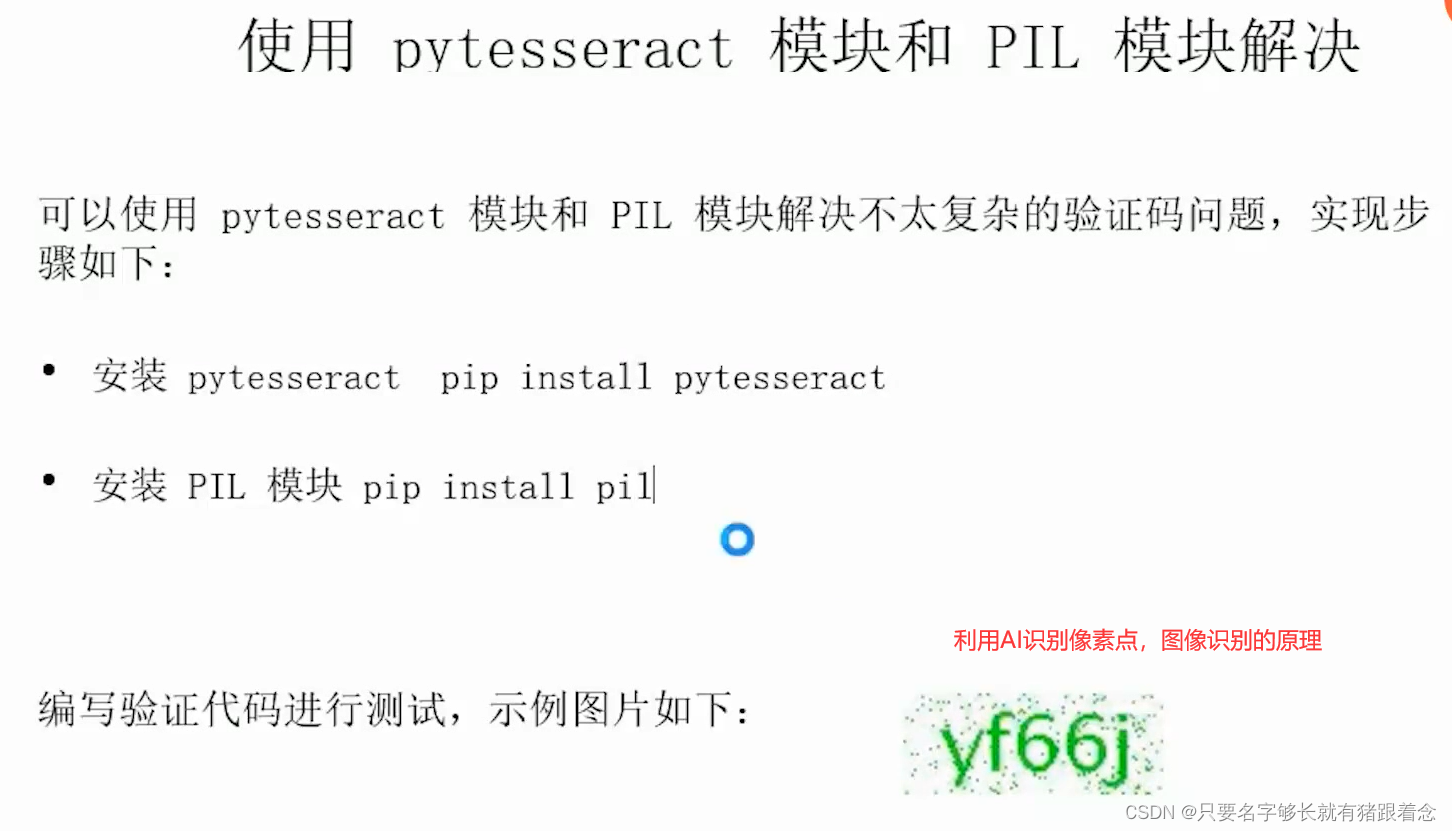
4.使用pytesseract模块进行验证
02 复杂验证码思路和代码实现
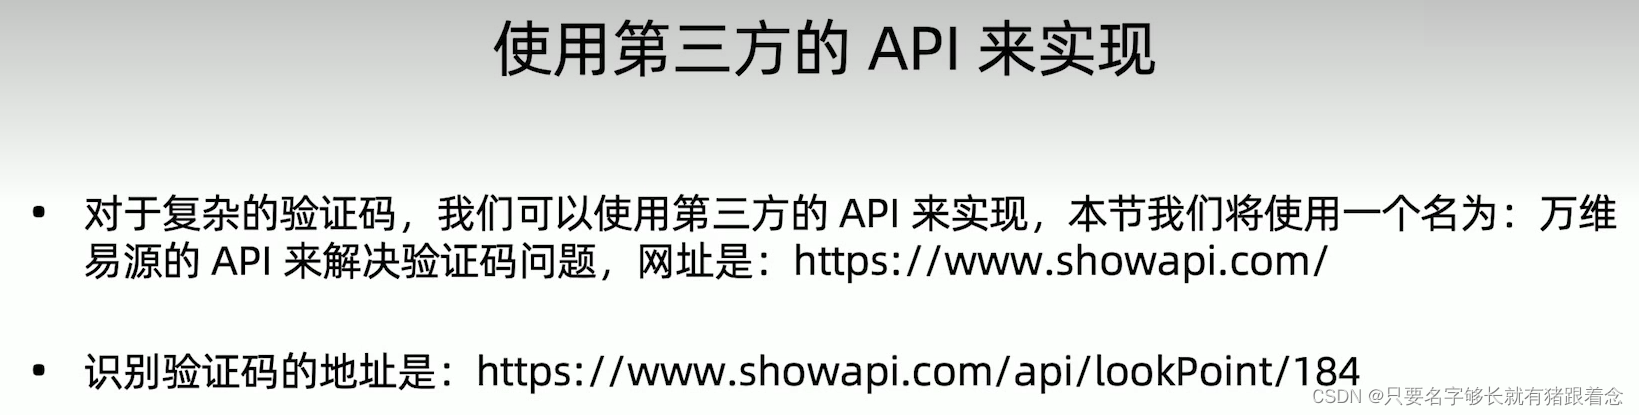
第三方api实现,showapirequest,里面也有使用方法,是基于AI识别的功能,可以处理图片上有横线干扰的验证码
验证码识别的函数怎么写?
1、我们明确使用 ddddocr 模块和 pi
模块,然后将整个登录页面先截图保存,然后确定对应的验证码图片的左上坐标和右下角坐标,再根绝这两个坐标去抠图并存为另一张图片,最后使用
ddddocr 的 classification 方法去对图片做验证码识别,最后识别出来的验证码就写到对应的 input 框中 2、实际上
pil 模块用来截图,ddddocr 模块用来做图片识别
from PIL import Image
import ddddocrdef recognize_captcha(image):"""对验证码图片进行识别:param image: 验证码图片:return: 识别结果"""# 1. 预处理(例如:调整大小、灰度化等操作)image = image.resize((100, 50))  # 假设调整大小为 100x50gray_image = image.convert('L')  # 将图片转换为灰度图像# 2. 图像识别ocr = ddddocr.DdddOcr()captcha_text = ocr.classification(gray_image)# 3. 返回结果return captcha_text# 使用示例
image_path = 'captcha.png'  # 假设验证码图片的文件名为 captcha.png
captcha_image = Image.open(image_path)
result = recognize_captcha(captcha_image)
print("识别结果:", result)
pytest测试框架
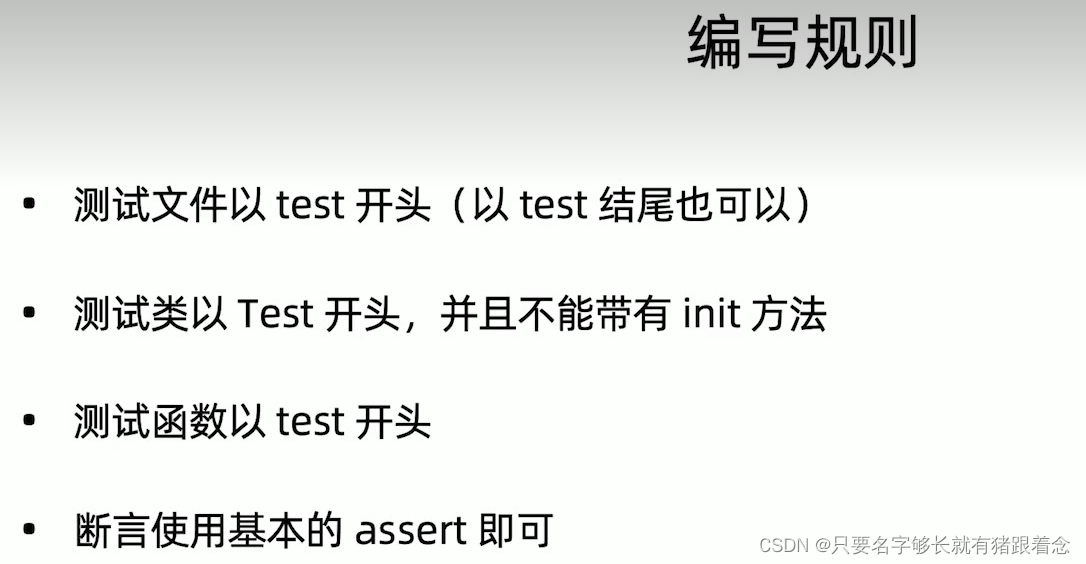
编写规则
pytest标记
创建test_02.py和test_03.py
- 创建一个test_02.py,代码如下:
import pytestdef test_01():print('hello')@pytest.mark.do
def test_add():print('happy')def test_02():print('fun')- 创建test_03.py
import pytestclass TestMark():def test_01(self):print('hello')@pytest.mark.testdef test_add(self):print('happy')def test_02(self):print('fun')
显式指定函数名
格式
显式指定函数名,通过::标记。
显示制定
例如:在test_02.py中执行test01函数
D:\pythonProject\my_selenium_project\testcases\pytest>pytest -v -s  test_02.py::test_01
======================================================================== test session starts ========================================================================
platform win32 -- Python 3.7.6, pytest-6.2.4, py-1.10.0, pluggy-0.13.1 -- d:\python3.7.6\python.exe
cachedir: .pytest_cache
rootdir: D:\pythonProject\my_selenium_project\testcases\pytest, configfile: pytest.ini
collected 1 item                                                                                                                                                     test_02.py::test_01 hello
PASSED========================================================================= 1 passed in 0.01s =========================================================================
例如:在test_03.py中执行test01方法,这个就需要写上classname,不然找不到报错。
D:\pythonProject\my_selenium_project\testcases\pytest>pytest -v -s  test_03.py::test_01
======================================================================== test session starts ========================================================================
platform win32 -- Python 3.7.6, pytest-6.2.4, py-1.10.0, pluggy-0.13.1 -- d:\python3.7.6\python.exe
cachedir: .pytest_cache
rootdir: D:\pythonProject\my_selenium_project\testcases\pytest, configfile: pytest.ini
collected 0 items                                                                                                                                                    ======================================================================= no tests ran in 0.01s =======================================================================
ERROR: not found: D:\pythonProject\my_selenium_project\testcases\pytest\test_03.py::test_01
(no name 'D:\\pythonProject\\my_selenium_project\\testcases\\pytest\\test_03.py::test_01' in any of [<Module test_03.py>])
写成pytest -v -s test_03.py::TestMark::test_01即可
D:\pythonProject\my_selenium_project\testcases\pytest>pytest -v -s  test_03.py::TestMark::test_01
======================================================================== test session starts ========================================================================
platform win32 -- Python 3.7.6, pytest-6.2.4, py-1.10.0, pluggy-0.13.1 -- d:\python3.7.6\python.exe
cachedir: .pytest_cache
rootdir: D:\pythonProject\my_selenium_project\testcases\pytest, configfile: pytest.ini
collected 1 item                                                                                                                                                     test_03.py::TestMark::test_01 hello
PASSED========================================================================= 1 passed in 0.01s =========================================================================
模糊匹配函数名
格式
使用-k选项标识。例如在test_03.py中,找含有add的方法
D:\pythonProject\my_selenium_project\testcases\pytest>pytest -k add test_03.py
======================================================================== test session starts ========================================================================
platform win32 -- Python 3.7.6, pytest-6.2.4, py-1.10.0, pluggy-0.13.1
rootdir: D:\pythonProject\my_selenium_project\testcases\pytest, configfile: pytest.ini
collected 3 items / 2 deselected / 1 selected                                                                                                                        test_03.py .                                                                                                                                                   [100%]================================================================== 1 passed, 2 deselected in 0.01s ==================================================================
使用pytest.mark在函数上进行标记
格式
@pytest.mark.mark_name
内置标记
| 标记 | 描述 |
|---|---|
| pytest.mark.skip | 跳过测试函数 |
| pytest.mark.skipif | 根据条件跳过测试函数 |
| pytest.mark.parametrize | 参数化测试函数 |
| pytest.mark.timeout | 设置测试函数的超时时间 |
| pytest.mark.usefixtures | 指定测试函数使用的夹具 |
| pytest.mark.filterwarnings | 过滤测试函数中的警告信息 |
| pytest.mark.dependency | 指定测试函数之间的依赖关系 |
| pytest.mark.run | 控制测试函数的运行次数和顺序 |
| pytest.mark.parametrize_plus | 参数化测试函数,并指定参数的类型和顺序 |
| pytest.mark.slow | 将测试函数标记为较慢的测试 |
| pytest.mark.serial | 将测试函数标记为串行执行的测试 |
例如:
import pytestdef test_01():print('hello')@pytest.mark.skip()
def test_add():print('happy')def test_02():print('fun')if __name__ == '__main__':pytest.main(['-s', '-v','test_02.py'])
执行结果:
============================= test session starts =============================
collecting ... collected 3 itemstest_02.py::test_01 PASSED                                                 [ 33%]hellotest_02.py::test_add SKIPPED (unconditional skip)                          [ 66%]
Skipped: unconditional skiptes_t02.py::test_02 PASSED                                                 [100%]fun======================== 2 passed, 1 skipped in 0.02s =========================
参数化测试(数据驱动测试)DDT思想
知乎文章参考
pytest fixture
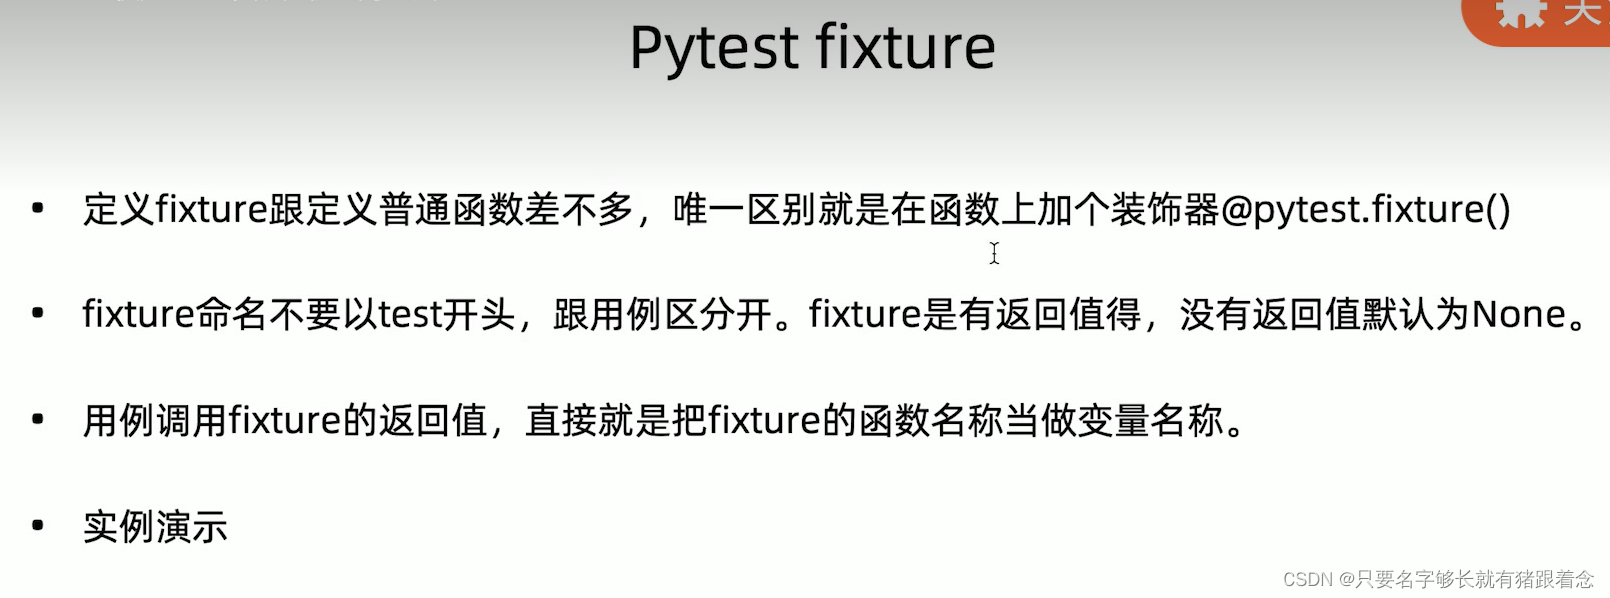
定义
示例
# test_example.py
import pytest# 定义一个夹具,用于返回一个固定的字符串
@pytest.fixture
def greeting():return "Hello, Pytest!"# 使用夹具进行测试
def test_greeting(greeting):assert greeting == "Hello, Pytest!"# 定义一个需要用到夹具的测试函数
def get_length(string):return len(string)# 使用多个夹具进行测试
def test_string_length(greeting):length = get_length(greeting)assert length == 13  # "Hello, Pytest!" 的长度为 13
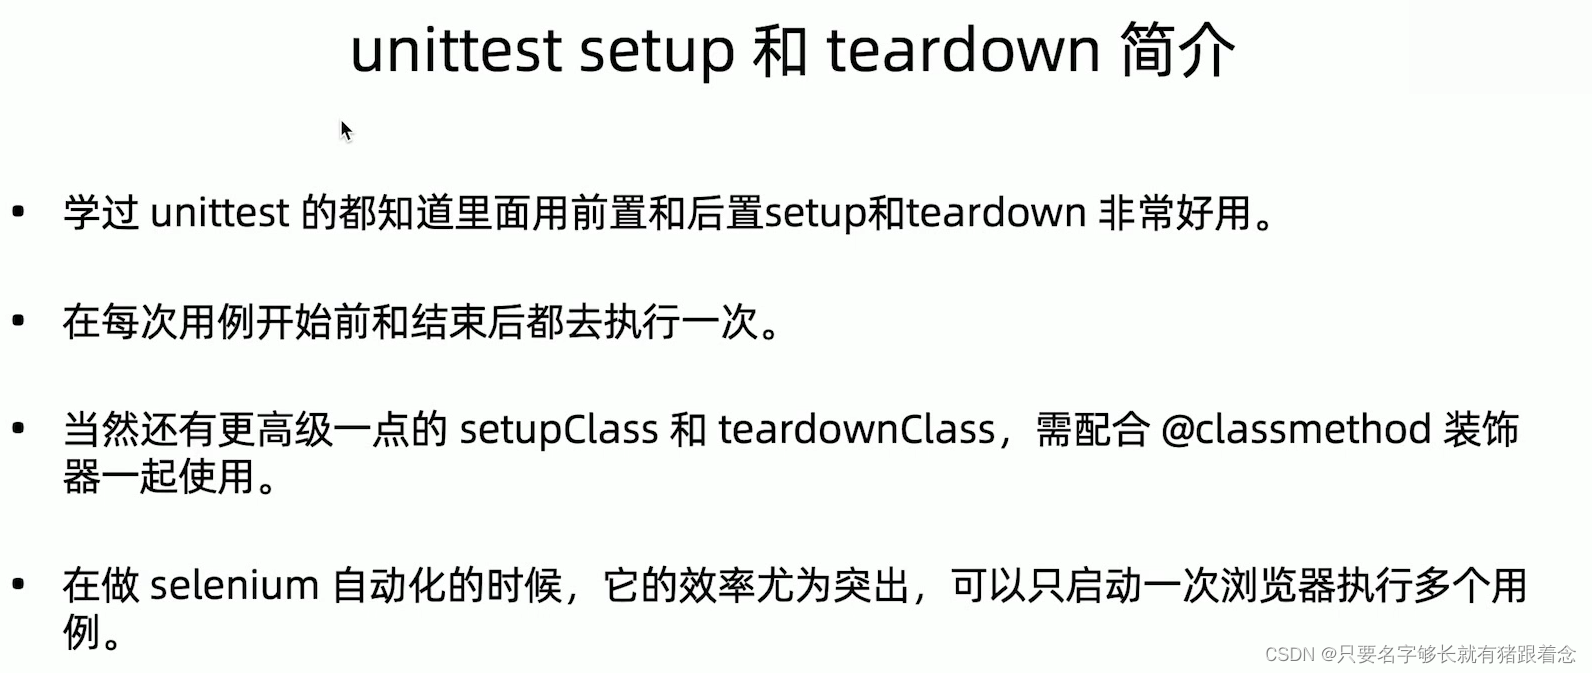
pytest的up和down
allure测试报告