在此之前需要基于msvc编译器来编译gpu版opencv,详细内容请查看windows下不依赖Visual Studio编译gpu版opencv,支持硬解码硬编码
- vscode安装:这个就不赘述了,安装完vscode后需要安装cmake tools插件
- 配置opencv的dll库路径,在电脑中将编译好的opencv的bin路径添加到环境变量中,这样后续编译好的exe才能加载opencv的动态dll库

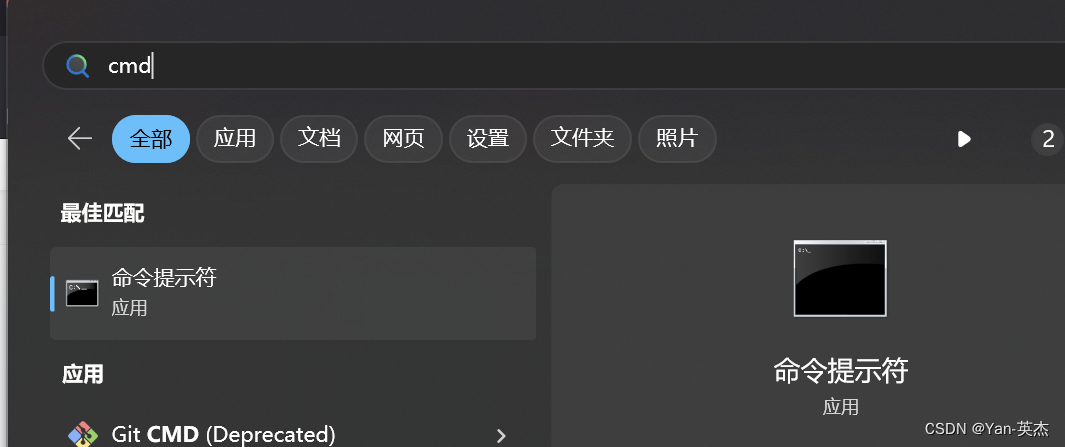
- 在开始菜单中点击
x64 Native Tools Command Prompt for VS 2022打开编译器,不知道微软的msvc编译器的可以看开头的文章,在编译器中输入code来启动vscode,只有这样cmake tools才能识别出来编译器环境。也有其他方法,配置编译器环境变量,这个自行查找 - 编写c++代码
// main.cpp
#include <iostream>
#include <vector>
#include <numeric>
#include <opencv2/cudacodec.hpp>
#include <opencv2/highgui.hpp>int main(int argc, const char* argv[])
{// std::cout<<cv::getBuildInformation()<<std::endl;//将这个视频改成你自己的const std::string fname = "test.mp4";cv::Mat frame;cv::VideoCapture reader(fname);cv::cuda::GpuMat d_frame;cv::Ptr<cv::cudacodec::VideoReader> d_reader = cv::cudacodec::createVideoReader(fname);cv::TickMeter tm;std::vector<double> cpu_times;std::vector<double> gpu_times;for (int i = 0;i<200;i++){tm.reset(); tm.start();if (!reader.read(frame))break;tm.stop();if (i>50)cpu_times.push_back(tm.getTimeMilli());// cv::imshow('cpu',frame);// cv::waitKey(1);tm.reset(); tm.start();if (!d_reader->nextFrame(d_frame))break;tm.stop();if (i>50)gpu_times.push_back(tm.getTimeMilli());// d_frame.download(frame);// cv::imshow("gpu",frame);// cv::waitKey(1);}if (!cpu_times.empty() && !gpu_times.empty()){std::cout << std::endl << "Results:" << std::endl;std::sort(cpu_times.begin(), cpu_times.end());std::sort(gpu_times.begin(), gpu_times.end());double cpu_avg = std::accumulate(cpu_times.begin(), cpu_times.end(), 0.0) / cpu_times.size();double gpu_avg = std::accumulate(gpu_times.begin(), gpu_times.end(), 0.0) / gpu_times.size();std::cout << "CPU : Avg : " << cpu_avg << " ms FPS : " << 1000.0 / cpu_avg << std::endl;std::cout << "GPU : Avg : " << gpu_avg << " ms FPS : " << 1000.0 / gpu_avg << std::endl;}return 0;
}
- 编写CMakeLists.txt
cmake_minimum_required(VERSION 3.10)
project(opencv_example_project)
set(OpenCV_DIR F:/3rdparty/opencv/sources/build/install/lib) #替换你自己的lib路径
find_package(OpenCV REQUIRED)
add_executable(opencv_example main.cpp)
target_link_libraries(opencv_example PRIVATE ${OpenCV_LIBS})
- 生成可执行文件并执行


可以看到gpu执行的速度还是非常快的,我这里是8k的视频,gpu设备是rtx3060 laptop gpu读取速度344fps,不过这里是时间计算我感觉是有问题的,不知道gpu解码的时间有没有同步在gpu_times中,而且这里仅仅是解码的时间,如果在加上从显存到内存的时间,速度是很慢的。不过硬解码的视频本身就是为了送给ai预测的,所以没必要拷贝到内存


