之前写过一篇使用Grafika插件生成海报图的文章,但是当我再次使用时,却发生了错误,回看Grafika文档,发现很久没更新了,不兼容新版的GD,所以改用了intervention/image插件来生成海报图。
但是后来需要对海报图上的文字位置进行位置调整,例如居中,intervention/image没办法很好的满足需求,需要自己计算文字显示区域大小,计算XY坐标,较为复杂。
如果需要完成以上的需求,可以使用antonlukin/poster-editor插件实现。
使用的插件
antonlukin/poster-editor 5.15
注意:antonlukin/poster-editor只能使用GD库
安装
composer require antonlukin/poster-editor
简单使用示例
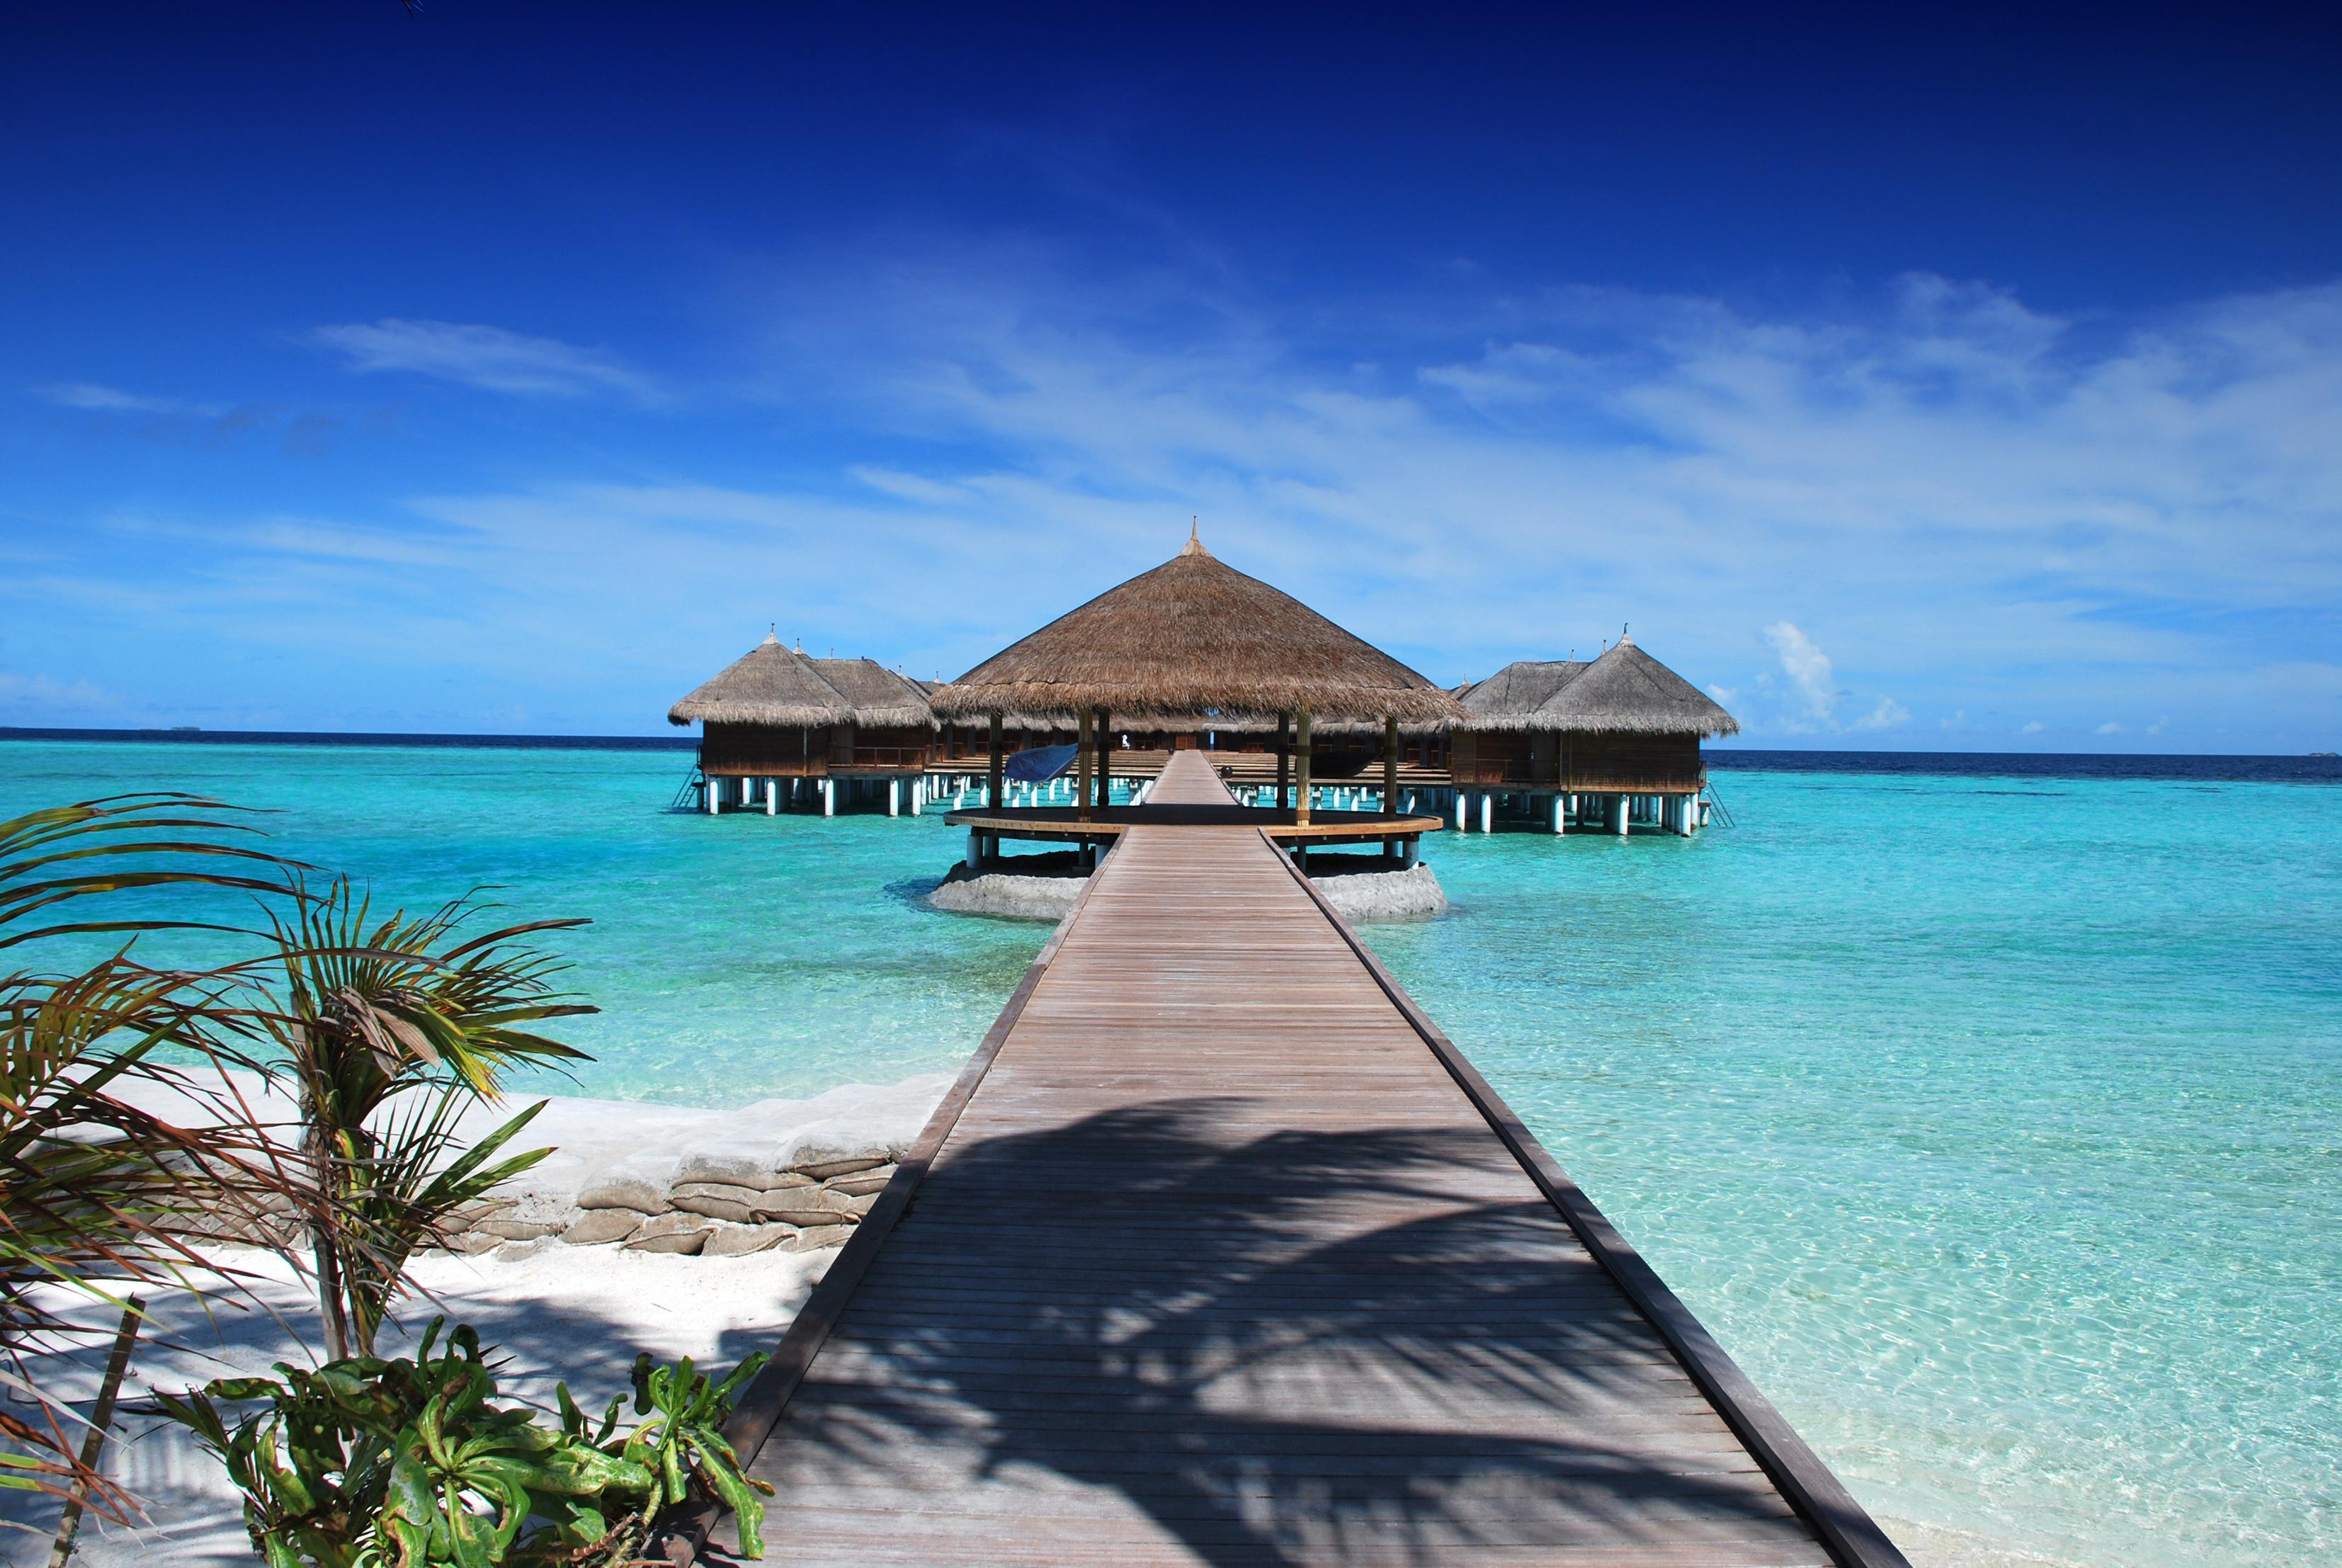
try {$image = new PosterEditor\PosterEditor();$image->make('images/bridge.jpg')->fit(600, 600);$image->show();} catch(Exception $e) {echo $e->getMessage();
}
部分方法说明
创建实例
通过图片文件路径或者图片资源创建实例
$image = new PosterEditor\PosterEditor();$image->make(mixed $data)// 或者使用通过gd创建的图片资源
$image->set(instance $resourse)
也可以初始化一块画布,然后在画布上合成图片或文字
$image->canvas(int $width, int $height, array $options = array())
参数列表
- width 画布宽度
- height 画布高度
- options
- color 画布颜色,rgb数组或者十六进制颜色#ffffff
- opacity 画布不透明度,0-100,数字越大透明度越高,0表示不透明,默认不透明
输出图片
- 直接输出图片
$image->show(string $format = null, int $quality = 90)
- 保存为文件
$image->save(string $path, int $quality = 90, string $format = null)
- format 文件格式,png,gif,webp,jpg
- quality 图片质量,0-100,100质量最好,文件最大。
- path 图片文件路径
png格式是无损格式,quality只影响图片大小和压缩速度。
调整大小
- 重设宽高(忽略比例)
$image->resize(int $width, int $height)
- 按比例放大
$image->upsize(int $width = null, int $height = null)
- 按比例缩小
$image->downsize(int $width = null, int $height = null)
- 手动裁切
$image->crop(int $width, int $height, array $options = array())
- width:裁切宽度
- height:裁切高度
- options:从哪个位置开始裁切
- x
- y
- 智能裁切
$image->fit(int $width, int $height, string $position = 'center')
- width:裁切宽度
- height:裁切高度
- position:裁切位置,top-left、top、top-right、bottom-left、bottom、bottom-right、right、left、center
插入图片
$image->insert(mixed $data, array $options = array(), array &$boundary = array())
- data:图片文件路径或者图片资源
- options
- x:x坐标
- y:y坐标
- opacity:画布不透明度,0-100,数字越大透明度越高,0表示不透明,默认不透明
- boundary:此图片的位置和宽高
- x:X坐标
- y:Y坐标
- width:文本框宽度
- height:文本框高度
设置文字(主要功能)
文字功能是使用poster-editor的主要原因
$image->text(string $text, array $options = array(), array &$boundary = array())
- text:文字内容
- options
- x:文本框起点的 X 坐标。
- y:文本框起点的 Y 坐标。
- width:文本框的宽度。
- height:文本框的高度。
- fontsize:字体大小,若字体过大,则会根据文本框进行缩小。
- color:字体颜色。
- lineheight:行高。
- opacity:不透明度。0-100,数字越大透明度越高,0表示不透明,默认不透明。
- horizontal:水平对齐,left,right,center,justify。
- vertical:垂直对齐,left,right,center,justify。
- fontpath:字体文件路径,.ttf 或 .otf格式。
- debug:true则绘制文本框区域。
- boundary:此文本框的位置和宽高
- x:X坐标
- y:Y坐标
- width:文本框宽度
- height:文本框高度
中文换行问题
经测试下来,插件可以通过检测空格,中文逗号,中文句号来进行换行

$image = new PosterEditor();
$image->canvas(500, 500, ['color'=>[213,138,138]]);
$image->text('我也像超出了平常旳自己,到了另一世界里。到了另一世界里.我爱热闹,也爱冷静,爱冷静爱冷:静爱冷静”爱群居,也爱独处。', ['x'=>50,'y'=>50,'width'=>350,'fontsize'=>50,'color'=>'#fcfcfc','opacity'=>10,'horizontal'=>'left','fontpath'=>$fontPathBold,'debug'=>true,
]);
$image->show('png');
中间包含文字的色块是开启了debug的效果
还能在图上画线、圆、矩形等,以及还有更多文字排版示例可以查看插件的github仓库文档
目前只能更改文字的大小、颜色、对齐这些信息,还不能给字体增加描边、阴影。


