提示:写完文章后,目录可以自动生成,如何生成可参考右边的帮助文档
文章目录
- 设计目标
- 一、结果展示
- 二、top.xml
- 三、bottom.xml
- 四、4个fragment.xml
- 五、activity_main.xml
- 六、java文件
- 总结
- 仓库
设计目标
提示:这里可以添加本文要记录的大概内容:
通过使用AS控件结合虚拟机来实现微信界面设计,使用控件有TextView,FrameLayout,Linerlayout,imageView,并通过fragment.java(4个java文件对应4个fragment界面),MainActivity.java来实现。
提示:以下是本篇文章正文内容,下面案例可供参考
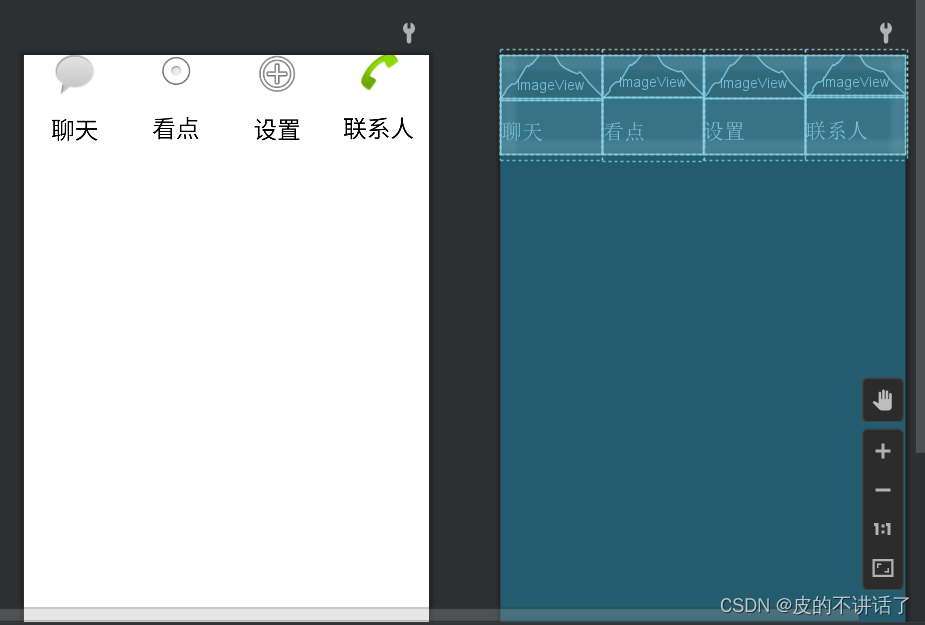
一、结果展示
bottom.xml
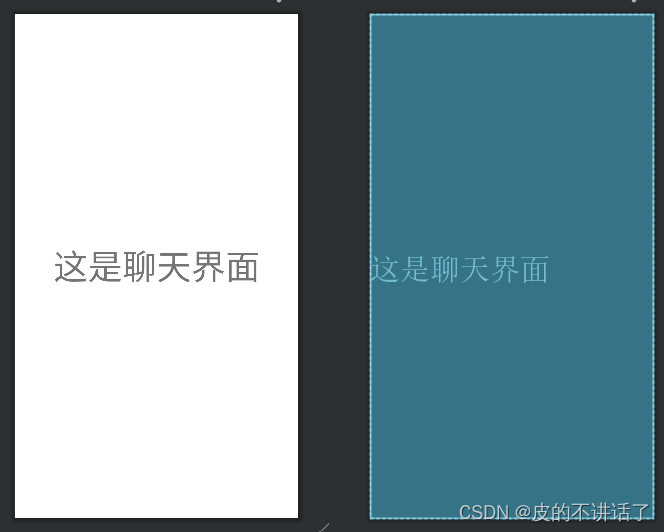
chat.xml(剩余3个fragment.xml类似)
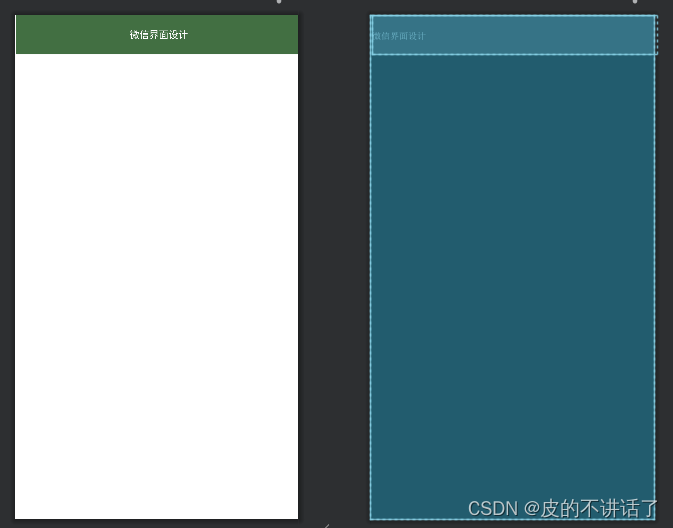
top.xml
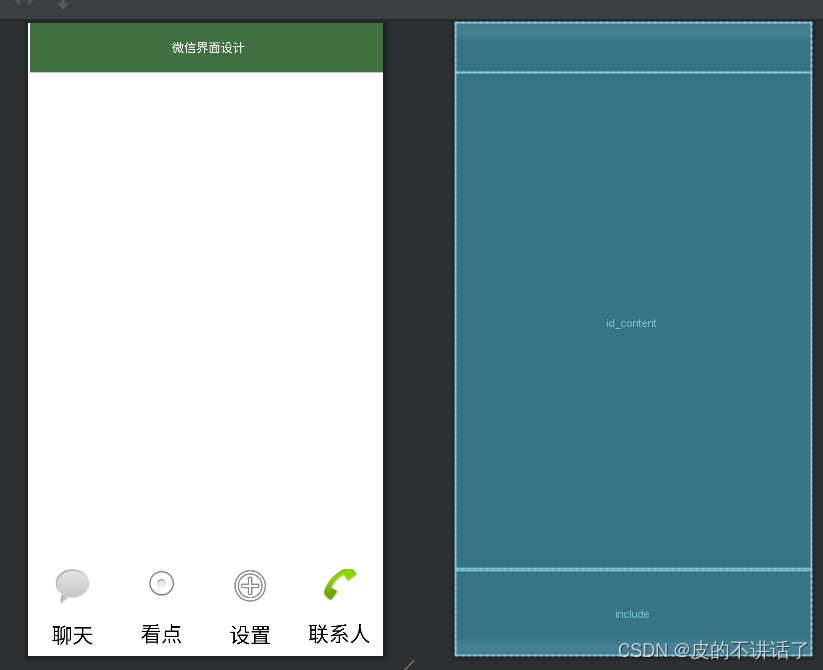
activity_main.xml
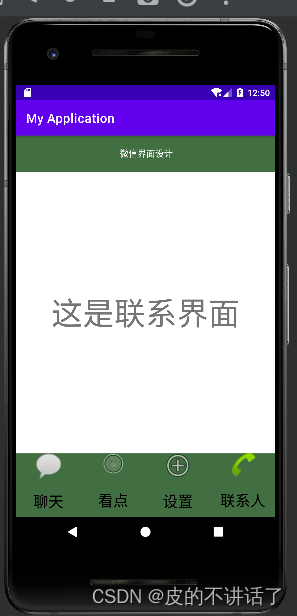
虚拟机上结果
二、top.xml
微信界面顶部标题
代码如下(示例):
<?xml version="1.0" encoding="utf-8"?>
<androidx.constraintlayout.widget.ConstraintLayout xmlns:android="http://schemas.android.com/apk/res/android"xmlns:app="http://schemas.android.com/apk/res-auto"xmlns:tools="http://schemas.android.com/tools"android:layout_width="match_parent"android:layout_height="match_parent"><TextViewandroid:id="@+id/textView5"android:layout_width="414dp"android:layout_height="57dp"android:background="#426F42"android:orientation="vertical"android:text="微信界面设计"android:gravity="center"android:textColor="#ffffff"app:layout_constraintTop_toTopOf="parent"tools:layout_editor_absoluteX="2dp" />
</androidx.constraintlayout.widget.ConstraintLayout>
三、bottom.xml
在Linerlayout下添加4个linerlayout布局对应的4个textview
代码如下(示例):
<?xml version="1.0" encoding="utf-8"?>
<LinearLayout xmlns:android="http://schemas.android.com/apk/res/android"xmlns:app="http://schemas.android.com/apk/res-auto"xmlns:tools="http://schemas.android.com/tools"android:id="@+id/Linerlayout"android:layout_width="match_parent"android:layout_height="100dp"android:background="@color/white"tools:context=".MainActivity"><LinearLayoutandroid:id="@+id/linearLayout1"android:layout_width="0dp"android:layout_height="wrap_content"android:layout_weight="1"android:gravity="center"android:orientation="vertical"><ImageViewandroid:id="@+id/imageView5"android:layout_width="match_parent"android:layout_height="51dp"app:srcCompat="@android:drawable/sym_action_chat" /><TextViewandroid:id="@+id/textView2"android:layout_width="103dp"android:layout_height="63dp"android:gravity="center"android:text="聊天"android:textColor="@color/black"android:textSize="24sp" /></LinearLayout><LinearLayoutandroid:id="@+id/linearLayout2"android:layout_width="0dp"android:layout_height="wrap_content"android:layout_weight="1"android:gravity="center"android:orientation="vertical"><ImageViewandroid:id="@+id/imageView6"android:layout_width="match_parent"android:layout_height="wrap_content"app:srcCompat="@android:drawable/btn_radio" /><TextViewandroid:id="@+id/textView3"android:layout_width="match_parent"android:layout_height="65dp"android:gravity="center"android:text="看点"android:textColor="@color/black"android:textSize="24sp" /></LinearLayout><LinearLayoutandroid:id="@+id/linearLayout3"android:layout_width="0dp"android:layout_height="wrap_content"android:layout_weight="1"android:gravity="center"android:orientation="vertical"><ImageViewandroid:id="@+id/imageView7"android:layout_width="103dp"android:layout_height="50dp"app:srcCompat="@android:drawable/ic_menu_add" /><TextViewandroid:id="@+id/textView4"android:layout_width="match_parent"android:layout_height="63dp"android:gravity="center"android:text="设置"android:textColor="@color/black"android:textSize="24sp" /></LinearLayout><LinearLayoutandroid:id="@+id/linearLayout4"android:layout_width="0dp"android:layout_height="wrap_content"android:layout_weight="1"android:gravity="center"android:orientation="vertical"><ImageViewandroid:id="@+id/imageView8"android:layout_width="match_parent"android:layout_height="48dp"app:srcCompat="@android:drawable/sym_action_call" /><TextViewandroid:id="@+id/textView"android:layout_width="match_parent"android:layout_height="66dp"android:gravity="center"android:text="联系人"android:textColor="@color/black"android:textSize="24sp" /></LinearLayout></LinearLayout>
四、4个fragment.xml
代码如下(示例):
聊天界面
<?xml version="1.0" encoding="utf-8"?>
<FrameLayout xmlns:android="http://schemas.android.com/apk/res/android"xmlns:tools="http://schemas.android.com/tools"android:layout_width="match_parent"android:layout_height="match_parent"tools:context=".Fragment1"><!-- TODO: Update blank fragment layout --><TextViewandroid:layout_width="match_parent"android:layout_height="match_parent"android:layout_weight="1"android:gravity="center"android:textSize="50sp"android:text="这是聊天界面" /></FrameLayout>
看点界面
<?xml version="1.0" encoding="utf-8"?>
<FrameLayout xmlns:android="http://schemas.android.com/apk/res/android"xmlns:tools="http://schemas.android.com/tools"android:layout_width="match_parent"android:layout_height="match_parent"tools:context=".Fragment2"><!-- TODO: Update blank fragment layout --><TextViewandroid:layout_width="match_parent"android:layout_height="match_parent"android:gravity="center"android:textSize="50sp"android:layout_weight="1"android:text="这是看点界面" /></FrameLayout>
设置界面
<?xml version="1.0" encoding="utf-8"?>
<FrameLayout xmlns:android="http://schemas.android.com/apk/res/android"xmlns:tools="http://schemas.android.com/tools"android:layout_width="match_parent"android:layout_height="match_parent"tools:context=".Fragment3"><!-- TODO: Update blank fragment layout --><TextViewandroid:layout_width="match_parent"android:layout_height="match_parent"android:gravity="center"android:textSize="50sp"android:text="这是设置界面" /></FrameLayout>
联系人界面
<?xml version="1.0" encoding="utf-8"?>
<FrameLayout xmlns:android="http://schemas.android.com/apk/res/android"xmlns:tools="http://schemas.android.com/tools"android:layout_width="match_parent"android:layout_height="match_parent"tools:context=".Fragment4"><!-- TODO: Update blank fragment layout --><TextViewandroid:layout_width="match_parent"android:layout_height="match_parent"android:gravity="center"android:textSize="50sp"android:text="这是联系界面" /></FrameLayout>
五、activity_main.xml
将top.xml,bottom.xml和4个fragment.xml结合起来
<?xml version="1.0" encoding="utf-8"?>
<LinearLayout xmlns:android="http://schemas.android.com/apk/res/android"xmlns:app="http://schemas.android.com/apk/res-auto"xmlns:tools="http://schemas.android.com/tools"android:layout_width="match_parent"android:layout_height="match_parent"android:orientation="vertical"tools:context=".MainActivity"><includelayout="@layout/top"android:layout_width="match_parent"android:layout_height="wrap_content" /><FrameLayoutandroid:id="@+id/id_content"android:layout_width="match_parent"android:layout_height="0dp"android:layout_weight="1"></FrameLayout><includelayout="@layout/bottom"android:gravity="bottom" /></LinearLayout>
六、java文件
fragment.java文件(剩余3个类似)
package com.example.myapplication;import android.os.Bundle;import android.app.Fragment;import android.view.LayoutInflater;
import android.view.View;
import android.view.ViewGroup;public class Fragment1 extends Fragment {public Fragment1() {// Required empty public constructor}@Overridepublic View onCreateView(LayoutInflater inflater, ViewGroup container,Bundle savedInstanceState) {// Inflate the layout for this fragmentreturn inflater.inflate(R.layout.chat, container, false);}
}
MainActivity.java文件
package com.example.myapplication;
import androidx.appcompat.app.AppCompatActivity;
import android.app.Fragment;
import android.app.FragmentManager;
import android.app.FragmentTransaction;
import android.graphics.Color;
import android.os.Bundle;
import android.view.View;
import android.widget.LinearLayout;
public class MainActivity extends AppCompatActivity implements View.OnClickListener {private Fragment fragment1=new Fragment1();private Fragment fragment2=new Fragment2();private Fragment fragment3=new Fragment3();private Fragment fragment4=new Fragment4();private FragmentManager fragmentManager;private LinearLayout linearLayout1,linearLayout2,linearLayout3,linearLayout4;@Overrideprotected void onCreate(Bundle savedInstanceState) {super.onCreate(savedInstanceState);setContentView(R.layout.activity_main);linearLayout1=findViewById(R.id.linearLayout1);linearLayout2=findViewById(R.id.linearLayout2);linearLayout3=findViewById(R.id.linearLayout3);linearLayout4=findViewById(R.id.linearLayout4);linearLayout1.setOnClickListener(this);linearLayout2.setOnClickListener(this);linearLayout3.setOnClickListener(this);linearLayout4.setOnClickListener(this);initFragment();}private void initFragment(){fragmentManager=getFragmentManager();FragmentTransaction transaction=fragmentManager.beginTransaction();transaction.add(R.id.id_content,fragment1);transaction.add(R.id.id_content,fragment2);transaction.add(R.id.id_content,fragment3);transaction.add(R.id.id_content,fragment4);hideFragment(transaction);transaction.commit();}private void hideFragment(FragmentTransaction transaction){transaction.hide(fragment1);transaction.hide(fragment2);transaction.hide(fragment3);transaction.hide(fragment4);}private void background(View v) {switch (v.getId()) {case R.id.linearLayout1:linearLayout1.setBackgroundColor(Color.parseColor("#426F42"));break;case R.id.linearLayout2:linearLayout2.setBackgroundColor(Color.parseColor("#426F42"));break;case R.id.linearLayout3:linearLayout3.setBackgroundColor(Color.parseColor("#426F42"));break;case R.id.linearLayout4:linearLayout4.setBackgroundColor(Color.parseColor("#426F42"));break;default:break;}}private void backgroundreturn(View v) {switch (v.getId()) {case R.id.linearLayout1:linearLayout1.setBackgroundColor(Color.parseColor("#426F42"));break;case R.id.linearLayout2:linearLayout2.setBackgroundColor(Color.parseColor("#426F42"));break;case R.id.linearLayout3:linearLayout3.setBackgroundColor(Color.parseColor("#426F42"));break;case R.id.linearLayout4:linearLayout4.setBackgroundColor(Color.parseColor("#426F42"));break;default:break;}}private void showfragmnet(int i) {FragmentTransaction transaction=fragmentManager.beginTransaction();hideFragment(transaction);switch (i){case 0:transaction.show(fragment1);background(linearLayout1);backgroundreturn(linearLayout3);backgroundreturn(linearLayout2);backgroundreturn(linearLayout4);break;case 1:transaction.show(fragment2);background(linearLayout2);backgroundreturn(linearLayout4);backgroundreturn(linearLayout1);backgroundreturn(linearLayout3);break;case 2:transaction.show(fragment3);background(linearLayout3);backgroundreturn(linearLayout4);backgroundreturn(linearLayout2);backgroundreturn(linearLayout1);break;case 3:transaction.show(fragment4);background(linearLayout4);backgroundreturn(linearLayout1);backgroundreturn(linearLayout2);backgroundreturn(linearLayout3);break;default:break;}transaction.commit();}@Overridepublic void onClick(View v) {switch (v.getId()){case R.id.linearLayout1:showfragmnet(0);break;case R.id.linearLayout2:showfragmnet(1);break;case R.id.linearLayout3:showfragmnet(2);break;case R.id.linearLayout4:showfragmnet(3);break;default:break;}}}
总结
通过这次实验,我学会了如何布局和使用AS中的相关空间,以及结合所学的java知识来编写,还学会了使用提示器通过提示器来快速使用所需要的函数。在编写MainActivity.java时遇到了些许问题,比如如何实现当点击一个控件时只显示该控件的界面,这里需要编写隐藏函数,当点击事件发生时隐藏其余界面。通过这次实验,知道了自己的不足之处要想有进步则需花时间认真完成。
仓库
https://gitee.com/liupeng321/gitee-liupeng