邀请函实现步骤
- 主体页面以及导航栏样式布置
- 一、项目初始化
- 1、导航栏及标签部分代码
- 二、页面结构和样式
- 1.邀请函页面
- 主体页面包含了头顶部分的GIF图,标题,头像,及地点的等部分
- 首页代码我们将在index.wxml文件中实现:
- 首先,我们应在此文件中设置我们整个项目页面的背景图
- 1.1接下来便是在项目背景图之上设置细节。以下是实现左上角的音乐表示代码块。
- 1.2 接下来是邀请函标题设置
- 1.3页面中间主体设置,分别介绍新郎新娘
- 1.4举办地点及日期的展示
- 2、照片页面
- 在此页面中,我们将以轮播图的形式实现,滑动屏幕可以实现图片的纵向切换。在此我们将会用到*swiper*组件实现功能效果,接下来将会在picture.wxml及picture.wxss文件中编写代码
- 1.1
- 1.2 设置swiper组件属性:
主体页面以及导航栏样式布置
| 路径 | 说明 |
|---|---|
| app.js | 应用程序的逻辑文件 |
| app.json | 应用程序的配置文件 |
| app.wsxx | 定义公共样式 |
| pages/index/ | “邀请函”页面文件保存目录 |
| pages/picture | 照片”页面文件保存目录 |
一、项目初始化
在微信小程序中创建项目后,在app.json文件中编写代码。首先定义本项目的代码路径,定义完路径后便可以编写样式代码
1、导航栏及标签部分代码
下面展示一些 代码部分`。
"window":{"backgroundTextStyle":"light","navigationBarBackgroundColor": "#fff","navigationBarTitleText": "邀请函","navigationBarTextStyle":"black"},
 "tabBar": {"color": "#ccc","selectedColor": "#ff4c91","borderStyle": "white","backgroundColor": "#fff","list": [{"pagePath": "pages/index/index","iconPath": "images/invite.png","selectedIconPath": "images/invite.png","text": "邀请函"},{"pagePath": "pages/picture/picture","iconPath": "images/marry.png","selectedIconPath": "images/marry.png","text": "照片"},{"pagePath": "pages/video/video","iconPath": "images/video.png","selectedIconPath": "images/video.png","text": "视频"},{"pagePath": "pages/map/map","iconPath": "images/map.png","selectedIconPath": "images/map.png","text": "婚礼地点"},{"pagePath": "pages/guest/guest","iconPath": "images/guest.png","selectedIconPath": "images/guest.png","text": "宾客信息"}]
},
二、页面结构和样式
1.邀请函页面
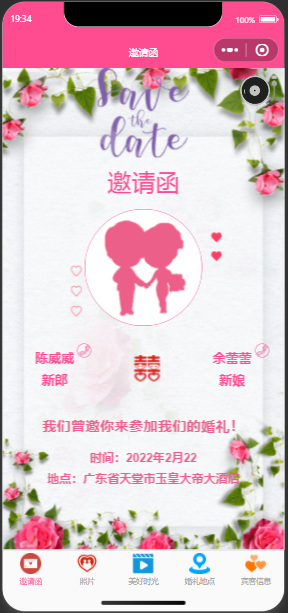
主体页面包含了头顶部分的GIF图,标题,头像,及地点的等部分
图片效果如下:

页面需要应满屏显示,因此,将通过vw和vh表示宽度和高度,确保.content元素高度加起来不超过100
首页代码我们将在index.wxml文件中实现:
首先,我们应在此文件中设置我们整个项目页面的背景图
<image class="bg" src="../../images/bg_1.png"></image>
1.1接下来便是在项目背景图之上设置细节。以下是实现左上角的音乐表示代码块。
<view class="playter"><image src="../../images/music_icon.png" style="animation-play-state: {{isPlaying}};"></image><image src="../../images/music_play.png" class="player-{{isPlaying=='running'?'play':'pause'}}" player></image></view>
1.2 接下来是邀请函标题设置
<view class="content"><image class="content-gif" src="../../images/save_the_date.gif"></image><view class="content-title">邀请函</view><view class="content-avatar"><image src="../../images/avatar.png"></image></view>
1.3页面中间主体设置,分别介绍新郎新娘
<view class="content-info"><view class="content-name"><image src="/images/tel.png" bindtap="callGroom"></image><view>张三</view><view>新郎</view></view><view class="content-wedding"><image src="/images/wedding.png"></image></view><view class="content-name"><image src="/images/tel.png" bindtap="callBride"></image><view>李四</view><view>新娘</view></view></view>
1.4举办地点及日期的展示
<view class="content-address"><view>我们诚邀您来参加我们的婚礼</view><view>时间:2022年12月6日</view><view>地点:四川省泸州市龙马潭区阳光饭店</view></view></view>
2、照片页面
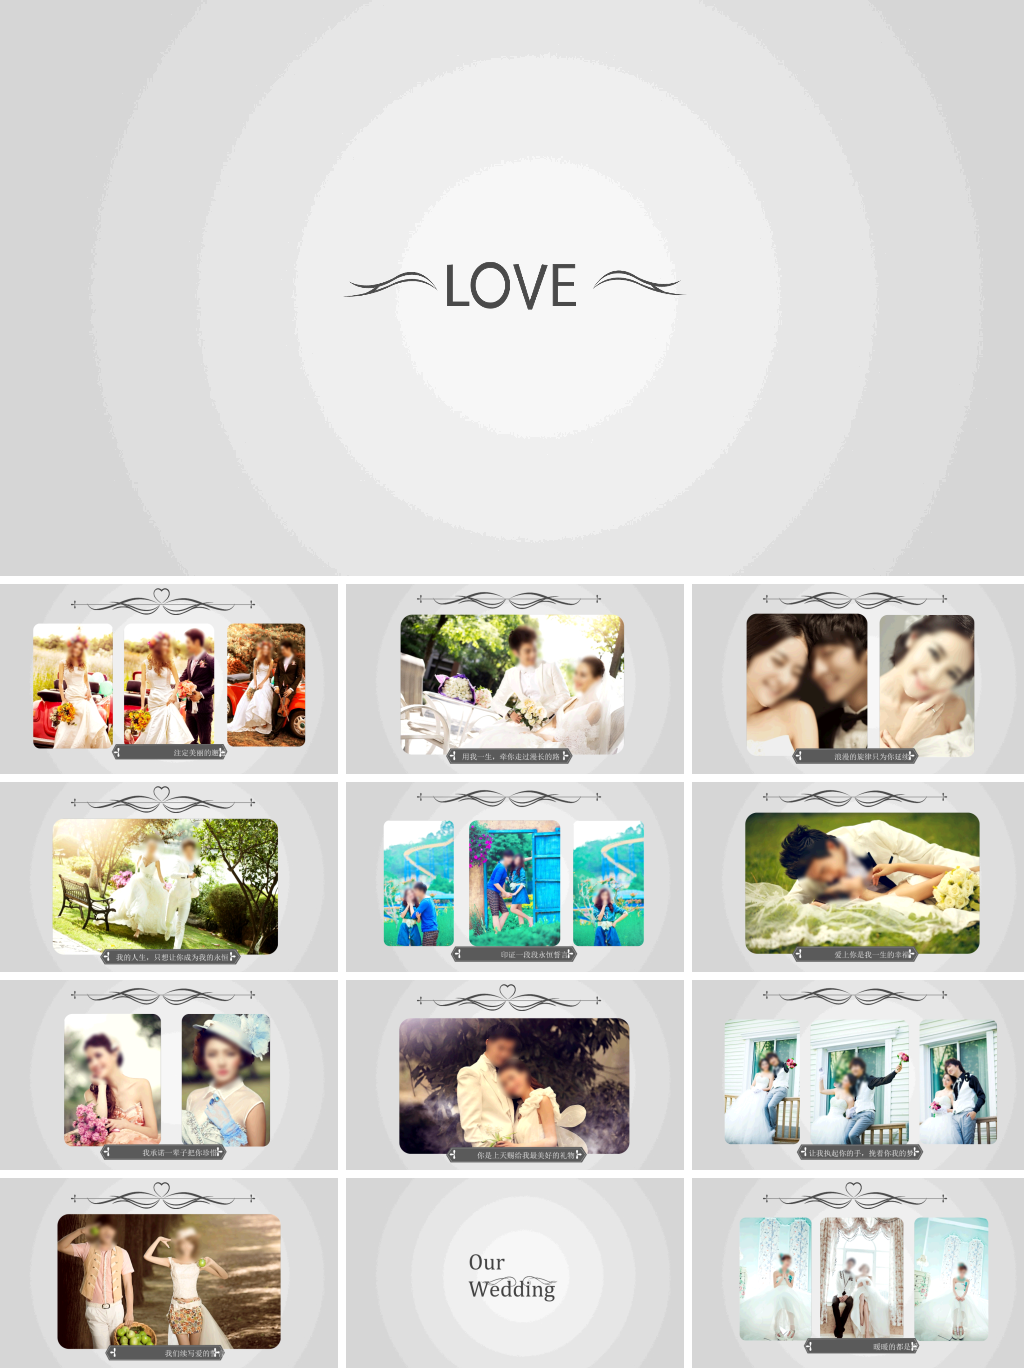
在此页面中,我们将以轮播图的形式实现,滑动屏幕可以实现图片的纵向切换。在此我们将会用到swiper组件实现功能效果,接下来将会在picture.wxml及picture.wxss文件中编写代码
1.1
<swiper vertical="true" circular="true"
indicator-dots="true" indicator-active-color="#ff4c91"
indicator-color="#ffffff" autoplay="true" interval="3500"
duration="1000"><swiper-item wx:for="{{pictures}}" wx:key="id"><image src="{{item.src}}" mode="aspectFill" ></image></swiper-item>
1.2 设置swiper组件属性:
swiper{width: 100vw;height: 100vh;}image{width: 100%;height: 100%;}
效果如下:
以上便是首页实现过程代码及效果展示
