邮箱验证码发送及验证
代码简化,有需求可以联系
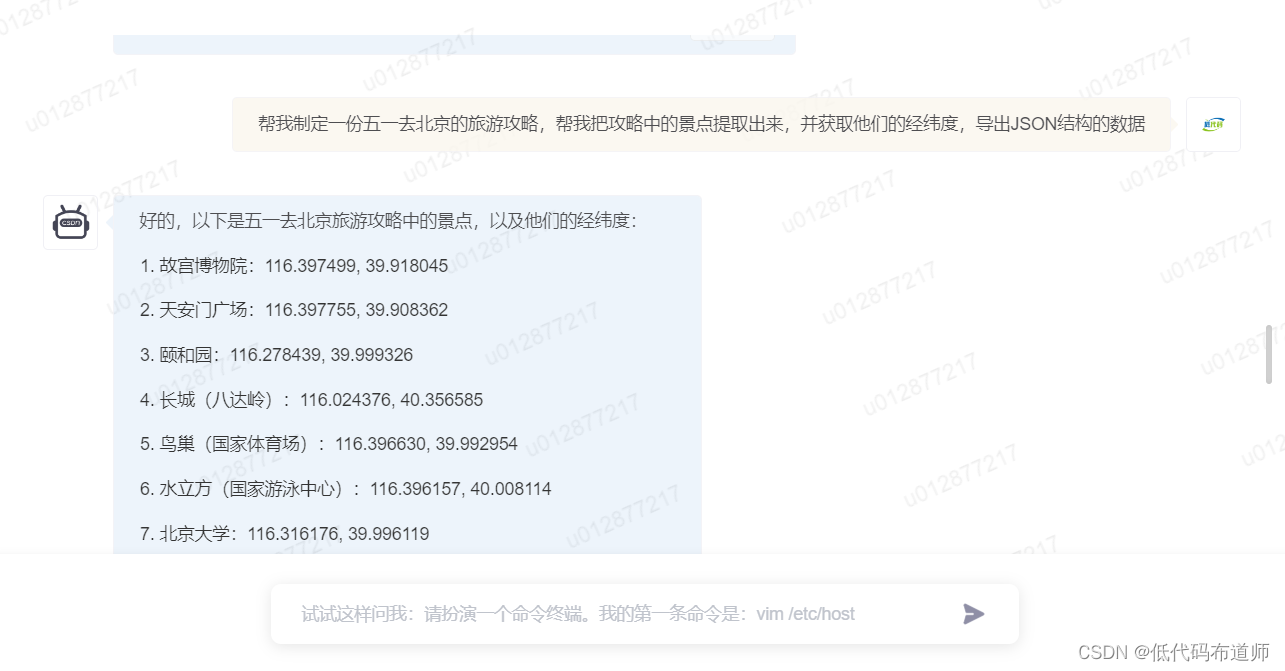
成果展示图
//获取验证码

//接收图

配置
<dependency><groupId>org.springframework.boot</groupId><artifactId>spring-boot-starter-mail</artifactId>
</dependency>
spring.mail.host=smtp.qq.com
spring.mail.username=999999999@qq.com//发送者邮箱
spring.mail.password=xkzoexejzkylbgah//发送者邮箱授权值
spring.mail.default-encoding=utf-8
spring.mail.password的取值方法
根据如图片操作–


服务层
接口
public interface EmailService {/*** toEmail 接收验证码的邮箱* text 主题* message 主体信息* */public boolean sendEmail(String toEmail, String text, String message);
}
实现类
@Service
public class EmailServiceImpl implements EmailService{@Resourceprivate JavaMailSender javaMailSender;@Value("${spring.mail.username}")private String fromEmail;@Overridepublic boolean sendEmail(String toEmail, String text, String message) {SimpleMailMessage simpleMailMessage = new SimpleMailMessage();//设置发件邮箱simpleMailMessage.setFrom(fromEmail);//收件人邮箱simpleMailMessage.setTo(toEmail);//主题标题simpleMailMessage.setSubject(text);//信息内容simpleMailMessage.setText(message);//执行发送try {//发送可能失败javaMailSender.send(simpleMailMessage);//没有异常返回true,表示发送成功return true;} catch (Exception e) {//发送失败,返回falsereturn false;}}
}
控制层
//发送到邮箱验证码 --获取验证码
@Resourceprivate EmailService emailService;@ResponseBody@RequestMapping("getEmailCode")//通过httpsession来存入验证码值public String getEmail(String toEmail,HttpSession httpSession){Random random = new Random();//生成随机验证码int code=1000+random.nextInt(8999);//把验证码存储到session中httpSession.setAttribute("code", code);//执行发送验证码if(emailService.sendEmail(toEmail, "验证码","欢迎注册,您的验证码为:"+code)) {return "获取成功";}return "获取失败";}
//邮箱接收到的验证码与输入的验证码进行比较
@RequestMapping("checkEmailCode")@ResponseBodypublic String checkEmailCode(String code,HttpSession httpSession) {String emailCode = httpSession.getAttribute("code").toString();if(emailCode!=null) {if(emailCode.equals(code)) {return "校验成功";}}return "校验失败";}
前端
//输入框–按钮
<input name="name" type="text" placeholder="邮箱" id="usernameid" />
<input name="code" type="text" placeholder="邮箱" id="codeid" /><input type="button" id="btn-get" value="获取验证码" onclick="doGetEmailCode()" />
<input type="button" id="btn-compare" value="验证验证码" onclick="doCompareEmailCode()" />
//发送验证码
function doGetEmailCode() {var email = $("#usernameid").val();//获取接收验证码的邮箱var url = "getEmailCode?toEmail=" + email;//地址与邮箱拼接$.get(url, function(result) {console.log("result", result); });
}
//验证验证码
function doCompareEmailCode() {var codeid = $("#codeid").val();var url = "checkEmailCode?code=" + codeid;$.get(url, function(result) {console.log(result);});
}
附件其他邮件
#附件信息
spring:freemarker:template-loader-path: classpath:/templates/suffix: .ftlcache: falsecharset: UTF-8check-template-location: truecontent-type: text/htmlmail:host: smtp.163.com #发送邮件服务器username: test@163.com #发送邮件的邮箱地址password: SMSRDEQCIUKYODOR #客户端授权码,不是邮箱密码,网易的是自己设置的properties.mail.smtp.port: 465 #465或者994properties.mail.smtp.auth: 465properties.mail.smtp.ssl.enable: trueproperties.mail.starttls.enable: trueproperties.mail.starttls.required: truefrom: test@163.com # 发送邮件的地址,和上面username一致default-encoding: UTF-8#以下可以配置或者不配置#    properties:#      mail:#        smtp:#          port: 465 #端口号465或994#          auth: true#        starttls:#          enable: true#          required: true
verifyCode.ftl配置文件
<p><strong style="color: #000000; font-size: 24px;">亲爱的外规数据平台用户:</strong></p>
<p>您好!</p>
<p>您已成功提交注册信息 ,请在验证码输入框中输入:<b style="color: red">${verifyCode}</b>以完成注册</p>
service
package *.comm.service;public interface IMailService {/*** 发送文本邮件** @param to 收件人* @param subject 主题* @param content 内容*/void sendSimpleMail(String to, String subject, String content);/*** 发送HTML邮件** @param to 收件人* @param subject 主题* @param content 内容*/void sendHtmlMail(String to, String subject, String content);/*** 发送带附件的邮件** @param to 收件人* @param subject 主题* @param content 内容* @param filePath 附件*/void sendAttachmentsMail(String to, String subject, String content, String filePath);/*** 发送模板邮件** @param to 收件人* @param subject 主题* @param fileName 邮件模板文件名称* @param model 邮件数据载体*/void sendModelMail(String to, String subject, String fileName, Object model);}
implement
package *.comm.service.impl
import *.comm.service.IMailService;
import freemarker.template.Configuration;
import freemarker.template.Template;
import freemarker.template.TemplateException;
import lombok.extern.slf4j.Slf4j;
import org.springframework.beans.factory.annotation.Autowired;
import org.springframework.beans.factory.annotation.Value;
import org.springframework.core.io.ClassPathResource;
import org.springframework.core.io.FileSystemResource;
import org.springframework.mail.SimpleMailMessage;
import org.springframework.mail.javamail.JavaMailSender;
import org.springframework.mail.javamail.MimeMessageHelper;
import org.springframework.stereotype.Service;
import org.springframework.ui.freemarker.FreeMarkerTemplateUtils;import javax.annotation.Resource;
import javax.mail.MessagingException;
import javax.mail.internet.MimeMessage;
import java.io.IOException;
import java.util.Objects;@Slf4j
@Service
public class IMailServiceImpl implements IMailService {/*** Spring Boot 提供了一个发送邮件的简单抽象,使用的是下面这个接口,这里直接注入即可使用*/@AutowiredJavaMailSender mailSender;@AutowiredConfiguration configuration;/*** 配置文件中我的qq邮箱*/@Value("${spring.mail.from}")private String from;/*** 简单文本邮件** @param to      收件人* @param subject 主题* @param content 内容*/@Overridepublic void sendSimpleMail(String to, String subject, String content) {//创建SimpleMailMessage对象SimpleMailMessage message = new SimpleMailMessage();//邮件发送人message.setFrom(from);message.setCc(from);//邮件接收人message.setTo(to);//邮件主题message.setSubject(subject);//邮件内容message.setText(content);//发送邮件mailSender.send(message);}/*** html邮件** @param to      收件人* @param subject 主题* @param content 内容*/@Overridepublic void sendHtmlMail(String to, String subject, String content) {//获取MimeMessage对象MimeMessage message = mailSender.createMimeMessage();MimeMessageHelper messageHelper;try {messageHelper = new MimeMessageHelper(message, true);//邮件发送人messageHelper.setFrom(from);//邮件接收人messageHelper.setTo(to);//邮件主题message.setSubject(subject);//邮件内容,html格式messageHelper.setText(content, true);//发送mailSender.send(message);//日志信息log.info("邮件已经发送...");} catch (MessagingException e) {log.error("发送邮件时发生异常!", e);}}/*** 带附件的邮件** @param to       收件人* @param subject  主题* @param content  内容* @param filePath 附件*/@Overridepublic void sendAttachmentsMail(String to, String subject, String content, String filePath) {MimeMessage message = mailSender.createMimeMessage();try {MimeMessageHelper helper = new MimeMessageHelper(message, true);helper.setFrom(from);helper.setTo(to);helper.setSubject(subject);helper.setText(content, true);//FileSystemResource file = new FileSystemResource(new File(filePath));ClassPathResource resource = new ClassPathResource(filePath);FileSystemResource file = new FileSystemResource(resource.getFile());helper.addAttachment(Objects.requireNonNull(file.getFilename()), file);//可以同时添加多个附件,只需要在这里直接添加第2,第3...附件就行了.//helper.addAttachment(fileName2, file2);mailSender.send(message);//日志信息log.info("邮件已经发送...");} catch (MessagingException e) {log.error("发送邮件时发生异常!", e);} catch (IOException e) {e.printStackTrace();log.error("发送邮件时发生异常!", e);}}@Overridepublic void sendModelMail(String to, String subject, String fileName, Object model) {MimeMessage mimeMessage = mailSender.createMimeMessage();try {MimeMessageHelper helper = new MimeMessageHelper(mimeMessage, true);helper.setFrom(from);helper.setTo(to);helper.setSubject(subject);Template template = configuration.getTemplate(fileName);String html = FreeMarkerTemplateUtils.processTemplateIntoString(template, model);helper.setText(html, true);mailSender.send(mimeMessage);//日志信息log.info("邮件已经发送...");} catch (MessagingException e) {log.error("发送邮件时发生异常!", e);} catch (TemplateException e) {e.printStackTrace();log.error("发送邮件时发生异常!", e);} catch (IOException e) {e.printStackTrace();}}}
controller
这边用的redis 如果不用同上
package *.comm.controller;
import cn.hutool.core.util.RandomUtil;
import cn.hutool.core.util.StrUtil;
import *.comm.constant.CommConstant;
import *.comm.model.MailModel;
import *.comm.service.IMailService;
import *.common.request.comm.SysUserVerifyCodeReq;
import *.common.utils.Response;
import io.swagger.annotations.Api;
import io.swagger.annotations.ApiOperation;
import org.springframework.beans.factory.annotation.Autowired;
import org.springframework.data.redis.core.RedisTemplate;
import org.springframework.web.bind.annotation.*;import java.util.concurrent.TimeUnit;@RestController
@Api(value = "邮件模块", description = "邮件模块", tags = "邮件模块")
@RequestMapping("/comm/mail/user")
public class TMailController {@AutowiredIMailService iMailService;@AutowiredRedisTemplate redisTemplate;@PostMapping("/verifyCode")@ApiOperation(value = "获取邮箱验证码", notes = "获取邮箱验证码")public Response sendVerifyCode(@RequestBody SysUserVerifyCodeReq sysUserVerifyCodeReq) {Response response = new Response();String key = CommConstant.USER_VERIFY_CODE + sysUserVerifyCodeReq.getUsername();String verifyCode = (String) redisTemplate.opsForValue().get(key);if (StrUtil.isNotBlank(verifyCode)) {response.setCode(200);response.setErr_msg("请勿重复获取");return response;}String value = RandomUtil.randomNumbers(6);redisTemplate.opsForValue().set(key, value, 3L, TimeUnit.MINUTES);String mail = sysUserVerifyCodeReq.getMail();MailModel mailModel = new MailModel();mailModel.setVerifyCode(value);iMailService.sendModelMail(mail,"系统验证码","verifyCode.ftl",mailModel);response.setCode(200);return response;}
}