linux下
sudo yum install -y yum-utils
sudo yum-config-manager --add-repo https://rpm.releases.hashicorp.com/RHEL/hashicorp.repo
sudo yum -y install consul
window下
https://developer.hashicorp.com/consul/downloads
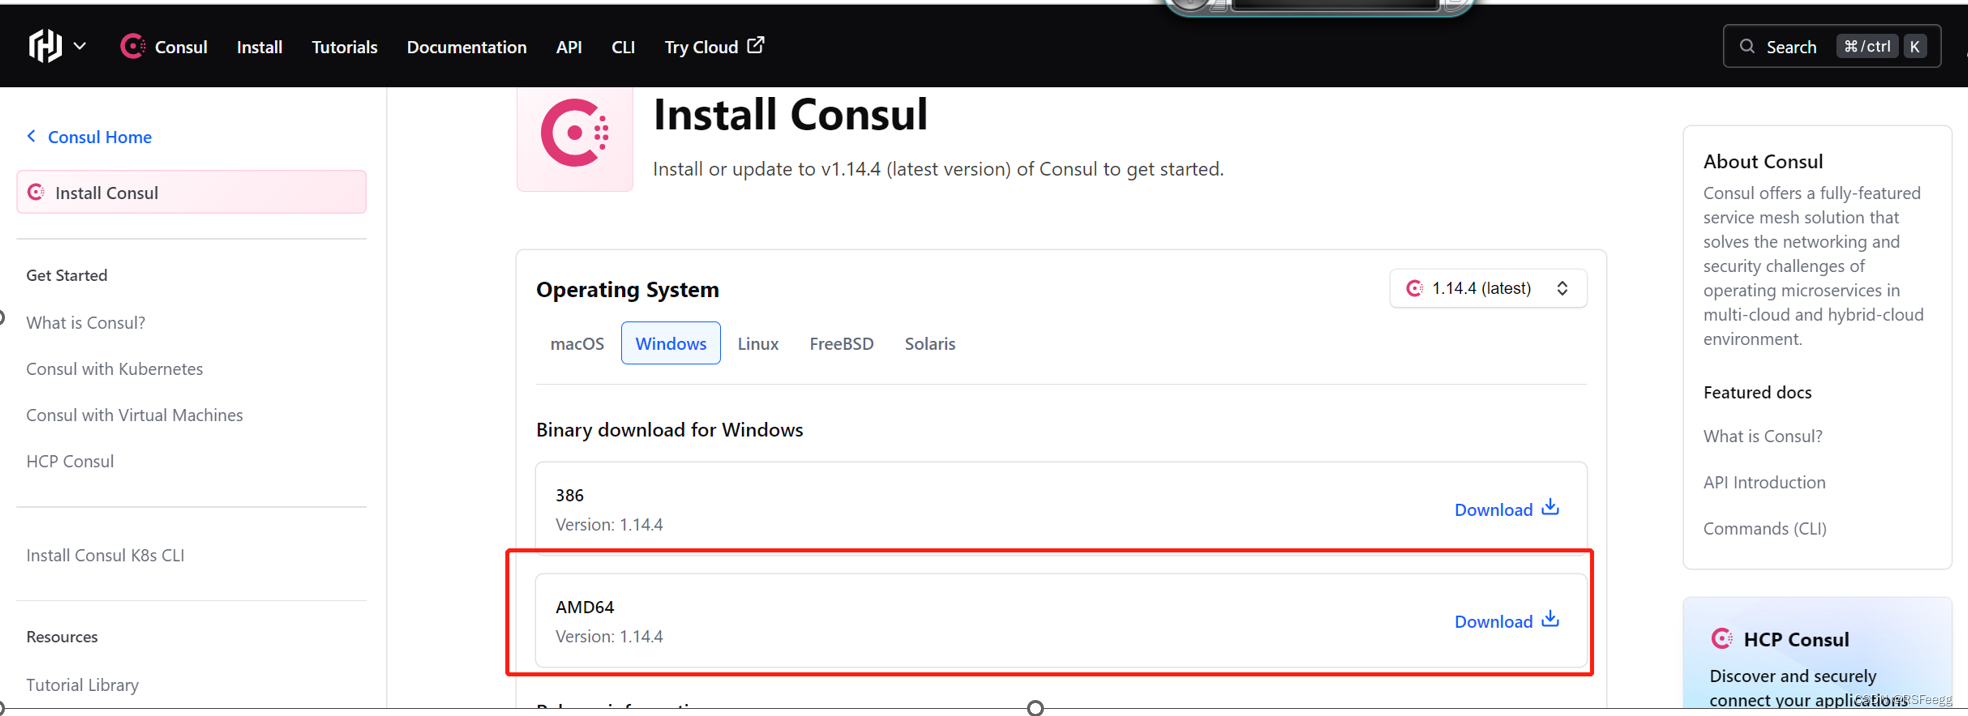
然后把里面的exe文件放在gopath下就行了
验证[终端输入consul即可]
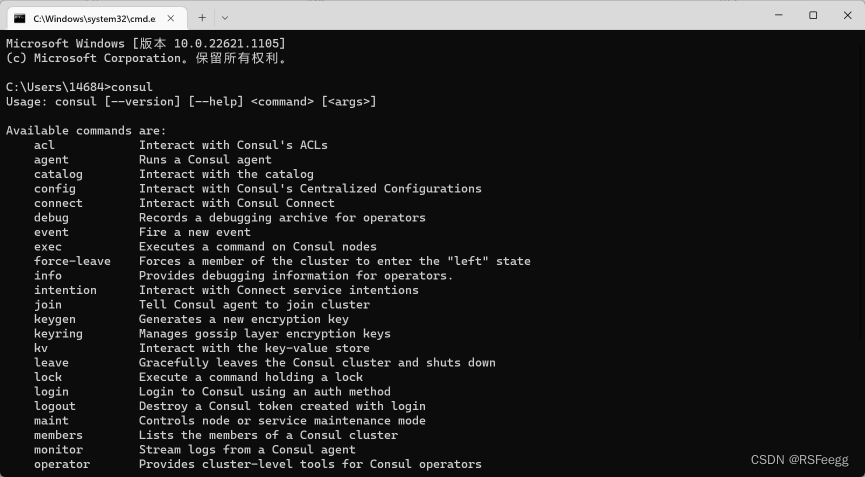
consul启动单节点
consul agent -server -dev -ui -client 127.0.0.1//然后浏览器输入http://127.0.0.1:8500/ui/dc1/services
防火墙打开指定端口
sudo firewall-cmd --add-port=8301/tcp --permanent//重载
sudo firewall-cmd --reload
//查看
sudo firewall-cmd --list-all
consul启动集群命令
//(作为集群ip)
consul agent -server -bootstrap-expect 3 -node=s1 -bind=192.168.1.103 -ui -rejoin -client 0.0.0.0 -join 192.168.1.103 -data-dir /tmp/consul
//(作为server)
consul agent -server -bootstrap-expect 3 -node=s1 -bind=192.168.80.129 -ui -rejoin -client 0.0.0.0 -join 192.168.1.103 -data-dir /tmp/consul•	-bootstrap-expect=5: 指定了集群有5台
•	-node=agent-x: 指定服务器
•	-client=0.0.0.0: 指定当前主机客户端侦听地址为0.0.0.0
•	-bind: 绑定当前主机的ip地址
•	-datacenter=dc: 指定了一个数据中心的名称
•	-join 192.168.180.130: 后几台服务器在启动的时候加入第一台代理服务器node01(PS, 比较坑的是即使已经改过hostname文件, 还是得敲ip)
•	-ui指定了启用每台服务器的内置 WebUI 服务器组件
•	当五台服务器都正确运行起来以后,Consul 集群将自动选举 leader,自动进行集群事务,无需干预。
查看集群中成员
consul members
