环境准备
-
Git Git官网,安装过程,就是一直下一步,详细的看这篇文章
Git的安装 -
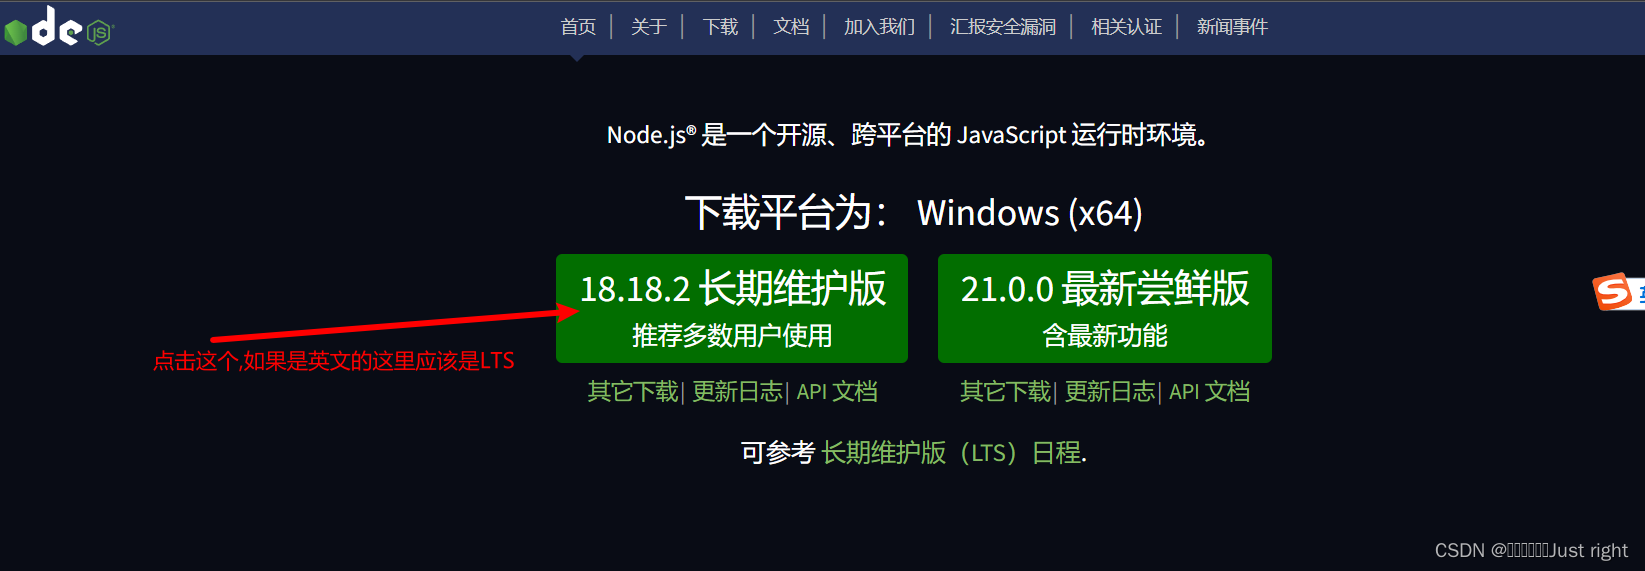
Node.js Node.js官网 Node.js的安装
-
注册一个GitHub账号
-
安装hexo
新建一个文件夹(位置任意),运行cmd(若出现了operation not permitted,就以管理员的权限来运行cmd),运行下面的命令
hexo init
接下来就是等待了,安装过程中很有可能会出现超时,解决办法是多试几次,或者用工具
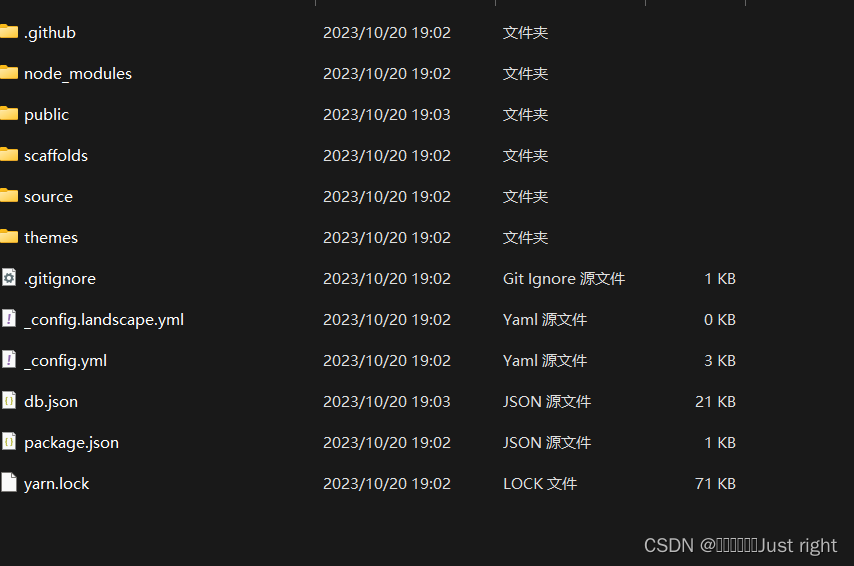
下载之后的结果
若你着急要看页面的话,运行下面的命令
hexo clean
hexo generate
hexo deploy
hexo clean:清除文件
hexo generate:重新生成文件
hexo deploy:部署,执行这个命令后会有一个网址,复制到浏览器后打开就能看到博客了,当然这是本地部署的
hexo的目录
- node_modules:
- public:
- scaffolds:
- source:
-
- _data
-
- _posts
-
- about
-
- themes:主题
- _config.yml:博客的配置文件
- node_modules 依赖包
- public 生成的页面,即index.html
- scaffolds 生成文章的一些模板
- source 存放文章的- _data- _posts- about- archives- categories- friends- tags
- themes 主题相关的
连接github仓库
新建一个github仓库,仓库名称必须为你的用户名.github.io
配置ssh公钥
在git bash中输入下面的命令
git config --global user.name "yourname"
git config --global user.email "youremail"
看看有没有输错
git config user.name
git config user.email
SSH:专业的解释自行百度,ssh就是一个密钥,密钥分为公共密钥和私人密钥,公钥放在Github上,用自己的账户连接Github的时候,Github会根据公钥来匹配私钥,匹配通过那么就可以上传文件到Github上
ssh-keygen -t rsa -C "youremil"
这条命令会告诉你结果所在的文件夹
在gti bash中输入
cat ~/.ssh/id_rsa.pub
复制结果
在github中,点击头像,选择settings->SSH and GPG keys->新建SSH,名字任意,直接把上面的结果复制到钥匙这个文本框中,点击添加密钥按钮
测试
在git bash中输入ssh -T git@github.com,若结果为
Hi 你的用户名! You’ve successfully authenticated,but GitHub does not provide shell access.就是成功了
将hexo部署到Github上
更改_config.yml的,更改最后一行的配置
deploy:type: 'git'repo: git@github.com:username/reponame.github.io.gitbranch: master
执行下面的命令,安装deploy-git
npm install hexo-deployer-git --save
执行下面的命令
hexo clean & hexo generate & hexo deploy
设置域名
这个是可选的,国内的阿里云,腾讯云,华为云都可以
设置的话

将仓库与域名绑定,点击仓库->settings->page->custom domain将域名复制进去即可
发布文章 写文章
hexo new post "文章名字"
打开source_posts目录,就会发现多了一个文件夹和一个.md文件,一个是存放图片等等数据,另外一个是文章数据
编写完了之后运行下面的命令
hexo clean & hexo generate & hexo deploy
切换主题
这里我按照网上的做法试了,出现了bug,bug描述:页面能显示,但是文字,图片等等不能显示,打开控制台后报了一大堆的错,所以改用下面的做法
安装aurora的主题包
运行下面的命令
yarn add hexo-theme-aurora hexo-plugin-aurora
拉取aurora主题配置文件
aurora主题配置文件
把这个文件的内容复制过来
修改_config.yml文件
打开hexo根目录下的_config.yml,把theme的值改为aurora
# Extensions
## Plugins: https://hexo.io/plugins/
## Themes: https://hexo.io/themes/
theme: aurora
设置permalink
因Aurora主题用到了Vue-router,但Hexo默认生成的页面和文章的permalink与我们的Vue-router中的path是不相符的,这样会出现无法访问的问题,所以需要修改Hexo默认配置文件里面的permalink参数
- 打开_config.yml文件
- 将permalink参数修改为/post/:title.html
permalink: /post/:title.html
permalink_defaults:
pretty_urls:trailing_index: true # Set to false to remove trailing 'index.html' from permalinkstrailing_html: true # Set to false to remove trailing '.html' from permalinks
设置代码高亮
Aurora主题使用Prismjs来实现代码高亮显示,但Hexo默认是用highlight.js的,所以需要修改配置
- 把highlight的启动改成false
- 把prismjs的启用改为true
- 把prismjs下的preprocess改为false
highlight: enable: falseline_number: trueauto_detect: falsetab_replace: ''wrap: truehljs: false
prismjs:enable: truepreprocess: falseline_number: truetab_replace: ''
创建About(关于)页面
Aurora主题默认有about页面,因此我们需要创建这个about页面,否则主题就无法显示about页面
执行下面的hexo命令
hexo new page about
结果就是在source文件夹中多了一个新的文件夹about,about下面有个index.md,这个index.md的内容随意修改,直接展现在About页面中
最后
若修改了hexo的配置文件,或者需要上传github,那么都是重新运行下面的命令
hexo clean & hexo generate
若想在本地看看效果再运行下面的命令
hexo serve
若想上传到Github中就运行下面的命令
hexo deploy
