一、简介
以下就是Linux部署单机项目和前后端分离项目的优缺点,希望对你有所帮助。
1、Linux部署单机项目:
优点:
- 简化了系统管理:由于所有服务都在同一台机器上运行,因此可以简化系统管理和维护。
- 提高了性能:由于没有网络延迟和其他因素的影响,所以可以提高系统的性能。
缺点:
- 容易出现故障:如果一台机器发生故障,那么整个系统都会受到影响。
- 难以扩展:随着业务的发展,可能需要增加更多的服务器来处理请求,但是这在单机项目中是很难实现的。
2、前后端分离项目:
优点:
- 易于扩展:由于前端和后端是分开的,所以可以根据需求添加或删除服务器,从而更容易地进行扩展。
- 更高的灵活性:前端和后端可以独立开发和测试,这样可以更快地推出新的功能。
缺点:
- 复杂性增加:由于需要管理和协调多个服务器,所以可能会增加系统的复杂性。
- 性能问题:由于需要通过网络传输数据,所以可能会出现网络延迟等问题,影响系统的性能。
二、单体项目
在部署项目到虚拟机之前我们要把我的sql数据和war包在自己的电脑上进行部署,看有没有问题在进行到虚拟机上面进行部署。
1、共享文件
主机连接虚拟机共享数据文件和war包项目。
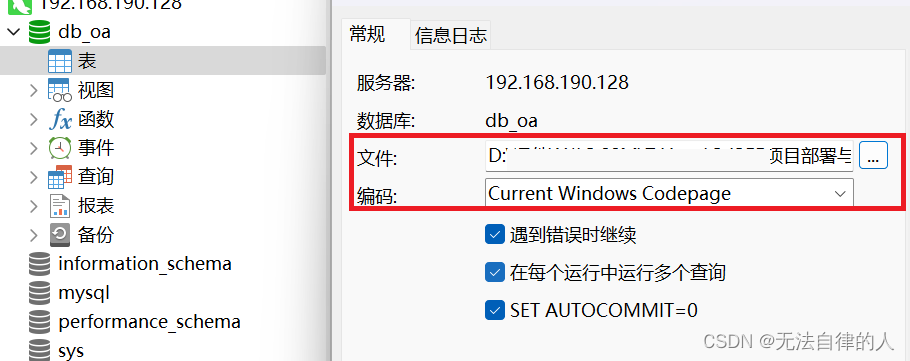
2、运行sql文件
找到sql文件,在数据库里面运行我们的sql文件。
文件选择我的sql文件路径;
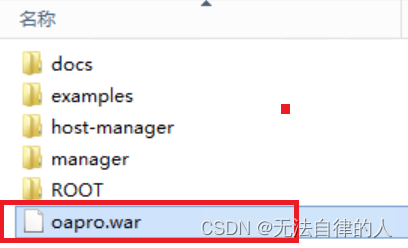
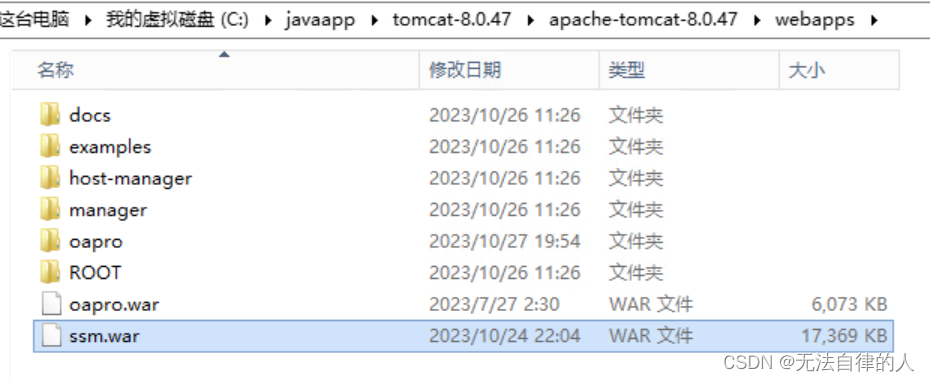
3、解压项目放入tomcat
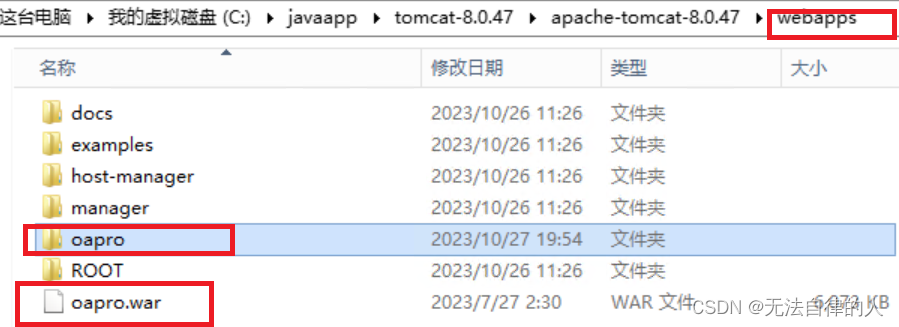
解压项目(我们的war包)放入tomcat服务器或者放入任何的其他服务器。我这里以tomcat为例:
4、打开tomcat服务
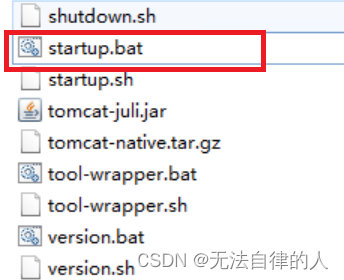
在虚拟机中找到tomcat服务器的bin目录下的startup.bat,双击运行后。
5、启动项目
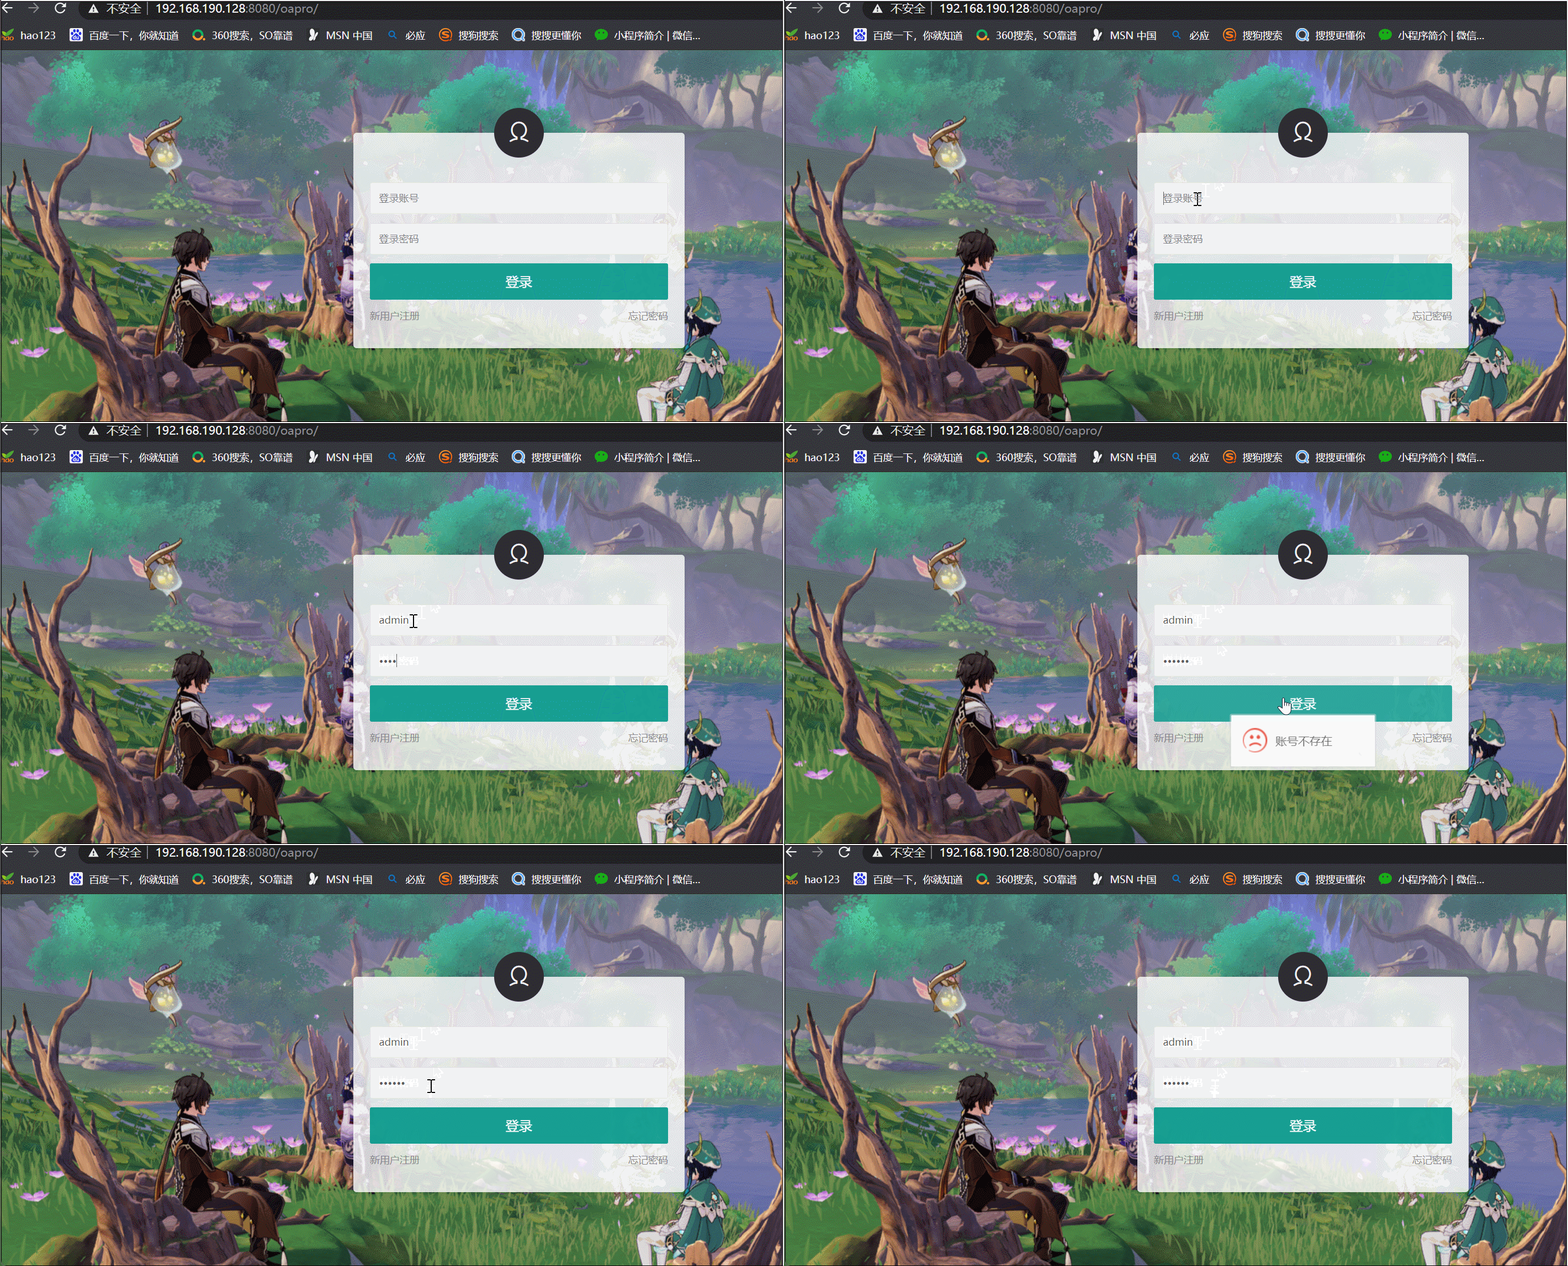
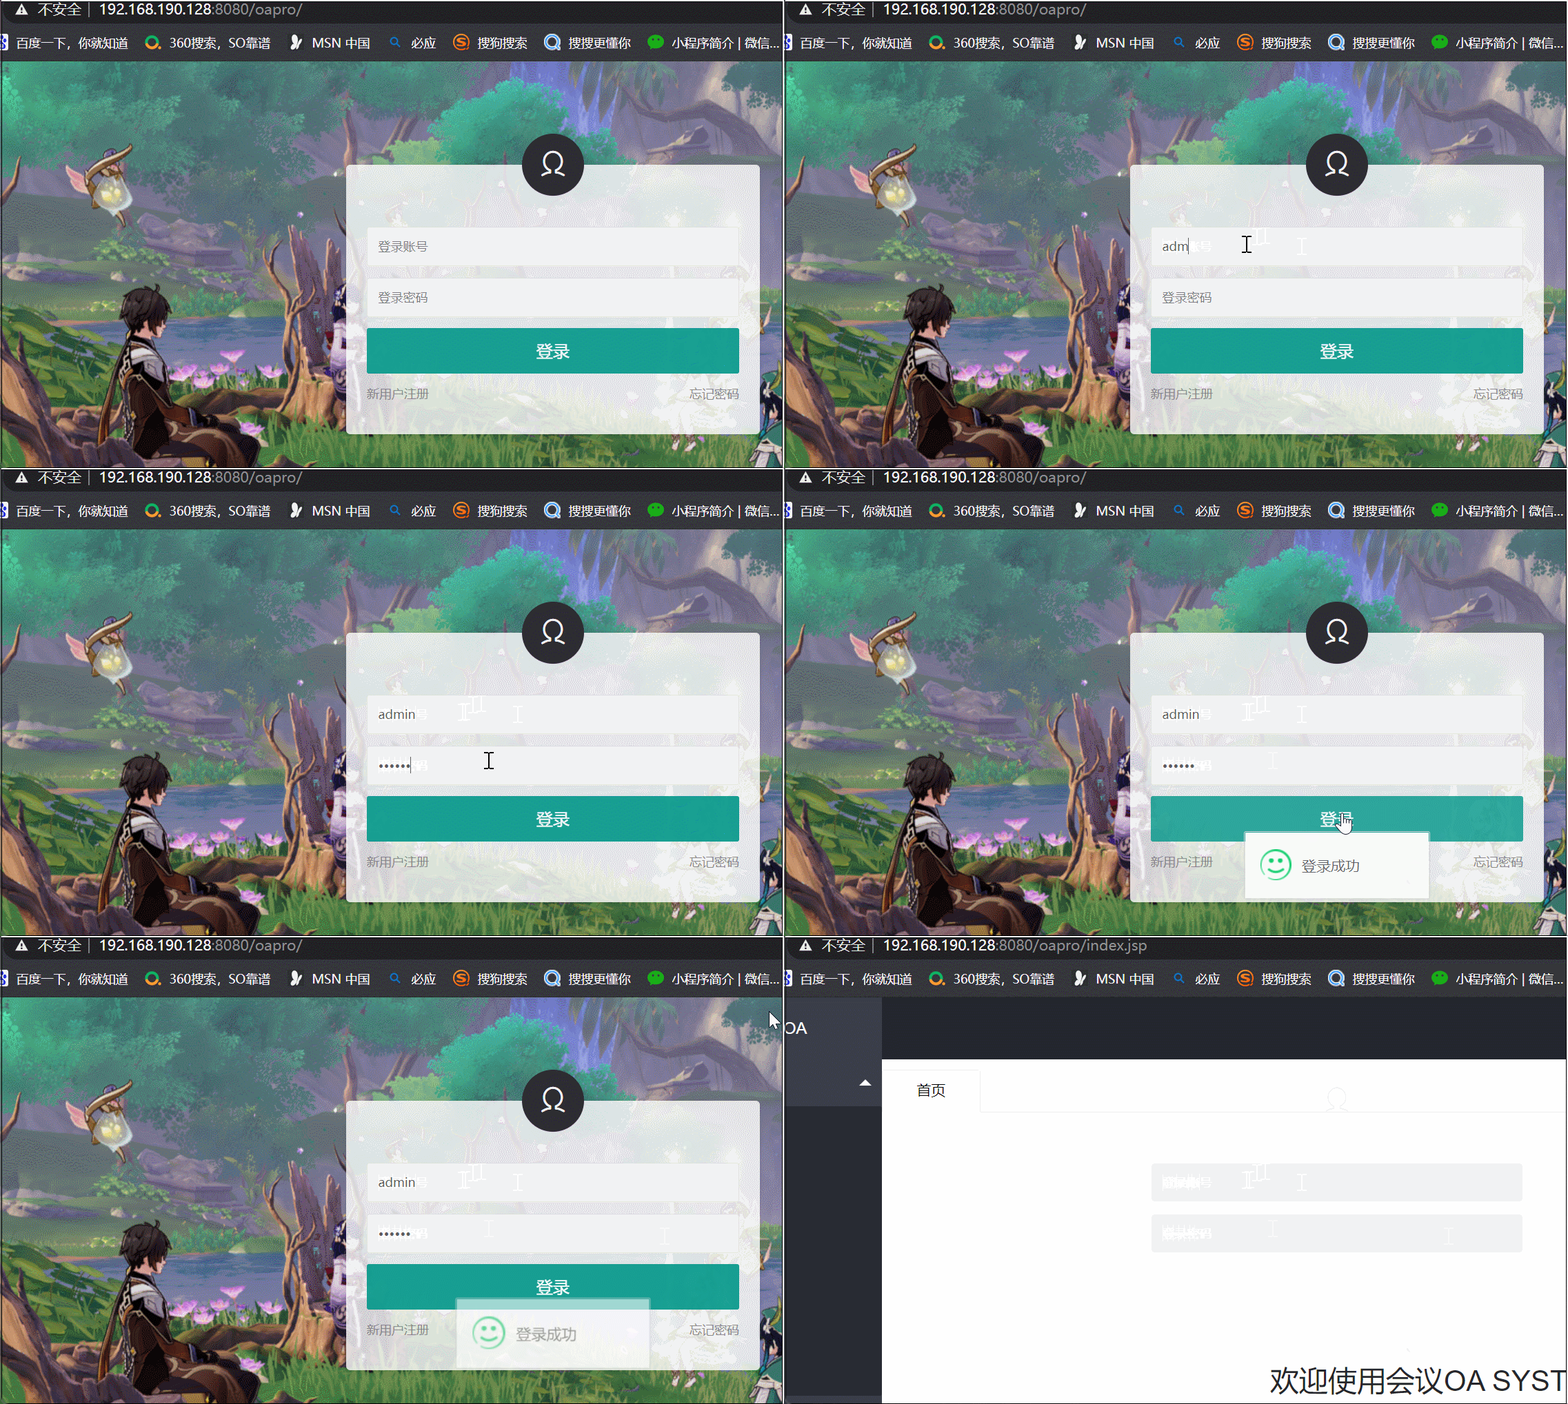
回到我们的主机在浏览器中输入ip地址+访问路径即可访问。
6、出现用户不存在
如果你的项目运行登录的时候。如果出现用户不存在,可以查看你虚拟机里面的报错,大概是这个项目的配置文件,配置sql的数据库不对。
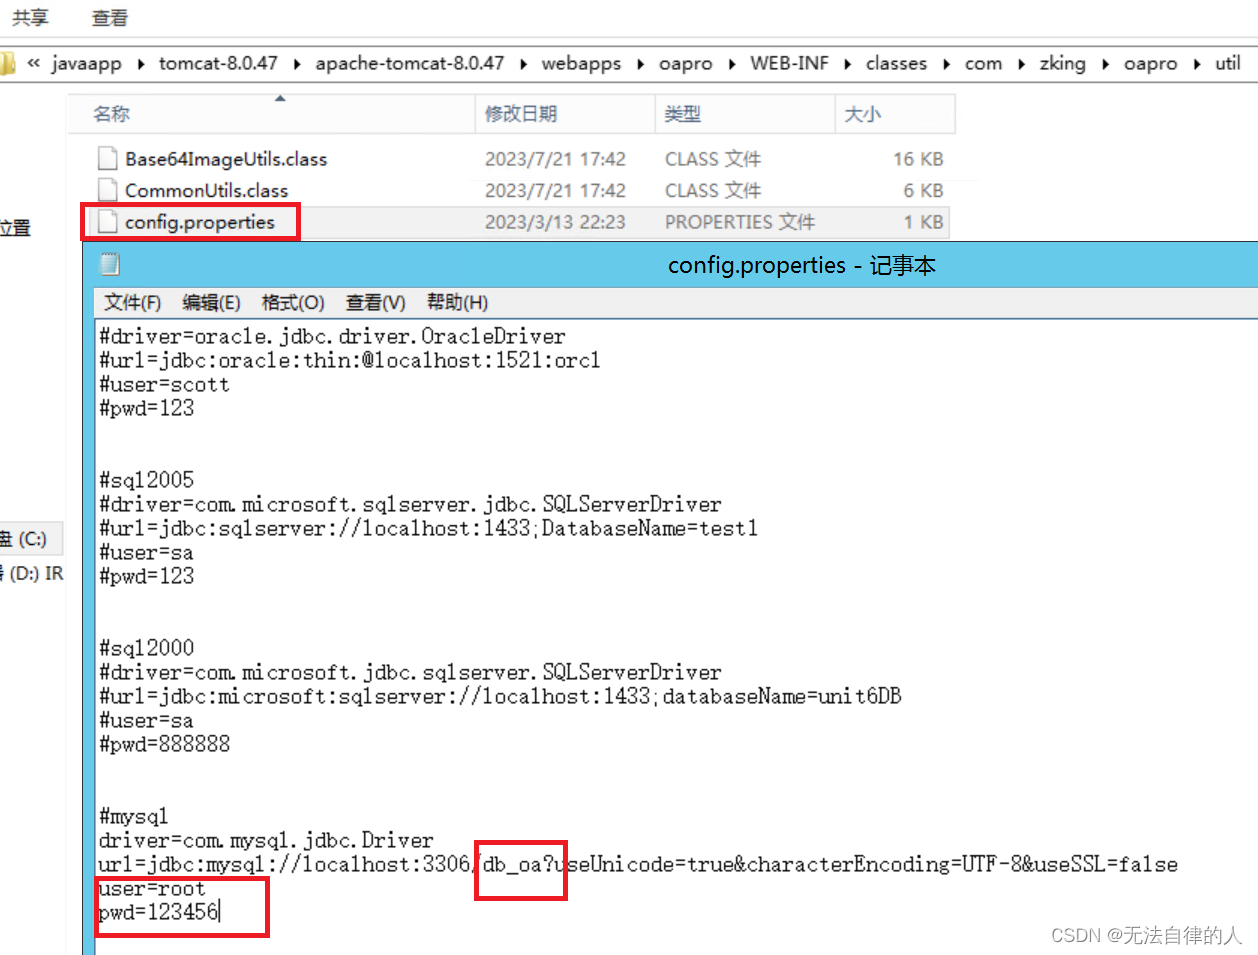
我们在我们放war包位置,可以看到我们的项目被解压出来了,我们可以在里面找到我们的配置文件,更改我们的数据库名。
我这里的配置文件名是config.properties。
看这些位置是否与虚拟机里的一样。
更改后访问重启tomcat服务,重新访问。
三、前后端分离项目部署
1、导入项目
还是一样把我们的war包放入tomcat中的webapp里面。
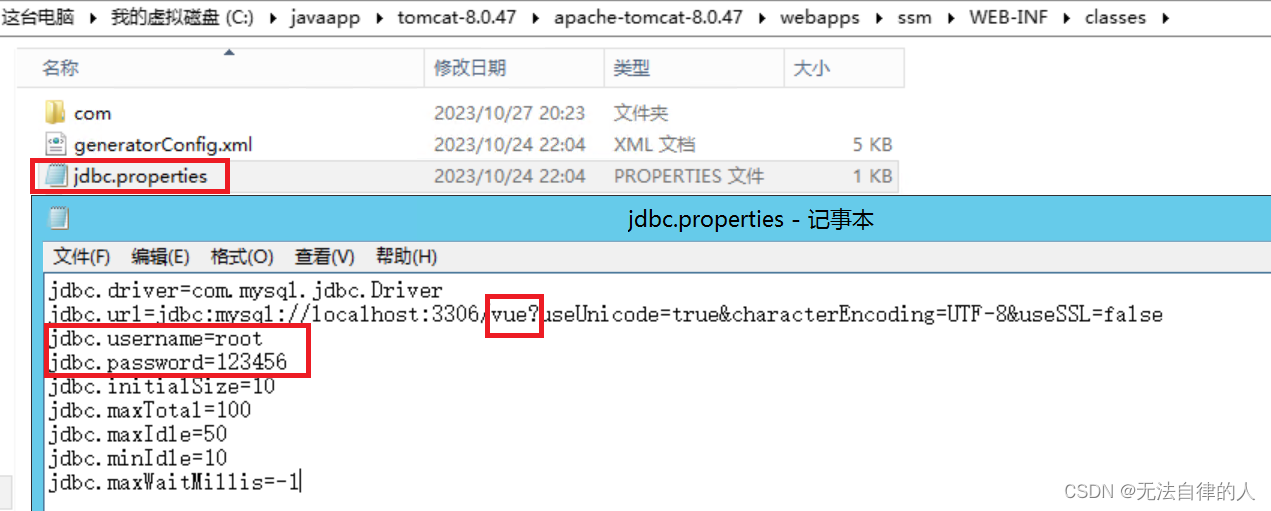
2、查看配置
运行我们的tomcat解析我们的项目之后,找到我们的配置数据库的文件。
打开tomcat服务
启动项目
3、运行sql文件
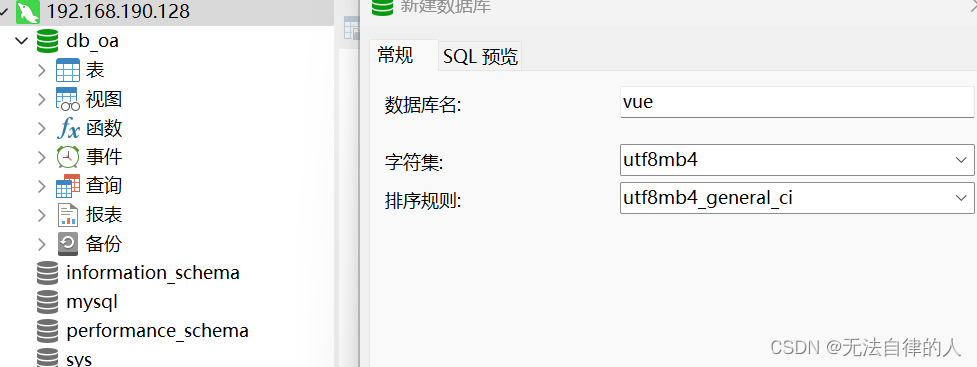
在我们的虚拟机里面新建数据库,运行我们所需要的sql文件。
更改我们虚拟机的配置后重启tomcat。
4、在虚拟机配置node
下载配置查看【Vue+NodeJS】vue路由及NodeJS环境搭建(Windows版)-CSDN博客。
5、启动
- 启动tomcat
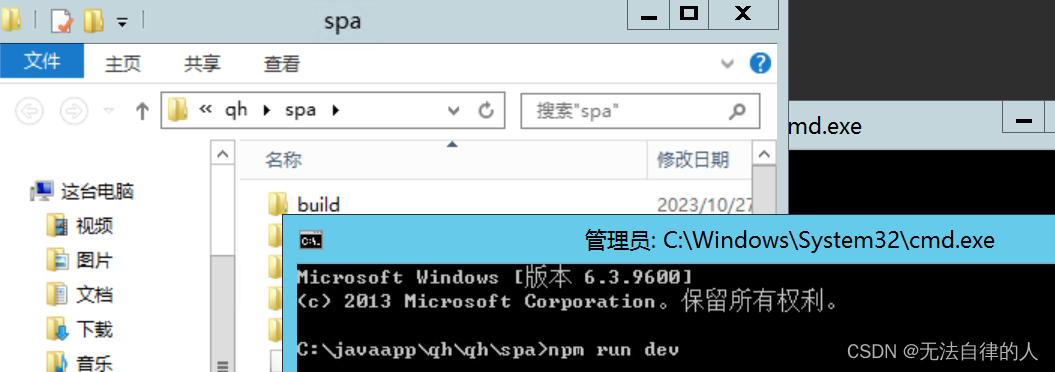
- 在我们的spa项目里面cmd命令打开窗口,输入命令npm run dev。
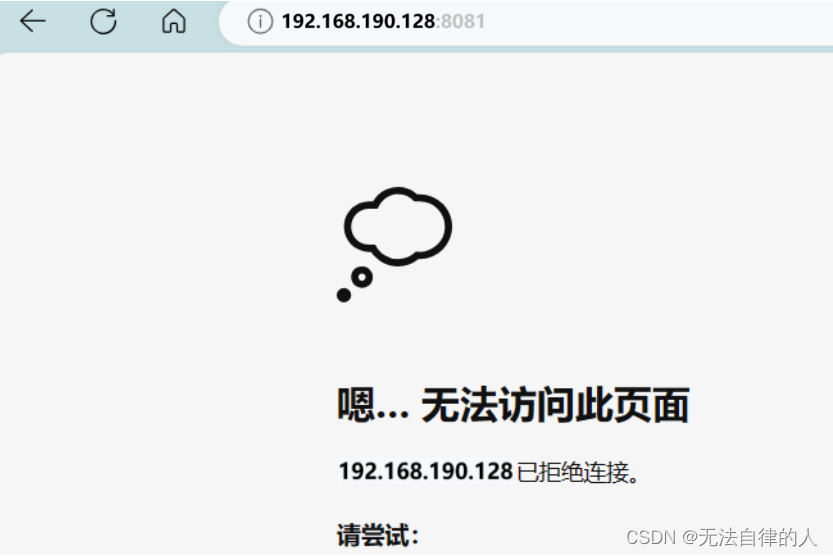
前后端分离的项目如果直接这么访问就会访问不到,只有虚拟机自己才可访问。
5.1、解决一
利用nginx做反向代理处理该问题,在nginx文件中找到nginx.conf 文件,将文件种的 location 进行修改。
nginx: download
#user  nobody;
worker_processes  1;#error_log  logs/error.log;
#error_log  logs/error.log  notice;
#error_log  logs/error.log  info;#pid        logs/nginx.pid;events {worker_connections  1024;
}http {include       mime.types;default_type  application/octet-stream;#log_format  main  '$remote_addr - $remote_user [$time_local] "$request" '#                  '$status $body_bytes_sent "$http_referer" '#                  '"$http_user_agent" "$http_x_forwarded_for"';#access_log  logs/access.log  main;sendfile        on;#tcp_nopush     on;#keepalive_timeout  0;keepalive_timeout  65;#gzip  on;server {listen       80;server_name  localhost;#charset koi8-r;#access_log  logs/host.access.log  main;location / {proxy_pass   http://localhost:8081;}#error_page  404              /404.html;# redirect server error pages to the static page /50x.html#error_page   500 502 503 504  /50x.html;location = /50x.html {root   html;}# proxy the PHP scripts to Apache listening on 127.0.0.1:80##location ~ \.php$ {#    proxy_pass   http://127.0.0.1;#}# pass the PHP scripts to FastCGI server listening on 127.0.0.1:9000##location ~ \.php$ {#    root           html;#    fastcgi_pass   127.0.0.1:9000;#    fastcgi_index  index.php;#    fastcgi_param  SCRIPT_FILENAME  /scripts$fastcgi_script_name;#    include        fastcgi_params;#}# deny access to .htaccess files, if Apache's document root# concurs with nginx's one##location ~ /\.ht {#    deny  all;#}}# another virtual host using mix of IP-, name-, and port-based configuration##server {#    listen       8000;#    listen       somename:8080;#    server_name  somename  alias  another.alias;#    location / {#        root   html;#        index  index.html index.htm;#    }#}# HTTPS server##server {#    listen       443 ssl;#    server_name  localhost;#    ssl_certificate      cert.pem;#    ssl_certificate_key  cert.key;#    ssl_session_cache    shared:SSL:1m;#    ssl_session_timeout  5m;#    ssl_ciphers  HIGH:!aNULL:!MD5;#    ssl_prefer_server_ciphers  on;#    location / {#        root   html;#        index  index.html index.htm;#    }#}}
启动1
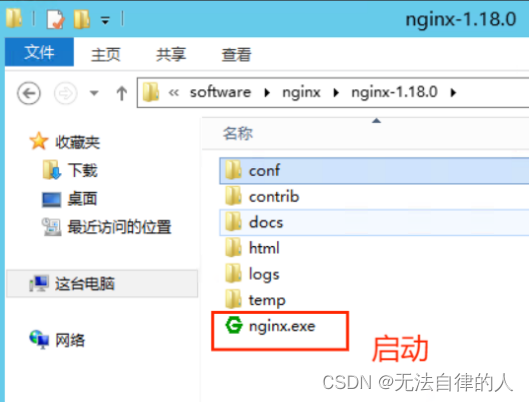
在nginx根目录下输入cmd进入命令窗口输入 nginx.exe -s reload重启
启动2
双击启动文件
最后就可以进行访问了!!!

5.2、解决二
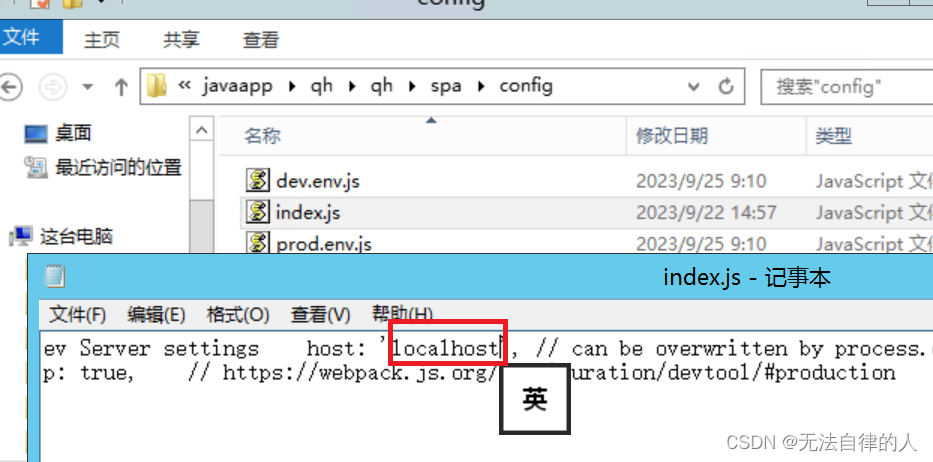
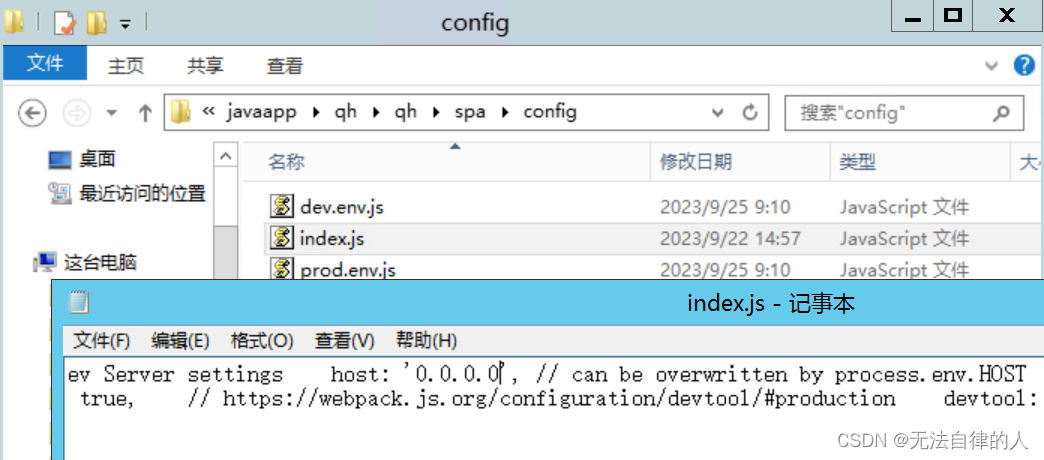
在spa项目中找到config文件下的index.js将host:'localhost'改为0.0.0.0。
最后也可以进行访问了!!!













![[计算机提升] Windows系统各种开机启动方式介绍](https://img-blog.csdnimg.cn/5a0bcc425f87495383a6c5b8ecaacb26.png)
