本文基于:https://zhuanlan.zhihu.com/p/143779176
1.环境准备
IP:192.168.10.136/24
操作系统:centos7
2.安装Docker、Docker-compose
2.1安装Docker-CE
$ wget https://mirrors.aliyun.com/docker-ce/linux/centos/docker-ce.repo -O /etc/yum.repos.d/docker-ce.repo
$ yum -y install docker-ce-18.06.1.ce-3.el7
$ systemctl enable docker && systemctl start docker
$ cat > /etc/docker/daemon.json << EOF
{"registry-mirrors": ["https://b9pmyelo.mirror.aliyuncs.com"]
}
EOF
2.2.安装Docker-compose
wget -c https://github.com/docker/compose/releases/download/1.25.5/docker-compose-Linux-x86_64
mv docker-compose-Linux-x86_64  /usr/bin/docker-compose
chmod  a+x /usr/bin/docker-compose
docker-compose  --version

3.安装离线安装包harbor
3.1下载harbor离线安装包并解压
wget -c https://github.com/goharbor/harbor/releases/download/v2.0.0/harbor-offline-installer-v2.0.0.tgz
tar -xf harbor-offline-installer-v2.0.0.tgz
3.2.配置harbor
##  创建 https 证书
# 创建证书目录,并赋予权限
[root@harbor ~]# mkdir -p /https/ca
[root@harbor ~]# chmod  -R 777 /https/ca/
[root@harbor ~]# cd /https/ca/
# 生成私钥,需要设置密码:1234
[root@harbor ca]# openssl genrsa -des3 -out harbor.key 2048
Generating RSA private key, 2048 bit long modulus
.........+++
..................................+++
e is 65537 (0x10001)
Enter pass phrase for harbor.key:1234
Verifying - Enter pass phrase for harbor.key:1234
# 生成CA证书,需要输入密码1234
[root@harbor ca]# openssl req -sha512 -new -subj "/C=CN/ST=JS/L=WX/O=zwx/OU=jhmy/CN=192.168.10.136" -key harbor.key -out harbor.csr
Enter pass phrase for harbor.key:1234
# 备份证书
[root@harbor ca]# cp harbor.key  harbor.key.org
# 退掉私钥密码,以便docker访问(也可以参考官方进行双向认证)
[root@harbor ca]# openssl rsa -in harbor.key.org -out harbor.key
Enter pass phrase for harbor.key.org:
writing RSA key
# 使用证书进行签名
[root@harbor ca]# openssl x509 -req -days 100000  -in harbor.csr -signkey harbor.key -out harbor.crt
Signature ok
subject=/C=CN/ST=JS/L=WX/O=zwx/OU=jhmy/CN=192.168.10.136
Getting Private key[root@harbor ~]# cd  /root/harbor/
[root@harbor harbor]# mv harbor.yml.tmpl harbor.yml
[root@harbor harbor]# vim  harbor.yml
## 上面其他部分省略
...
hostname: 192.168.10.136
http:port: 8080
https:# https port for harbor, default is 443port: 443# The path of cert and key files for nginxcertificate: /https/ca/harbor.crtprivate_key: /https/ca/harbor.key
harbor_admin_password: 123.com
...
## 下面其他部分省略
3.3.安装harbor
[root@harbor harbor]# ./install.sh --with-clair
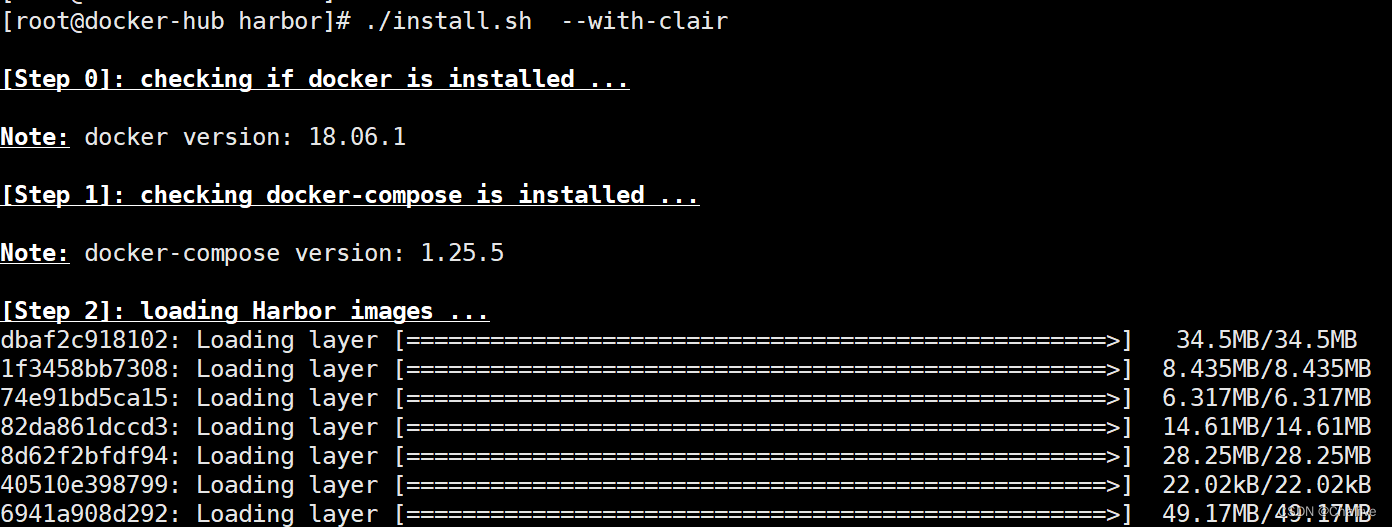
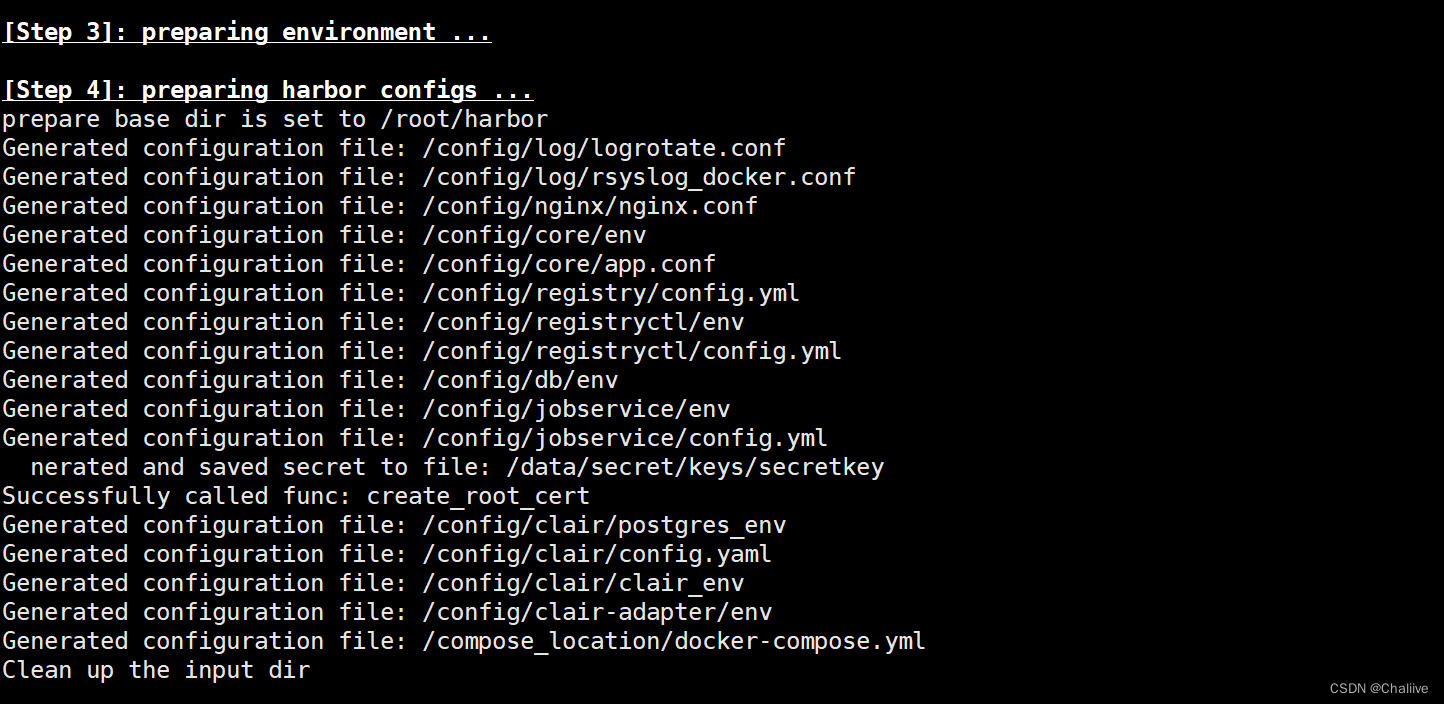
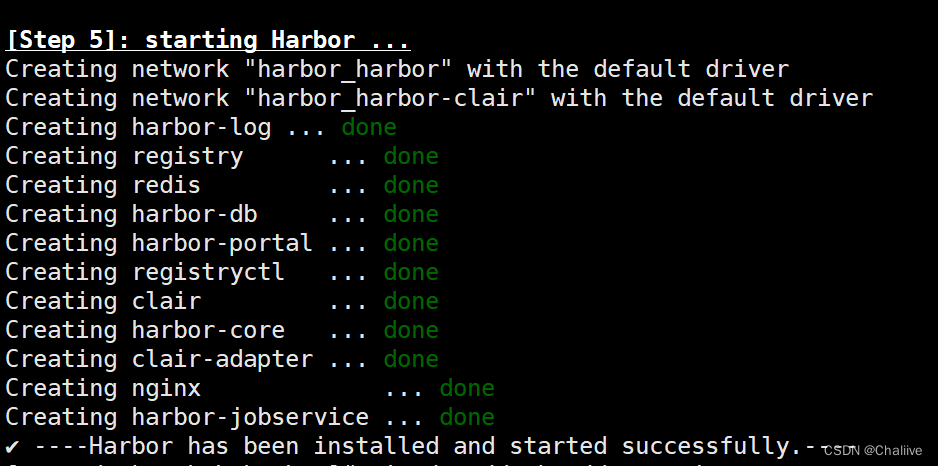
4.测试访问
浏览器输入:192.168.10.136:8080
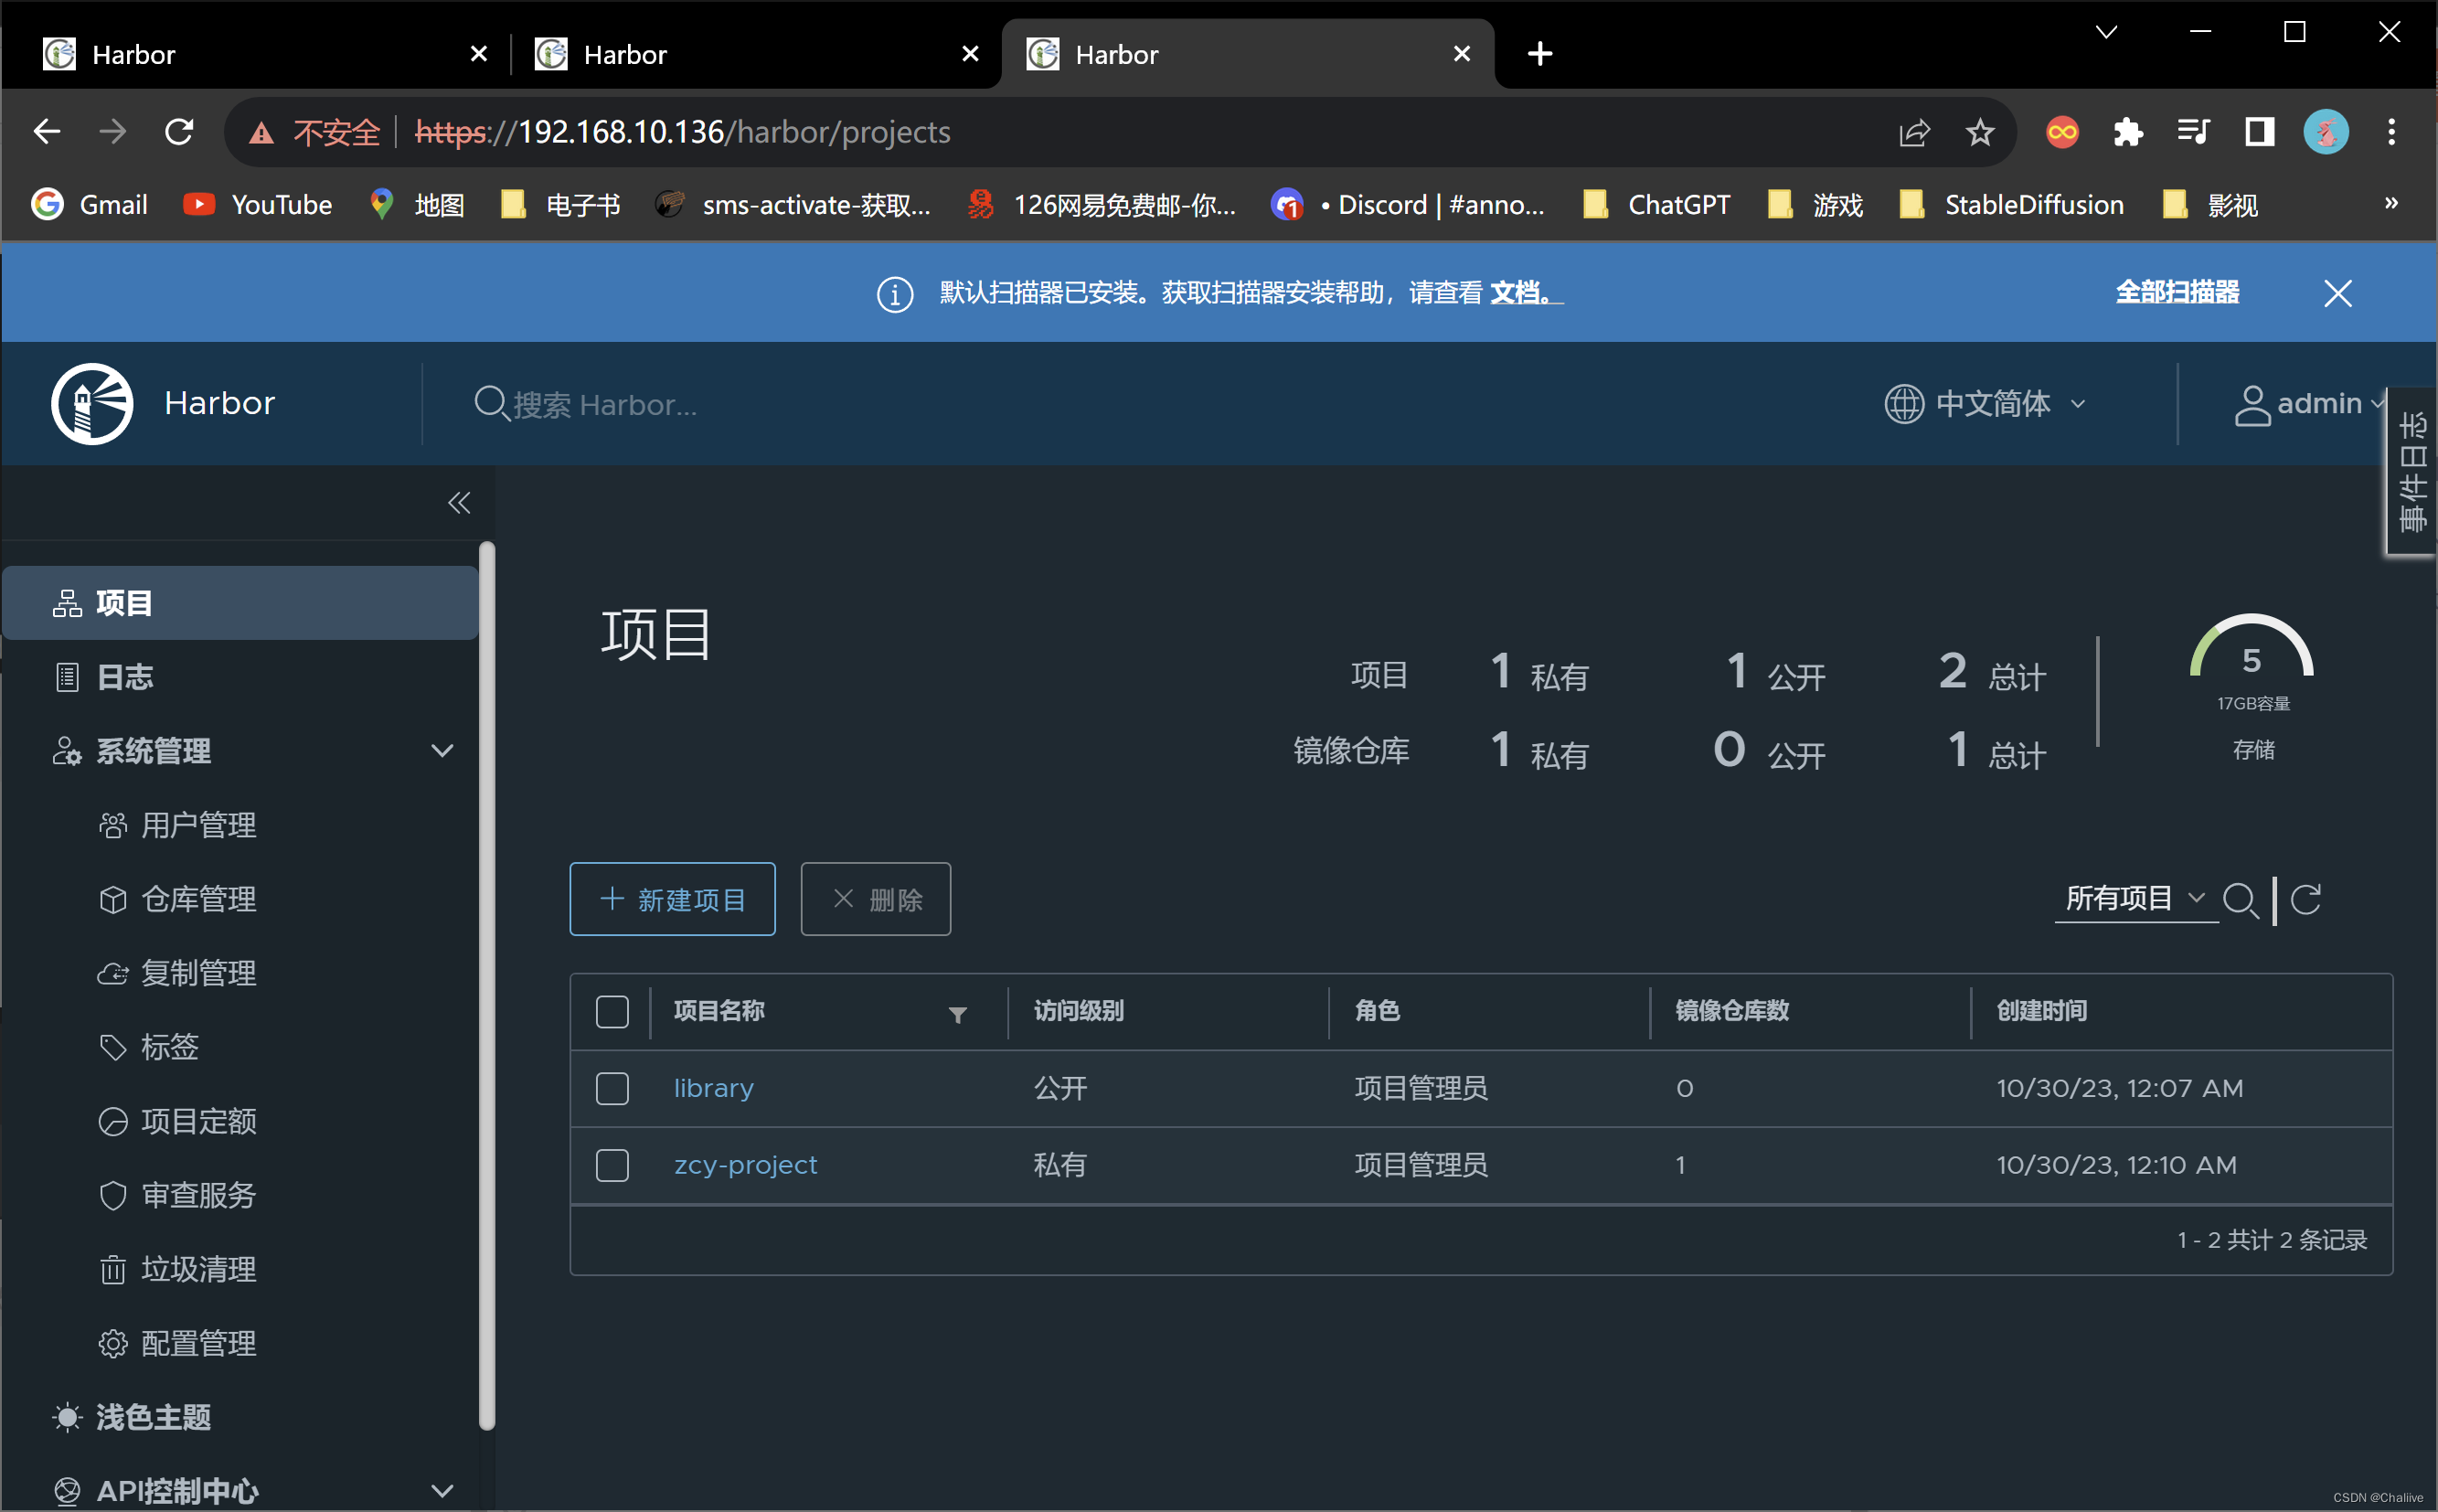
5.配置私有仓库
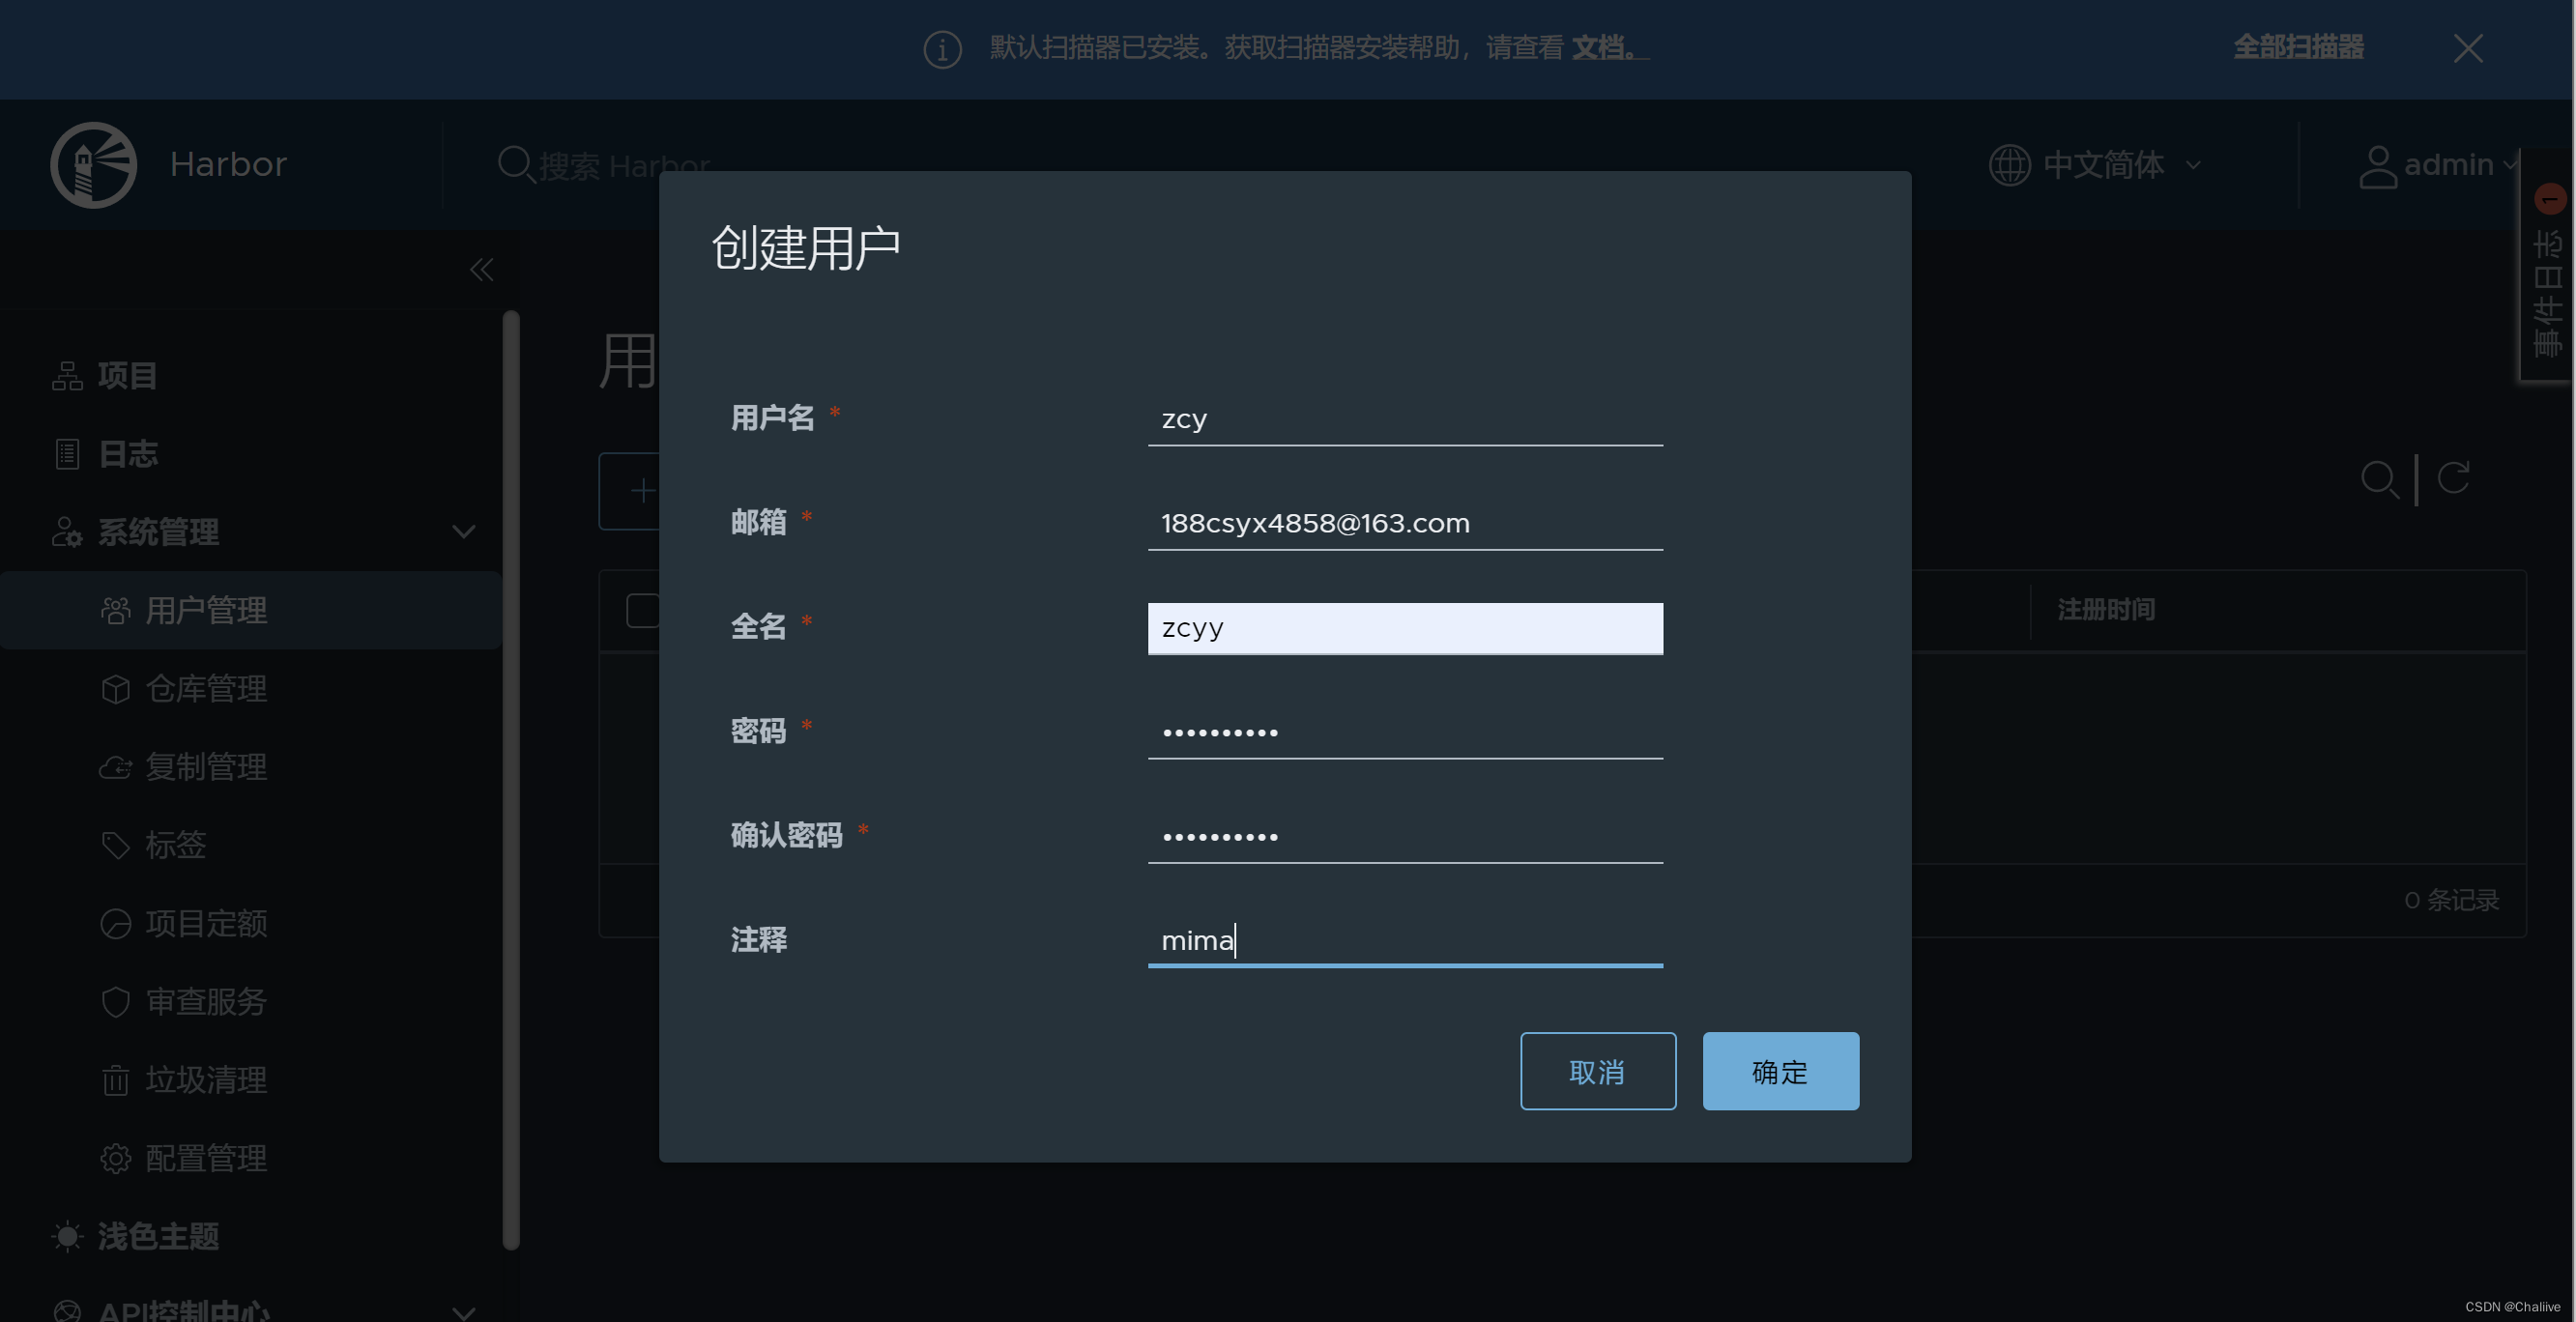
5.1.创建用户
- 点击系统管理>>用户管理>>创建用户
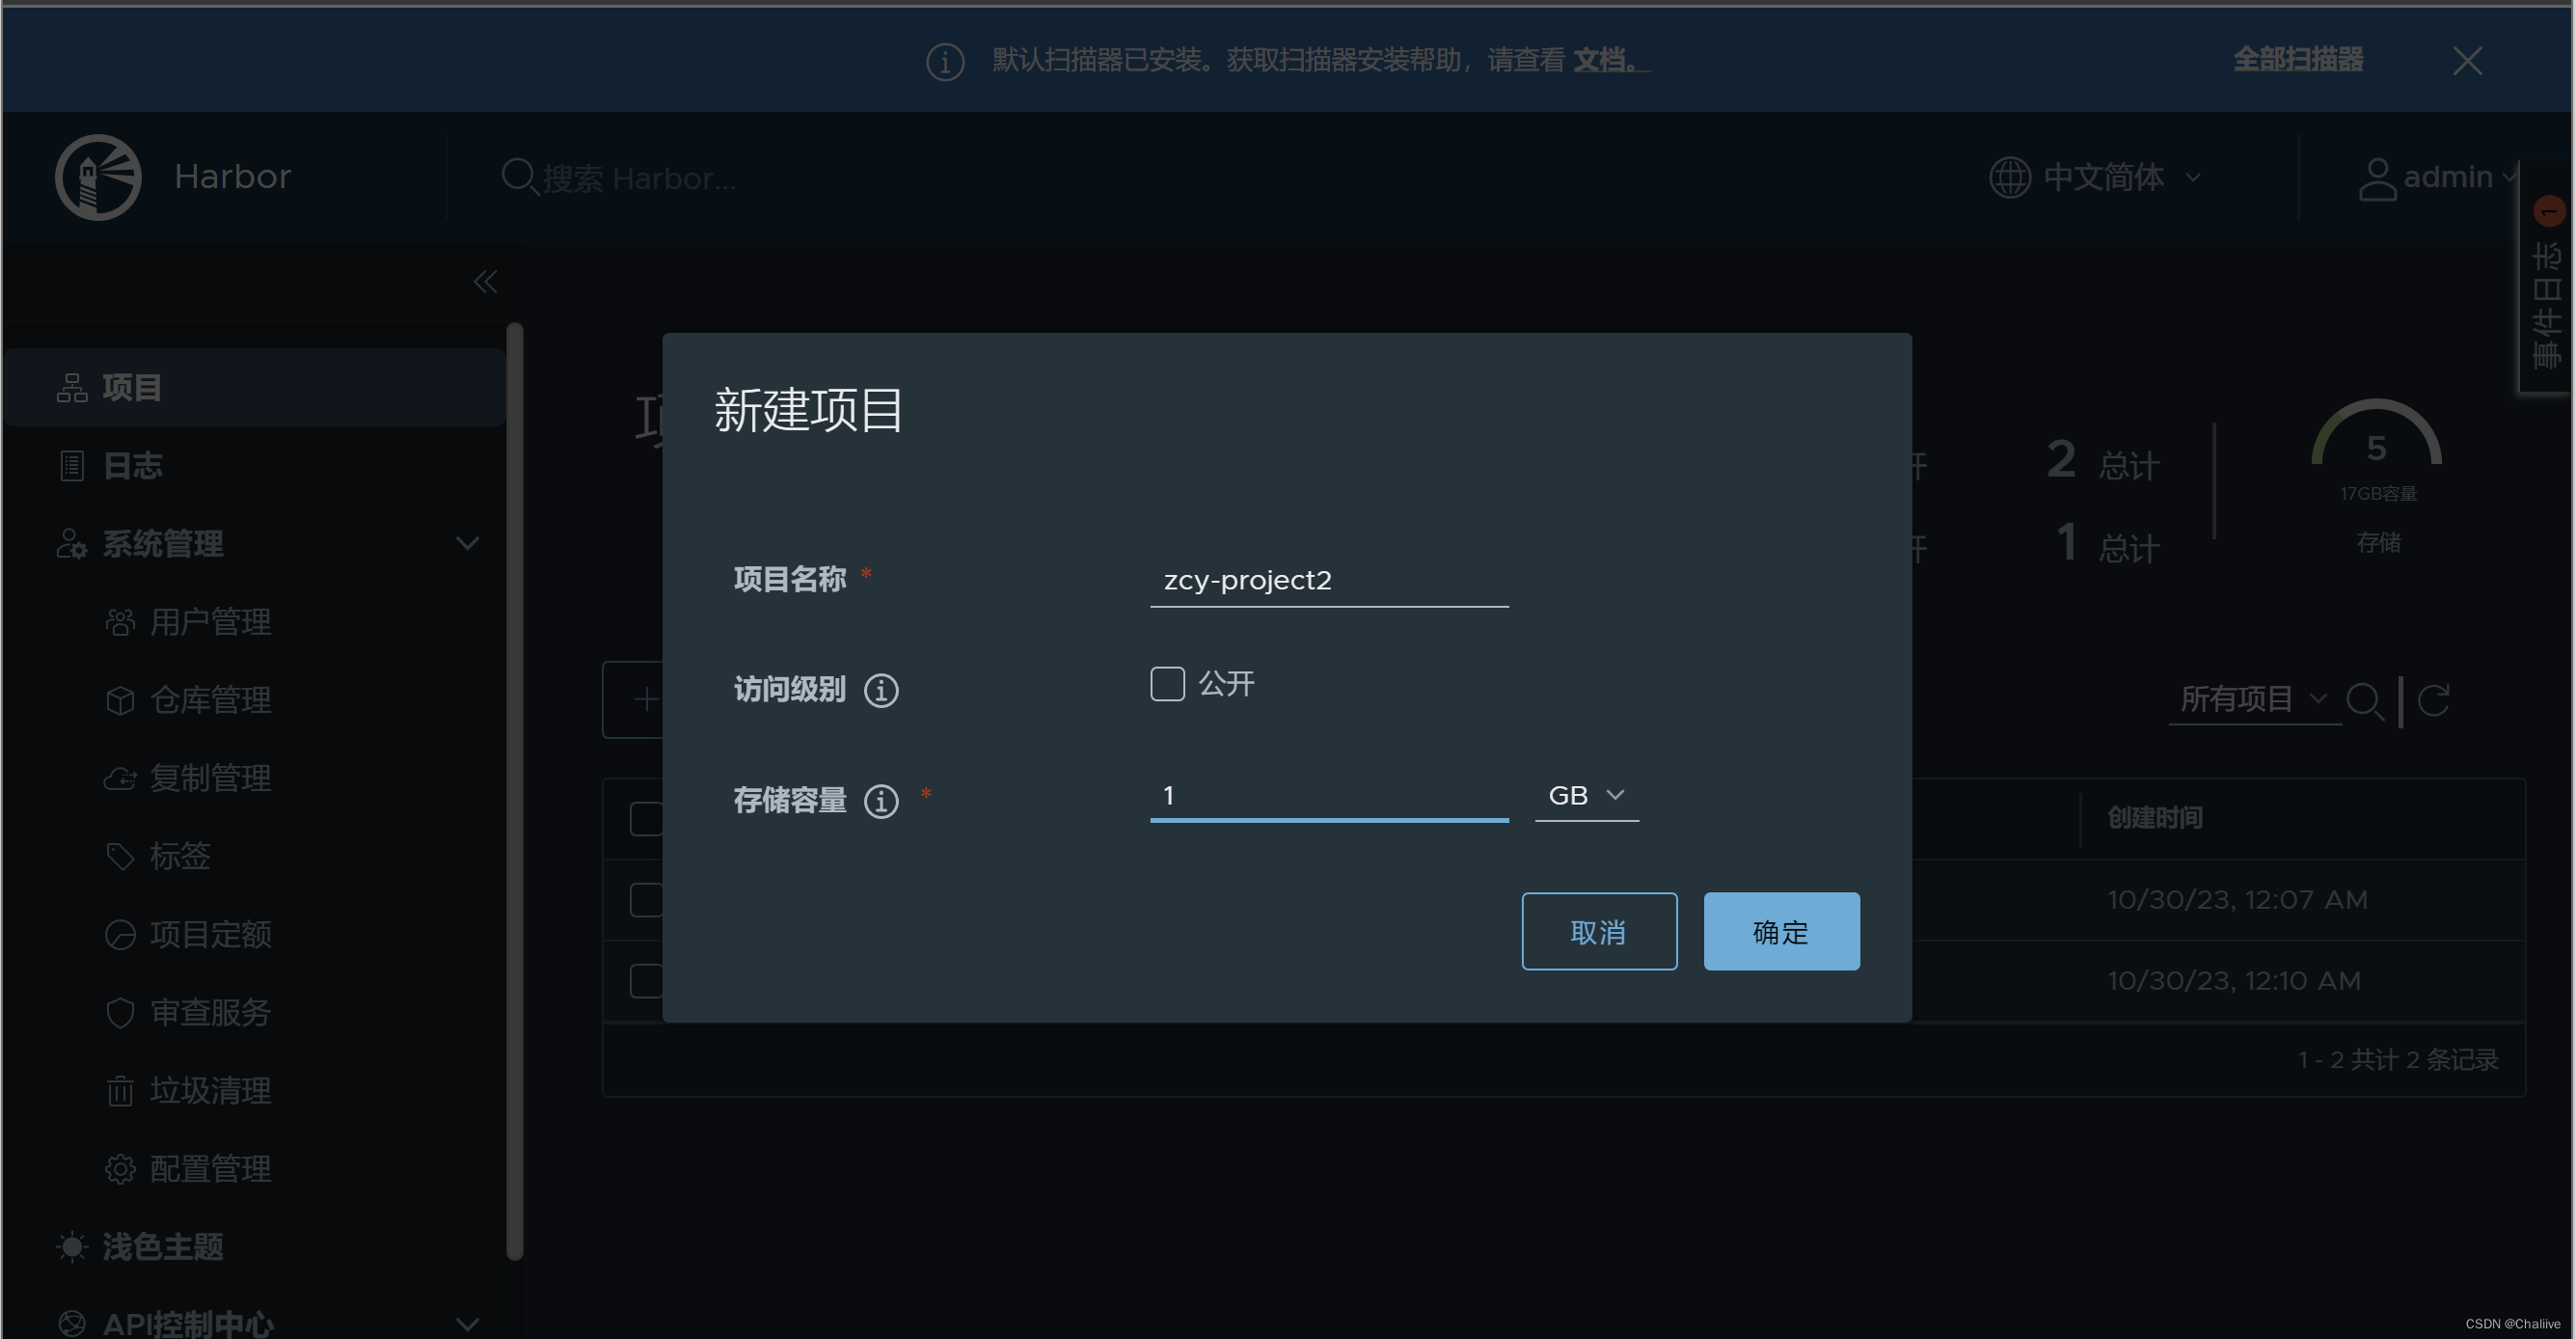
5.2.创建项目
- 点击项目>>新建项目
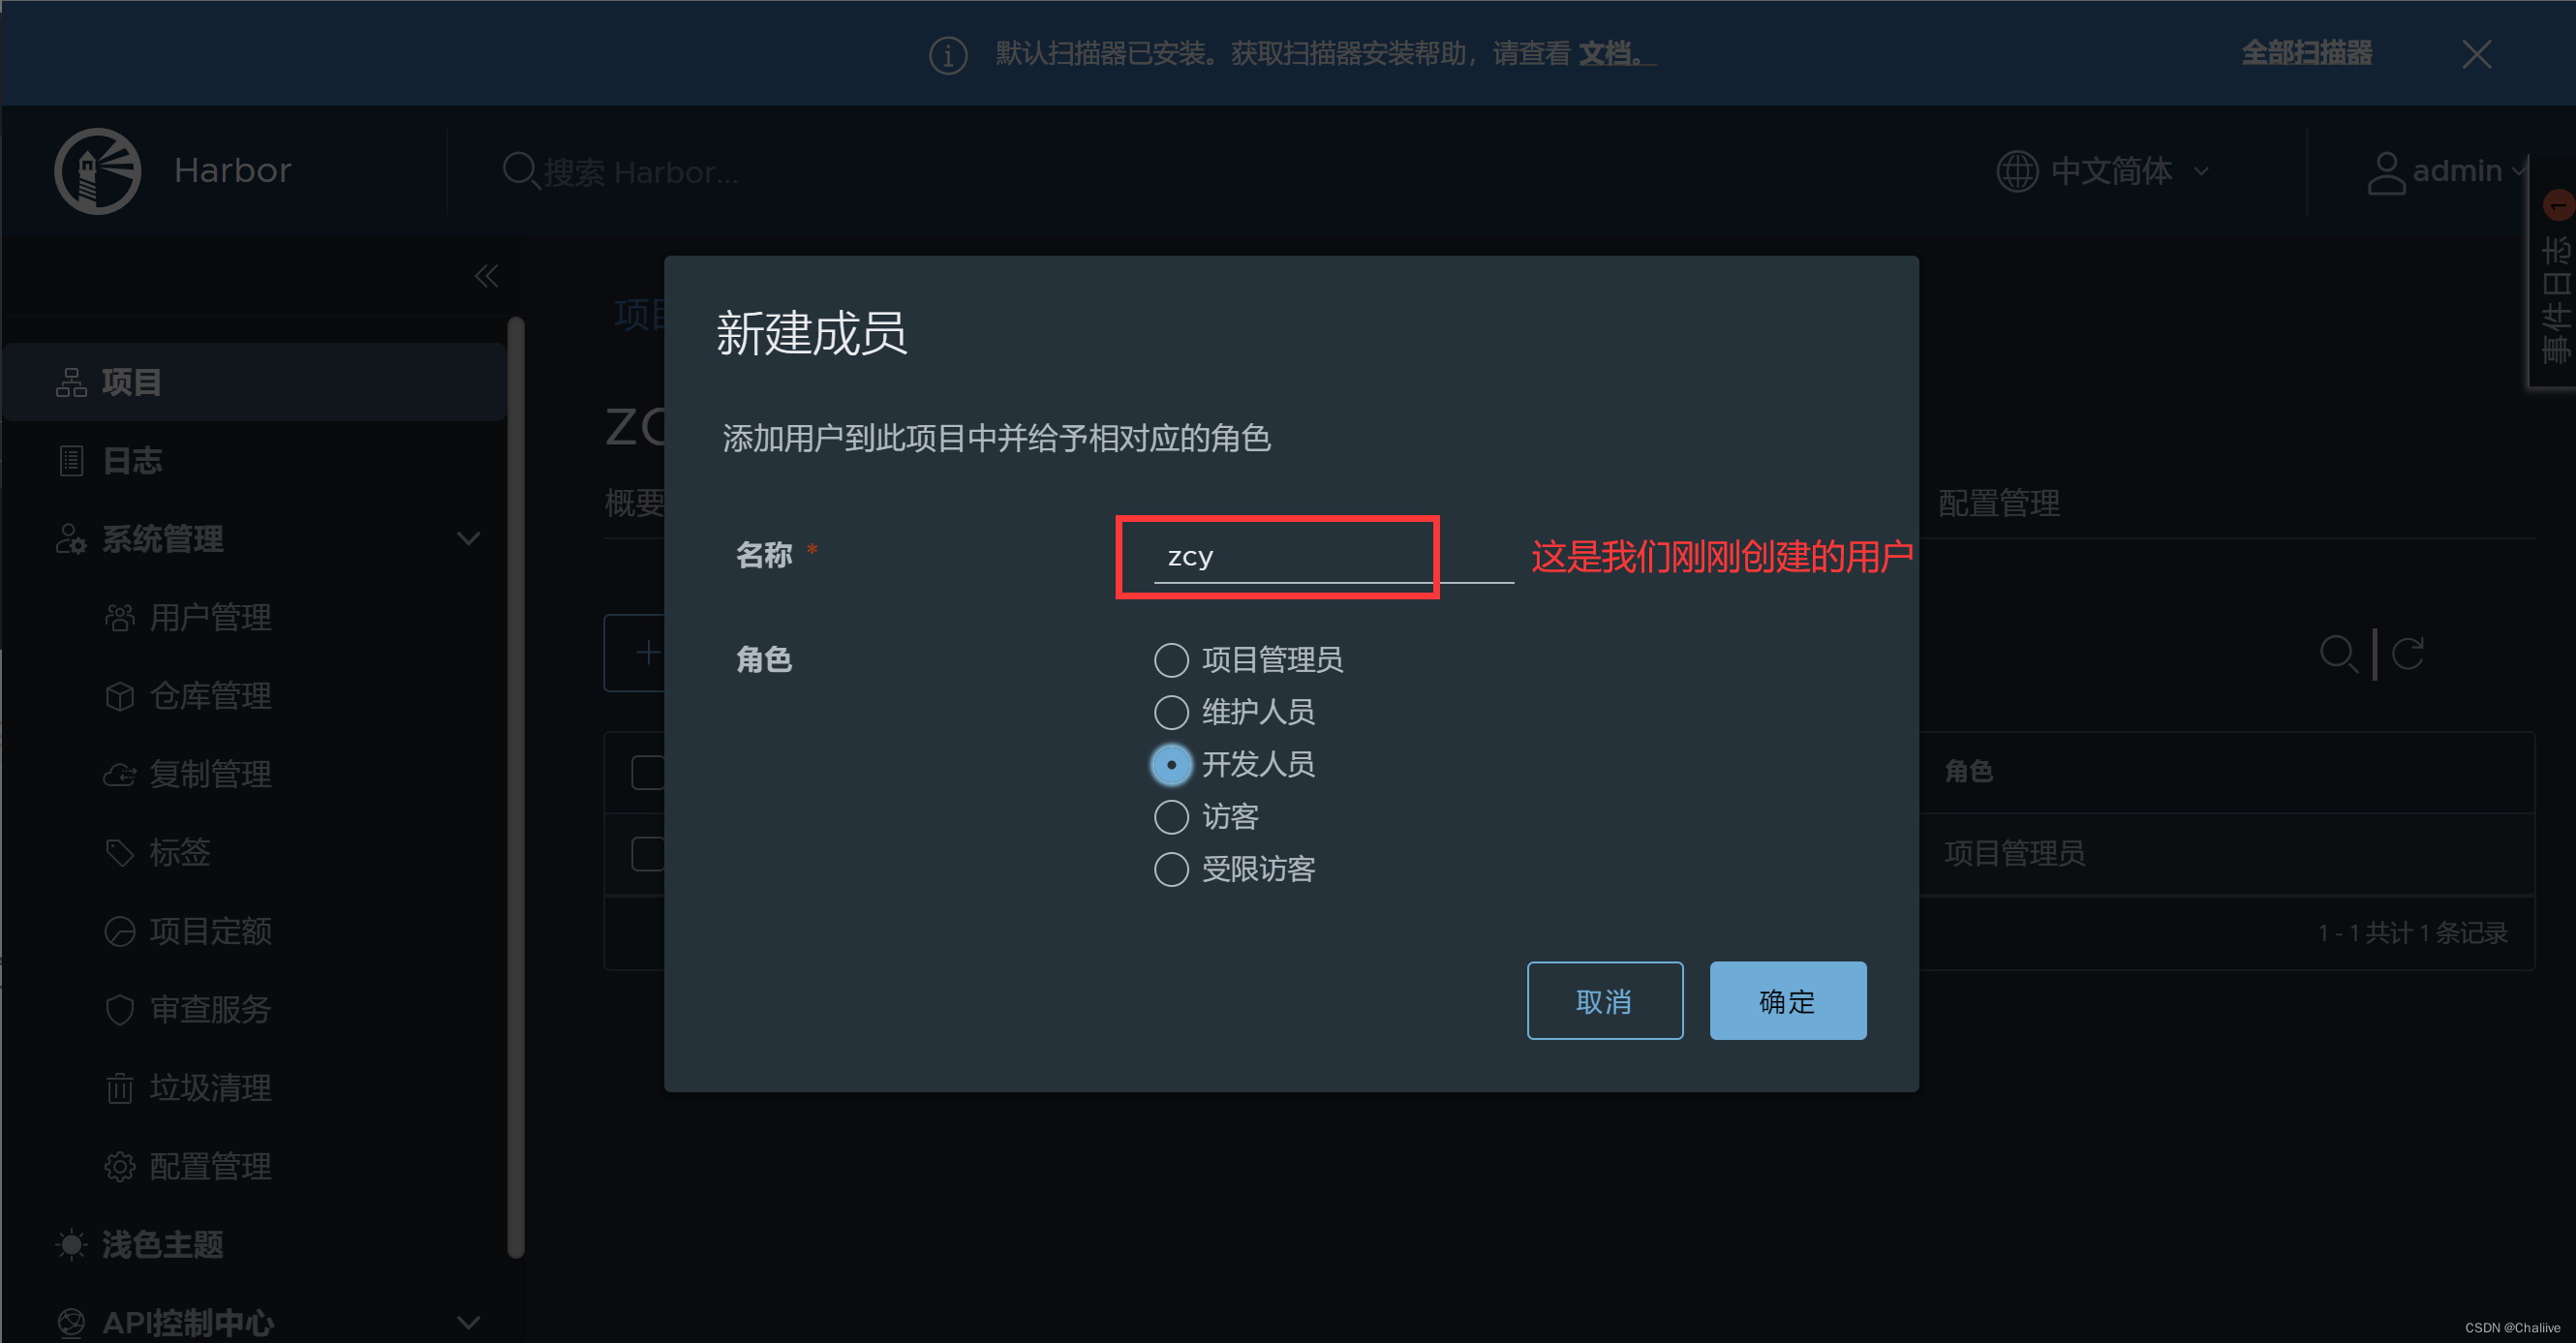
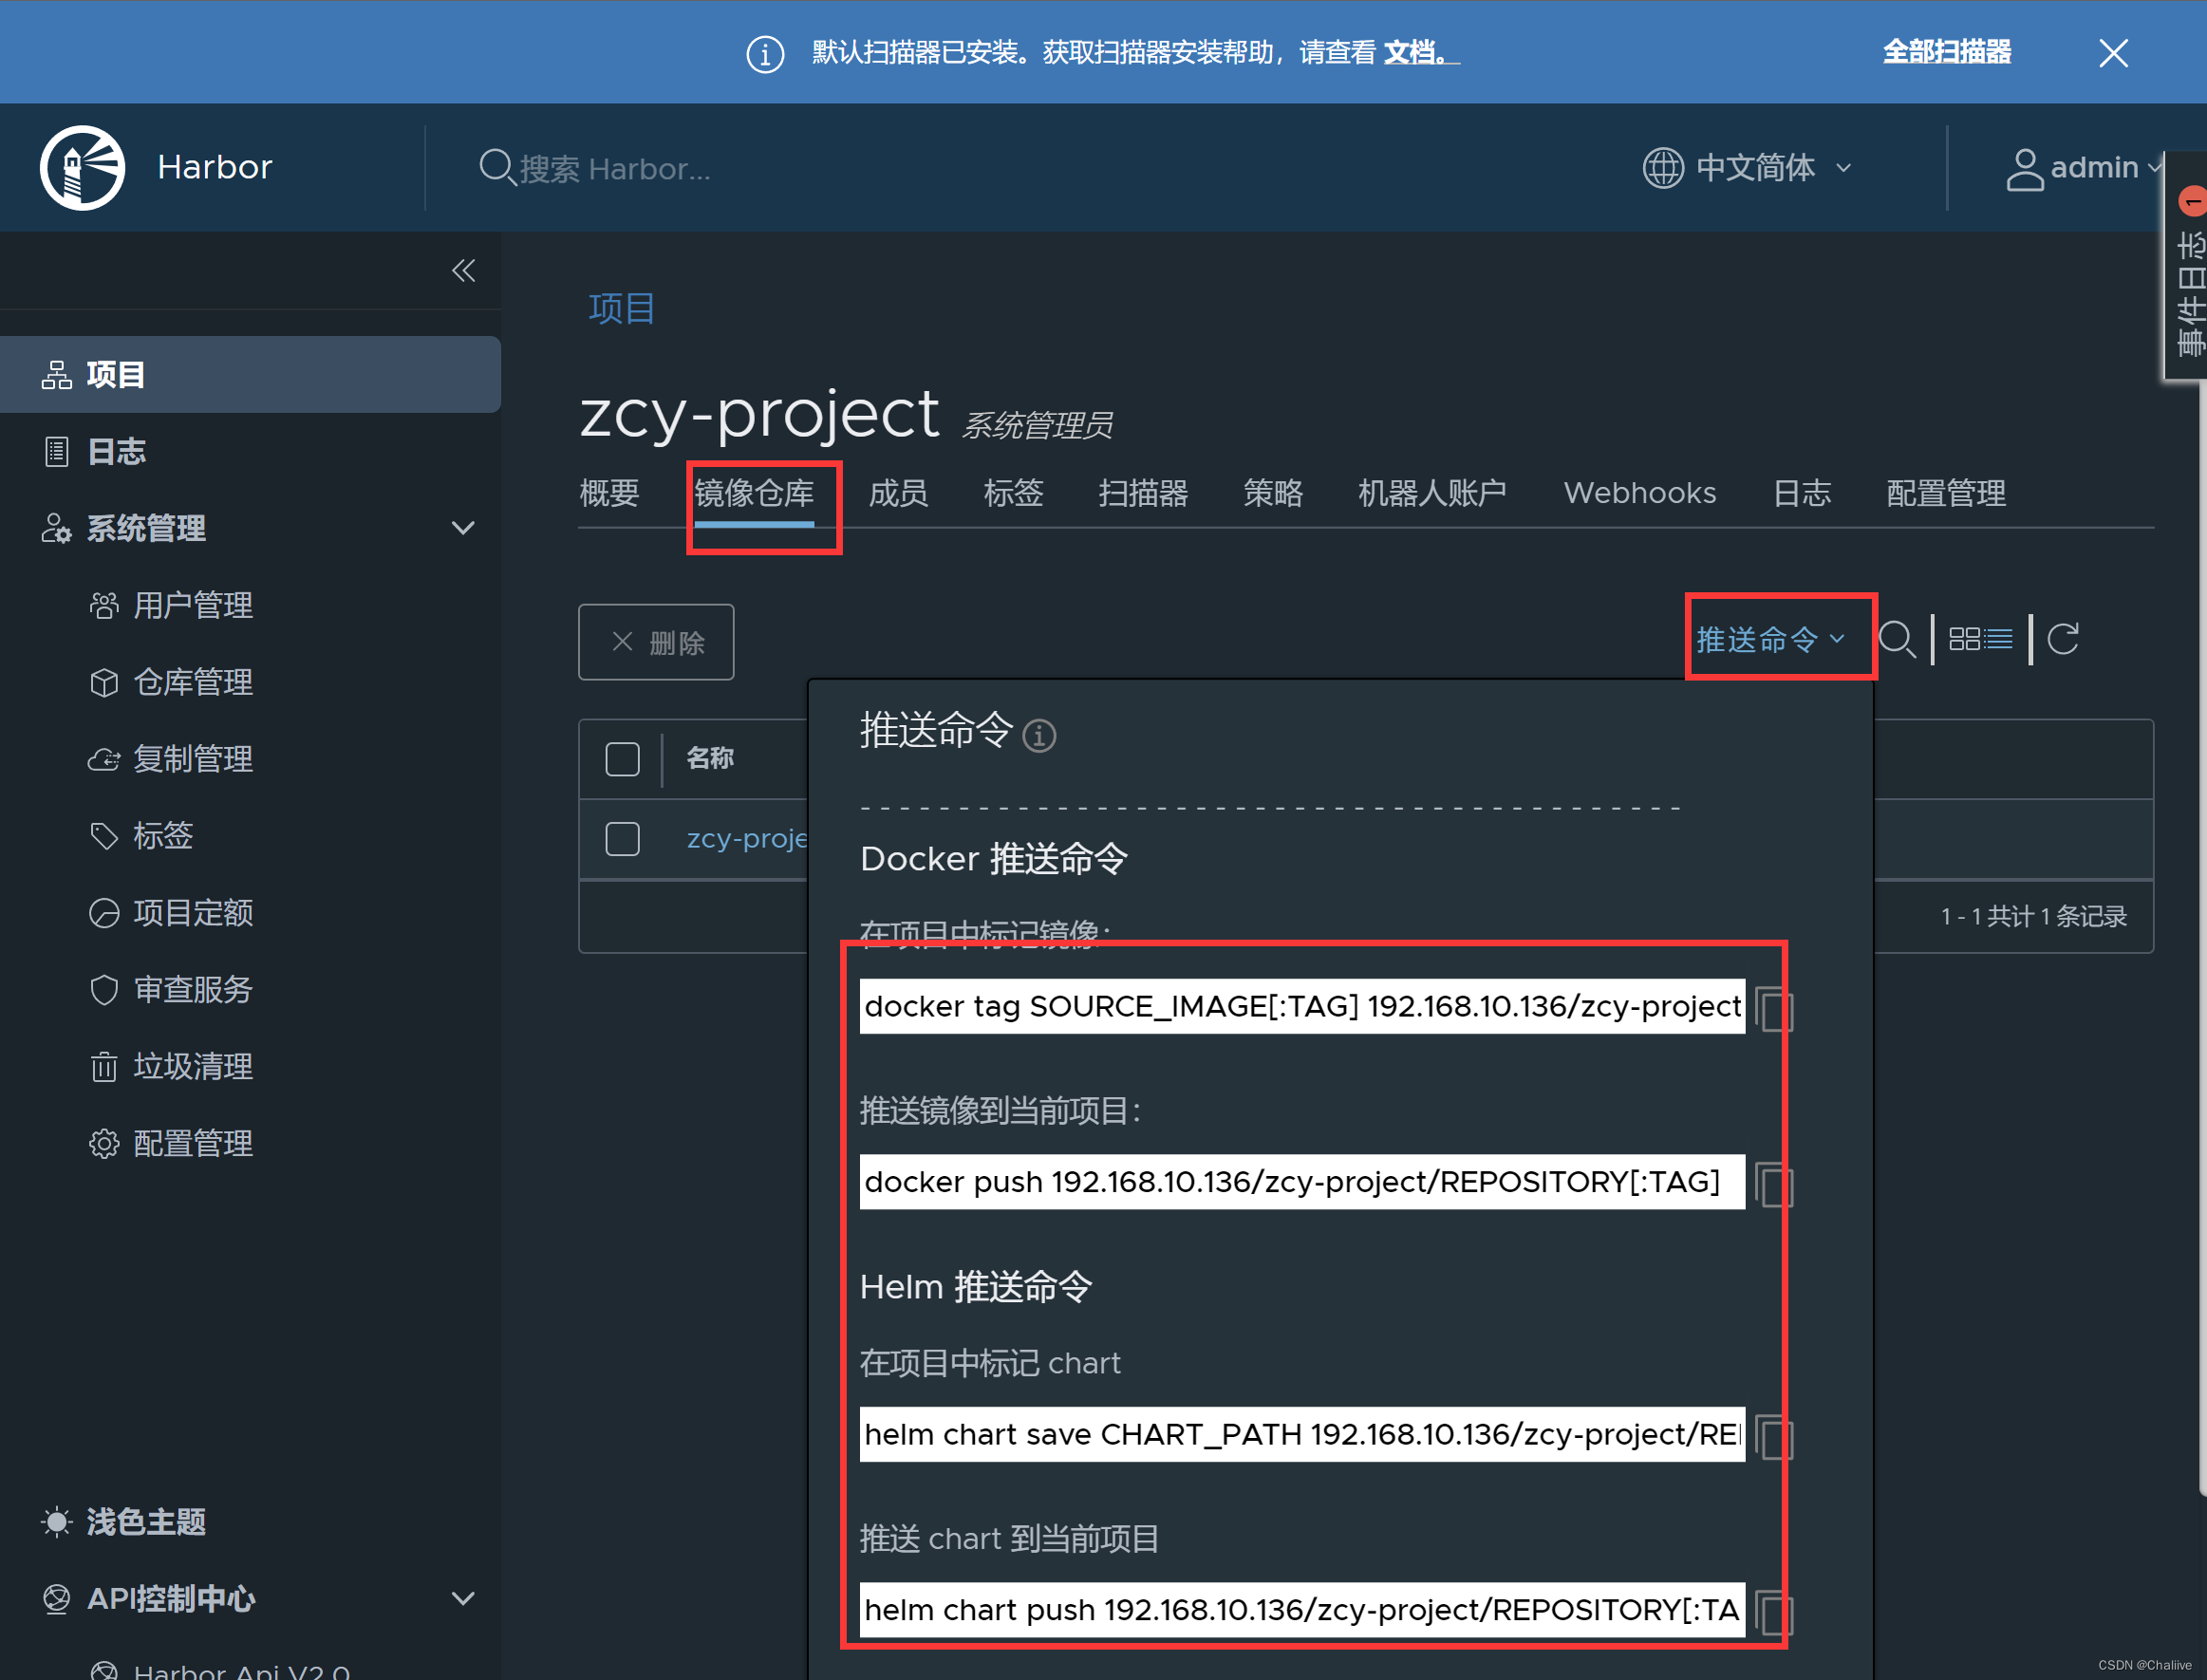
5.3.查看拉取镜像命令
- 在项目里面,添加成员 ,角色为开发人员,具有推送拉取镜像的权限
6.拉取镜像,并打标上传到我的私有仓库
编辑daemon.json文件:
cat  /etc/docker/daemon.json
{"registry-mirrors": ["https://b9pmyelo.mirror.aliyuncs.com"],"insecure-registries": ["http://192.168.10.136:8080"]
}
注意"registry-mirrors": [“https://7bc3o1s2.mirror.aliyuncs.com”]后面有个“,”分隔符,不然Docker服务启动不了
注意配置完成后需要重启Docker守护进程和服务,不然会报错
# 重启docker 服务
systemctl daemon-reload
systemctl restart docker
# 重启harbor服务
docker-compose down -v
docker-compose up -d
拉取Nginx镜像作为测试使用
docker  pull  nginx:1.16
docker image tag  nginx:1.16  192.168.10.136:8080/zcy-project/nginx:1.16.1
docker login http://192.168.10.136:8080

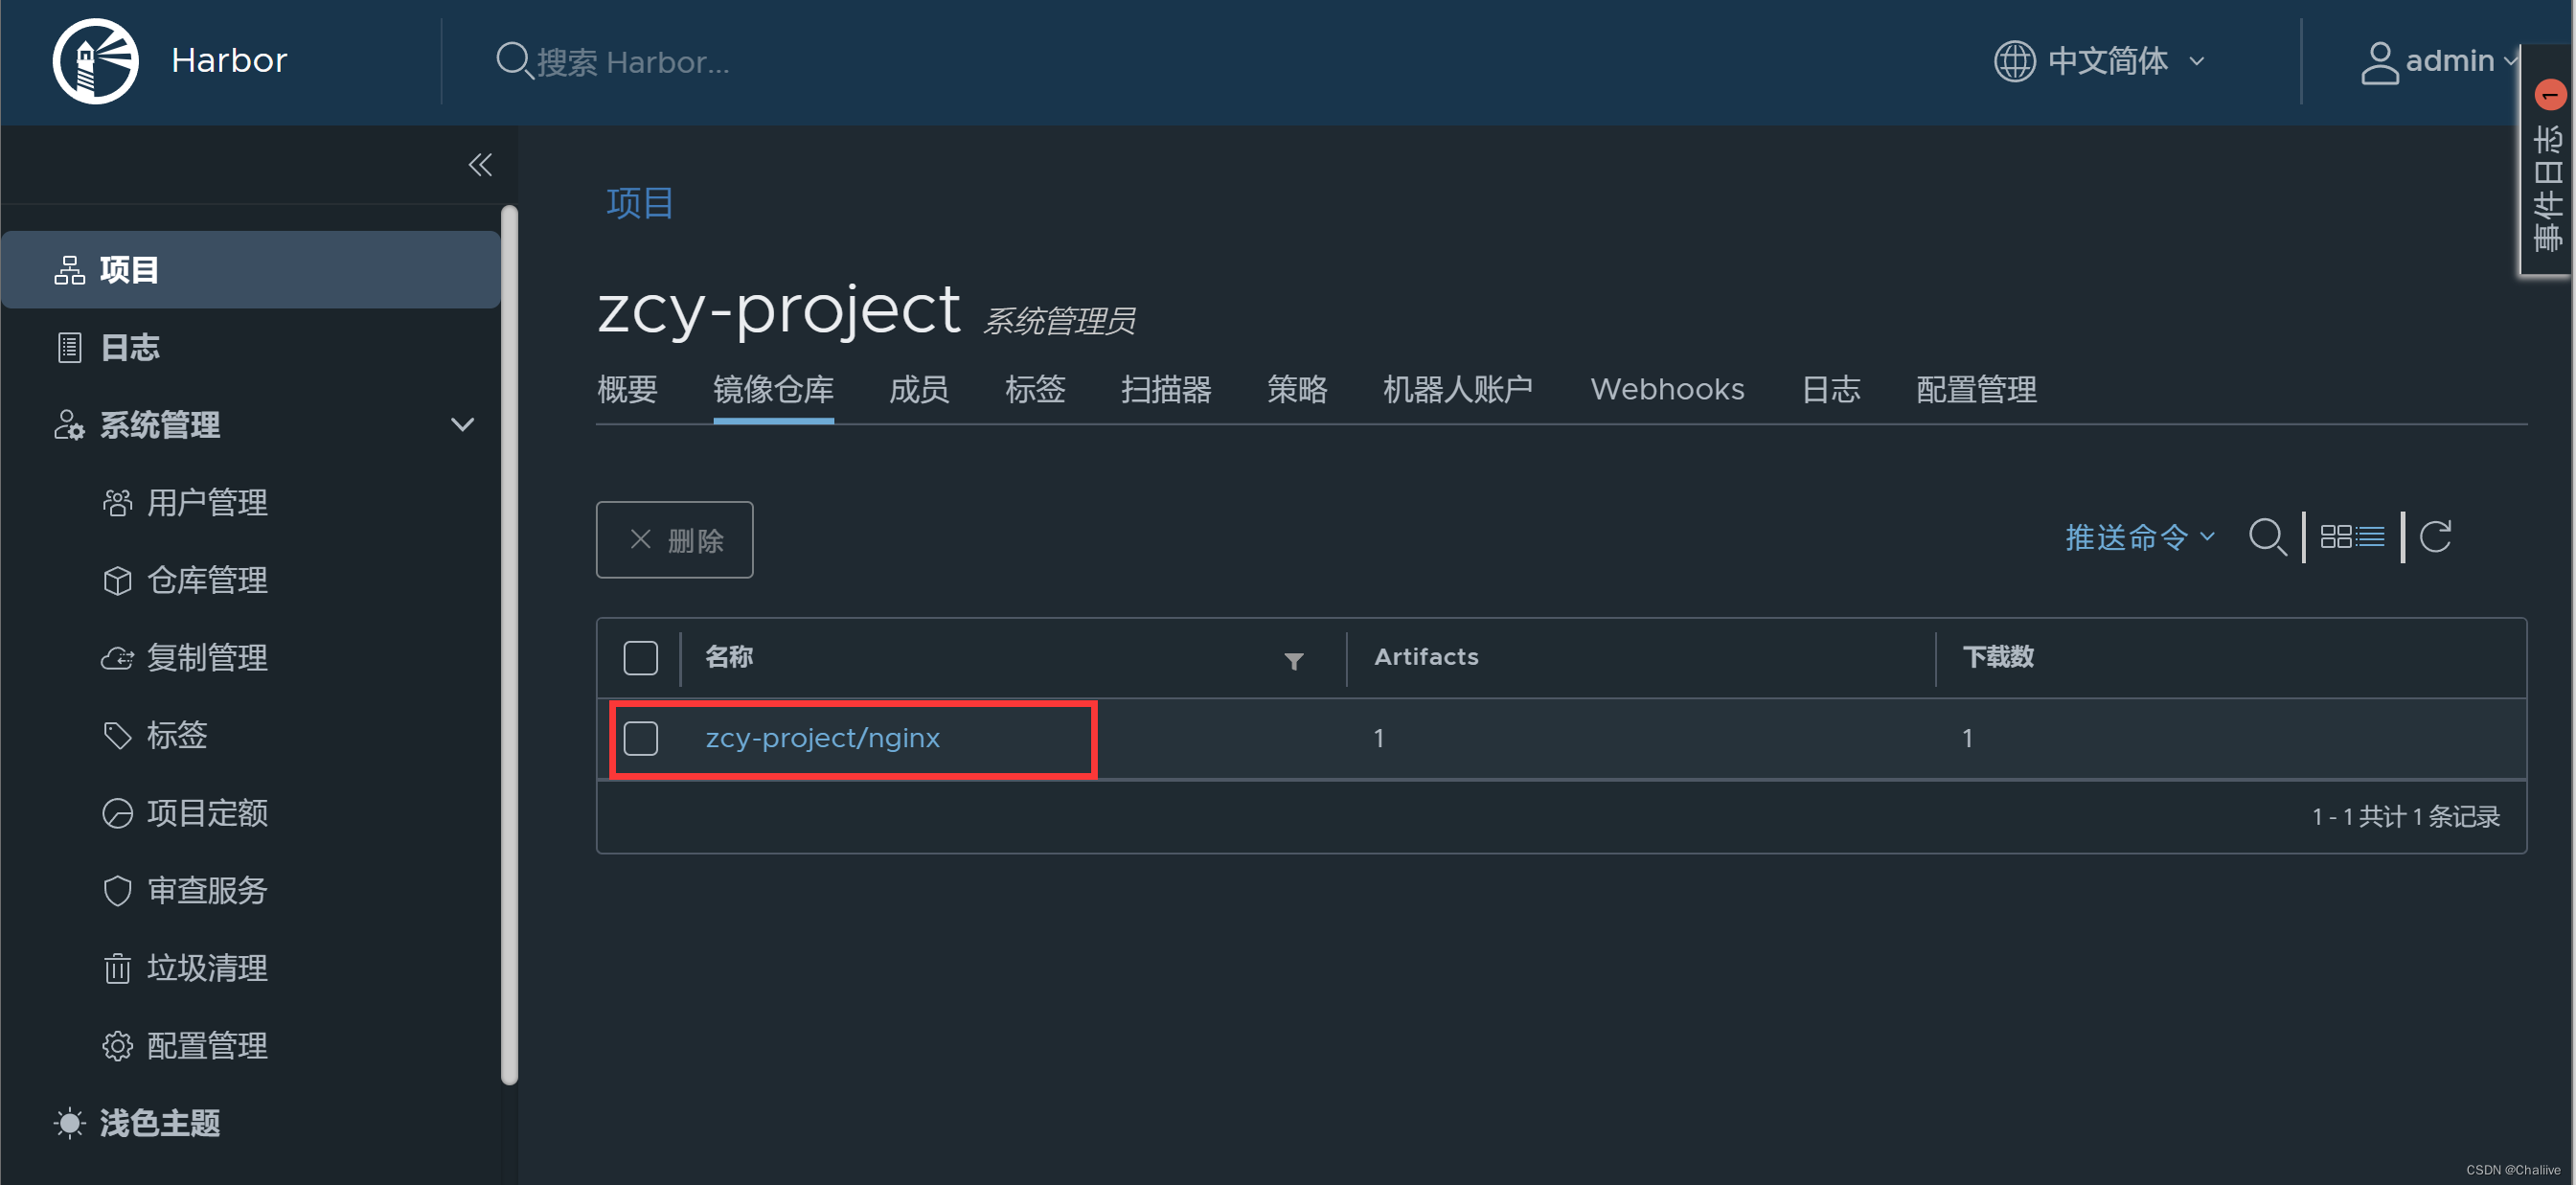
docker push 192.168.10.136:8080/zcy-project/nginx:1.16.1



![[架构之路-245/创业之路-76]:目标系统 - 纵向分层 - 企业信息化的呈现形态:常见企业信息化软件系统 - 企业资源管理计划ERP](https://img-blog.csdnimg.cn/7eed4a732b4b4651ac4eb92a32e50b6e.png)
