文章目录
- 1、介绍
- 2、原理
- 3、代码
- 4、参考链接
1、介绍

对于这个效果而言,最先想到的就是
监听滑块的input事件来做一些操作,但是会发现,对于某一个节点的时候,这个样式操作起来比较麻烦

只看这个代码的话,发现他用的是动画,那 动画与下面的滑块怎么联动?
2、原理
在css中,可以自定义动画
CSS animation 属性是 animation-name,animation-duration, animation-timing-function,
animation-delay,animation-iteration-count,animation-direction,animation-fill-mode 和animation-play-state属性的一个简写属性形式。
animation-delay是控制动画延迟的
正值表示动画应在指定的时间量过去后开始。默认值为 0s,表示动画应立即开始。
负值会导致动画立即开始,但是从动画循环的某个时间点开始。例如,如果你将-1s 作为动画延迟时间,则动画将立即开始,但是将在动画序列的第 1 秒开始。如果你为动画延迟指定负值,但起始值是隐含的,则起始值取自应用动画到元素的时刻。
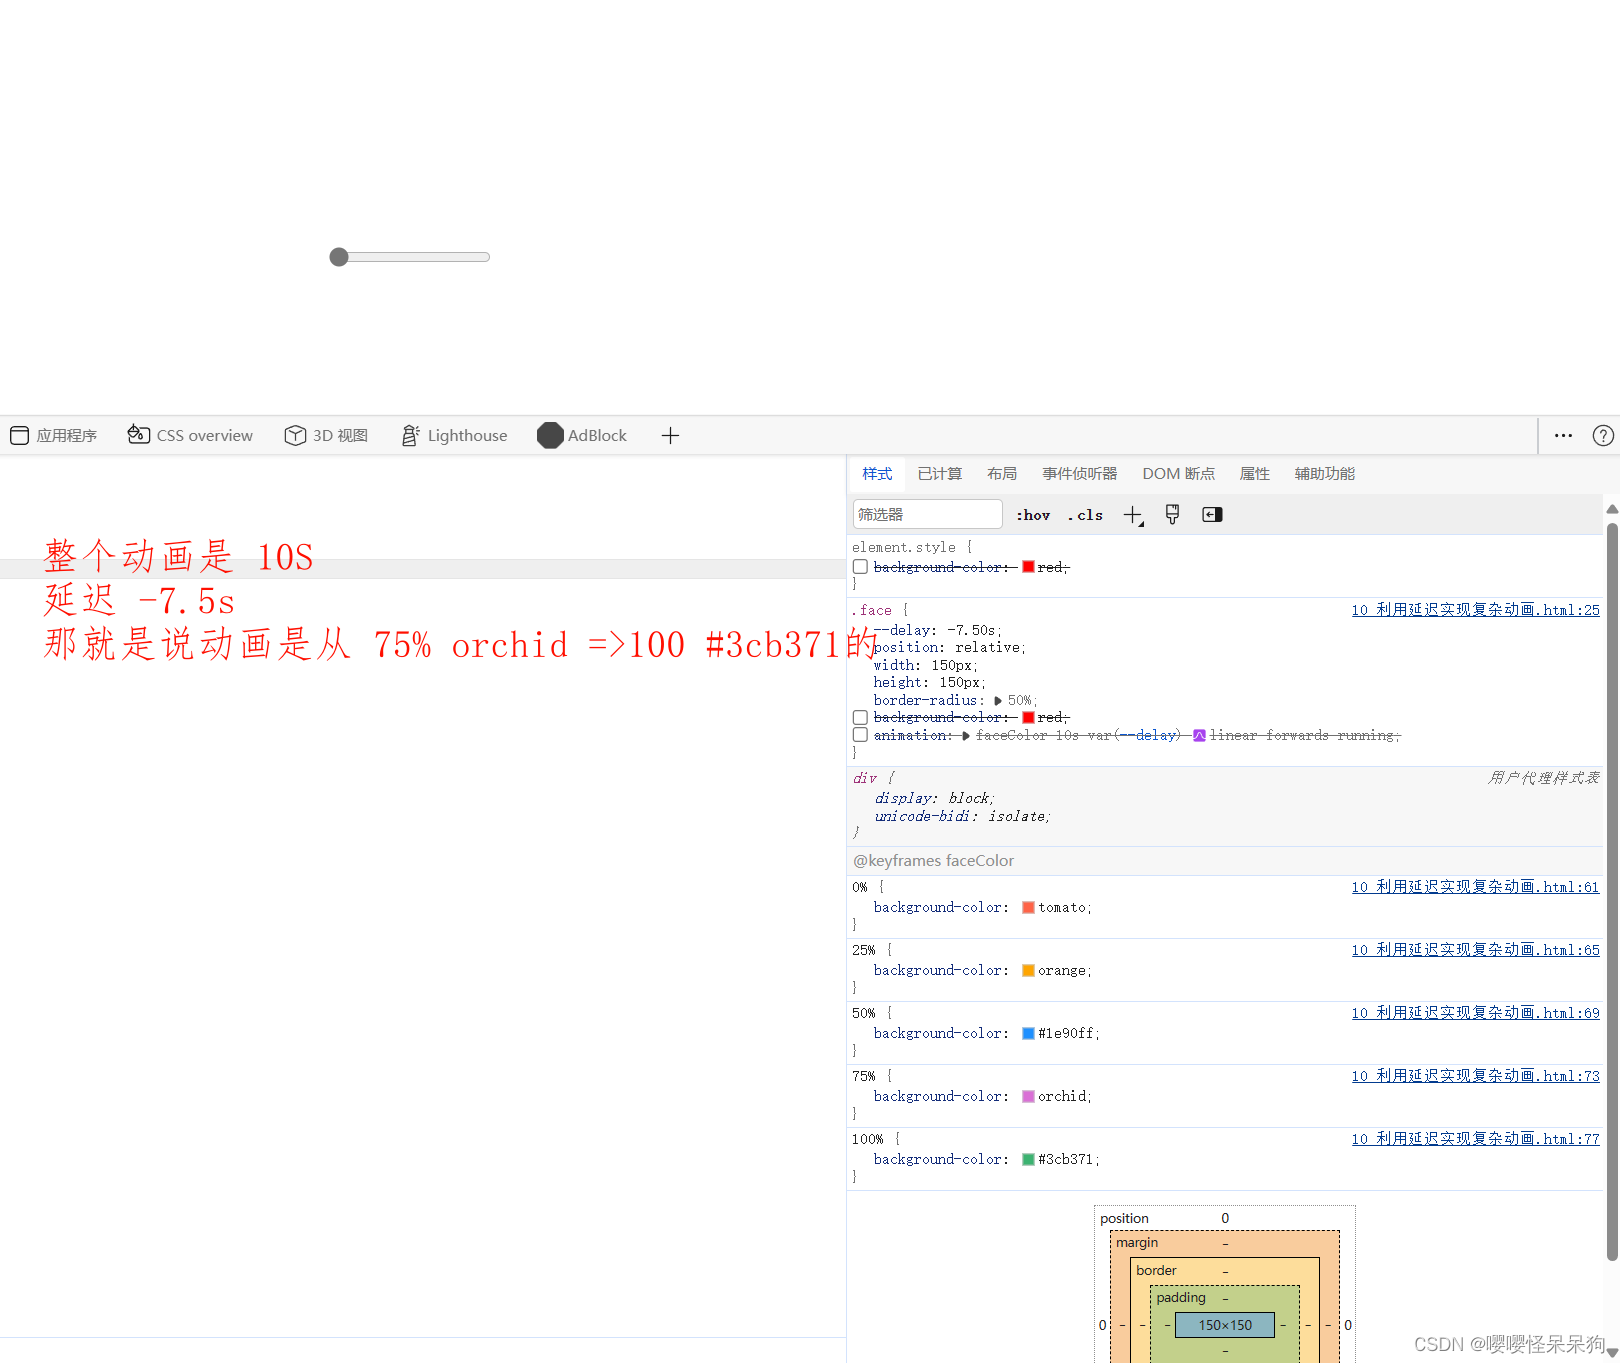
其实,核心就在这里,这样的话就可以 通过
动画的延迟属性 与 滑块的input 事件联动,实时设置动画的延迟属性的值
animation-play-state是控制动画运行还是暂停。
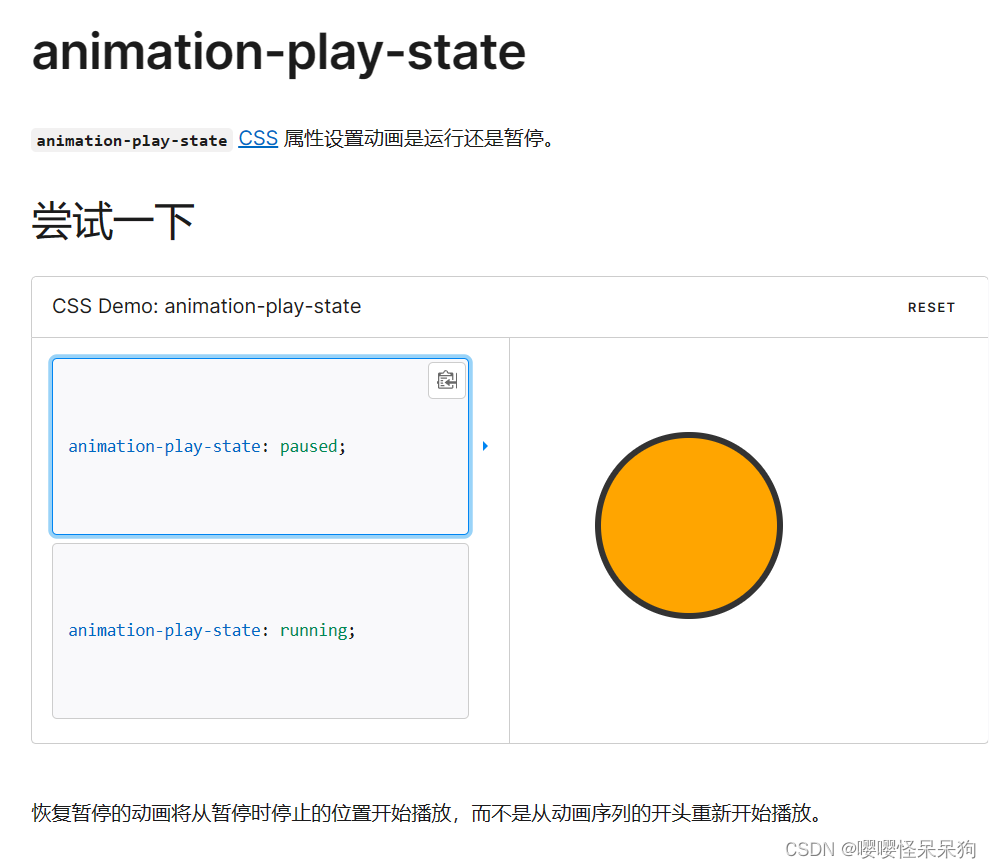
那其实就是说,我先可以先
做好这个自定义动画,并且动画设置暂停,通过脚本来实时控制当前这个动画,延迟 多少秒,在那个时间点,开始执行
/* 举个例子, @keyframes 后面跟的是 动画名称, */@keyframes faceColor {0% {background-color: tomato;}100% {background-color: #3cb371;}}
3、代码
<!DOCTYPE html>
<html lang="en"><head><meta charset="UTF-8"><meta name="viewport" content="width=device-width, initial-scale=1.0"><title>Document</title><style>input[type=range]::-webkit-slider-thumb {-webkit-appearance: none;}.container {width: 100%;height: 100vh;display: flex;flex-direction: column;justify-content: center;align-items: center;}.face {--delay: 0s;position: relative;width: 150px;height: 150px;border-radius: 50%;background-color: red;animation: faceColor 1s var(--delay) linear forwards paused;}.eye,.eye2 {position: absolute;top: 50px;left: 20px;width: 30px;height: 30px;background-color: #fff;border-radius: 50%;clip-path: polygon(0 90%, 100% 0, 100% 100%, 0% 100%);animation: eye 1s var(--delay) linear forwards paused;}.eye2 {top: 50px;right: 20px;left: unset;clip-path: polygon(0 0, 100% 90%, 100% 100%, 0% 100%);}.range {margin-top: 10px;}@keyframes faceColor {0% {background-color: tomato;}25% {background-color: orange;}50% {background-color: #1e90ff;}75% {background-color: orchid;}100% {background-color: #3cb371;}}@keyframes eye {0% {clip-path: polygon(0 90%, 100% 0, 100% 100%, 0% 100%);}25% {clip-path: polygon(0 70%, 100% 0, 100% 100%, 0% 100%);}50% {clip-path: polygon(0 50%, 100% 0, 100% 100%, 0% 100%);}75% {clip-path: polygon(0 20%, 100% 0, 100% 100%, 0% 100%);}100% {clip-path: polygon(0 0%, 100% 0, 100% 100%, 0% 100%);}}</style>
</head><body><div class="container"><div class="face"><div class="eye"></div><div class="eye2"></div></div><input type="range" name="" id="" max="1" min="0" step="0.01" class="range" value="0"></div><script>let rangeEl = document.querySelector('.range');let faceEl = document.querySelector('.face');faceEl.style.backgroundColor = 'red';rangeEl.addEventListener('input', function (e) {console.log(e);let value = this.value;faceEl.style.setProperty('--delay', '-' + value + 's');})</script>
</body></html>
4、参考链接
- animation MDN
- css-clip-path 在线裁剪工具
