Ubuntu编译安装MariaDB并进行初始化配置
- 1. 编译安装MariaDB
- 2. 配置MariaDB
- 3. Docker安装MariaDB
1. 编译安装MariaDB
MariaDB官方安装文档:https://mariadb.com/kb/en/Build_Environment_Setup_for_Linux/
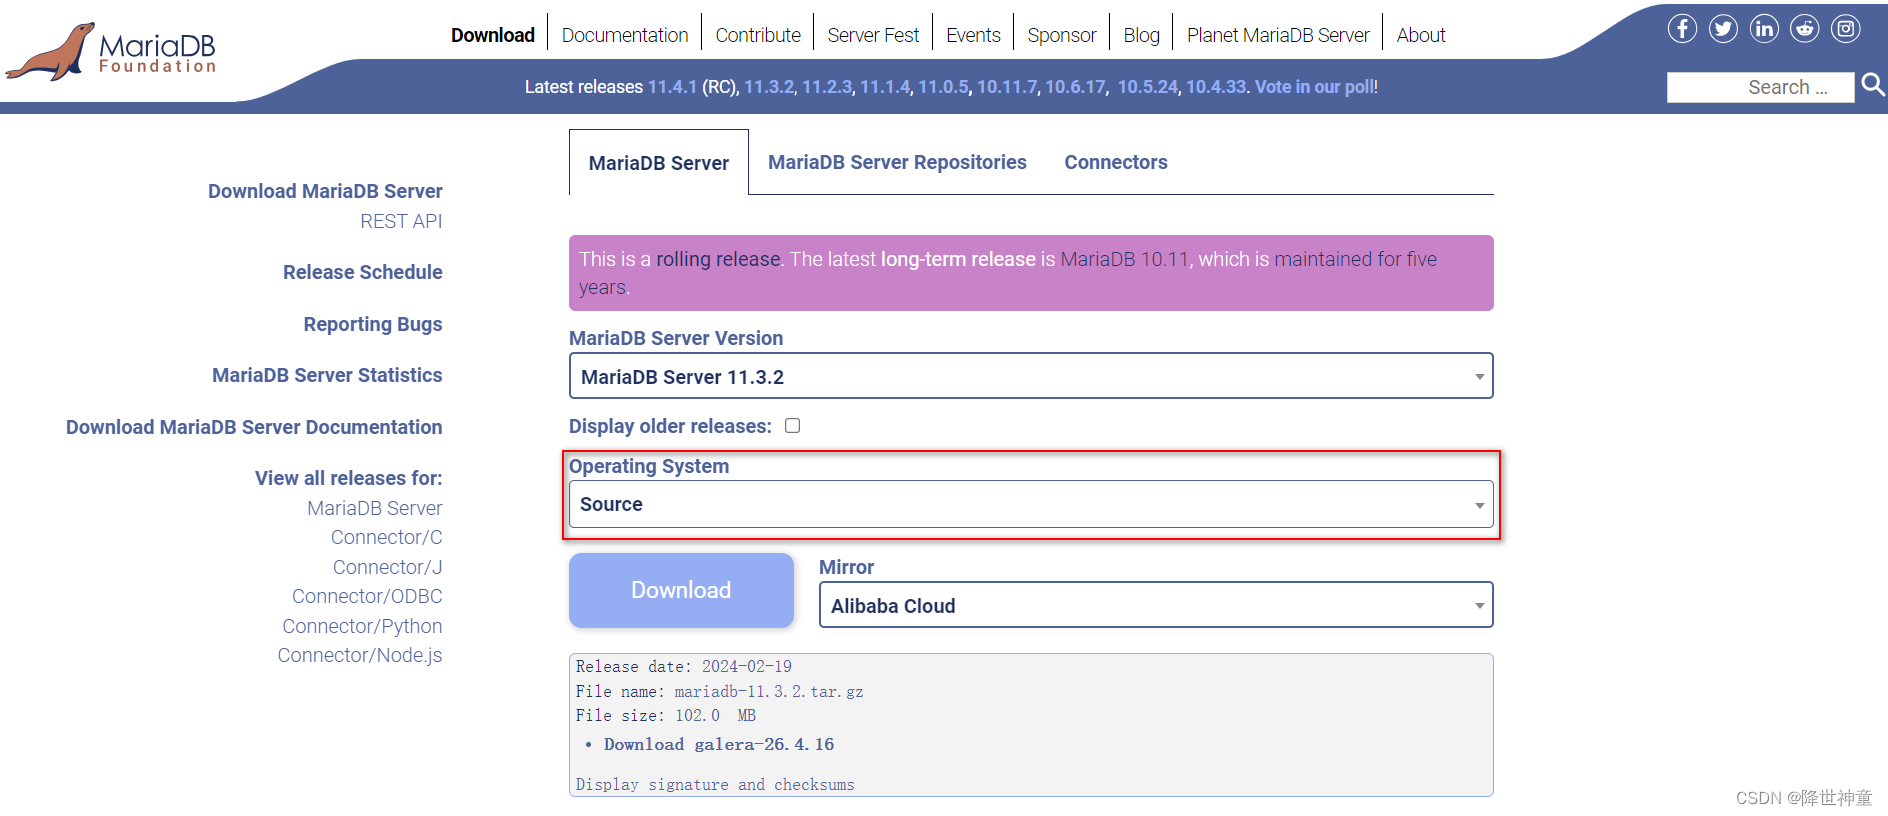
下载MariaDB源码:https://mariadb.org/mariadb/all-releases/

查看操作系统的版本:
root@mysql-demo:~# lsb_release -a
No LSB modules are available.
Distributor ID:	Ubuntu
Description:	Ubuntu 20.04.1 LTS
Release:	20.04
Codename:	focal
更新apt源:
root@mysql-demo:~# mv /etc/apt/sources.list /etc/apt/sources.list.bakroot@mysql-demo:~# cat /etc/apt/sources.list
deb http://mirrors.aliyun.com/ubuntu/ focal main restricted universe multiverse
deb-src http://mirrors.aliyun.com/ubuntu/ focal main restricted universe multiversedeb http://mirrors.aliyun.com/ubuntu/ focal-security main restricted universe multiverse
deb-src http://mirrors.aliyun.com/ubuntu/ focal-security main restricted universe multiversedeb http://mirrors.aliyun.com/ubuntu/ focal-updates main restricted universe multiverse
deb-src http://mirrors.aliyun.com/ubuntu/ focal-updates main restricted universe multiversedeb http://mirrors.aliyun.com/ubuntu/ focal-proposed main restricted universe multiverse
deb-src http://mirrors.aliyun.com/ubuntu/ focal-proposed main restricted universe multiversedeb http://mirrors.aliyun.com/ubuntu/ focal-backports main restricted universe multiverse
deb-src http://mirrors.aliyun.com/ubuntu/ focal-backports main restricted universe multiverse
根据MariaDB官方项目文档,我们需要安装依赖:
root@newtv:~# apt-get update
root@newtv:~# apt-get install cmake build-essential openssl libssl-dev bison libncurses-dev
解压并进入源码内:
root@newtv:~# tar xf mariadb-11.3.2.tar.gz
cmake . -DCMAKE_INSTALL_PREFIX=/usr/local/mysql \       # MariaDB的安装地址
-DMYSQL_DATADIR=/mydata/data \                          # 数据库文件存放地址
-DWITH_INNOBASE_STORAGE_ENGINE=1 \                      # 支持数据库innobase引擎
-DWITH_ARCHIVE_STORAGE_ENGINE=1 \                       # 支持数据库archive引擎
-DWITH_BLACKHOLE_STORAGE_ENGINE=1 \                     # 支持数据库blackhole存储引擎
-DWITH_READLINE=1 \
-DWITH_SSL=system \
-DWITH_ZLIB=system \
-DWITH_LIBWRAP=0 \
-DMYSQL_UNIX_ADDR=/tmp/mysql.sock \                     # sock文件编译后存放地址
-DDEFAULT_CHARSET=utf8 \                                # 字符集utf8
-DDEFAULT_COLLATION=utf8_general_ci \                   # 校验字符
-DENABLED_LOCAL_INFILE=1                                # 允许本地导入数据root@newtv:~/mariadb-11.3.2# make                       # 这个过程很长,或者使用下面的方式
root@newtv:~/mariadb-11.3.2# make -j 4                  # 如果你的Linux设备是多核,可以加上-j参数以加快编译速度
root@newtv:~/mariadb-11.3.2# make install
2. 配置MariaDB
创建mysql用户组和用户:
root@mysql-demo:~# groupadd -r mysql
root@mysql-demo:~#  useradd -g mysql -r -s /sbin/nologin mysql
创建SQL目录(上文编译参数内):
root@mysql-demo:~# mkdir /mydata/data -p
root@mysql-demo:~# chown mysql:mysql /mydata/data
进入MariaDB安装地址,修改文件归属到mysql用户:
root@mysql-demo:~# cd /usr/local/mysql
# chgrp mysql ./*
初始化脚本:
使用MariaDB自带的脚本,对MariaDB进行初始化(当前在MariaDB安装目录内,即:/usr/local/mysql内):
root@mysql-demo:~# /usr/local/mysql/scripts/mysql_install_db --user=mysql --datadir=/mydata/data
初始化完成后,需要设置my.cnf文件,早期版本的MySQL和MariaDB都有提供my.cnf为模版,现在已经没有提供,需要手动创建,手动创建到/etc下。
root@mysql-demo:~# cat /etc/my.cnf
# Begin /etc/mysql/my.cnf
# The following options will be passed to all MySQL clients
[client]
port            = 3306
socket          = /tmp/mysql.sock# The MySQL serve
[mysqld]
port            = 3306
socket          = /tmp/mysql.sock
# MariaDB安装地址
basedir         = /usr/local/mysql
datadir         = /mydata/data
#skip-external-locking
key_buffer_size = 16M
max_allowed_packet = 1M
sort_buffer_size = 512K
net_buffer_length = 16K
myisam_sort_buffer_size = 8M
skip-name-resolve = 0# MariaDB不监听任何IP和TCP端口
# skip-networking# required unique id between 1 and 2^32 - 1
server-id       = 1
innodb_data_file_path = ibdata1:12M:autoextend# You can innodb_buffer_pool_size up to 50 - 80 %
# of RAM but beware of setting memory usage too high
innodb_buffer_pool_size = 32M
innodb_log_file_size = 48M
innodb_log_buffer_size = 16M
innodb_flush_log_at_trx_commit = 1
innodb_lock_wait_timeout = 50
innodb_write_io_threads = 4
innodb_read_io_threads = 4
innodb_force_recovery =1[mysqldump]
quick
max_allowed_packet = 16M[mysql]
no-auto-rehash
# Remove the next comment character if you are not familiar with SQL
#safe-updates[isamchk]
key_buffer = 20M
sort_buffer_size = 20M
read_buffer = 2M
write_buffer = 2M[myisamchk]
key_buffer_size = 20M
sort_buffer_size = 20M
read_buffer = 2M
write_buffer = 2M[mysqlhotcopy]
interactive-timeout
# End /etc/my.cnf
创建一个MariaDB服务器系统服务文件:
root@mysql-demo:~# cat /usr/lib/systemd/system/mysql.service
[Unit]
Description=MariaDB[Service]
LimitNOFILE=10000
Type=simple
User=mysql
Group=mysql
PIDFile=/mydata/data/microServer.pid
ExecStart=/usr/local/mysql/bin/mysqld_safe --datadir=/mydata/data
ExecStop=/bin/kill -9 $MAINPID[Install]
WantedBy=multi-user.target
设置好后,使用systemctl进行启动即可:
root@mysql-demo:~# systemctl daemon-reload
root@mysql-demo:~# systemctl start mysql.service
root@mysql-demo:~# systemctl status mysql.service
还要添加MariaDB安装目录下的bin目录到环境变量内,如:
root@mysql-demo:~# vim /etc/profile
export PATH=/usr/local/mysql/bin:$PATH
root@mysql-demo:~# cd /usr/local/mysql/bin
root@mysql-demo:/usr/local/mysql/bin# ./mariadb-secure-installationNOTE: RUNNING ALL PARTS OF THIS SCRIPT IS RECOMMENDED FOR ALL MariaDBSERVERS IN PRODUCTION USE!  PLEASE READ EACH STEP CAREFULLY!In order to log into MariaDB to secure it, we'll need the current
password for the root user. If you've just installed MariaDB, and
haven't set the root password yet, you should just press enter here.Enter current password for root (enter for none):
OK, successfully used password, moving on...Setting the root password or using the unix_socket ensures that nobody
can log into the MariaDB root user without the proper authorisation.You already have your root account protected, so you can safely answer 'n'.Switch to unix_socket authentication [Y/n] n... skipping.You already have your root account protected, so you can safely answer 'n'.Change the root password? [Y/n] y
New password:
Re-enter new password:
Password updated successfully!
Reloading privilege tables..... Success!By default, a MariaDB installation has an anonymous user, allowing anyone
to log into MariaDB without having to have a user account created for
them.  This is intended only for testing, and to make the installation
go a bit smoother.  You should remove them before moving into a
production environment.Remove anonymous users? [Y/n] y... Success!Normally, root should only be allowed to connect from 'localhost'.  This
ensures that someone cannot guess at the root password from the network.Disallow root login remotely? [Y/n] n... skipping.By default, MariaDB comes with a database named 'test' that anyone can
access.  This is also intended only for testing, and should be removed
before moving into a production environment.Remove test database and access to it? [Y/n] n... skipping.Reloading the privilege tables will ensure that all changes made so far
will take effect immediately.Reload privilege tables now? [Y/n] y... Success!Cleaning up...All done!  If you've completed all of the above steps, your MariaDB
installation should now be secure.Thanks for using MariaDB!
完成上述步骤后,其实MariaDB就可以使用了,但是我们需要设置账号,用来远程访问。
root@mysql-demo:/usr/local/mysql/bin# mysql -u root -p
mysql: Deprecated program name. It will be removed in a future release, use '/usr/local/mysql/bin/mariadb' instead
Enter password:
Welcome to the MariaDB monitor.  Commands end with ; or \g.
Your MariaDB connection id is 9
Server version: 11.3.2-MariaDB Source distributionCopyright (c) 2000, 2018, Oracle, MariaDB Corporation Ab and others.Type 'help;' or '\h' for help. Type '\c' to clear the current input statement.MariaDB [(none)]> select user,host from mysql.user;
+-------------+-----------+
| User        | Host      |
+-------------+-----------+
| PUBLIC      |           |
| mariadb.sys | localhost |
| mysql       | localhost |
| root        | localhost |
+-------------+-----------+
4 rows in set (0.002 sec)
MariaDB [(none)]> use mysql
MariaDB [mysql]> grant all privileges on *.* to 'root'@'%' identified by 'Newtv123.com' with grant option;
MariaDB [mysql]> flush privileges;
MariaDB [mysql]> select user,host from mysql.user;
+-------------+-----------+
| User | Host |
+-------------+-----------+
| PUBLIC | |
| root | % |
| mariadb.sys | localhost |
| mysql | localhost |
| root | localhost |
+-------------+-----------+
5 rows in set (0.002 sec)
在生产环境下访问MySQL时, 是需要申请访问权限的, 就算你知道MySQL的用户名和密码, 但是你没有权限访问MySQL的那台机器, 所以这样也是安全的, 只要运维人员把权限控制到位就可以了。
MariaDB [mysql]> CREATE USER 'mysql_test'@'%' IDENTIFIED BY 'ZorFEtc';
MariaDB [mysql]> GRANT ALL PRIVILEGES ON *.* TO 'mysql_test'@'172.26.10.%';
MariaDB [mysql]> GRANT ALL PRIVILEGES ON *.* TO 'mysql_test'@'192.168.%.%';
MariaDB [mysql]> GRANT ALL PRIVILEGES ON *.* TO 'mysql_test'@'localhost';MariaDB [mysql]> CREATE USER 'mysql_cdh'@'%' IDENTIFIED BY 'ZoDH';
MariaDB [mysql]> GRANT ALL PRIVILEGES ON *.* TO 'mysql_cdh'@'172.26.30.%';
MariaDB [mysql]> GRANT ALL PRIVILEGES ON *.* TO 'mysql_cdh'@'192.168.%.%';
MariaDB [mysql]> GRANT ALL PRIVILEGES ON *.* TO 'mysql_cdh'@'localhost';MariaDB [mysql]> FLUSH PRIVILEGES;
删除用户:
MariaDB [(none)]> DROP USER 'mysql_test'@'172.26.3.%';
3. Docker安装MariaDB
root@newtv:~# docker pull mariadb
root@newtv:~#  docker run --name some-mariadb \
-p 3306:3306 \
-e MYSQL_ROOT_PASSWORD=babyshen@2024  \
-e MYSQL_DATABASE=mydb \
-e MYSQL_USER=myuser \
-e MYSQL_PASSWORD=mypassword  \
-v /var/lib/mysql:/var/lib/mysql  \
-d mariadb
root@newtv:~# ss -tnlp | grep 3306
LISTEN 0      4096         0.0.0.0:3306      0.0.0.0:*    users:(("docker-proxy",pid=166277,fd=4))
LISTEN 0      4096            [::]:3306         [::]:*    users:(("docker-proxy",pid=166284,fd=4))
使用其他客户端测试连接MySQL容器:
root@mysql-demo:~# mysql -u root -p -h172.26.160.105
mysql: Deprecated program name. It will be removed in a future release, use '/usr/local/mysql/bin/mariadb' instead
Enter password:
Welcome to the MariaDB monitor.  Commands end with ; or \g.
Your MariaDB connection id is 3
Server version: 11.3.2-MariaDB-1:11.3.2+maria~ubu2204 mariadb.org binary distributionCopyright (c) 2000, 2018, Oracle, MariaDB Corporation Ab and others.Type 'help;' or '\h' for help. Type '\c' to clear the current input statement.MariaDB [(none)]> show databases;
+--------------------+
| Database           |
+--------------------+
| information_schema |
| mydb               |
| mysql              |
| performance_schema |
| sys                |
+--------------------+
5 rows in set (0.002 sec)MariaDB [(none)]> select user from mysql.user;
+-------------+
| User        |
+-------------+
| myuser      |
| root        |
| healthcheck |
| healthcheck |
| healthcheck |
| mariadb.sys |
| root        |
+-------------+
7 rows in set (0.004 sec)