本科阶段最后一次竞赛Vlog——2024年智能车大赛智慧医疗组准备全过程——6Resnet实现黑线识别
比赛还有重要部分就是黑线的识别,这块地平线社区的帖子很多
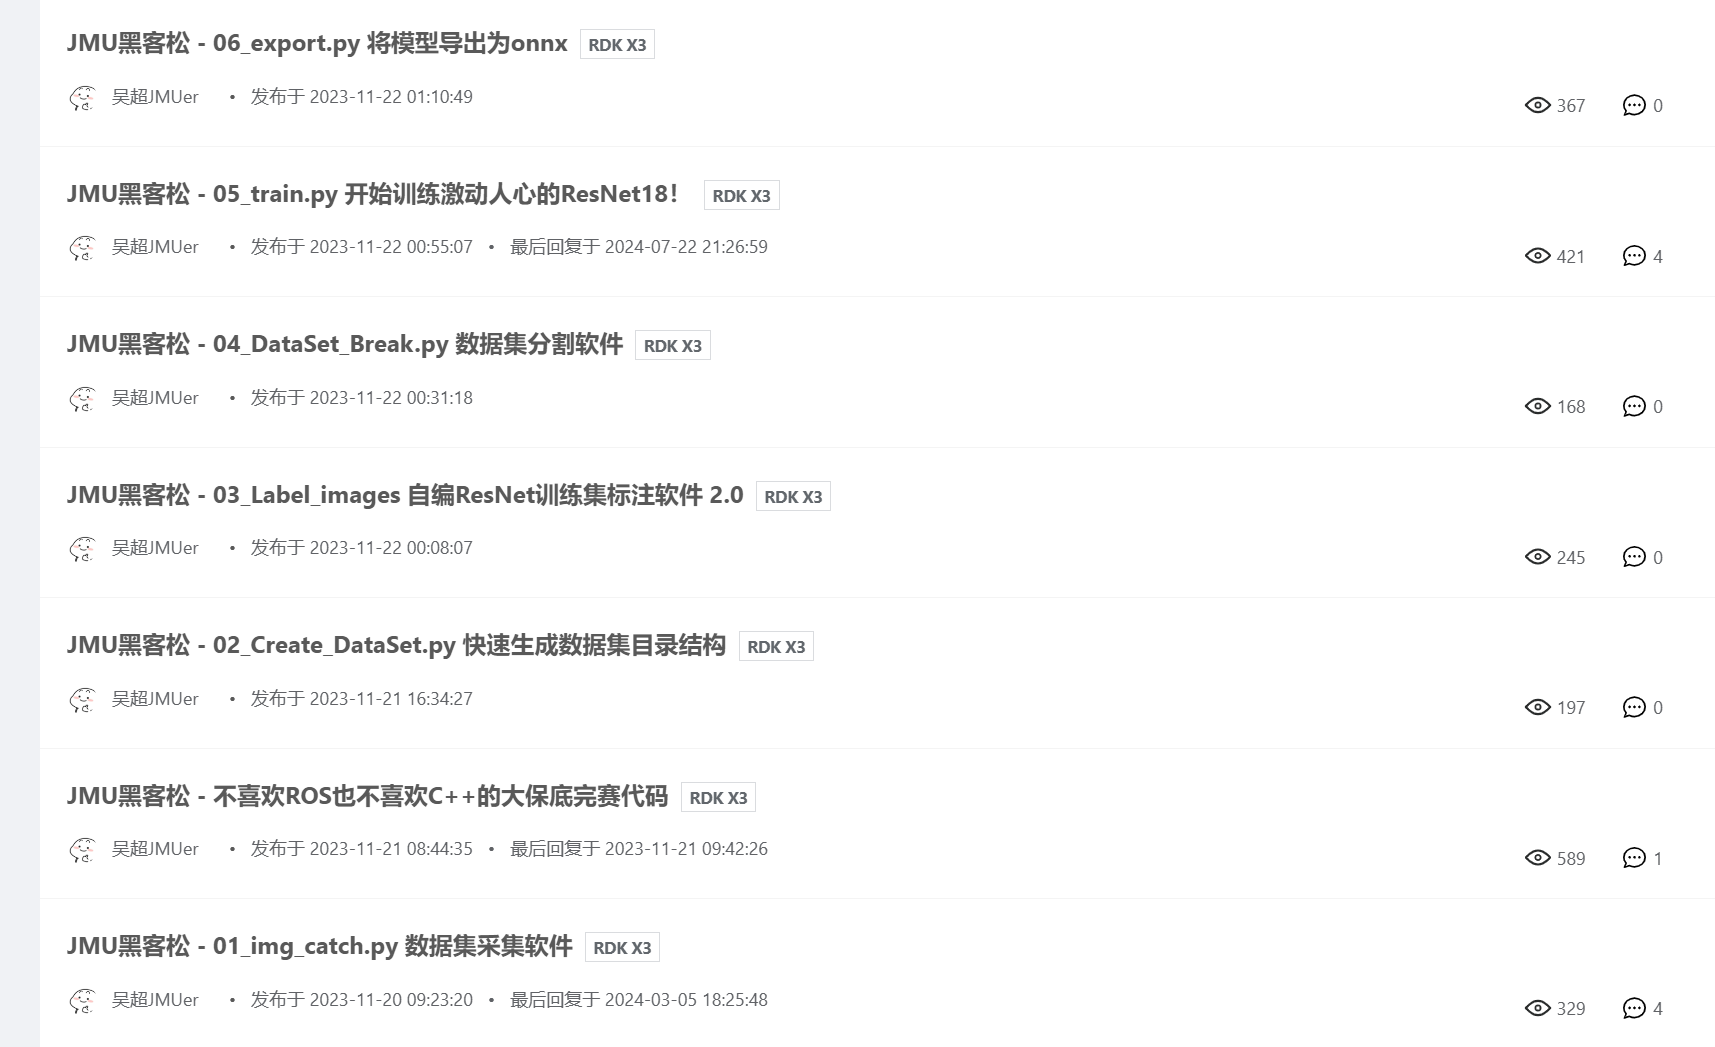
在本次我就使用了社区吴超大佬写出的文章,当然我们的步骤有所不同,也是比较省事的一种
现在和大家一起聊聊我们的应用
1.代码介绍
社区上的代码主要这几个py文件,这里我们数据制作采用了自己的,只是简单的opencv

2.准备工作
准备工作就是创建好数据集
这里建议直接运行超的代码
DATASET_NMAE = "DataSet_3_1119"from os import makedirs
path = "./" + DATASET_NMAE + "/"
try:makedirs(path + "train/image/")makedirs(path + "train/label/")makedirs(path + "test/image/")makedirs(path + "test/label/")print("Dirs Success")
except:print("Dirs Failed")
3. 录制视频
首先第一步是,获取512*512大小的图片,这里给大家我们是使用Opencv 进行录制视频,进行使用代码裁剪
对于小车打开摄像头选项是8,这里按下Ctrl C就可以自动保存
import cv2
import signal
import sysdef signal_handler(sig, frame):global stop_recordingstop_recording = Truedef record_video(output_file, width=640, height=480, fps=30):global stop_recordingstop_recording = False# 创建视频捕获对象fourcc = cv2.VideoWriter_fourcc(*'XVID')  # 使用XVID编码器out = cv2.VideoWriter(output_file, fourcc, fps, (width, height))# 打开默认摄像头cap = cv2.VideoCapture(8)# 设置视频帧率cap.set(cv2.CAP_PROP_FPS, fps)# 获取摄像头的实际帧率(以确保设置成功)actual_fps = cap.get(cv2.CAP_PROP_FPS)print(f"实际帧率: {actual_fps}")# 注册信号处理函数以便捕获Ctrl+Csignal.signal(signal.SIGINT, signal_handler)# 开始录制while True:ret, frame = cap.read()if not ret:break# 写入当前帧到视频文件out.write(frame)# 检查是否收到停止信号if stop_recording:print("录制已结束")break# 按 'q' 键退出if cv2.waitKey(1) & 0xFF == ord('q'):break# 释放资源cap.release()out.release()cv2.destroyAllWindows()# 调用函数
record_video('output.avi', width=640, height=480, fps=30)
4. 01_get512img
针对小车录制的视频,保存到本地,使用下面代码进行抽帧
代码里已经给大家写好注释了
from datetime import datetimeimport cv2
import osdef extract_frames(video_path, output_folder, i,frame_size=(512, 512) ,skip_frames=3):# 确保输出文件夹存在if not os.path.exists(output_folder):os.makedirs(output_folder)# 打开视频文件cap = cv2.VideoCapture(video_path)if not cap.isOpened():print("Error: Could not open video.")returnframe_count = 0saved_frame_count = 0current_time = datetime.now().strftime("%Y%m%d_%H%M%S")  # 获取当前时间并格式化为字符串while True:# 读取视频中的一帧ret, frame = cap.read()if not ret:break  # 视频结束或读取错误# 每隔skip_frames帧保存一帧if frame_count % skip_frames == 0:# 调整帧的大小resized_frame = cv2.resize(frame, frame_size, interpolation=cv2.INTER_AREA)# 保存帧到文件,文件名前加上当前时间frame_filename = f"{output_folder}/{i}_frame_{saved_frame_count:04d}.png"cv2.imwrite(frame_filename, resized_frame)print(f"Saved {frame_filename}")saved_frame_count += 1frame_count += 1# 释放视频捕获对象cap.release()print("Done extracting frames.")# 使用示例
i = 1
while i<=5:video_path = rf'D:\cardata\{i}.avi'output_folder = f'./DataSet_3_1119/train/image'extract_frames(video_path, output_folder, i,frame_size=(512, 512), skip_frames=5)  # 每隔5帧保存一次# extract_frames(video_path, output_folder, i,frame_size=(672, 672), skip_frames=5)  # 每隔5帧保存一次i+=1
5. 进行标记
如果上面你按照我粘贴的代码,现在这里就可以无脑运行超哥的代码
import cv2
import osDATASET_NMAE = "DataSet_3_1119"  # 数据集名称
ZOOM = 1.0  # 显示缩放倍数,与标注数据无关,仅仅适应一些高分屏的电脑def get_xy(file_path):# 读取txt文件,获取x,y坐标(浮点数表示)x,y = -1.0,-1.0with open(file_path) as f:content = f.read().split(" ")x, y = float(content[0]), float(content[1])f.close()return x,ydef mouse_callback(event, x, y, flags, param):# 鼠标点击事件global img_x, img_y, label_path, txt_name,img,img_width, img_heightif event == cv2.EVENT_LBUTTONUP:print(img_width,img_height)img_x, img_y = float(x)/img_width/ZOOM, float(y)/img_height/ZOOMcv2.imshow("img", cv2.circle(img.copy(), (x, y), 10,(0,0,255), -1))print("Mouse Click(%d, %d), Save as(%.8f, %.8f)"%(x,y,img_x,img_y))with open(label_path + txt_name,"w") as f:f.write("%.8f %.8f"%(img_x, img_y))# 新建cv2的工作窗口,并绑定鼠标点击的回调函数
img_x, img_y = -1,-1
cv2.namedWindow('img')
cv2.setMouseCallback('img', mouse_callback)img_path = DATASET_NMAE + "/train/image/"
label_path = DATASET_NMAE + "/train/label/"
print("img path = %s"%img_path)
print("label path = %s"%label_path)img_names = os.listdir(img_path)# img size
img_width, img_height = 0, 0
# img control
img_control = 0
img_control_min = 0
img_control_max = len(img_names) - 1
while True:name = img_names[img_control]print(name, end="  ")img = cv2.imread(img_path + name)img_height, img_width = img.shape[:2]img = cv2.resize(img, (0,0), fx=ZOOM, fy=ZOOM)cv2.imshow("img", img)print("height = %d, width = %d"%(img_height, img_width), end="  ")## 若存在标签则绘制点,若不存在则不绘制txt_name = name.split(".")[0] + ".txt"label_names = os.listdir(label_path)if txt_name in label_names:img_x, img_y = get_xy(label_path + txt_name)cv2.imshow("img", cv2.circle(img.copy(), (int(ZOOM*img_width*img_x), int(ZOOM*img_height*img_y)), 10,(0,0,255), -1))# print(int(ZOOM*img_width*img_x), int(ZOOM*img_height*img_y))print("\033[32;40m" + "Label Exist" + "\033[0m" + ": x = %.8f, y = %.8f"%(img_x, img_y))else:print("\033[31m" + "NO Label" + "\033[0m")## while 循环的控制command = cv2.waitKey(0) & 0xFF# 慢速退if command == ord('a'):if img_control > img_control_min:img_control -= 1else:img_control = 0print("First img already")# 慢速进elif command == ord('d'):if img_control < img_control_max:img_control += 1else:img_control = img_control_maxprint("Last img already")# 快速退elif command == ord('z'):if img_control - 4 > img_control_min:img_control -= 5else:img_control = 0print("First img already")# 快速进elif command == ord('c'):if img_control + 4 < img_control_max:img_control += 5else:img_control = img_control_maxprint("Last img already")# 退出elif command == ord('q'):breakelse:print("Unknown Command")
6. 删除多余标签
上面打完标签,会生成很多txt,但是对于有些时候有些图片并没有黑线
这里就会导致图片与txt不匹配,这里给大家写了个删除多余图片和标记的代码
import osdef delete_unlabeled_images(image_dir, label_dir):# 遍历图片目录中的所有文件for img_file in os.listdir(image_dir):if img_file.endswith(".png"):  # 确保处理的是PNG图片# 构建对应的标签文件路径label_file = os.path.splitext(img_file)[0] + ".txt"label_path = os.path.join(label_dir, label_file)# 检查标签文件是否存在if not os.path.exists(label_path):# 如果标签文件不存在,则删除图片img_path = os.path.join(image_dir, img_file)os.remove(img_path)print(f"Deleted image without label: {img_path}")# 数据集名称
DATASET_NAME = "./taSet_3_1119"
# 图片和标签的目录路径
img_path = os.path.join(DATASET_NAME, "train/image")
label_path = os.path.join(DATASET_NAME, "train/label")# 调用函数,删除没有对应标签的图片
delete_unlabeled_images(img_path, label_path)
7. 划分数据
上面打完标签,会生成很多txt,当然现在是仅仅在DataSet_3_1119/train/image这个目录
我们现在需要划分一部分图片和对应标签到test里面
按照上面的这里仍然可以无脑进行下一步
DATASET_NMAE = "DataSet_3_1119"  # 数据集名称
test_percent = 0.25  # 0.25表示25%的图片作为测试集from random import sample
from shutil import move
from os import listdirpath = "./" + DATASET_NMAE + "/"train_image = "train/image/"
train_label = "train/label/"
test_image = "test/image/"
test_label = "test/label/"images_names = listdir(path + train_image)
# 抽样并移动
test_number = int(len(images_names)*test_percent)
test_names = sample(images_names, test_number)
for name in test_names:# 移动图片image_old = path + train_image + nameimage_path = path + test_image + nameprint(image_old, end=" ")try:move(image_old,image_path)print("\033[32;40m" + "Success." + "\033[0m")except:print("\033[31m" + "Failed! " + "\033[0m")# 移动标签label_old = path + train_label + name.split(".")[0] + ".txt"label_path = path + test_label + name.split(".")[0] + ".txt"print(label_old, end=" ")try:move(label_old, label_path)print("\033[32;40m" + "Success." + "\033[0m")except:print("\033[31m" + "Failed! " + "\033[0m")
8.训练
这个时候,就可以真正训练了
## 此Python脚本在开发机上运行 ### Step 5# 训练ResNet18
# 如果是第一次训练会自动下载预训练权重,约40MB
# 训练结束后会在当前目录下生成一个名为BEST_MODEL_PATH的模型文件
# CPU就能训练,我的R7-4800H约12秒一个Epoch,不会太慢import torch
import torch.optim as optim
import torch.nn.functional as F
import torchvision.models as models
import torchvision.transforms as transforms
import glob
import PIL.Image
import os
import numpy as np
from threading import Thread
from time import time, sleepDATASET_NMAE = "DataSet_3_1119"   # 数据集名称
BEST_MODEL_PATH = './model_best1000.pth'  # 最好的训练结果
BATCH_SIZE = 256
NUM_EPOCHS = 1000            # 迭代次数def main(args=None):best_loss = 1e9train_image = "./" + DATASET_NMAE + "/train/"test_image = "./" + DATASET_NMAE + "/test/"train_dataset = XYDataset(train_image)test_dataset = XYDataset(test_image)train_loader = torch.utils.data.DataLoader(train_dataset,batch_size=BATCH_SIZE,shuffle=True,num_workers=0)test_loader = torch.utils.data.DataLoader(test_dataset,batch_size=BATCH_SIZE,shuffle=True,num_workers=0)# 创建ResNet18模型,这里选用已经预训练的模型,# 更改fc输出为2,即x、y坐标值model = models.resnet18(pretrained=True)model.fc = torch.nn.Linear(512, 2)device = torch.device('cuda' if torch.cuda.is_available() else 'cpu')print(f"Using device: {device}")model = model.to(device)optimizer = optim.Adam(model.parameters())print("开始训练")for epoch in range(NUM_EPOCHS):print(epoch)epoch_time_begin = time()model.train()train_loss = 0.0for images, labels in iter(train_loader):images = images.to(device)labels = labels.to(device)optimizer.zero_grad()outputs = model(images)loss = F.mse_loss(outputs, labels)train_loss += float(loss)loss.backward()optimizer.step()train_loss /= len(train_loader)model.eval()test_loss = 0.0for images, labels in iter(test_loader):images = images.to(device)labels = labels.to(device)outputs = model(images)loss = F.mse_loss(outputs, labels)test_loss += float(loss)test_loss /= len(test_loader)msgStr = "Epoch" + "\033[32;40m" + " %d " % epoch + "\033[0m"msgStr += "-> time: \033[32;40m%.3f\033[0m s,  train_loss: \033[32;40m%f\033[0m,  test_loss: \033[32;40m%f\033[0m" % (time() - epoch_time_begin, train_loss, test_loss)if test_loss < best_loss:msgStr += (" \033[31m" + " Saved" + "\033[0m")torch.save(model.state_dict(), BEST_MODEL_PATH)best_loss = test_losselse:msgStr += " Done"print(msgStr)class XYDataset(torch.utils.data.Dataset):def __init__(self, directory, random_hflips=False):self.directory = directoryself.random_hflips = random_hflipsself.image_paths = glob.glob(os.path.join(self.directory + "/image", '*.png'))self.color_jitter = transforms.ColorJitter(0.3, 0.3, 0.3, 0.3)def __len__(self):return len(self.image_paths)def __getitem__(self, idx):image_path = self.image_paths[idx]image = PIL.Image.open(image_path)with open(os.path.join(self.directory + "/label", os.path.splitext(os.path.basename(image_path))[0]+".txt"), 'r') as label_file:content = label_file.read()values = content.split()if len(values) == 2:value1 = float(values[0])value2 = float(values[1])else:print("文件格式不正确")x, y = value1, value2if self.random_hflips:if float(np.random.rand(1)) > 0.5:image = transforms.functional.hflip(image)x = -ximage = self.color_jitter(image)image = transforms.functional.resize(image, (224, 224))image = transforms.functional.to_tensor(image)image = image.numpy().copy()image = torch.from_numpy(image)image = transforms.functional.normalize(image,[0.485, 0.456, 0.406], [0.229, 0.224, 0.225])return image, torch.tensor([x, y]).float()if __name__ == '__main__':main()
9.转ONNX
直接无脑运行哈哈,超超佬的代码太好用了
!!!当然无脑也得改路径
import torchvision
import torchBEST_MODEL_PATH = r'C:\Users\jszjg\Desktop\ResNet18\model_000056_all.pth'  # 最好的训练结果def main(args=None):model = torchvision.models.resnet18(pretrained=False)model.fc = torch.nn.Linear(512,2)model.load_state_dict(torch.load(BEST_MODEL_PATH, map_location='cpu'))device = torch.device('cpu')model = model.to(device)model.eval()x = torch.randn(1, 3, 224, 224, requires_grad=True)# torch_out = model(x)torch.onnx.export(model,x,BEST_MODEL_PATH[:-4] + ".onnx",export_params=True,opset_version=11,do_constant_folding=True,input_names=['input'],output_names=['output'])if __name__ == '__main__':main()
10.总结与下期预告
现在按照地平线大佬的教程,训练一段时间已经可以获得一个onnx模型了
del.to(device)
model.eval()
x = torch.randn(1, 3, 224, 224, requires_grad=True)
torch_out = model(x)
torch.onnx.export(model,
x,
BEST_MODEL_PATH[:-4] + “.onnx”,
export_params=True,
opset_version=11,
do_constant_folding=True,
input_names=[‘input’],
output_names=[‘output’])
if name == ‘main’:
main()
# 10.总结与下期预告 现在按照地平线大佬的教程,训练一段时间已经可以获得一个onnx模型了 后面将把resnet转模型步骤给大家进行演示


