基本结构:

采用VGG提取特征的Faster RCNN.

self.backbone:提取出特征图->features
self.rpn:选出推荐框->proposals
self.roi heads:根据proposals在features上进行抠图->detections
features = self.backbone(images.tensors)proposals, proposal_losses = self.rpn(images, features, targets)
detections, detector_losses = self.roi_heads(features, proposals, images.image_sizes, targets)
1.self.backbone
def forward(self, x):identity = xout = self.conv1(x)out = self.bn1(out)out = self.relu(out)out = self.conv2(out)out = self.bn2(out)if self.downsample is not None:identity = self.downsample(x)out += identityout = self.relu(out)return out

这里pteaures就是提取的特征图、而台teaures是字思形式,由5张特征图组成,这里就是构成了不同的尺度的要求,特征图越小,所映射原图的范围越大。
注:这里的理解很重要,,其实这里能够完全理解,那对图像检测基本就入门了,
五种featureMap:

[1,256,11,21]1:是pytorch四要求的一般会用于batchsize的功效,多少张图片256:通道数
11: height 高
21: weight 宽
2.self.rpn
objectness, pred_bbox_deltas = self.head(features)
anchors = self.anchor_generator(images, features)boxes, scores = self.filter_proposals(proposals, objectness, images.image_sizes, num_anchors_per_level)
self.head(features):
def forward(self, x):# type: (List[Tensor])logits = []bbox_reg = []for feature in x:t = F.relu(self.conv(feature))logits.append(self.cls_logits(t)) # 对t分类bbox_reg.append(self.bbox_pred(t)) # 对t回归return logits, bbox_reg
x:就是输出的5张特征图features

objectness, pred_bbox_deltas = self.head(features)


锚框是由特征图上一个像素点在原图上得到的不同尺度的锚框,一般fasterrcnn论文里面是9个尺度
在这里是3
anchors = self.anchor_generator(images, features)

boxes, scores = self.filter_proposals(proposals, objectness, images.image_sizes, num_anchors_per_level)
这里的scores是的是前景的概率。(这里一般就是2分类,前景或背景)
top_n_idx = self._get_top_n_idx(objectness, num_anchors_per_level)

222603—》4693
for boxes, scores, lvl, img_shape in zip(proposals, objectness, levels, image_shapes):boxes = box_ops.clip_boxes_to_image(boxes, img_shape)keep = box_ops.remove_small_boxes(boxes, self.min_size)boxes, scores, lvl = boxes[keep], scores[keep], lvl[keep]# non-maximum suppression, independently done per level# NMS的实现keep = box_ops.batched_nms(boxes, scores, lvl, self.nms_thresh)# keep only topk scoring predictions# keep就是最终保留的keep = keep[:self.post_nms_top_n()]boxes, scores = boxes[keep], scores[keep]final_boxes.append(boxes)final_scores.append(scores)return final_boxes, final_scores

4693–》1324

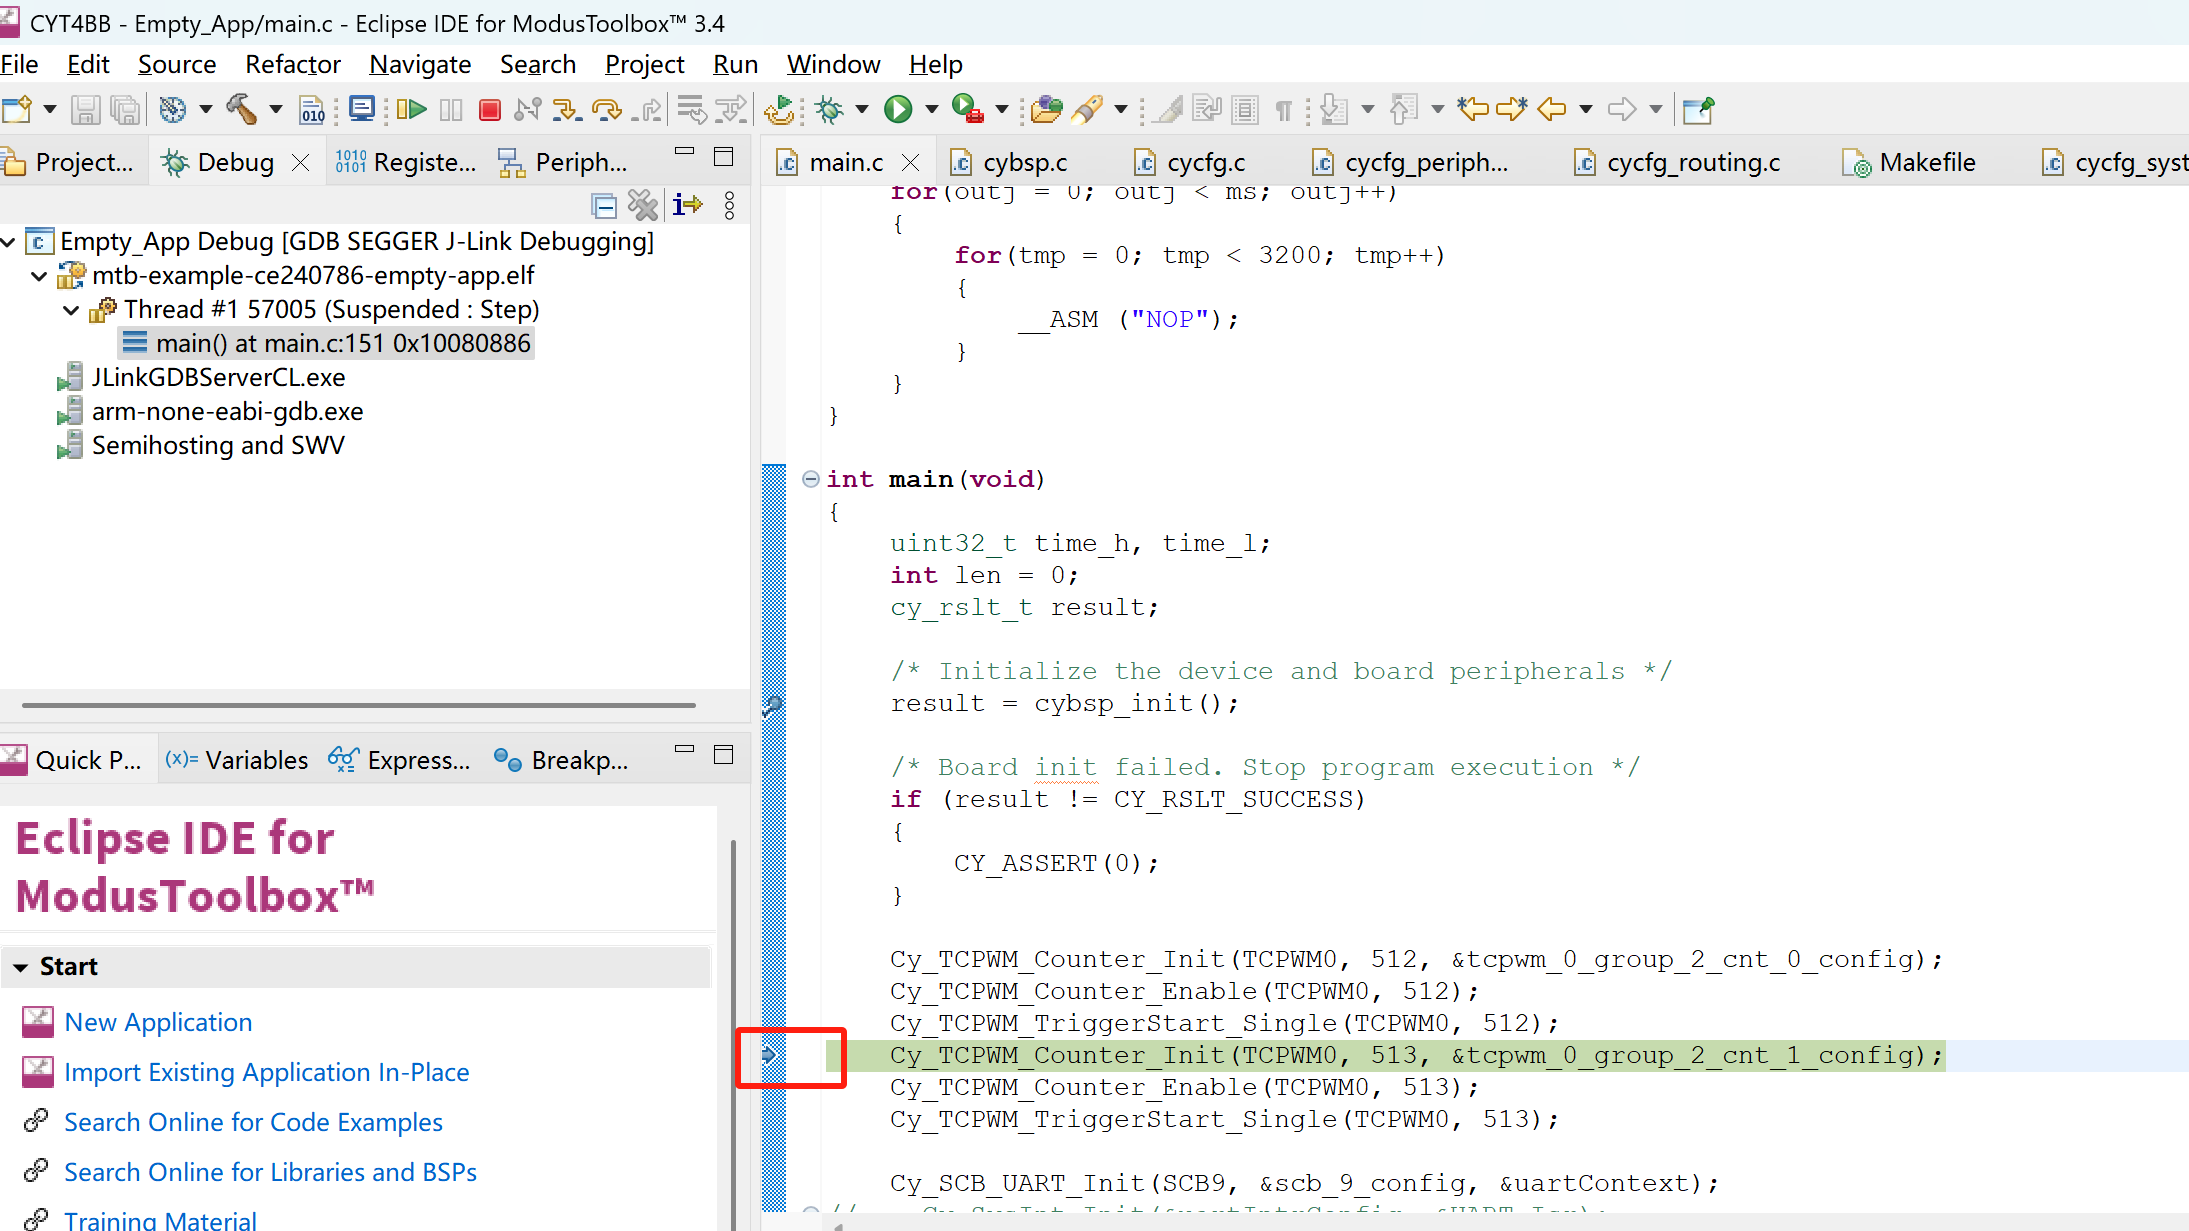
1324–》1000
这里的1000是在faster_rcnn.py中设置的
![]()
为什么不是2000是因为训练的时候是2000,这里只是测试

proposals, proposal_losses = self.rpn(images, features, targets)

roi_heads()
box_features = self.box_roi_pool(features, proposals, image_shapes)box_features = self.box_head(box_features)class_logits, box_regression = self.box_predictor(box_features)#class_logits: 分类概率 和 box_regression :边界框回归
box_roi_pool 规整,为相同尺度的特征图,便于之后的分类与回归
box_roi_pool:两个FC层

detections, detector_losses = self.roi_heads(features, proposals, images.image_sizes, targets)# 映射回原图detections = self.transform.postprocess(detections, images.image_sizes, original_image_sizes)

detections = self.transform.postprocess(detections, images.image_sizes, original_image_sizes)
补充:pytorch自带detection模块:


import os
import time
import torch.nn as nn
import torch
import random
import numpy as np
import torchvision.transforms as transforms
import torchvision
from PIL import Image
import torch.nn.functional as F
from tools.my_dataset import PennFudanDataset
#from tools.common_tools import set_seed
from torch.utils.data import DataLoader
from matplotlib import pyplot as plt
from torchvision.models.detection.faster_rcnn import FastRCNNPredictor
from torchvision.transforms import functional as F#set_seed(1)  # 设置随机种子BASE_DIR = os.path.dirname(os.path.abspath(__file__))
device = torch.device("cuda" if torch.cuda.is_available() else "cpu")# classes_coco
COCO_INSTANCE_CATEGORY_NAMES = ['__background__', 'person', 'bicycle', 'car', 'motorcycle', 'airplane', 'bus','train', 'truck', 'boat', 'traffic light', 'fire hydrant', 'N/A', 'stop sign','parking meter', 'bench', 'bird', 'cat', 'dog', 'horse', 'sheep', 'cow','elephant', 'bear', 'zebra', 'giraffe', 'N/A', 'backpack', 'umbrella', 'N/A', 'N/A','handbag', 'tie', 'suitcase', 'frisbee', 'skis', 'snowboard', 'sports ball','kite', 'baseball bat', 'baseball glove', 'skateboard', 'surfboard', 'tennis racket','bottle', 'N/A', 'wine glass', 'cup', 'fork', 'knife', 'spoon', 'bowl','banana', 'apple', 'sandwich', 'orange', 'broccoli', 'carrot', 'hot dog', 'pizza','donut', 'cake', 'chair', 'couch', 'potted plant', 'bed', 'N/A', 'dining table','N/A', 'N/A', 'toilet', 'N/A', 'tv', 'laptop', 'mouse', 'remote', 'keyboard', 'cell phone','microwave', 'oven', 'toaster', 'sink', 'refrigerator', 'N/A', 'book','clock', 'vase', 'scissors', 'teddy bear', 'hair drier', 'toothbrush'
]def vis_bbox(img, output, classes, max_vis=40, prob_thres=0.4):fig, ax = plt.subplots(figsize=(12, 12))ax.imshow(img, aspect='equal')out_boxes = output_dict["boxes"].cpu()out_scores = output_dict["scores"].cpu()out_labels = output_dict["labels"].cpu()num_boxes = out_boxes.shape[0]for idx in range(0, min(num_boxes, max_vis)):score = out_scores[idx].numpy()bbox = out_boxes[idx].numpy()class_name = classes[out_labels[idx]]if score < prob_thres:continueax.add_patch(plt.Rectangle((bbox[0], bbox[1]), bbox[2] - bbox[0], bbox[3] - bbox[1], fill=False,edgecolor='red', linewidth=3.5))ax.text(bbox[0], bbox[1] - 2, '{:s} {:.3f}'.format(class_name, score), bbox=dict(facecolor='blue', alpha=0.5),fontsize=14, color='white')plt.show()plt.close()class Compose(object):def __init__(self, transforms):self.transforms = transformsdef __call__(self, image, target):for t in self.transforms:image, target = t(image, target)return image, targetclass RandomHorizontalFlip(object):def __init__(self, prob):self.prob = probdef __call__(self, image, target):if random.random() < self.prob:height, width = image.shape[-2:]image = image.flip(-1)bbox = target["boxes"]bbox[:, [0, 2]] = width - bbox[:, [2, 0]]target["boxes"] = bboxreturn image, targetclass ToTensor(object):def __call__(self, image, target):image = F.to_tensor(image)return image, targetif __name__ == "__main__":# configLR = 0.001num_classes = 2batch_size = 1start_epoch, max_epoch = 0, 30train_dir = os.path.join(BASE_DIR, "data", "PennFudanPed")train_transform = Compose([ToTensor(), RandomHorizontalFlip(0.5)])# step 1: datatrain_set = PennFudanDataset(data_dir=train_dir, transforms=train_transform)# 收集batch data的函数def collate_fn(batch):return tuple(zip(*batch))train_loader = DataLoader(train_set, batch_size=batch_size, collate_fn=collate_fn)# step 2: modelmodel = torchvision.models.detection.fasterrcnn_resnet50_fpn(pretrained=True)in_features = model.roi_heads.box_predictor.cls_score.in_featuresmodel.roi_heads.box_predictor = FastRCNNPredictor(in_features, num_classes) # replace the pre-trained head with a new onemodel.to(device)# step 3: loss# in lib/python3.6/site-packages/torchvision/models/detection/roi_heads.py# def fastrcnn_loss(class_logits, box_regression, labels, regression_targets)# step 4: optimizer schedulerparams = [p for p in model.parameters() if p.requires_grad]optimizer = torch.optim.SGD(params, lr=LR, momentum=0.9, weight_decay=0.0005)lr_scheduler = torch.optim.lr_scheduler.StepLR(optimizer, step_size=10, gamma=0.1)# step 5: Iterationfor epoch in range(start_epoch, max_epoch):model.train()for iter, (images, targets) in enumerate(train_loader):images = list(image.to(device) for image in images)targets = [{k: v.to(device) for k, v in t.items()} for t in targets]# if torch.cuda.is_available():#     images, targets = images.to(device), targets.to(device)loss_dict = model(images, targets)  # images is list; targets is [ dict["boxes":**, "labels":**], dict[] ]losses = sum(loss for loss in loss_dict.values())print("Training:Epoch[{:0>3}/{:0>3}] Iteration[{:0>3}/{:0>3}] Loss: {:.4f} ".format(epoch, max_epoch, iter + 1, len(train_loader), losses.item()))optimizer.zero_grad()losses.backward()optimizer.step()lr_scheduler.step()# testmodel.eval()# configvis_num = 5vis_dir = os.path.join(BASE_DIR, "data", "PennFudanPed", "PNGImages")img_names = list(filter(lambda x: x.endswith(".png"), os.listdir(vis_dir)))random.shuffle(img_names)preprocess = transforms.Compose([transforms.ToTensor(), ])for i in range(0, vis_num):path_img = os.path.join(vis_dir, img_names[i])# preprocessinput_image = Image.open(path_img).convert("RGB")img_chw = preprocess(input_image)# to deviceif torch.cuda.is_available():img_chw = img_chw.to('cuda')model.to('cuda')# forwardinput_list = [img_chw]with torch.no_grad():tic = time.time()print("input img tensor shape:{}".format(input_list[0].shape))output_list = model(input_list)output_dict = output_list[0]print("pass: {:.3f}s".format(time.time() - tic))# visualizationvis_bbox(input_image, output_dict, COCO_INSTANCE_CATEGORY_NAMES, max_vis=20, prob_thres=0.5)  # for 2 epoch for nms
欢迎点赞 收藏 关注
参考:Pytorch实现Faster-RCNN_pytorch faster rcnn-CSDN博客