本文主要实现了基于fastspeech2模型的语音合成项目,并训练自己的语音模型~~
环境:Ubuntu(docker),pytorch,
项目地址1(中英文)
https://github.com/ming024/FastSpeech2
环境配置
(进入docker容器内运行)
git clone https://github.com/ming024/FastSpeech2
cd FastSpeech2
pip3 install -r requirements.txt下载预训练模型并将它们存入新建文件夹,以下路径下output/ckpt/LJSpeech/、 output/ckpt/AISHELL3或output/ckpt/LibriTTS/。如果是docker容器的情况下,先下载到本地再复制到容器内,不是的话可忽略这步。
docker cp "/home/user/LJSpeech_900000.zip" torch:/workspace/tts-pro/FastSpeech2/output/ckpt/LJSpeech对于英语单扬声器 TTS,运行
python3 synthesize.py --text "YOUR_DESIRED_TEXT" --restore_step 900000 --mode single -p config/LJSpeech/preprocess.yaml -m config/LJSpeech/model.yaml -t config/LJSpeech/train.yaml可以改变文字,例如
python synthesize.py --text "There is nothing either good or bad, but thinking makes it so " --restore_step 900000 --mode single -p config/LJSpeech/preprocess.yaml -m config/LJSpeech/model.yaml -t config/LJSpeech/train.yaml提示错误,无'./output/ckpt/LJSpeech/900000.pth.tar',作者并没有上传此文件,所以在这里省略。
对于普通话多人 TTS,运行
python3 synthesize.py --text "大家好" --speaker_id SPEAKER_ID --restore_step 600000 --mode single -p config/AISHELL3/preprocess.yaml -m config/AISHELL3/model.yaml -t config/AISHELL3/train.yaml对于英语多人 TTS,运行前,需要把预训练模型,改为FastSpeech2/output/ckpt/LibriTTS/800000.pth.tar
要对FastSpeech2/hifigan/generator_universal.pth.tar.zip进行解压
unzip generator_universal.pth.tar.zip进行批量推理
python3 synthesize.py --source preprocessed_data/LJSpeech/val.txt --restore_step 900000 --mode batch -p config/LJSpeech/preprocess.yaml -m config/LJSpeech/model.yaml -t config/LJSpeech/train.yaml提示无RuntimeError: [enforce fail at inline_container.cc:110] . file in archive is not in a subdirectory: 900000.pth.tar
训练
数据预处理
下载数据集ljspeech,可下载到/home/ming/Data/LJSpeech-1.1路径
如果之前已经下载过数据集,可以打开FastSpeech2/config/LJSpeech/preprocess.yaml,修改数据集路径
dataset: "LJSpeech"path:corpus_path: "/workspace/tts-pro/FastSpeech/data/LJSpeech-1.1"lexicon_path: "lexicon/librispeech-lexicon.txt"raw_path: "./raw_data/LJSpeech"preprocessed_path: "./preprocessed_data/LJSpeech"preprocessing:val_size: 512text:text_cleaners: ["english_cleaners"]language: "en"audio:sampling_rate: 22050max_wav_value: 32768.0stft:filter_length: 1024hop_length: 256win_length: 1024mel:n_mel_channels: 80mel_fmin: 0mel_fmax: 8000 # please set to 8000 for HiFi-GAN vocoder, set to null for MelGAN vocoderpitch:feature: "phoneme_level" # support 'phoneme_level' or 'frame_level'normalization: Trueenergy:feature: "phoneme_level" # support 'phoneme_level' or 'frame_level'normalization: True
然后运行
python3 prepare_align.py config/LJSpeech/preprocess.yaml运行后生成raw_data文件夹,数据如下
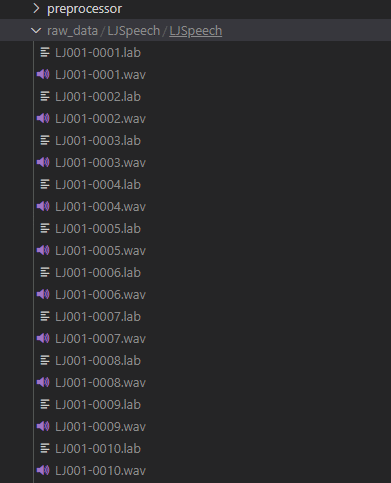
语音文件对应的标签文件。(.lab包含用于使用Corel WordPerfect显示和打印标签的信息;可以是Avery标签模板或其他自定义标签文件;包含定义标签在页面上的大小和位置的页面布局信息。)
如论文中所述,蒙特利尔强制对齐器(MFA) 用于获取话语和音素序列之间的对齐。此处提供了支持的数据集的比对。将文件解压缩到preprocessed_data/LJSpeech/TextGrid/.
unzip LJSpeech.zip解压后如图
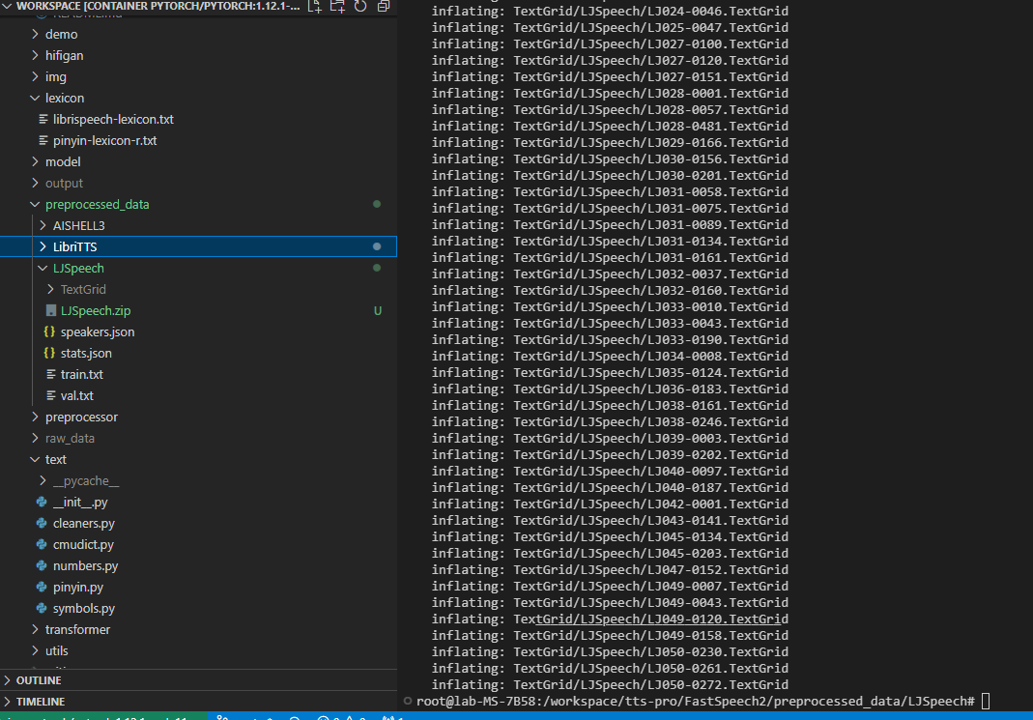
(如果训练的是别的数据集,修改下数据集名称及路径就可以)别的数据集同理,解压缩命令
unzip LibriTTS.zip解压后如图
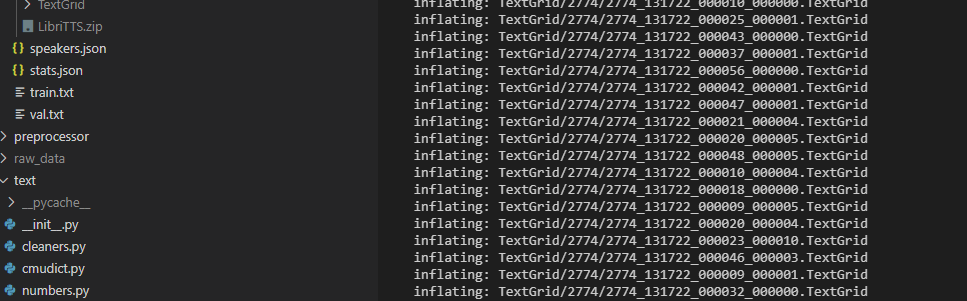
接下来就是,对齐语料库,然后运行预处理脚本。
python3 preprocess.py config/LJSpeech/preprocess.yaml运行后如图(可能需要点时间,等着就可以啦)

正式训练
先解压预训练权重
cd FastSpeech2/hifigan
unzip generator_LJSpeech.pth.tar.zip
cd ..
训练命令
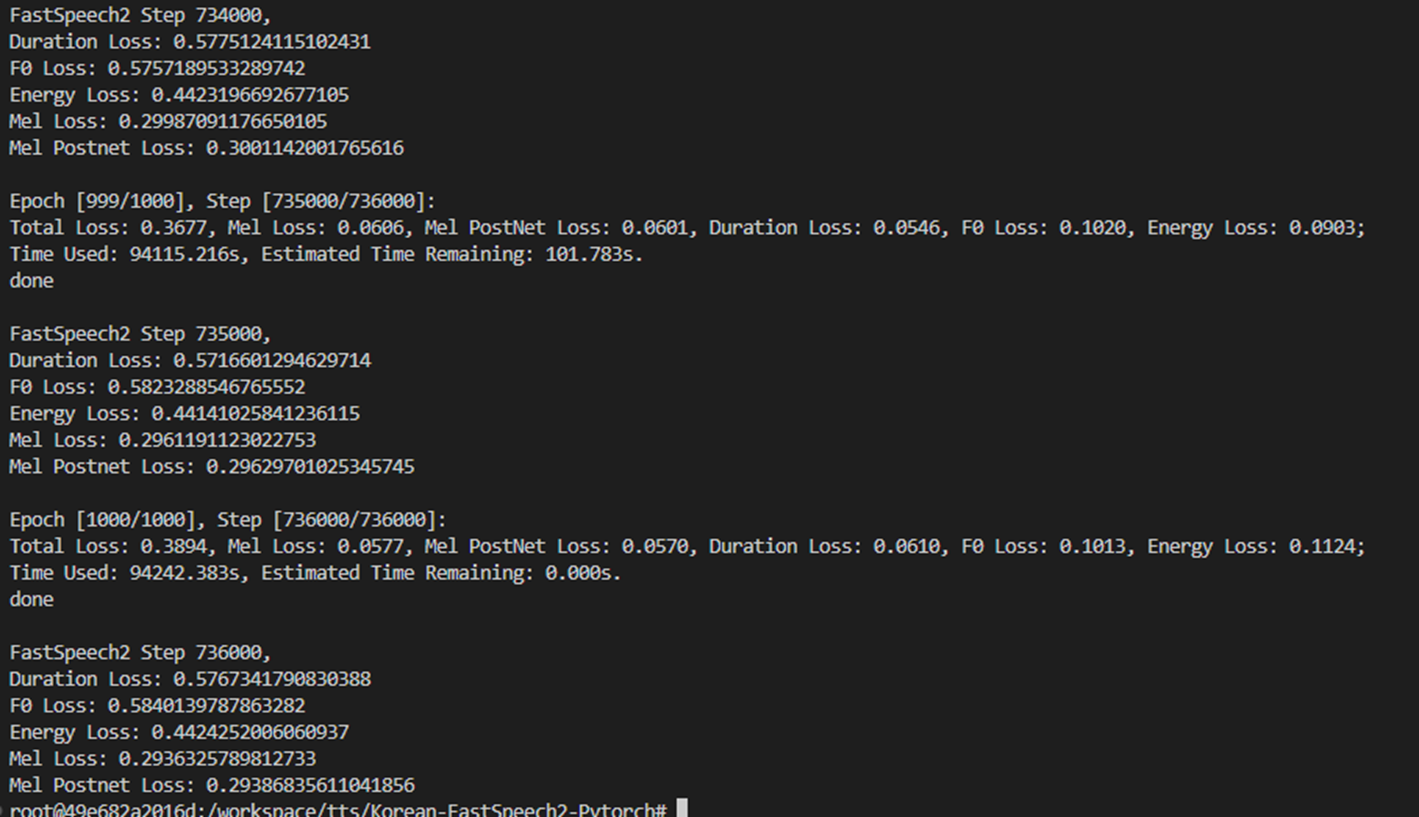
python train.py -p config/LJSpeech/preprocess.yaml -m config/LJSpeech/model.yaml -t config/LJSpeech/train.yaml训练过程
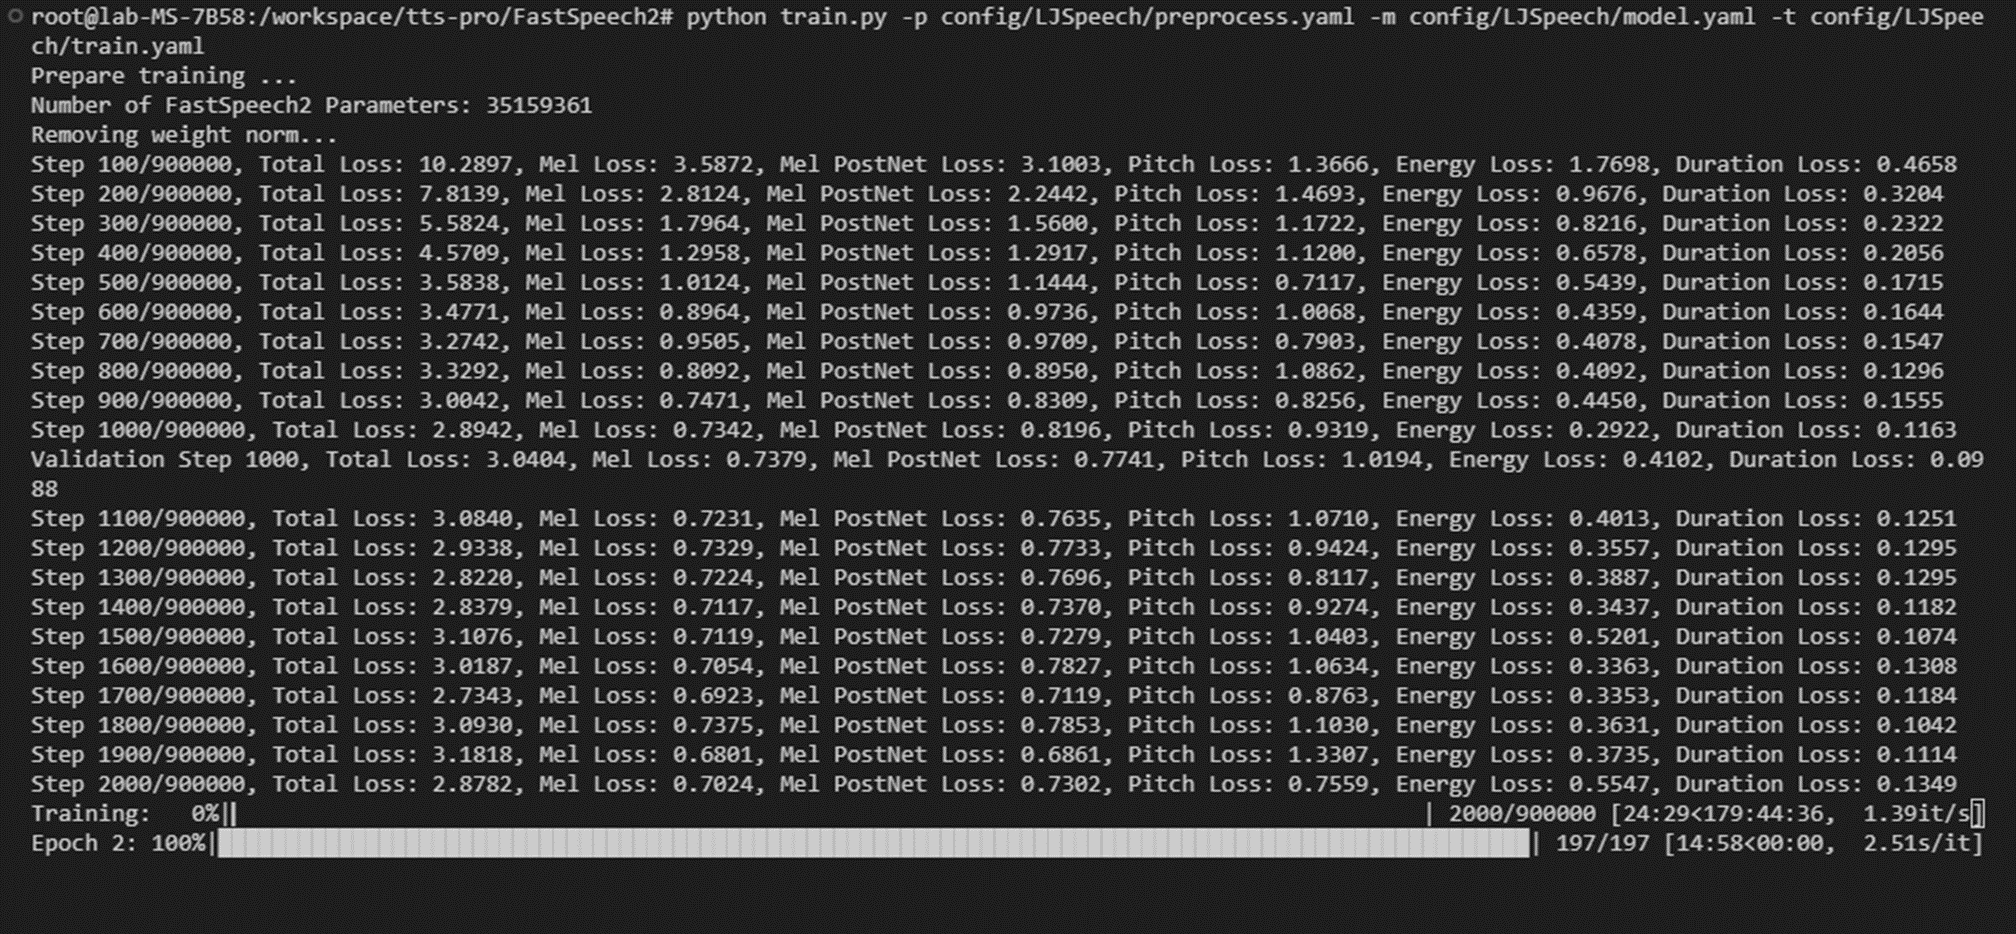
训练时间默认900000,需要一周时间,想要改少的话,修改
/workspace/FastSpeech2/config/LJSpeech/train.yaml中的 total_step: 900000
项目地址2(韩语)
HGU-DLLAB/Korean-FastSpeech2-Pytorch: Implementation of Korean FastSpeech2 (github.com)
环境设置
conda create --name mfa python=3.8
conda activate mfa
conda install montreal-forced-aligner==2.0.6
sudo apt-get install ffmpeg
pip install g2pk
cd Korean-FastSpeech2-Pytorch
安装要求环境
pip install -r requirements.txt
pip install tgt
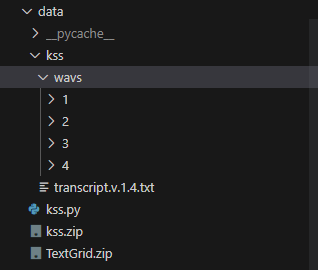
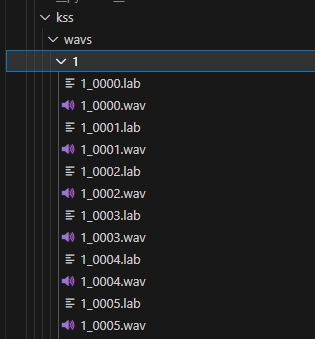
pip install pyworld下载数据集kks然后解压:数据12853
unzip kss.zip数据格式如图
使用MFA进行语音文本对齐
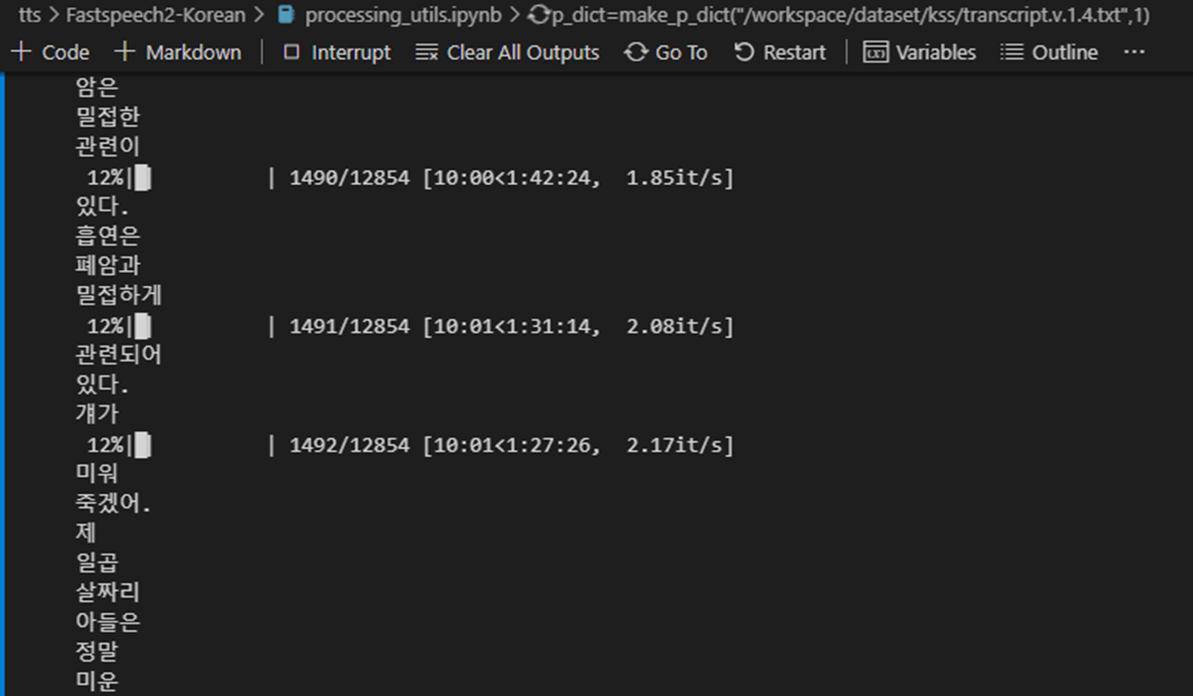
运行processng_utils.ipynb ,生成韩语字典
(个人稍微修改)
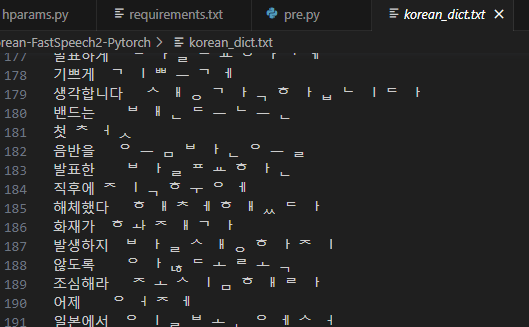
kss-dic-01.py生成。语音.lab文件和korean-dict.txt韩语字典
import os, tqdm, re
from tqdm import tqdm
from jamo import h2j
from glob import globtext = '/workspace/Korean-FastSpeech2-Pytorch/data/kss/transcript.v.1.4.txt'
base_dir = '/workspace/Korean-FastSpeech2-Pytorch/data/kss/wavs'filters = '([.,!?])'with open(text, 'r', encoding='utf-8') as f:for line in f.readlines():temp = line.split('|')file_dir, script = temp[0], temp[3]script = re.sub(re.compile(filters), '', script)file_dir = file_dir.split('/')fn = file_dir[0] + '/' + file_dir[1][:-3] + 'lab'file_dir = os.path.join(base_dir, fn)with open(file_dir, 'w', encoding='utf-8') as f:f.write(script)file_list = sorted(glob(os.path.join(base_dir, '**/*.lab')))
jamo_dict = {}
for file_name in tqdm(file_list):sentence =  open(file_name, 'r', encoding='utf-8').readline()jamo = h2j(sentence).split(' ')for i, s in enumerate(jamo):if s not in jamo_dict:jamo_dict[s] = ' '.join(jamo[i])        dict_name = 'korean_dict.txt'
with open(dict_name, 'w', encoding='utf-8') as f:for key in jamo_dict.keys():content = '{}\t{}\n'.format(key, jamo_dict[key])f.write(content)
运行后生成
接下来训练一个g2p模型,通过训练数据集生成textgrid文件。
mfa train_g2p korean_dict.txt korean.zip
mfa g2p korean.zip kss korean.txt
#mfa g2p korean.zip /workspace/dataset/kssdataset  korean.txt
mfa train kss korean.txt out
#mfa train  /workspace/dataset/kssdataset  korean.txt out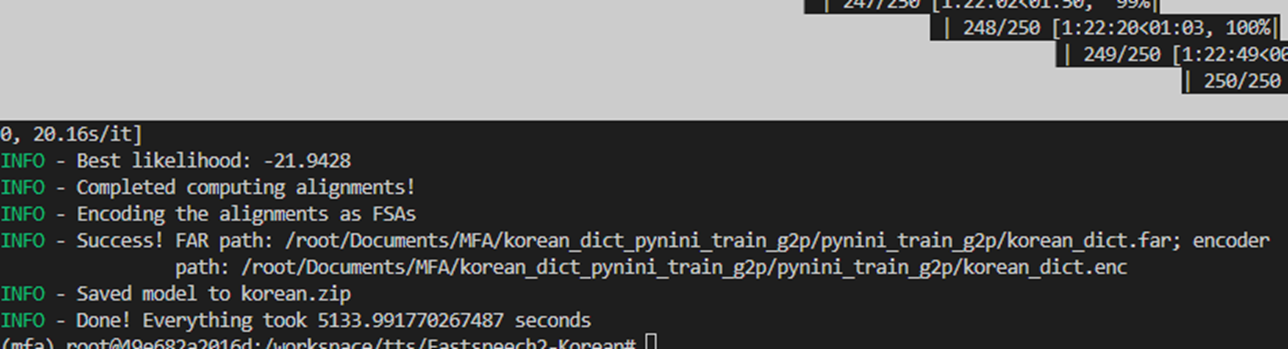


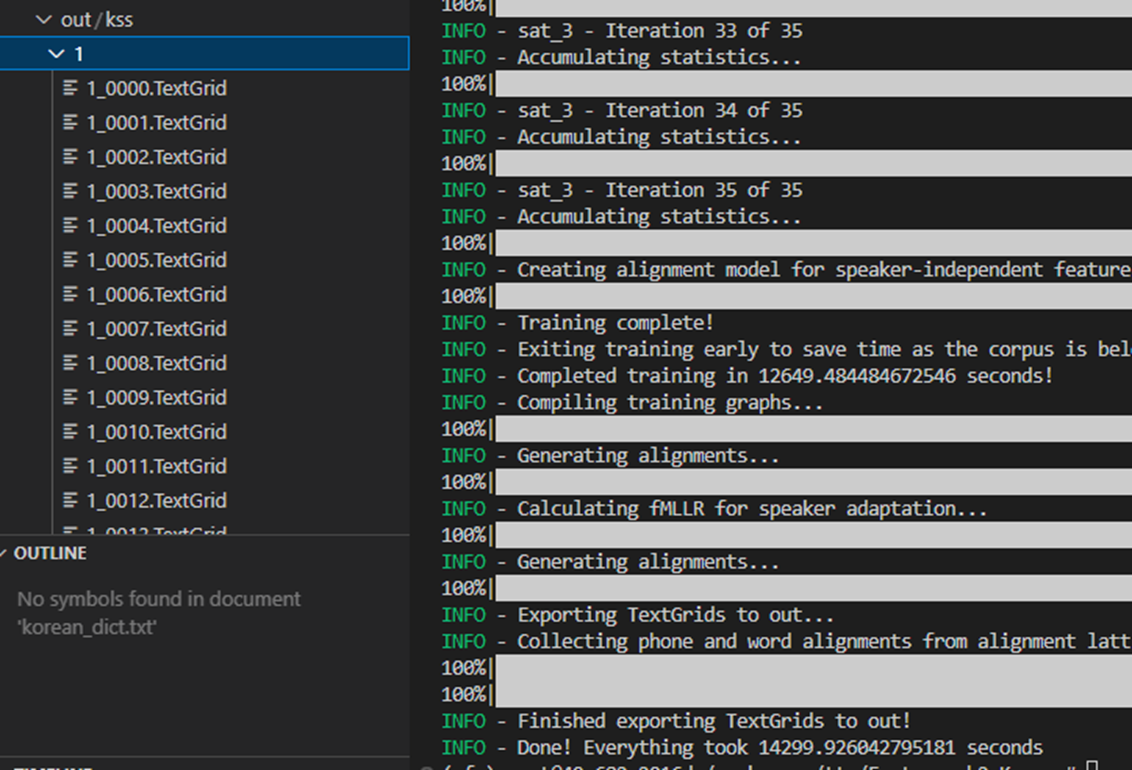
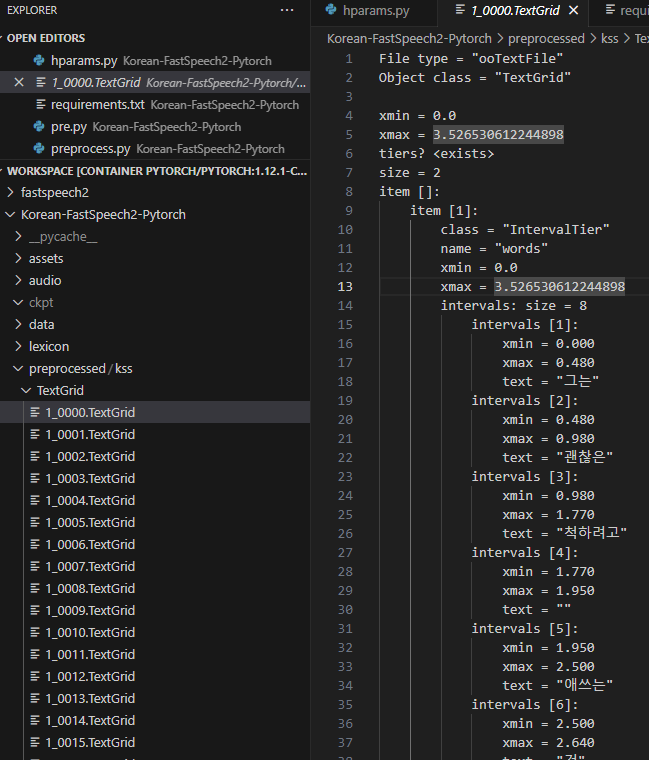
生成textgrid文件
退出mfa虚拟环境(因为虚拟环境中未设置torch等),
也可在此处【file】直接下载Textgrid文件.放在Korean-FastSpeech2-Python路径下
然后修改data/kss.py的数据集位置
第19行 :parts[0]处是.wav文件,parts[1]处是text文件
第37行 : parts[0]处是.wav文件,parts[1]处是text文件
*TextGrid文件中提取的是每条音频对应的duration、pitch和energy信息.
修改数据集路径
hparams.py中的变量
- dataset: 数据集文件夹名
- data_path: dataset 的顶级文件夹
- meta_name : metadata 例如transcript.v.1.4.txt(语音及文本文件)
textgrid_path: textgrid 文件的位置( 如果是自己处理的数据,请提前压缩 textgrid 文件)
- tetxgrid_name: textgird 压缩textgrid 的文件名
import os
### kss ###
dataset = "kss"
data_path = os.path.join("/workspace/Korean-FastSpeech2-Pytorch/data", dataset)
meta_name = "transcript.v.1.4.txt"    # "transcript.v.1.4.txt" or "transcript.v.1.3.txt"
textgrid_name = "TextGrid.zip"### set GPU number ###
train_visible_devices = "0"
synth_visible_devices = "0"# Text
text_cleaners = ['korean_cleaners']# Audio and mel
### kss ###
sampling_rate = 22050
filter_length = 1024
hop_length = 256
win_length = 1024### kss ###
max_wav_value = 32768.0
n_mel_channels = 80
mel_fmin = 0
mel_fmax = 8000f0_min = 71.0
f0_max = 792.8
energy_min = 0.0
energy_max = 283.72# FastSpeech 2
encoder_layer = 4
encoder_head = 2
encoder_hidden = 256
decoder_layer = 4
decoder_head = 2
decoder_hidden = 256
fft_conv1d_filter_size = 1024
fft_conv1d_kernel_size = (9, 1)
encoder_dropout = 0.2
decoder_dropout = 0.2variance_predictor_filter_size = 256
variance_predictor_kernel_size = 3
variance_predictor_dropout = 0.5max_seq_len = 1000# Checkpoints and synthesis path
preprocessed_path = os.path.join("./preprocessed/", dataset)
checkpoint_path = os.path.join("./ckpt/", dataset)
eval_path = os.path.join("./eval/", dataset)
log_path = os.path.join("./log/", dataset)
test_path = "./results"# Optimizer
batch_size = 16
epochs = 1000
n_warm_up_step = 4000
grad_clip_thresh = 1.0
acc_steps = 1betas = (0.9, 0.98)
eps = 1e-9
weight_decay = 0.# Vocoder
vocoder = 'vocgan'
vocoder_pretrained_model_name = "vocgan_kss_pretrained_model_epoch_4500.pt"
vocoder_pretrained_model_path = os.path.join("./vocoder/pretrained_models/", vocoder_pretrained_model_name)# Log-scaled duration
log_offset = 1.# Save, log and synthesis
save_step = 10000
eval_step = 1000
eval_size = 256
log_step = 1000
clear_Time = 20
修改数据集路径data/kss.py
第69行
wav_bak_path = os.path.join(in_dir, "kss", "{}.wav".format(wav_bak_basename))压缩textgrid文件
zip -r kss_textgird.zip kss修改文件preprocess.py 后(如下)运行 python preprocess.py
#preprocess.py
import os
from data import kss
import hparams as hpdef write_metadata(train, val, out_dir):with open(os.path.join(out_dir, 'train.txt'), 'w', encoding='utf-8') as f:for m in train:f.write(m + '\n')with open(os.path.join(out_dir, 'val.txt'), 'w', encoding='utf-8') as f:for m in val:f.write(m + '\n')def main():in_dir = hp.data_pathout_dir = hp.preprocessed_pathmeta = hp.meta_nametextgrid_name = hp.textgrid_namemel_out_dir = os.path.join(out_dir, "mel")if not os.path.exists(mel_out_dir):os.makedirs(mel_out_dir, exist_ok=True)ali_out_dir = os.path.join(out_dir, "alignment")if not os.path.exists(ali_out_dir):os.makedirs(ali_out_dir, exist_ok=True)f0_out_dir = os.path.join(out_dir, "f0")if not os.path.exists(f0_out_dir):os.makedirs(f0_out_dir, exist_ok=True)energy_out_dir = os.path.join(out_dir, "energy")if not os.path.exists(energy_out_dir):os.makedirs(energy_out_dir, exist_ok=True)if os.path.isfile(textgrid_name):os.system('mv ./{} {}'.format(textgrid_name, out_dir))if not os.path.exists(os.path.join(out_dir, textgrid_name.replace(".zip", ""))):os.system('unzip {} -d {}'.format(os.path.join(out_dir, textgrid_name), out_dir))if "kss" in hp.dataset:# kss version 1.3if "v.1.3" in meta:if not os.path.exists(os.path.join(in_dir, "wavs_bak")):os.system("mv {} {}".format(os.path.join(in_dir, "wavs"), os.path.join(in_dir, "wavs_bak")))        os.makedirs(os.path.join(in_dir, "wavs"))# kss version 1.4if "v.1.4" in meta:if not os.path.exists(os.path.join(in_dir, "wavs_bak")):os.makedirs(os.path.join(in_dir, "wavs"))os.system("mv {} {}".format(os.path.join(in_dir, "../", meta), os.path.join(in_dir)))for i in range(1, 5) : os.system("mv {} {}".format(os.path.join(in_dir, str(i)), os.path.join(in_dir, "wavs")))os.system("mv {} {}".format(os.path.join(in_dir, "wavs"), os.path.join(in_dir, "wavs_bak")))os.makedirs(os.path.join(in_dir, "wavs"))train, val = kss.build_from_path(in_dir, out_dir, meta)write_metadata(train, val, out_dir)if __name__ == "__main__":main()
运行后如果出现错误,可参考【PS2,PS7】,成功的话会显示下图
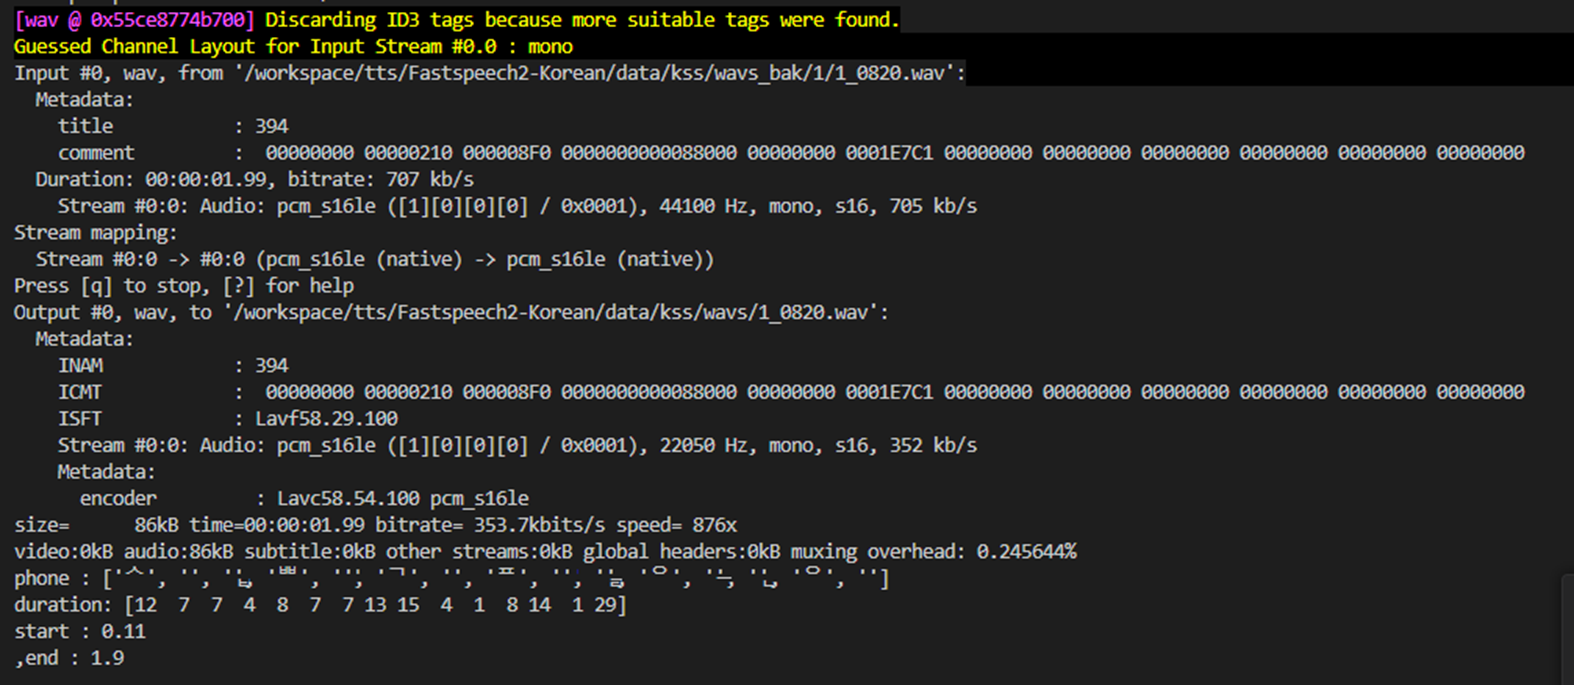
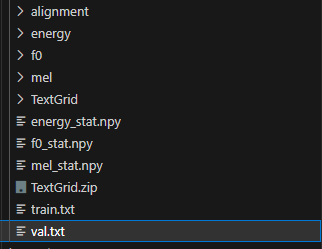
然后生成
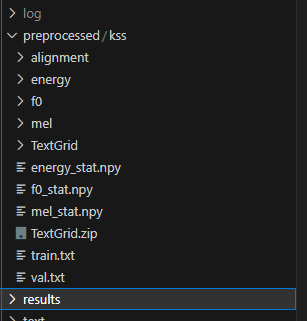
数据就全部处理完成啦~
训练
修改train.py文件中的数据路径后,就可以直接训练
python train.py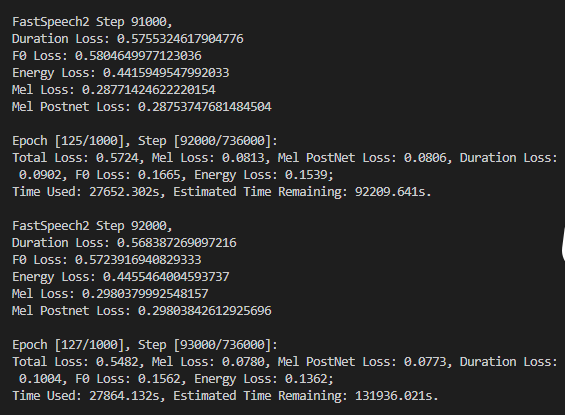
训练后生成
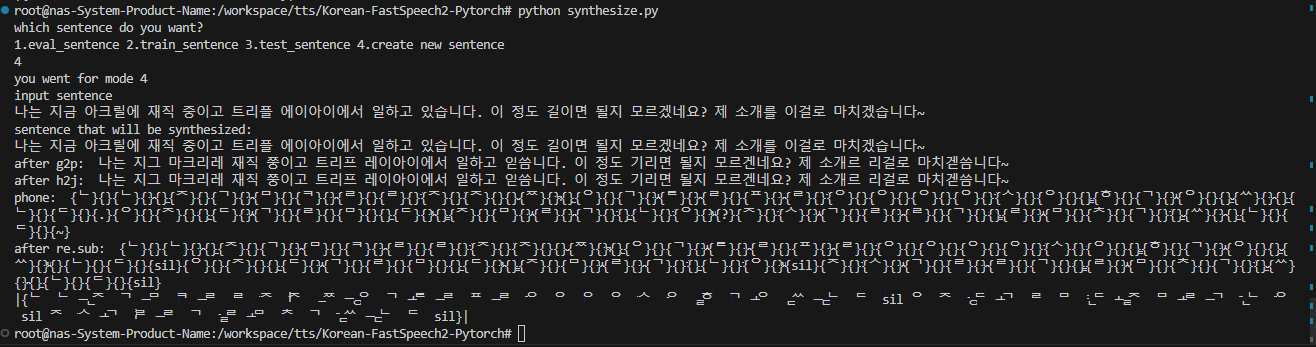
最后合成
python synthesize.py --step 90000如果出错,请参考【PS8】
如果vocgan出错的话,查看权重位置。
训练自己的语音模型(ing)
上述项目训练都是在服务器上进行,接下来为了录音方便,用自己的笔记本电脑(Win11)进行录音,并设置一系列环境。
设置后端所需环境:python
创建一个新的虚拟环境
git clone https://github.com/pyrasis/mimic-recording-studio
conda create --name mimic python=3.8
conda activate mimic
conda install ffmpeg
cd mimic-recording-studio\backend
pip install -r .\requirements.txt
python run.py
设置前端所需环境:node,yarn
*按下快捷键Win+R,输入cmd,(*这里一定要用管理员打开,要不出错)
打开项目地址(前提是已经安装好nodejs的环境,没有安装的话请参考【PS4】)
cd >cd C:\Users\N-216\pro\Korean_TTS\mimic-recording-studio\frotend
npm install
npm run start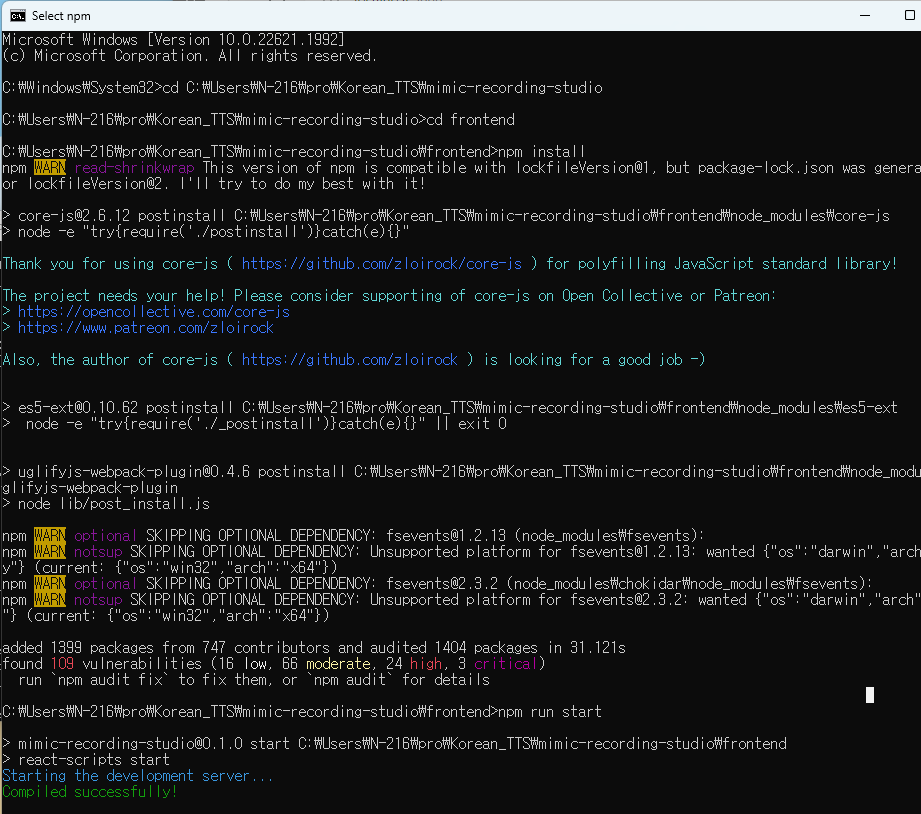
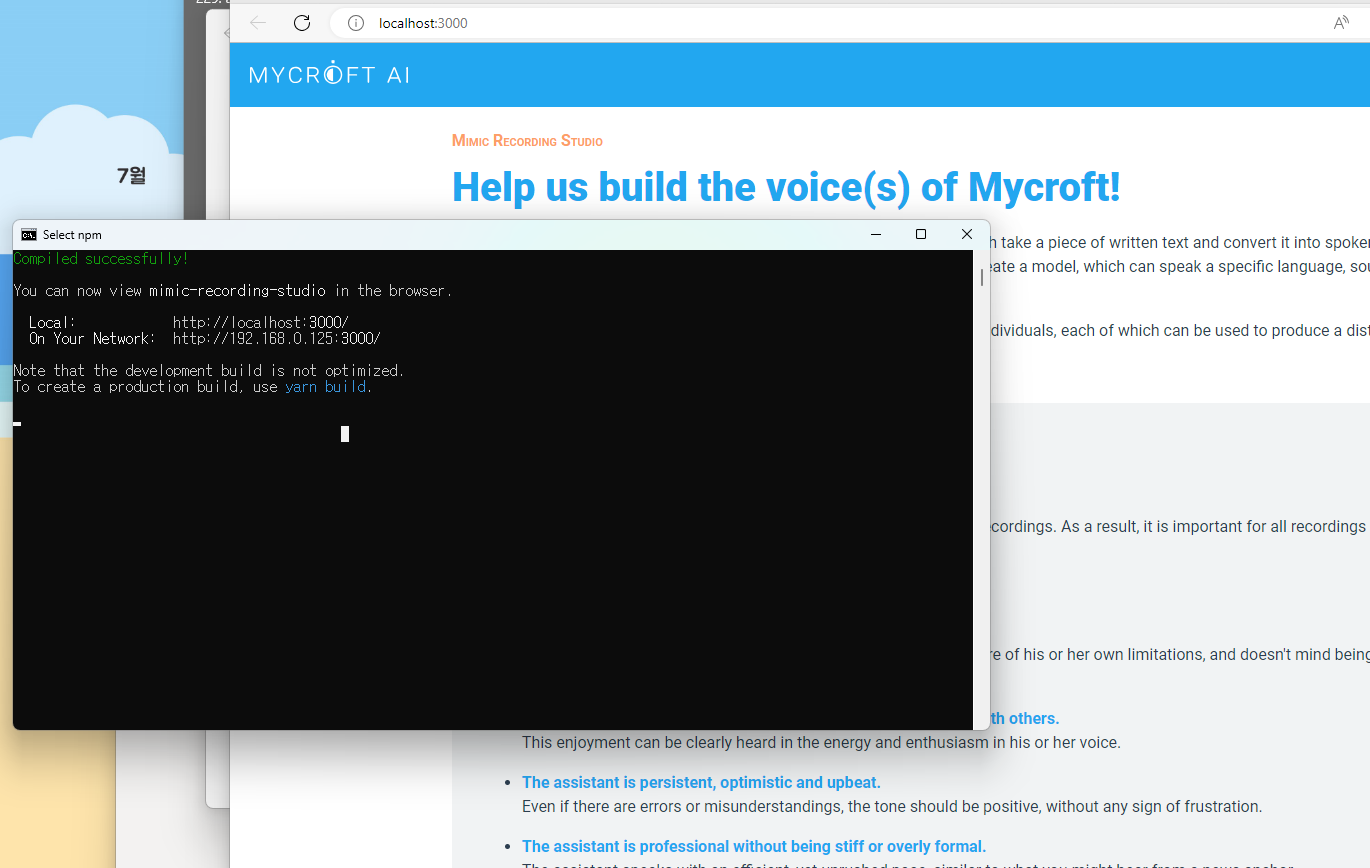
网站往拉下拉,有输入名字,然后开始
这里点击【Allow】允许访问麦克风
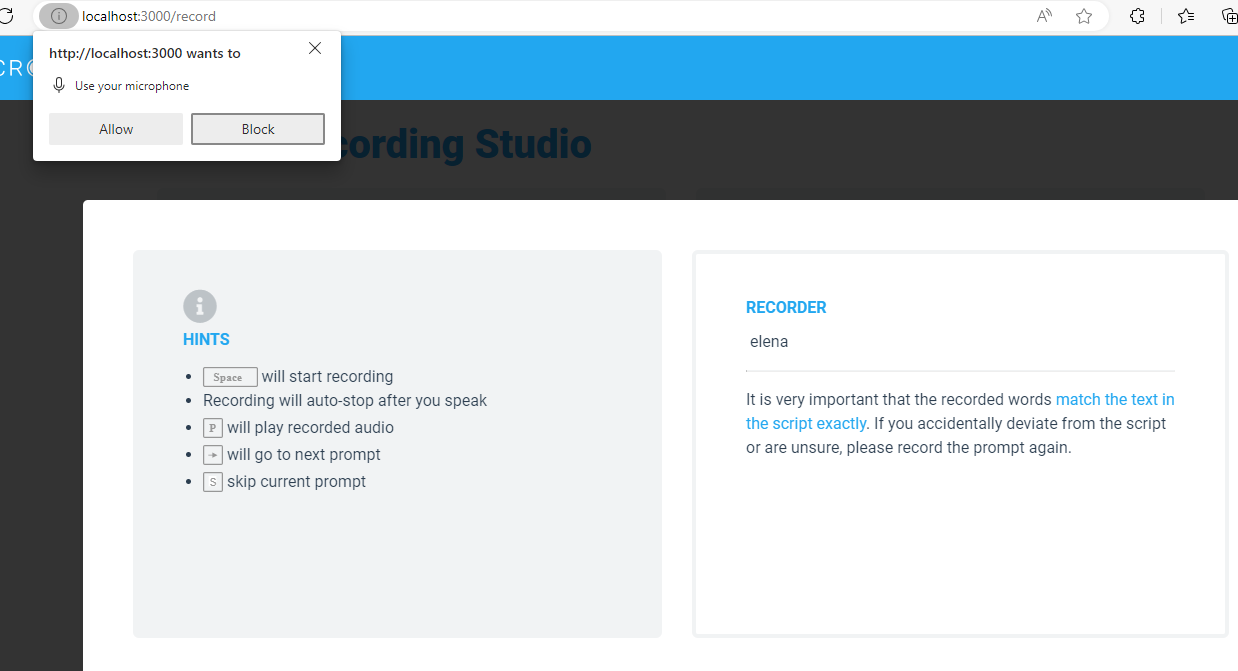
然后,点击继续【CONTINUE】
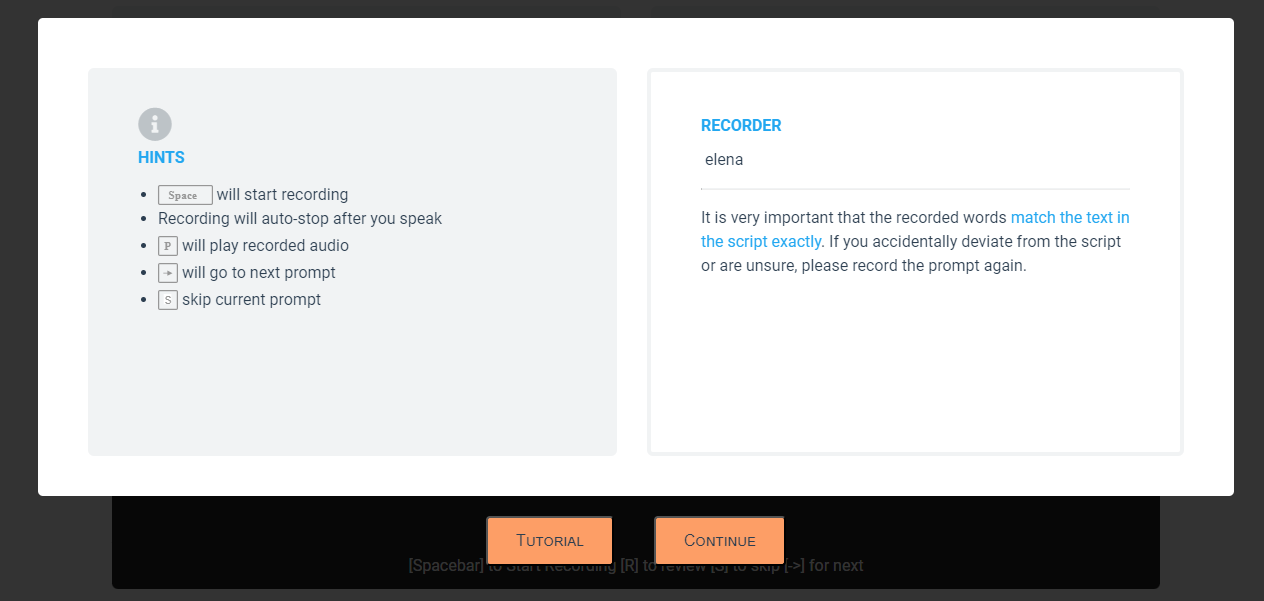
录音时:空格键是开始录音,Esc是停止录音,p是重新录音,→是下一个提示,s是跳过提示
如果中间出现
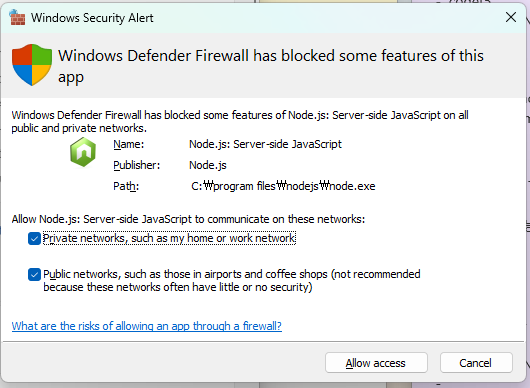
以防万一,全选然后点击【Allow access】允许。
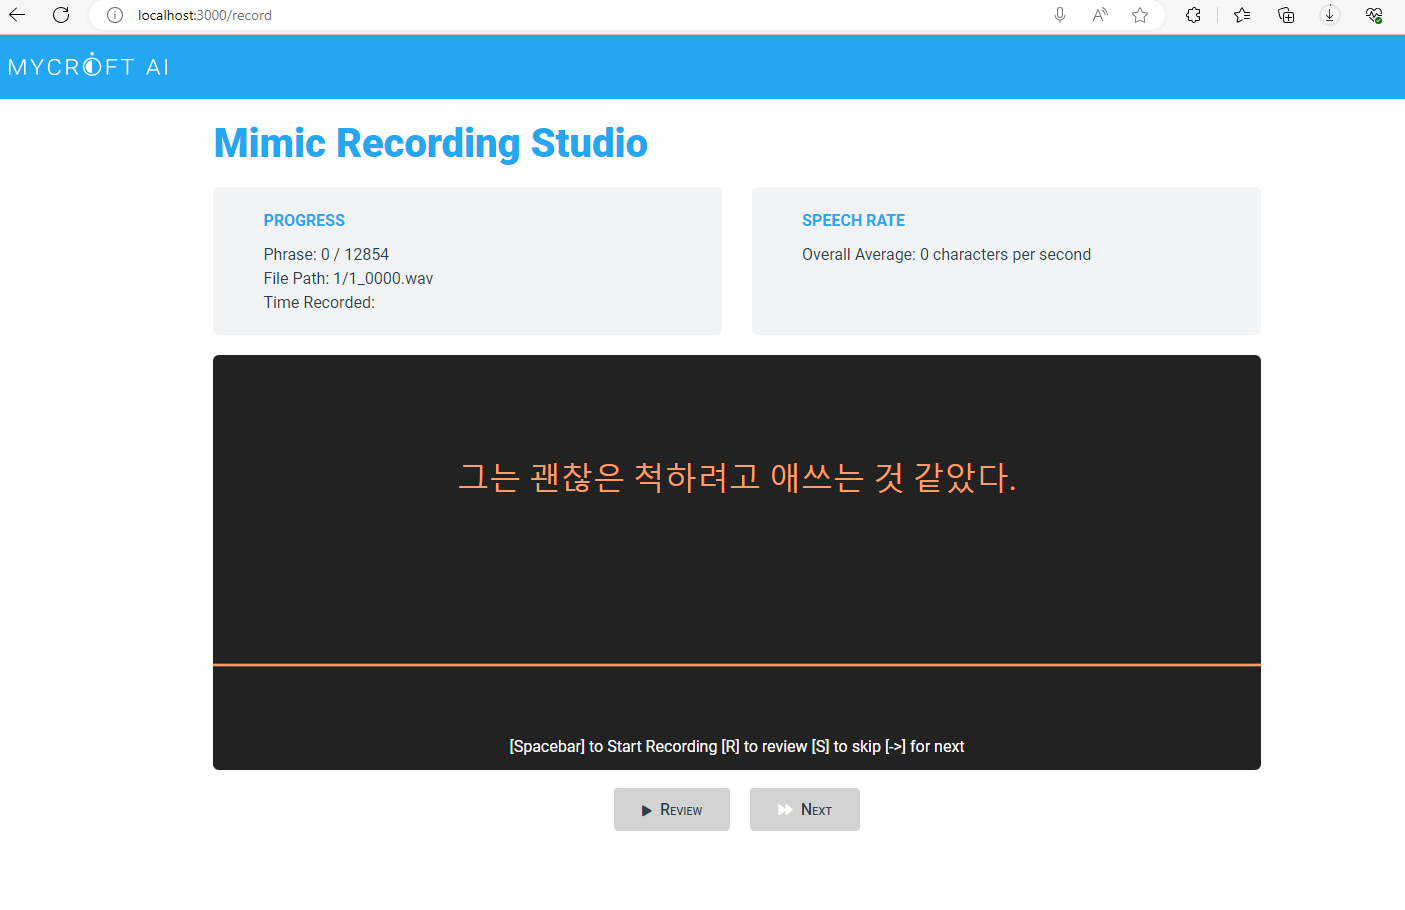
🎙️开始录音🎙️
按照提示词去读(后台位置在\mimic-recording-studio\backend\prompts下的csv或txt文件)
录了几条后后台如图
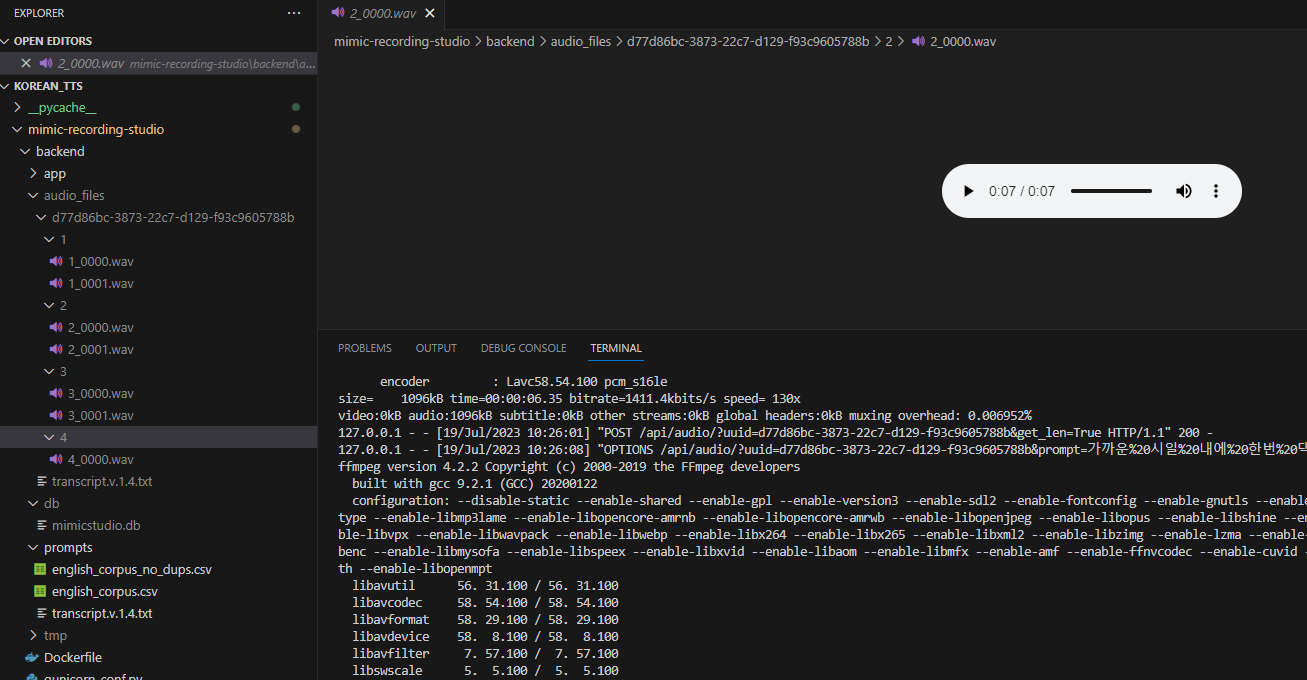
audio_files下,文件名是uuid:d77d86bc-3873-22c7-d129-f93c9605788b也对应的是name(录音时输入的名字)
这里的文件格式是按照自己想要的格式去分为4个文件夹,每条录音一依次放入文件夹内,如果想要换为其他格式,或者只想存为一个文件夹,需要修改mimic-recordingstudio\backend\app\file_system.py代码,里面有PrompFS类,可按照自己的方式去修改!!
mimic-recording-studio\backend\app\audio.py的功能是
_detect_leading_silence类是检查音频段中的前导静音。
将保留 300 毫秒的前导/结束静音缓冲区,以避免过硬的切断。
参数: sound (AudioSegment): 要检查静音的音频片段。
返回值:int型,剪掉的毫秒数
trim_silence 类是去除音频中的前导音/结束音
参数:path (str): 音频文件的文件名。
返回值:音频片段: 没有过多静音的音频数据。
save_audio类是将音频数据保存为 wav 文件。
参数: path (str): 保存 wav 文件的位置。
audio (AudioSegment): 音频数据。
get_audio_len类是得到音频长度,返回时,返回音频的长度/1000的值,将原本的毫秒转换为秒。
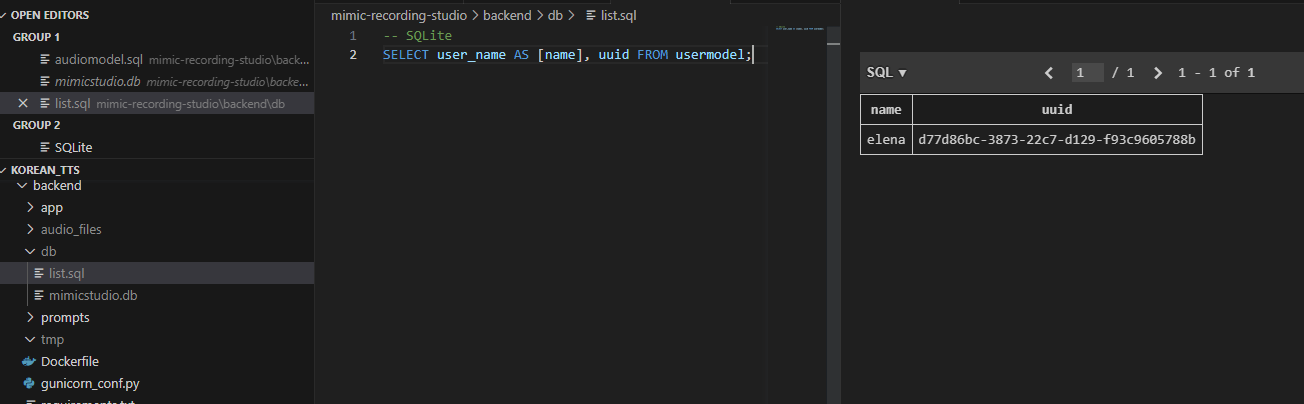
在C:\Users\N-216\pro\Korean_TTS\mimic-recording-studio\backend\db\mimicstudio.db处右键
点击【New Query】->输入
SELECT user_name AS [name], uuid FROM usermodel;
保存后,右键【Run Query】,就会出现录音名字和uuid
如果点击【New Query】->输入
-- SQLite
-- List all recordings
SELECT * FROM audiomodel;-- Lists recordings from january 2020 order by phrase
SELECT * FROM audiomodel WHERE created_date BETWEEN '2020-01-01' AND '2020-01-31' ORDER BY prompt;-- Lists number of recordings per day
SELECT DATE(created_date), COUNT(*) AS RecordingsPerDay
FROM audiomodel
GROUP BY DATE(created_date )
ORDER BY DATE(created_date)-- Shows average text length of recordings
SELECT AVG(LENGTH(prompt)) AS avgLength FROM audiomodel
就会查询到录音的所有数据
保存后,右键【Run Query】,就会出现

录好声音后,对于所有录音处理
复制到模型数据路径下
利用MFA处理自己的数据
打开MFA的虚拟环境
conda activate mfa
pip install chardet
需要将自己的数据集利用MFA去生成Fastspeech2所需要的语音信息
【TextGrid,alinment,energy,f0,mel】
ING...
提示信息很明显,意思就是在生产环境,不要再用这种方式运行程序,最好用WSGI服务来替代运行。
解决办法:
就是使用pywsgi 来代替 app.run(host=“0.0.0.0”, port=5000)
from flask import Flask
from gevent import pywsgiapp = Flask(__name__)
@app.route("/")
def hello_world():return "<p>Hello, World!</p>"server = pywsgi.WSGIServer(('0.0.0.0', 12345), app)
server.serve_forever()
文件共享(File)
如果不想训练,可直接下载权重进行测试,下载地址
https://drive.google.com/file/d/15IQZqjRvoQTPMdGMfdnrg4_-wnWFuXRp/view?usp=sharing
下载前,请仔细查看readme.txt文件。
PS
【PS1】ERROR: Could not install packages due to an OSError: [Errno 2] No such file or directory: '/workdir/conda-build/six_1593148849096/work'
在执行 pip install -r requirements.txt出现错误

解决
Getting weird OS Error when I try to import my repo into shar.streamlit - 🚀 Deployment - Streamlit
或者
先删掉six @ file:///workdir/conda-build/six_1593148849096/work,
这是从 VCS 存储库安装软件包的特殊语法(自 pip 19.1 起受支持):
package_name @ git+https://githost/<repo>.git@<commit_id>再进行
pip install -r requirements.txt可参考PEP 440 – Version Identification and Dependency Specification | peps.python.org
[PS2]ValueError: numpy.ndarray size changed, may indicate binary incompatibility. Expected 96 from C header, got 88 from PyObject

升级numpy
pip install --upgrade numpy或者查看numpy与scipy的版本是否匹配
AttributeError: module 'numpy' has no attribute 'long'
最终版本
python==3.8
numpy==1.23.0
scipy==1.9.0
【PS3】UnboundLocalError: local variable 'train' referenced before assignment
【PS4】起用本地网站后404
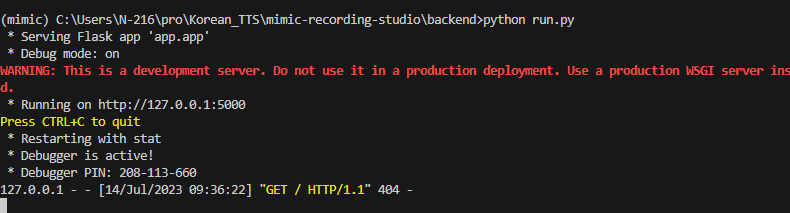
【PS5】WARNING: This is a development server. Do not use it in a production deployment. Use a production WSGI server instead.
就是在生产环境,不要再用这种方式运行程序,最好用WSGI服务来替代运行。
解决办法:
就是使用pywsgi 来代替 app.run(host=“0.0.0.0”, port=5000)
#pip install gevent
from flask import Flask
from gevent import pywsgiapp = Flask(__name__)
@app.route("/")
def hello_world():return "<p>Hello, World!</p>"server = pywsgi.WSGIServer(('0.0.0.0', 12345), app)
server.serve_forever()
【PS6】npm start 出错 : no such file or directory, open 'C:\Users\N-216\package.json'
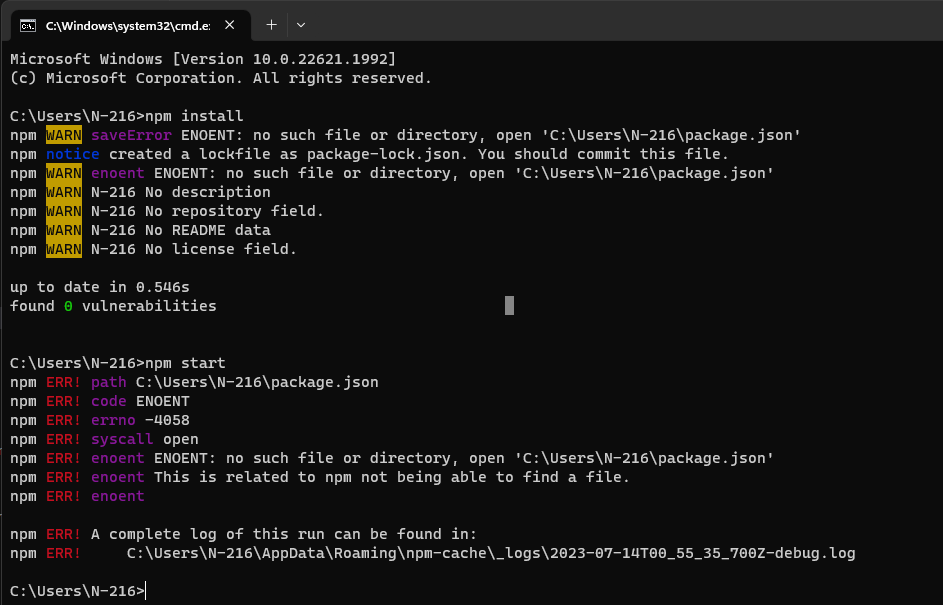
解决办法:
重新设置nodejs设置环境参考https://blog.csdn.net/weixin_44649780/article/details/131275530?spm=1001.2014.3001.5501
【PS7】TypeError: pad_center() takes 1 positional argument but 2 were given
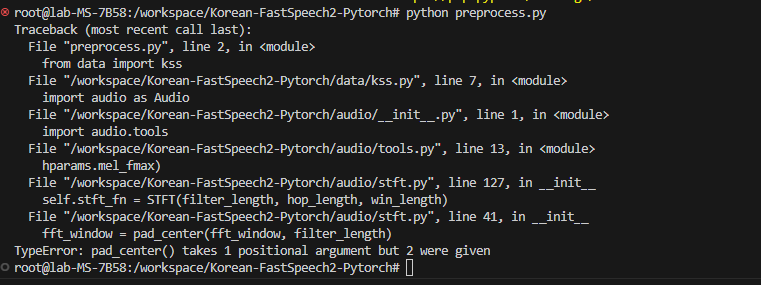
版本不对,重新设置环境后,显示也有警告但是任然可以运行~

【PS8】/workspace/tts/Korean-FastSpeech2-Pytorch/audio/audio_processing.py:50: FutureWarning: Pass size=1024 as keyword args. From version 0.10 passing these as positional arguments will result in an error
win_sq = librosa_util.pad_center(win_sq, n_fft)
因为传参的时候出现了问题,检查传进去的参数。

解决办法
librosa版本问题,0.10.0版本和0.9.2版本都会出错,换为0.8.0就没有问题。
pip install librosa==0.8.0
参考文献
【1】https://github.com/MycroftAI/mimic-recording-studio
附录
sudo docker cp /home/elena/LJSpeech.zip  torch_na:/workspace/tts-pro/FastSpeech2/preprocessed_data/LJSpeech/
sudo docker cp /home/elena/LibriTTS.zip  torch_na:/workspace/tts-pro/FastSpeech2/preprocessed_data/LibriTTS/TextGrid/