文章目录
前言
一、Lame库是什么?
二、使用步骤
0.创建native项目
1.下载Lame库
2.pcm转MP3
3.wav转MP3
4、native方法如下
三、注意
总结
前言
因为使用android录音后生成的文件是wav或者pcm格式,项目要求最后的文件需要是mp3格式,于是就使用到了lame库。
一、Lame库是什么?
LAME 是最好的MP3编码器,编码高品质MP3的最好也是唯一的选择。
Demo放在了文章末尾,demo是一个lib库,直接引入就可以使用的。
本demo实例使用的是CMakeLists的方式编译的c库。
二、使用步骤
0.创建native项目
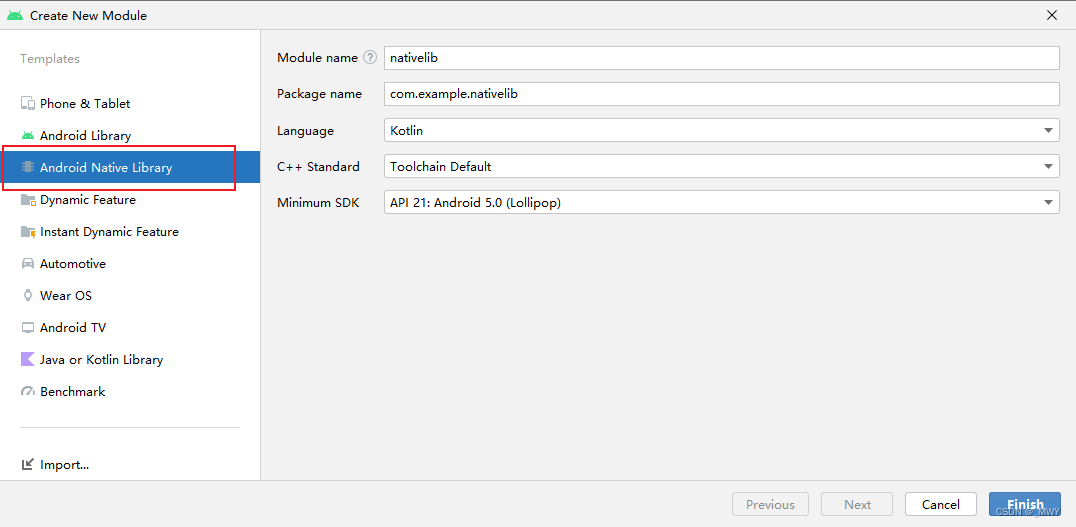
新建一个native项目或者native的module,创建成功后就会自动生成cpp文件夹和一个native.cpp、CMakeLists
1.下载Lame库
Lame官网![]() https://sourceforge.net/projects/lame/files/lame/
https://sourceforge.net/projects/lame/files/lame/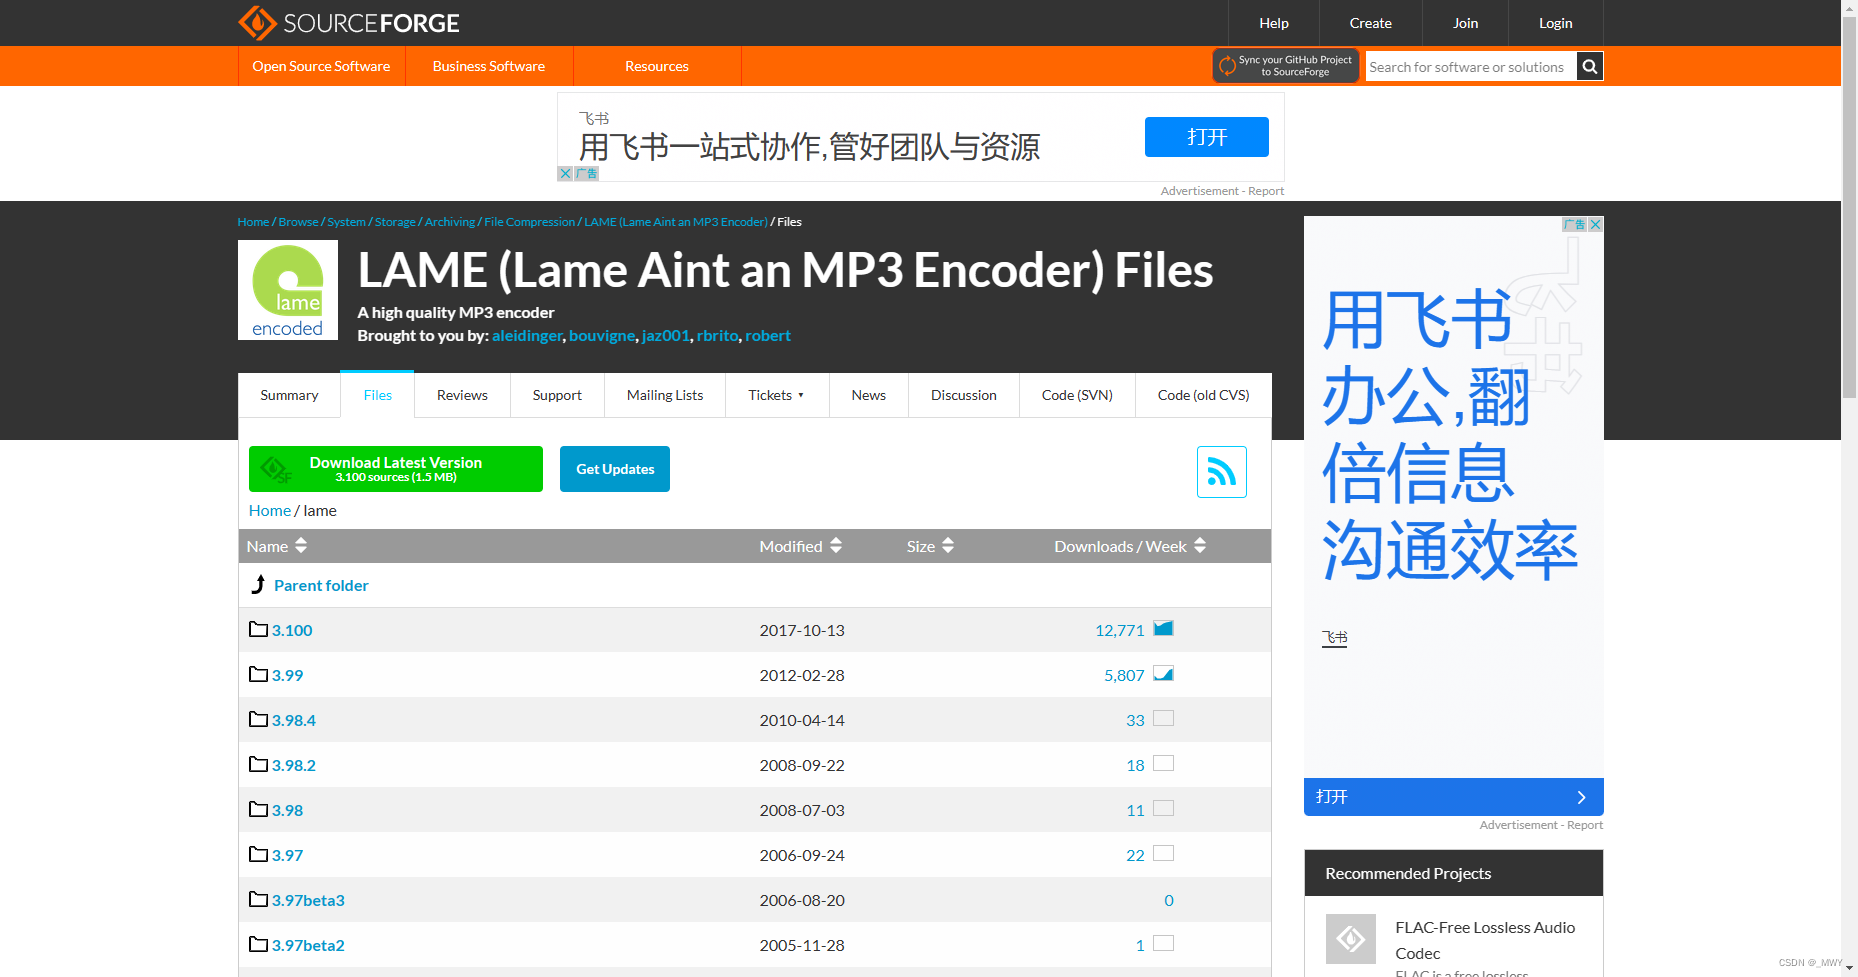
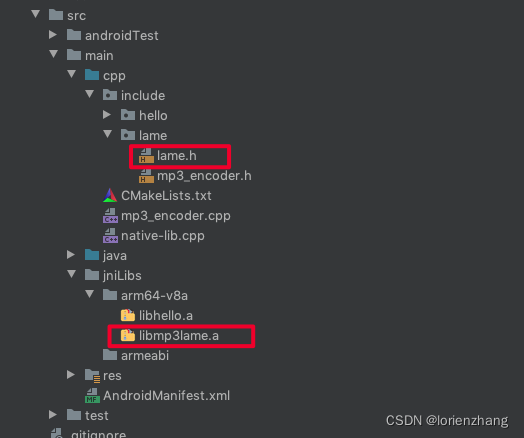
下载完把libmp3lame 文件夹下的所有.c和.h文件还有include文件夹下的lame.h考入到新建工程的cpp文件下
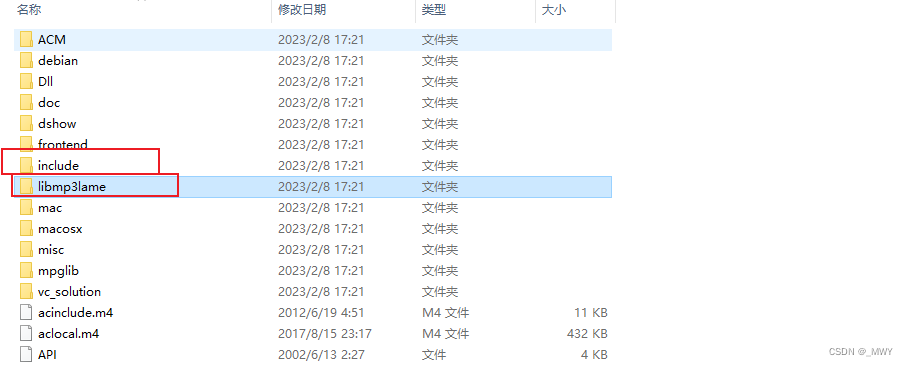
demo使用的是3.99这个版本,如果你的网很慢可以使用在后面的 demo里面的lame库。
2.pcm转MP3
cpp代码如下(示例):
/*************************************************************************                              PCM 转 MP3                              ************************************************************************/Mp3Encoder *encoder;
extern "C" JNIEXPORT jint JNICALL
Java_com_meng_nativelib_NativeLib_pcmToMp3JNI(JNIEnv *env,jobject,jstring pcm_path,jstring mp3_path,jint sample_rate,jint channel,jint bit_rate) {const char *pcmPath = env->GetStringUTFChars(pcm_path, NULL);const char *mp3Path = env->GetStringUTFChars(mp3_path, NULL);encoder = new Mp3Encoder();int initStatus = encoder->Init(pcmPath, mp3Path, sample_rate, channel, bit_rate);if (initStatus != 0) {return -1;}encoder->Encode();env->ReleaseStringUTFChars(pcm_path, pcmPath);env->ReleaseStringUTFChars(mp3_path, mp3Path);return 0;
}extern "C" JNIEXPORT void JNICALL
Java_com_meng_nativelib_NativeLib_pcmToMp3JNIDestroy(JNIEnv *env,jobject) {encoder->Destroy();
}
3.wav转MP3
int flag = 0;
/*** wav转换mp3*/extern "C"
JNIEXPORT void JNICALL Java_com_meng_nativelib_NativeLib_wavToMp3(JNIEnv *env, jobject obj, jstring jwav, jstring jmp3, jint inSamplerate, jint inChannel,jint outBitrate) {char *cwav = Jstring2CStr(env, jwav);char *cmp3 = Jstring2CStr(env, jmp3);//1.打开 wav,MP3文件FILE *fwav = fopen(cwav, "rb");fseek(fwav, 4 * 1024, SEEK_CUR);FILE *fmp3 = fopen(cmp3, "wb+");int channel = inChannel;//单声道short int wav_buffer[8192 * channel];unsigned char mp3_buffer[8192];//1.初始化lame的编码器lame_t lameConvert = lame_init();//2. 设置lame mp3编码的采样率lame_set_in_samplerate(lameConvert, inSamplerate);lame_set_out_samplerate(lameConvert, inSamplerate);lame_set_num_channels(lameConvert, channel);lame_set_mode(lameConvert, MONO);// 3. 设置MP3的编码方式lame_set_VBR(lameConvert, vbr_default);lame_init_params(lameConvert);int read;int write; //代表读了多少个次 和写了多少次int total = 0; // 当前读的wav文件的byte数目do {if (flag == 404) {return;}read = fread(wav_buffer, sizeof(short int) * channel, 8192, fwav);total += read * sizeof(short int) * channel;if (read != 0) {write = lame_encode_buffer(lameConvert, wav_buffer, NULL, read, mp3_buffer, 8192);//write = lame_encode_buffer_interleaved(lame,wav_buffer,read,mp3_buffer,8192);} else {write = lame_encode_flush(lameConvert, mp3_buffer, 8192);}//把转化后的mp3数据写到文件里fwrite(mp3_buffer, 1, write, fmp3);} while (read != 0);lame_mp3_tags_fid(lameConvert, fmp3);lame_close(lameConvert);fclose(fwav);fclose(fmp3);
}
4、native方法如下
package com.meng.nativelibobject NativeLib {// Used to load the 'lame_lib' library on application startup.init {System.loadLibrary("lame_lib")}external fun getVersion(): String?/*** wav 转mp3 16000,1,1* @param wavFilePath 源文件路径* @param mp3FilePath 生成mp3目标文件路径* @param sampleRate Lame采样率 最好写 16000 Lame采样率* MPEG1 MPEG2 MPEG2.5* 44100 22050 11025* 8000 24000 12000* 32000 16000 8000*@param channels 1* @param bitRate 实际没有使用*/external fun wavToMp3(wavFilePath: String, mp3FilePath: String, sampleRate: Int, channels: Int, bitRate: Int)external fun pcmToMp3JNI(pcmFilePath: String, mp3FilePath: String, sampleRate: Int, channels: Int, bitRate: Int): Intexternal fun pcmToMp3JNIDestroy()}三、注意
- 在编写的cpp代码时一定要在方法上面添加 extern "C"(主要作用就是为了能够正确实现C++代码调用其他C语言代码。加上extern "C"后,会指示编译器这部分代码按C语言(而不是C++)的方式进行编译。由于C++支持函数重载,因此编译器编译函数的过程中会将函数的参数类型也加到编译后的代码中,而不仅仅是函数名;而C语言并不支持函数重载,因此编译C语言代码的函数时不会带上函数的参数类型,一般只包括函数名。)
- 不要忘记把新增的cpp文件添加到CMakeLists的add_library里面
- 新增cpp文件后最好对cpp文件夹make一次(AndroidStudio的顶部Build->Make Moduie)
- 如果编译运行过后报没有找到你编译的so文件,可以去build下面查看是否编译so文件成功
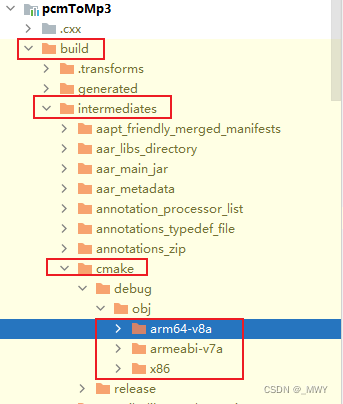
Demo地址![]() https://gitcode.net/weixin_41620505/pcm-and-wav-to-mp3
https://gitcode.net/weixin_41620505/pcm-and-wav-to-mp3
总结
第一次编译还是有挺多坑的,比如上面需要注意的那几点。
![[opcv图像处理] C/C|++将图片转换为马赛克效果](https://static.hdslb.com/mobile/img/512.png)

