目录
一、引言
二、文件的上传
1、单文件上传
1.1、数据表准备
1.2、添加依赖
1.3、配置文件
1.4、编写表单
1.5、编写controller层
2、多文件上传
2.1、编写form表单
2.2、编写controller层
2.3、测试
三、文件下载
四、JREBEL使用
1、下载注册
2、离线设置
一、引言
为什么要使用文件的上传下载?作用?
SpringMVC文件上传下载是一个常见的功能,它可以让用户上传文件到服务器或者从服务器下载文件。这对于许多Web应用程序来说是必不可少的功能,比如在线存储、文档管理系统等。SpringMVC提供了一些方便的注释和API,可以使文件上传和下载变得非常简单。在文件上传方面,SpringMVC提供了@RequestParam注释和MultipartFile类,可以轻松地处理上传的文件。在文件下载方面,SpringMVC提供了ResponseEntity类,可以将文件作为响应发送给客户端。
二、文件的上传
1、单文件上传
1.1、数据表准备
根据自己的表来也是可以的,只是用来保存数据
1.2、添加依赖
在你的spring mvc里面的pom.xml里面添加文件上传的依赖
<dependencies>        <dependency><groupId>commons-fileupload</groupId><artifactId>commons-fileupload</artifactId><version>${commons-fileupload.version}</version></dependency>
</dependencies>
1.3、配置文件
在自己的spring-mvc.xml文件里面添加配置
<bean id="multipartResolver" class="org.springframework.web.multipart.commons.CommonsMultipartResolver"><!-- 必须和用户JSP 的pageEncoding属性一致,以便正确解析表单的内容 --><property name="defaultEncoding" value="UTF-8"></property><!-- 文件最大大小(字节) 1024*1024*50=50M--><property name="maxUploadSize" value="52428800"></property><!--resolveLazily属性启用是为了推迟文件解析,以便捕获文件大小异常--><property name="resolveLazily" value="true"/>
</bean>
下面我提供我的文件配置
<?xml version="1.0" encoding="UTF-8"?>
<beans xmlns="http://www.springframework.org/schema/beans"xmlns:xsi="http://www.w3.org/2001/XMLSchema-instance"xmlns:context="http://www.springframework.org/schema/context"xmlns:aop="http://www.springframework.org/schema/aop"xmlns:mvc="http://www.springframework.org/schema/mvc"xsi:schemaLocation="http://www.springframework.org/schema/beanshttp://www.springframework.org/schema/beans/spring-beans.xsdhttp://www.springframework.org/schema/contexthttp://www.springframework.org/schema/context/spring-context-4.3.xsdhttp://www.springframework.org/schema/aophttp://www.springframework.org/schema/aop/spring-aop-4.3.xsdhttp://www.springframework.org/schema/mvchttp://www.springframework.org/schema/mvc/spring-mvc.xsd"><!--1) 扫描com.tgq及子子孙孙包下的控制器(扫描范围过大,耗时)--><context:component-scan base-package="com.tgq"/><!--2) 此标签默认注册DefaultAnnotationHandlerMapping和AnnotationMethodHandlerAdapter --><mvc:annotation-driven/><!--3) 创建ViewResolver视图解析器 --><bean class="org.springframework.web.servlet.view.InternalResourceViewResolver"><!-- viewClass需要在pom中引入两个包:standard.jar and jstl.jar --><property name="viewClass"value="org.springframework.web.servlet.view.JstlView"></property><property name="prefix" value="/WEB-INF/jsp/"/><property name="suffix" value=".jsp"/></bean><!--4) 单独处理图片、样式、js等资源 --><!--        <mvc:resources location="/static/" mapping="/static/**"/>--><!--    处理文件上传下载问题--><bean id="multipartResolver" class="org.springframework.web.multipart.commons.CommonsMultipartResolver"><!-- 必须和用户JSP 的pageEncoding属性一致,以便正确解析表单的内容 --><property name="defaultEncoding" value="UTF-8"></property><!-- 文件最大大小(字节) 1024*1024*50=50M--><property name="maxUploadSize" value="52428800"></property><!--resolveLazily属性启用是为了推迟文件解析,以便捕获文件大小异常--><property name="resolveLazily" value="true"/></bean><!--  处理controller层发送请求到biz,会经过切面的拦截处理  --><aop:aspectj-autoproxy/>
</beans>
1.4、编写表单
表单提交方式为method="post"和enctype="multipart/form-data"
<%--Created by IntelliJ IDEA.User: tgqDate: 9/9/2023Time: 下午2:41To change this template use File | Settings | File Templates.
--%>
<%@ page contentType="text/html;charset=UTF-8" language="java" %>
<html>
<head><title>图片上传</title>
</head>
<body>
<form action="${pageContext.request.contextPath }/sc/upload" method="post" enctype="multipart/form-data"><label>编号:</label><input type="text" name="cid" readonly="readonly" value="${param.cid}"/><br/><label>图片:</label><input type="file" name="zx"/><br/><input type="submit" value="上传图片"/>
</form>
</body>
</html>
上传图片的name名字不能和数据库表名的列名一样,但是必须要和后端的代码的名字一样

1.5、编写controller层
@Controller
@RequestMapping("/sc")
public class StrutsClasController {@Autowiredprivate StrutsClasBiz strutsClasBiz;/*** 文件上传* <p>* //     * @param req* //     * @param strutsClas** @param zx* @return*/@RequestMapping(value = "/upload")public String upload(StrutsClas strutsClas, MultipartFile zx) {
//    public String upload(HttpServletRequest req, StrutsClas strutsClas, MultipartFile pic) {try {//思路://1) 将上传图片保存到服务器中的指定位置
//            本地保存地址
//            String dir = PropertiesUtil.getValue("dir");String dir="d:/";
//            网络保存地址/upload/
//            String server = PropertiesUtil.getValue("server");String server="/upload/";
//            文件名String filename = zx.getOriginalFilename();
//            System.out.println("文件名:" + filename);
//            文件类别
//            System.out.println("文件类别" + zx.getContentType());System.out.println(strutsClas);FileUtils.copyInputStreamToFile(zx.getInputStream(), new File(dir + filename));//2) 更新数据库表t_struts_class图片记录strutsClas.setPic(server + filename);strutsClasBiz.updateByPrimaryKeySelective(strutsClas);} catch (Exception e) {e.printStackTrace();}return "redirect:list";}
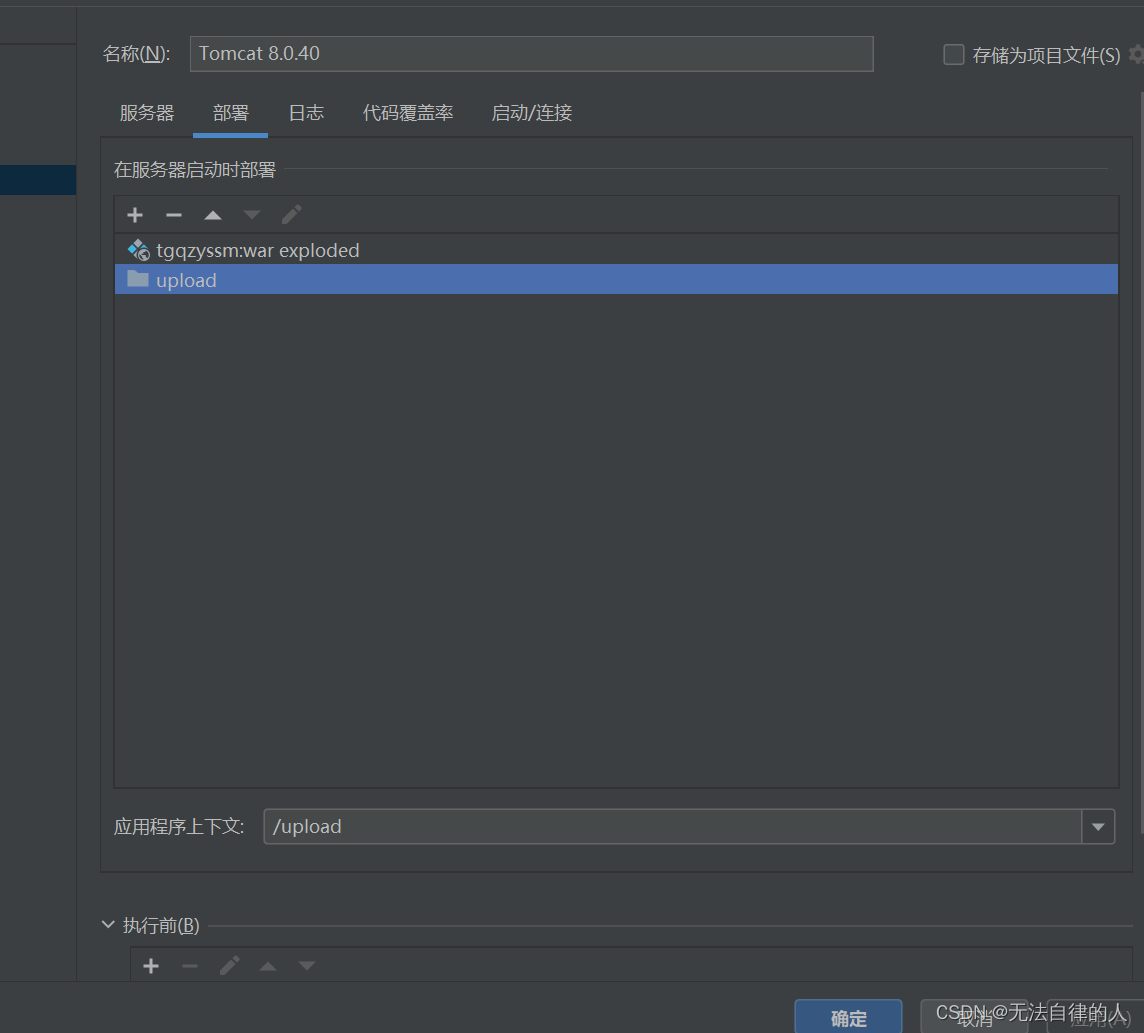
}配置tomcat的时候记得添加upload地址映射

2、多文件上传
2.1、编写form表单
<form method="post" action="/sc/uploads" enctype="multipart/form-data"><input type="file" name="files" multiple><button type="submit">上传</button>
</form>
2.2、编写controller层
/*** 多文件上传** @param req* @param clas* @param files* @return*/@RequestMapping("/uploads")public String uploads(HttpServletRequest req,MultipartFile[] files) {try {StringBuffer sb = new StringBuffer();for (MultipartFile cfile : files) {//思路://1) 将上传图片保存到服务器中的指定位置String dir = "D:/temp/upload/";String server = "/upload/";String filename = cfile.getOriginalFilename();FileUtils.copyInputStreamToFile(cfile.getInputStream(), new File(dir + filename));sb.append(filename).append(",");}System.out.println(sb.toString());} catch (Exception e) {e.printStackTrace();}return "redirect:list";}2.3、测试
但我们选择多个文件上传
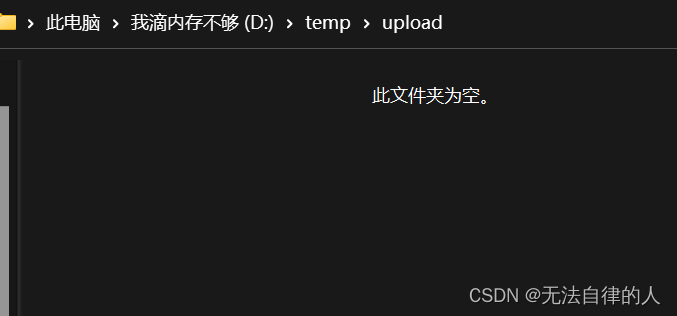
我们的本地文件为空
当我们上传之后本地就会进行上传
运用到我们的数据库也是一样的
三、文件下载
根据自己的表来进行操作
<a href="${pageContext.request.contextPath }/sc/download?cid=${b.cid}">下载图片</a>
编写编写controller层方法
/*** 文件下载** @param strutsClas* @param req* @return*/@RequestMapping(value = "/download")public ResponseEntity<byte[]> download(StrutsClas strutsClas, HttpServletRequest req) {try {//先根据文件id查询对应图片信息StrutsClas strutsClas1 = this.strutsClasBiz.selectByPrimaryKey(strutsClas.getCid());
//需要下载的地址String diskPath = PropertiesUtil.getValue("dir");
//服务器里面保存图片的地址String reqPath = PropertiesUtil.getValue("server");String realPath = strutsClas1.getPic().replace(reqPath, diskPath);String fileName = realPath.substring(realPath.lastIndexOf("/") + 1);//下载关键代码File file = new File(realPath);HttpHeaders headers = new HttpHeaders();//http头信息String downloadFileName = new String(fileName.getBytes("UTF-8"), "iso-8859-1");//设置编码headers.setContentDispositionFormData("attachment", downloadFileName);headers.setContentType(MediaType.APPLICATION_OCTET_STREAM);//MediaType:互联网媒介类型  contentType:具体请求中的媒体类型信息return new ResponseEntity<byte[]>(FileUtils.readFileToByteArray(file), headers, HttpStatus.OK);} catch (Exception e) {e.printStackTrace();}return null;}
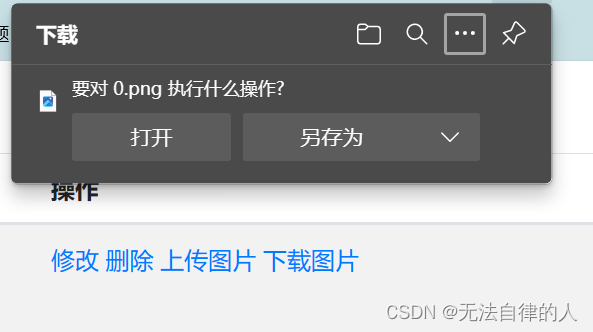
当我们点击下载的时候就会进行下载
四、JREBEL使用
1、下载注册
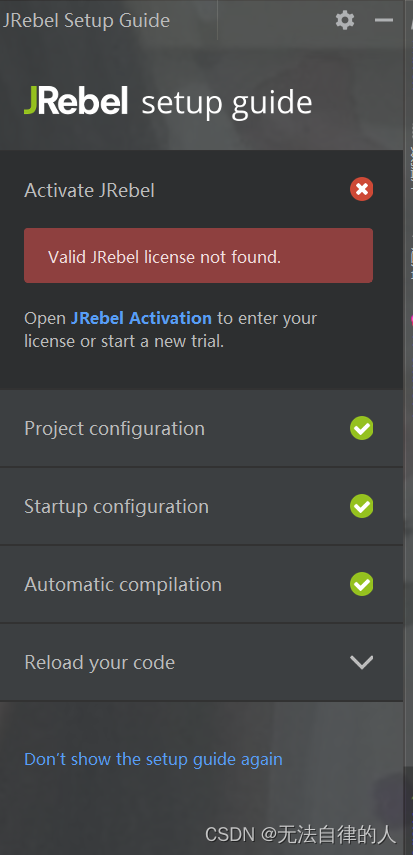
搜索插件JRebel 并且下载,安装成功之后会让你重启,重启之后按操作来
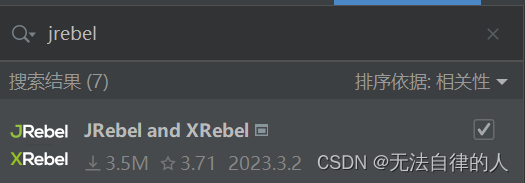
在弹出框里面进行注册
在第一个里面填写 http://127.0.0.1:8888/GUID
GUID:更改为GUID online erstellen 里面生成的ID填写
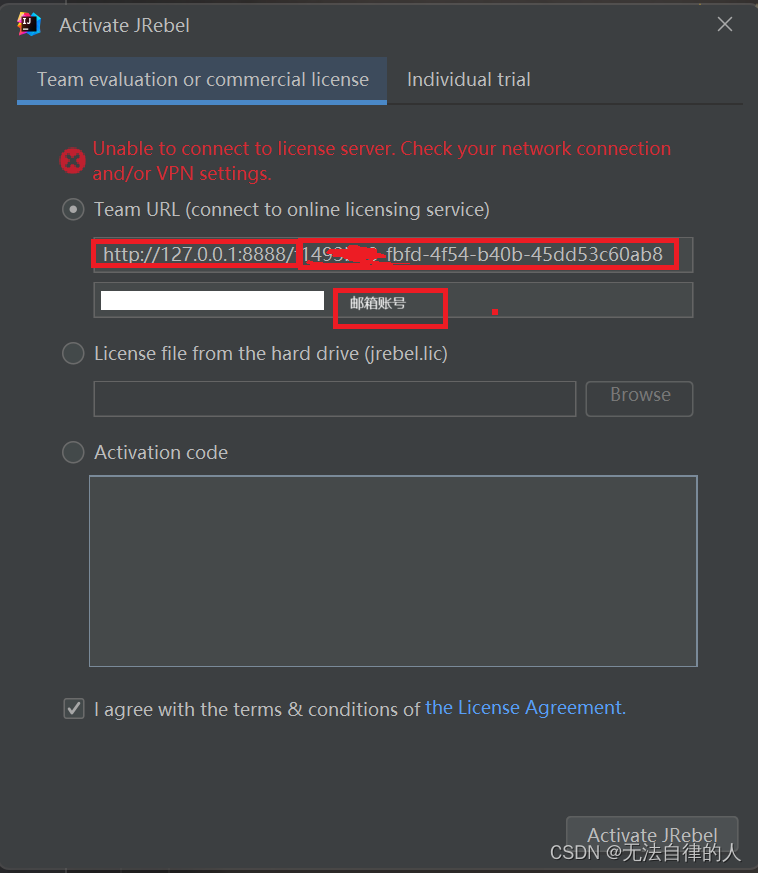
最后确认注册
启动你的代理。然后运行JRebel

2、离线设置
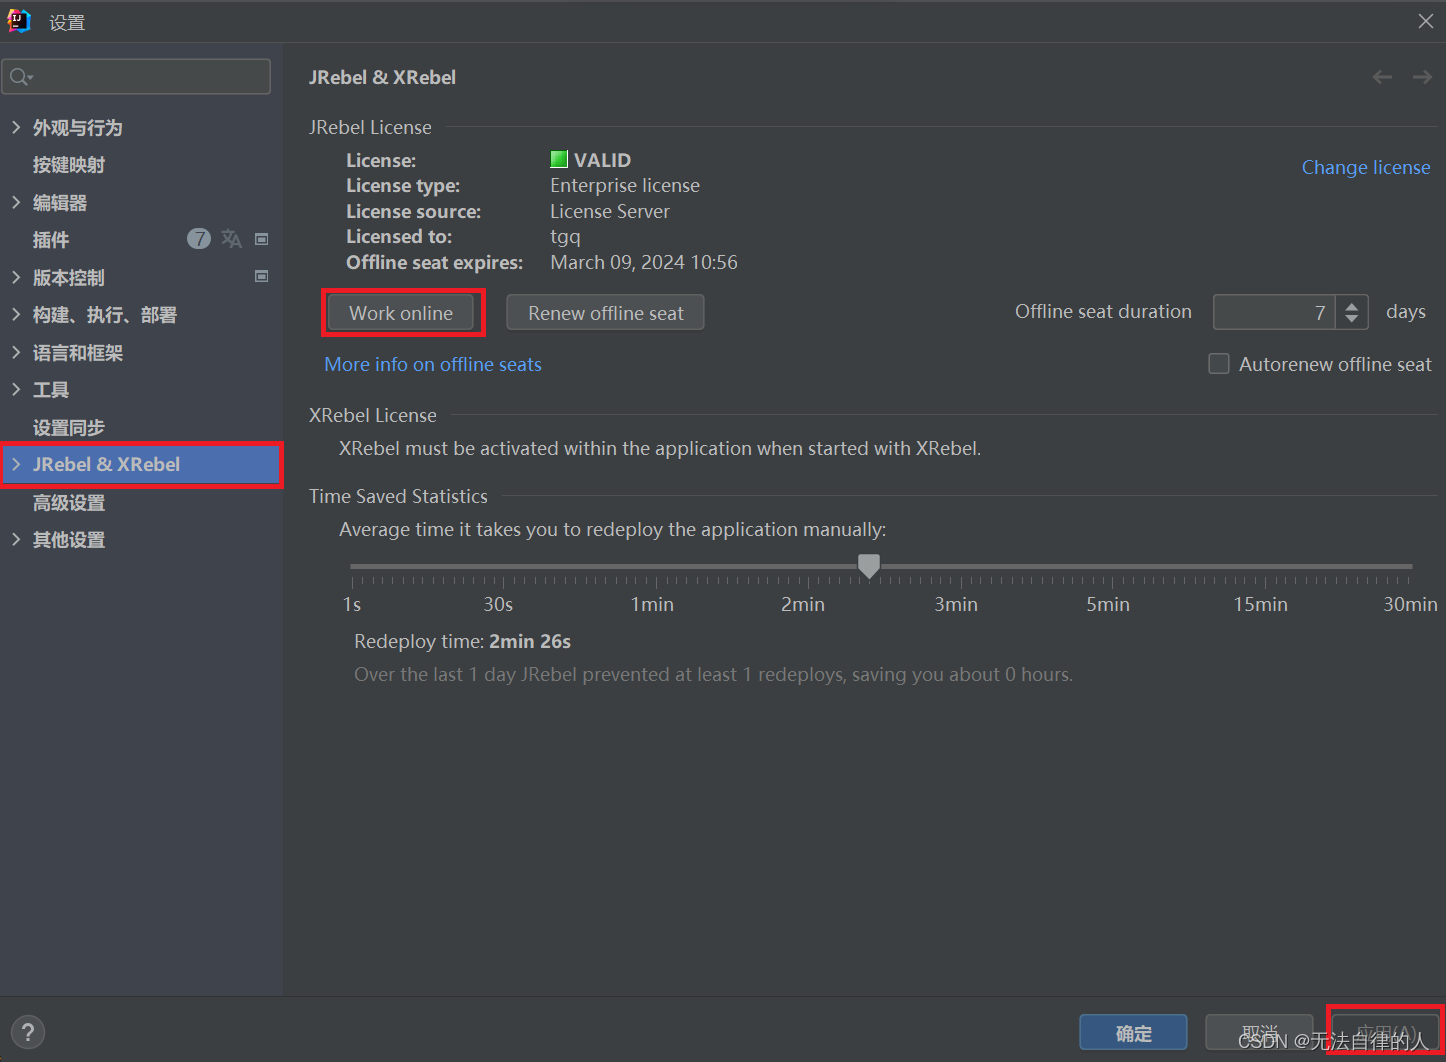
进入我们的设置,前提是我们要开始我们的代理才能进行这个操作
