本博文详细描述如何把一个没有启动安全的 Elasticsearch 集群升级为一个带有 HTTPS 访问的启用 Elasticsearch xpack 安全的集群。
为了增强 Elasticsearch 集群的安全性,你需要执行完全集群重启,并在客户端进行一些更改。 启用身份验证后,所有索引和搜索数据的请求都将需要用户名和密码或 token。
安装
如果你还不知道如何安装一个不含有安全的 Elasticsearch 8.x 集群,那么请参考之前的文章:
-
Elasticsearch:如何在 Docker 上运行 Elasticsearch 8.x 进行本地开发
-
Elastic Stack 8.0 安装 - 保护你的 Elastic Stack 现在比以往任何时候都简单 (参考文章的 “如何配置 Elasticsearch 不带安全性” 部分)
在本显示中,我们将参考上面的第二篇文章在本地部署一个不带安全的 Elasticsearch 集群。在第一次启动 Elasticsearch 之前,我们必须修改 elasticsearch.yml 文件如下:
xpack.security.enabled: false
xpack.security.http.ssl.enabled: false
只有这样的配置,我们才可以安装出一个没有任何安全的 Elasticsearch 集群。安装完毕后,我们可以在 http://localhost:9200 来访问 Elasticsearch 集群。
$ curl http://localhost:9200
{"name" : "liuxgm.local","cluster_name" : "elasticsearch","cluster_uuid" : "hHUucYL9Q0GhcC9QivRlDg","version" : {"number" : "8.10.0","build_flavor" : "default","build_type" : "tar","build_hash" : "e338da74c79465dfdc204971e600342b0aa87b6b","build_date" : "2023-09-07T08:16:21.960703010Z","build_snapshot" : false,"lucene_version" : "9.7.0","minimum_wire_compatibility_version" : "7.17.0","minimum_index_compatibility_version" : "7.0.0"},"tagline" : "You Know, for Search"
}
一旦安装完毕,我们在下面的步骤中来进行展示。
启动 xpack 安全
步骤:
- 创建 SSL Elastic 证书
- 将 SSL 证书复制到所有节点
- 更新 elasticsearch.yml
- 停止所有 Elasticsearch 节点
- 启动所有 Elasticsearch 节点
- 创建/重置内置用户密码
下面,我们分别进行展示各个步骤。
1. 创建 SSL Elastic 证书
- 要启用 TLS 通信,需要 SSL 证书。 首先创建 SSL 证书。 注意:只需创建一次证书并将其复制到所有节点。
-
创建 CA 证书。
./bin/elasticsearch-certutil ca --days 3650
[Press Enter]
[Press Enter]
$ pwd
/Users/liuxg/test/elasticsearch-8.10.0
$ ./bin/elasticsearch-certutil ca --days 3650
This tool assists you in the generation of X.509 certificates and certificate
signing requests for use with SSL/TLS in the Elastic stack.The 'ca' mode generates a new 'certificate authority'
This will create a new X.509 certificate and private key that can be used
to sign certificate when running in 'cert' mode.Use the 'ca-dn' option if you wish to configure the 'distinguished name'
of the certificate authorityBy default the 'ca' mode produces a single PKCS#12 output file which holds:* The CA certificate* The CA's private keyIf you elect to generate PEM format certificates (the -pem option), then the output will
be a zip file containing individual files for the CA certificate and private keyPlease enter the desired output file [elastic-stack-ca.p12]:
Enter password for elastic-stack-ca.p12 :
$ ls
LICENSE.txt bin elastic-stack-ca.p12 logs
NOTICE.txt config jdk.app modules
README.asciidoc data lib plugins在上面,我们可以看到生产的 elastic-stack-ca.p12 文件。如果你是针对 Linux 的安装,那么你的证书必须是位于 /usr/share/elasticsearch 目录下。
- 在单个节点上,为集群中的所有节点生成证书和私钥。
./bin/elasticsearch-certutil cert --ca elastic-stack-ca.p12 --days 3650
[Press Enter]
[Press Enter]
$ ./bin/elasticsearch-certutil cert --ca elastic-stack-ca.p12 --days 3650
This tool assists you in the generation of X.509 certificates and certificate
signing requests for use with SSL/TLS in the Elastic stack.The 'cert' mode generates X.509 certificate and private keys.* By default, this generates a single certificate and key for useon a single instance.* The '-multiple' option will prompt you to enter details for multipleinstances and will generate a certificate and key for each one* The '-in' option allows for the certificate generation to be automated by describingthe details of each instance in a YAML file* An instance is any piece of the Elastic Stack that requires an SSL certificate.Depending on your configuration, Elasticsearch, Logstash, Kibana, and Beatsmay all require a certificate and private key.* The minimum required value for each instance is a name. This can simply be thehostname, which will be used as the Common Name of the certificate. A fulldistinguished name may also be used.* A filename value may be required for each instance. This is necessary when thename would result in an invalid file or directory name. The name provided hereis used as the directory name (within the zip) and the prefix for the key andcertificate files. The filename is required if you are prompted and the nameis not displayed in the prompt.* IP addresses and DNS names are optional. Multiple values can be specified as acomma separated string. If no IP addresses or DNS names are provided, you maydisable hostname verification in your SSL configuration.* All certificates generated by this tool will be signed by a certificate authority (CA)unless the --self-signed command line option is specified.The tool can automatically generate a new CA for you, or you can provide your own withthe --ca or --ca-cert command line options.By default the 'cert' mode produces a single PKCS#12 output file which holds:* The instance certificate* The private key for the instance certificate* The CA certificateIf you specify any of the following options:* -pem (PEM formatted output)* -multiple (generate multiple certificates)* -in (generate certificates from an input file)
then the output will be be a zip file containing individual certificate/key filesEnter password for CA (elastic-stack-ca.p12) :
Please enter the desired output file [elastic-certificates.p12]:
Enter password for elastic-certificates.p12 : Certificates written to /Users/liuxg/test/elasticsearch-8.10.0/elastic-certificates.p12This file should be properly secured as it contains the private key for
your instance.
This file is a self contained file and can be copied and used 'as is'
For each Elastic product that you wish to configure, you should copy
this '.p12' file to the relevant configuration directory
and then follow the SSL configuration instructions in the product guide.For client applications, you may only need to copy the CA certificate and
configure the client to trust this certificate.
$ ls
LICENSE.txt data logs
NOTICE.txt elastic-certificates.p12 modules
README.asciidoc elastic-stack-ca.p12 plugins
bin jdk.app
config lib从上面的输出中我们可以看出来有一个新的文件 elastic-certificates.p12 被生成。
2. 拷贝 SSL 证书到所有的节点
针对子家压缩包进行安装的 Elasticsearch 来说,我们可以把刚生产的证书拷贝到相应的 config 目录下:
$ pwd
/Users/liuxg/test/elasticsearch-8.10.0
$ cp elastic-certificates.p12 config/
针对 Linux 环境,我们可以使用如下的命令来进行拷贝。必须在 “/usr/share/elasticsearch” 下创建 “elastic-certificates.p12” 文件。 创建 SSL 证书 (elastic-certificates.p12) 后,将其复制并粘贴到所有节点上。
mv /usr/share/elasticsearch/elastic-certificates.p12 /etc/elasticsearch/
chown elasticsearch:elasticsearch /etc/elasticsearch/ -R
3. 更新 elasticsearch.yml 文件
编辑 elasticsearch.yml 文件并添加或更新以下设置:
xpack.security.enabled: true
xpack.security.transport.ssl.enabled: true
xpack.security.transport.ssl.verification_mode: certificate
xpack.security.transport.ssl.client_authentication: required
xpack.security.transport.ssl.keystore.path: elastic-certificates.p12
xpack.security.transport.ssl.truststore.path: elastic-certificates.p12xpack.security.http.ssl:enabled: truekeystore.path: elastic-certificates.p12
如果你是按照本教程安装的没有设置任何安全的 Elasticsearch 集群,那么请删之前在安装时的如下两行,再进行粘贴上面的代码:
注意:证书的默认路径是 “/etc/elasticsearch/elastic-certificates.p12”。 还有:确保没有重复设置。
4. 停止所有的 Elasticsearch 节点
Linux:
service elasticsearch stop如果是字节压缩的安装,你可以使用 Ctrl + C 来终止集群的运行。
5. 启动所有 Elasticsearch 节点
从主节点开始,启动所有 Elasticsearch 节点。
Linux:
service elasticsearch start针对自解压的安装,你可以使用:
./bin/elasticsearch从主节点开始可确保 Elasticsearch 集群的核心在数据节点上线之前启动并运行。 此顺序对于维护集群稳定性和数据完整性非常重要。
6. 创建/重置内置用户密码
bin/elasticsearch-reset-password -u -i elastic$ pwd
/Users/liuxg/test/elasticsearch-8.10.0
$ ./bin/elasticsearch-setup-passwords interactive
******************************************************************************
Note: The 'elasticsearch-setup-passwords' tool has been deprecated. This command will be removed in a future release.
******************************************************************************Initiating the setup of passwords for reserved users elastic,apm_system,kibana,kibana_system,logstash_system,beats_system,remote_monitoring_user.
You will be prompted to enter passwords as the process progresses.
Please confirm that you would like to continue [y/N]yEnter password for [elastic]:
Reenter password for [elastic]:
Enter password for [apm_system]:
Reenter password for [apm_system]:
Enter password for [kibana_system]:
Reenter password for [kibana_system]:
Enter password for [logstash_system]:
Reenter password for [logstash_system]:
Enter password for [beats_system]:
Reenter password for [beats_system]:
Enter password for [remote_monitoring_user]:
Reenter password for [remote_monitoring_user]:
Changed password for user [apm_system]
Changed password for user [kibana_system]
Changed password for user [kibana]
Changed password for user [logstash_system]
passwordChanged password for user [beats_system]
Changed password for user [remote_monitoring_user]
Changed password for user [elastic]为方便说明,我们在上面把密码都设置为 “password”。
7. 测试
我们使用如下的命令来进行测试:
curl -k -u elastic:password https://localhost:9200$ curl -k -u elastic:password https://localhost:9200
{"name" : "liuxgm.local","cluster_name" : "elasticsearch","cluster_uuid" : "hHUucYL9Q0GhcC9QivRlDg","version" : {"number" : "8.10.0","build_flavor" : "default","build_type" : "tar","build_hash" : "e338da74c79465dfdc204971e600342b0aa87b6b","build_date" : "2023-09-07T08:16:21.960703010Z","build_snapshot" : false,"lucene_version" : "9.7.0","minimum_wire_compatibility_version" : "7.17.0","minimum_index_compatibility_version" : "7.0.0"},"tagline" : "You Know, for Search"
}常见问题及解决方案:
- SSL 证书路径:确保 “elastic-certificates.p12” 路径正确。 在 Debian 或 RPM 安装中,默认路径是 “/etc/elasticsearch”。
- SSL 证书权限:验证所有 Elasticsearch 节点是否具有 SSL 证书和足够的访问权限。
- SSL 证书密码:在证书创建过程中,未定义密码,但 Elasticsearch v8 可能有默认密码。 检查 “./bin/elasticsearch-keystore list” 并删除为“xpack.security.transport.ssl.*”定义的任何密码。
- Elasticsearch-Reset-Password 命令(1):确保您可以通过 localhost 访问 Elasticsearch。 如果没有,请在命令末尾添加 “—url”。 检查是否有任何代理问题。
- Elasticsearch-Reset-Password命令(2):该命令需要数据节点连接到集群,因为它需要将 elastic 用户密码添加到 '.security' 索引中。 在运行命令之前确保数据节点已连接。
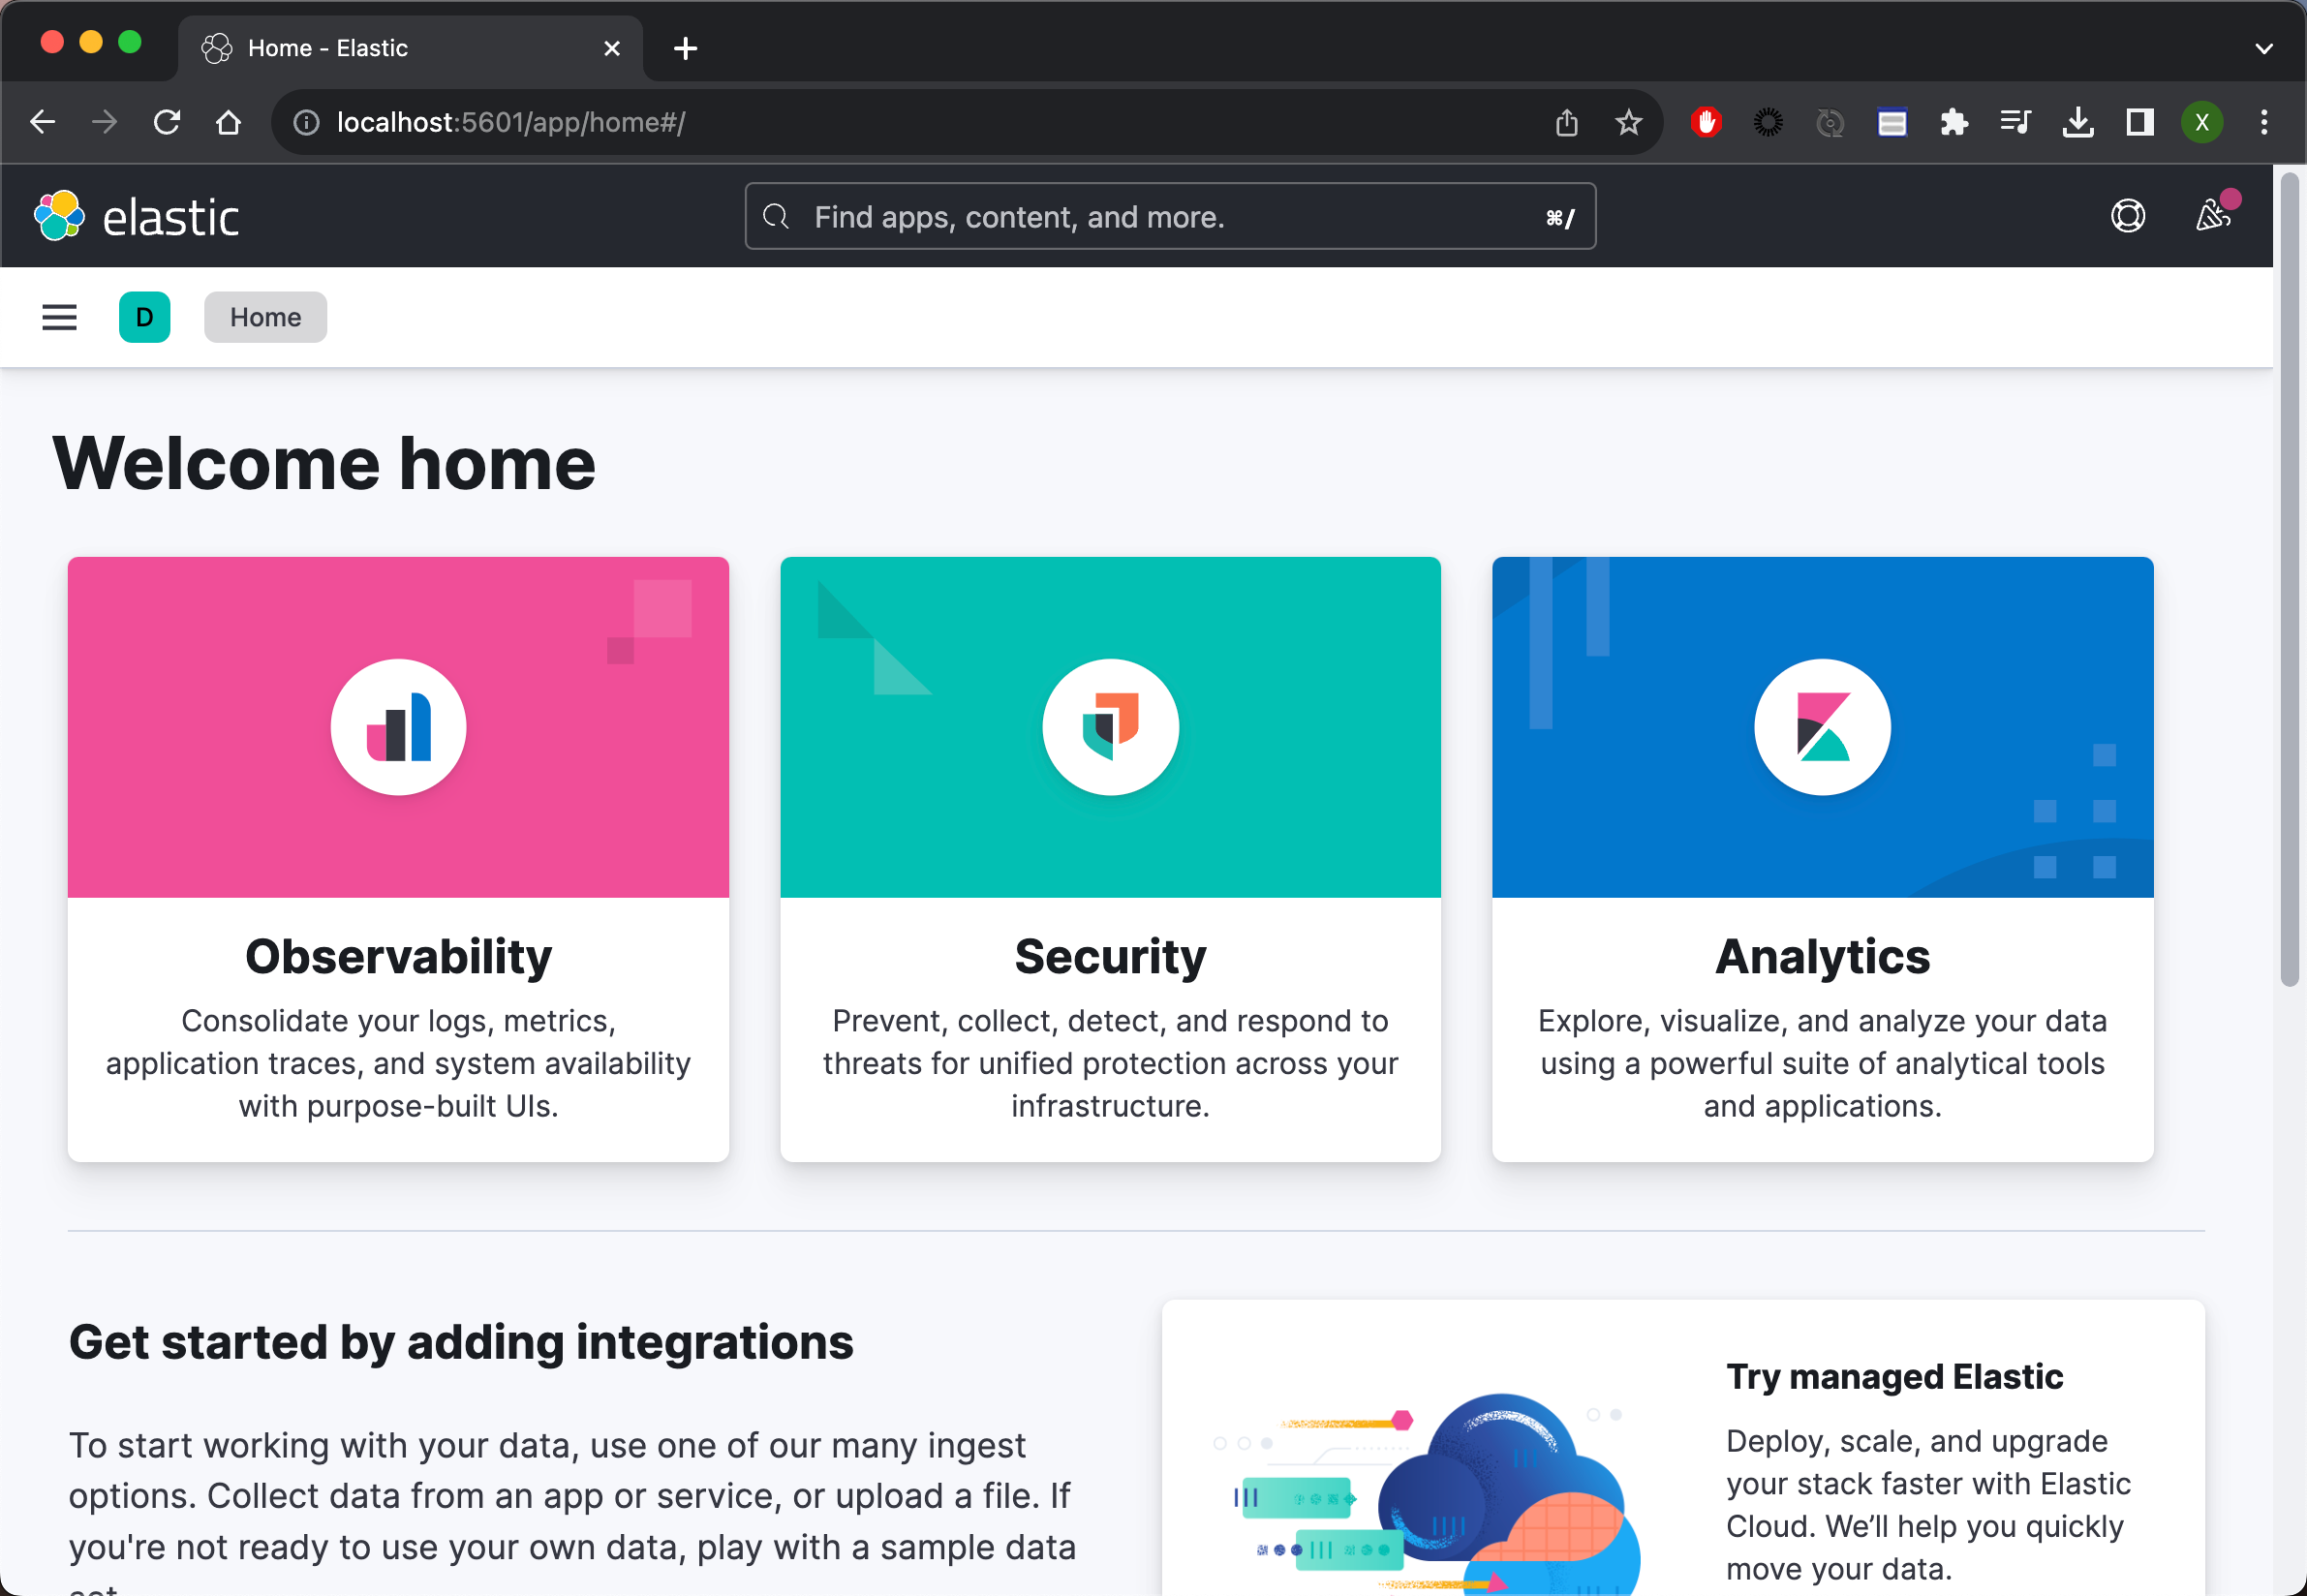
- Kibana 不工作:Elasticsearch v8 之后,你无法在 Kibana 中使用 elastic 超级用户。 使用 “kibana_system” 用户。
- Kibana 系统无法登录:使用 elastic 用户登录 Kibana; “kibana_system” 用户保留用于 Kibana 和 Elasticsearch 之间的通信。
更多阅读:Security:如何安装 Elastic SIEM 和 EDR