图片压缩
- 使用第三方工具手动压缩图片
- 使用Webpack工具在打包时自动压缩图片
这里主要介绍第二种方法。
(1)将小于某个大小的图片转化成 data URI 形式(Base64 格式),减少请求数量,但是体积变得更大
module: {rules: [test: /\.(png|jpe?g|gif|svg)$/,type: "asset",parser: {dataUrlCondition: {maxSize: 10 * 1024,},},},],},
(2)调用第三方依赖,在打包时压缩图片
optimization: {minimize: isProduction,// 压缩的操作minimizer: [new ImageMinimizerPlugin({minimizer: {implementation: ImageMinimizerPlugin.imageminGenerate,options: {plugins: [["gifsicle", { interlaced: true }],["jpegtran", { progressive: true }],["optipng", { optimizationLevel: 5 }],["svgo",{plugins: ["preset-default","prefixIds",{name: "sortAttrs",params: {xmlnsOrder: "alphabetical",},},],},],],},},}),],},
图片懒加载
- 使用vue-lazyload组件
// main.js
import { createApp } from 'vue'
import App from './App.vue'import VueLazyLoad from 'vue-lazyload'const app = createApp(App);app.use(VueLazyLoad, {preLoad: 1,error: require('./assets/image/error.jpg'),loading: require('./assets/image/loading.gif'),attempt: 2,
});
app.mount('#app');
// index.vue
<template><div><img v-lazy="picture1" class="img" alt="" /></div><div class="abc" /><div><img v-lazy="picture2" alt="" /></div>
</template><script setup>
const picture1 = '/assets/image/camera0.png'
const picture2 = '/assets/image/camera1.png'
</script><style style="less" scoped>
.abc {height: 1200px;
}
.img {height: 200px;width: 300px;
}
</style>
先只加载可视区域的图片
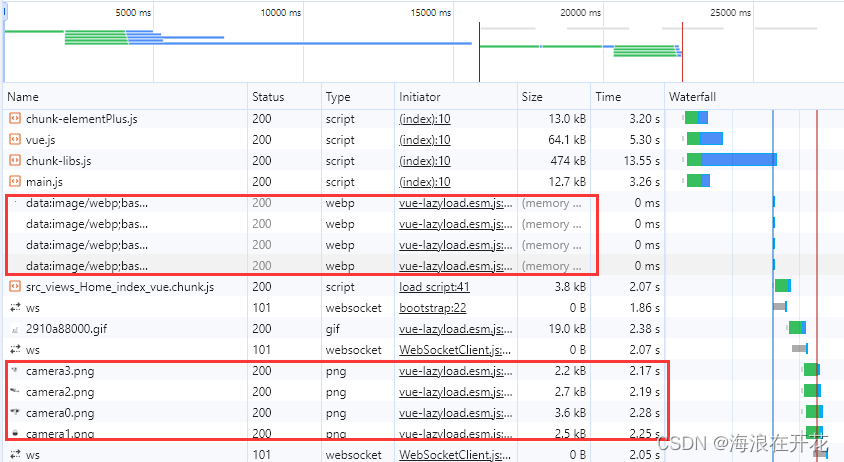
随着滑动窗口,开始加载其它图片
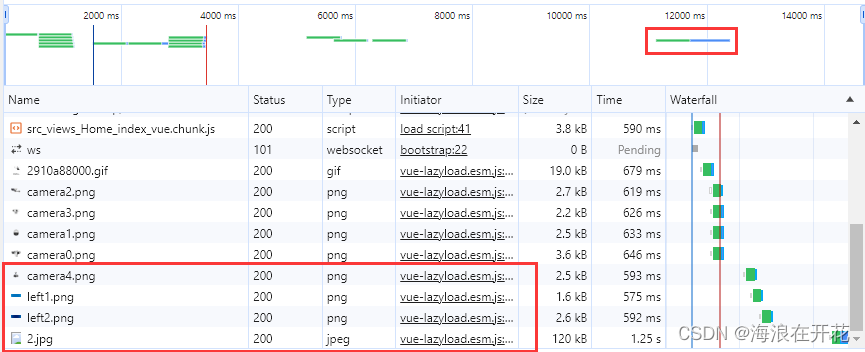
- 使用Intersection Observer API自定义实现图片懒加载
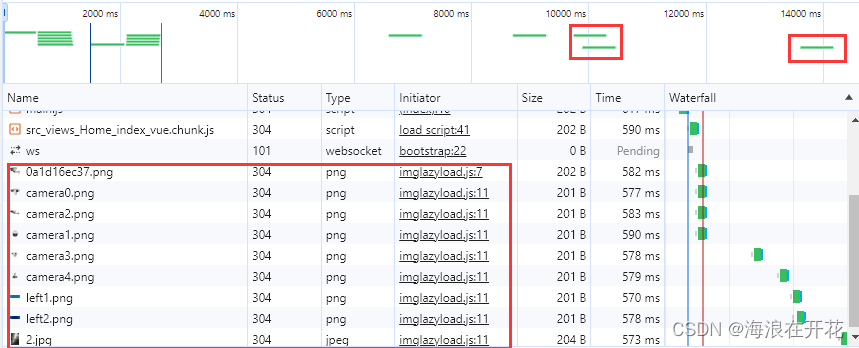
Intersection Observer 允许用户得知被观察的元素何时进入或退出浏览器的视口。
import { useIntersectionObserver } from "@vueuse/core";
import defaultImg from '@/assets/image/1.png'const lazyDirective = {mounted(el, binding) {el.src = defaultImg;console.log('lazy', el, binding.value);const loadImage = () => {el.src = binding.value;el.onerror = () => el.src = defaultImg;};const { stop } = useIntersectionObserver(el, ([{ isIntersecting }]) => {if (isIntersecting) {loadImage();stop();}});}
};export default {install(app) {app.directive('lazy', lazyDirective);}
};


![[MRCTF2020]Ez_bypass1](https://img-blog.csdnimg.cn/direct/53bf51419c1d4b669e038a118fb983bf.png)
