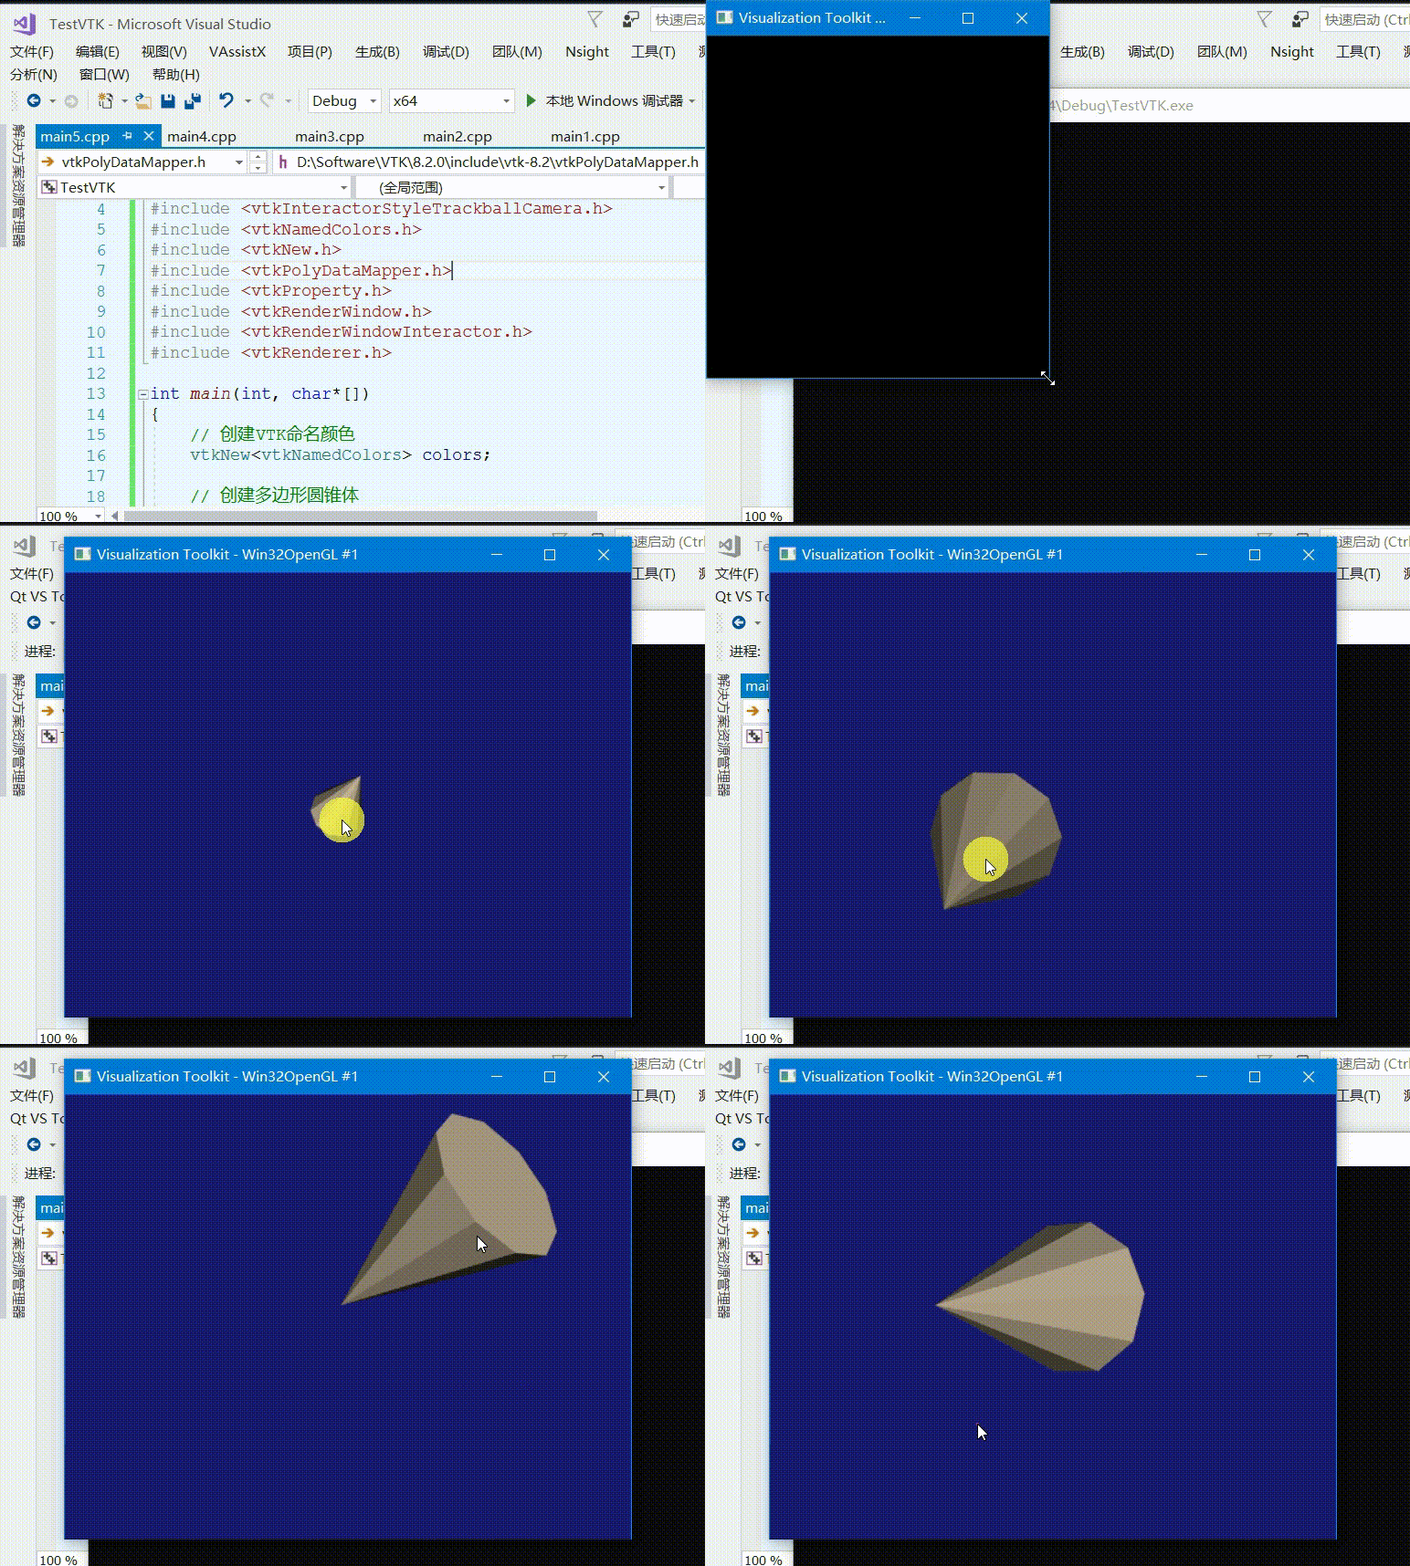
代码效果
本代码编译运行均在如下链接文章生成的库执行成功,若无VTK库则请先参考如下链接编译vtk源码:
VTK —— 一、Windows10下编译VTK源码,并用Vs2017代码测试(附编译流程、附编译好的库、vtk测试源码)
教程描述
本示例演示定义了不同的交互样式。
完整源码
#include <vtkActor.h>
#include <vtkCamera.h>
#include <vtkConeSource.h>
#include <vtkInteractorStyleTrackballCamera.h>
#include <vtkNamedColors.h>
#include <vtkNew.h>
#include <vtkPolyDataMapper.h>
#include <vtkProperty.h>
#include <vtkRenderWindow.h>
#include <vtkRenderWindowInteractor.h>
#include <vtkRenderer.h>int main(int, char*[])
{// 创建VTK命名颜色vtkNew<vtkNamedColors> colors;// 创建多边形圆锥体vtkNew<vtkConeSource> cone;cone->SetHeight(3.0);		  // 设置圆锥体的高度cone->SetRadius(1.0);		  // 设置圆锥的底半径cone->SetResolution(10);	  // 设置用于表示圆锥的刻面数// 将多边形数据映射到图形基元映射器vtkNew<vtkPolyDataMapper> coneMapper;coneMapper->SetInputConnection(cone->GetOutputPort());	// 设置给定输入端口索引的连接// 创建渲染场景中的实体1(几何体和属性)vtkNew<vtkActor> coneActor;coneActor->SetMapper(coneMapper);											// 设置映射器: 将参与者连接到可视化管道末尾coneActor->GetProperty()->SetColor(colors->GetColor3d("Bisque").GetData());	// 设置模型颜色// 创建渲染器vtkNew<vtkRenderer> ren1;ren1->AddActor(coneActor);											// 在渲染器中添加实体ren1->SetBackground(colors->GetColor3d("MidnightBlue").GetData());	// 设置渲染屏幕背景色// 为渲染器创建绘制窗口vtkNew<vtkRenderWindow> renWin;renWin->AddRenderer(ren1);					// 添加渲染器renWin->SetSize(300, 300);					// 设置渲染窗口的大小renWin->SetWindowName("Tutorial_Step5");	// 设置渲染窗口名称// 创建交互器: 与平台无关的渲染窗互,包括拾取和帧速率控制。vtkNew<vtkRenderWindowInteractor> iren;iren->SetRenderWindow(renWin);				// 设置由此对象控制的渲染窗口。// 创建相机操作器: 相机的交互式操作vtkNew<vtkInteractorStyleTrackballCamera> style;iren->SetInteractorStyle(style);			// 设置交互器的操作模式// 初始化交互器,准备处理事件并将Enabled标志设置为trueiren->Initialize();// 启动交互器事件循环iren->Start();return EXIT_SUCCESS;
}
笔者
笔者 - jxd
