Sumo学习日记
之前经常使用sumo,但是网络上相关教程较少,且并没有行成系统的教学。官方文档教育效果很棒,但是对于想学习sumo这个软件的萌新来说好像有点不友好,所以在这里开一个专题 主要介绍sumo和traci的相关使用 同时也是自己学习的一个过程 如果有问题 欢迎交流。
文章目录
- Sumo学习日记
- 写在前面
- 一、最简单的traci接口使用
- 二、第一个traci程序
- 三、仿真运行结果
写在前面
这个专题是假设你大致了解了sumo仿真的基本文件结构,如sumocfg 文件、rou.xml文件等。还需要知道xml文件的大致结构。
一、最简单的traci接口使用
traci是sumo基于java和python的一个接口,你可以使用pip install traci命令在你的python或者anaconda环境中添加traci。
如果你要使用traci,你需要在你的电脑环境变量中配置sumo的路径,配置环境变量不用多说,官方文档建议将变量名命名为SUMO_HOME ,最好按照官方文档配置变量名。

二、第一个traci程序
你可以在 sumo安装路径:\Sumo\doc\tutorial\traci_tls中找到一个名为runner.py的文件 详细代码如下:
#!/usr/bin/env python
# Eclipse SUMO, Simulation of Urban MObility; see https://eclipse.org/sumo
# Copyright (C) 2009-2021 German Aerospace Center (DLR) and others.
# This program and the accompanying materials are made available under the
# terms of the Eclipse Public License 2.0 which is available at
# https://www.eclipse.org/legal/epl-2.0/
# This Source Code may also be made available under the following Secondary
# Licenses when the conditions for such availability set forth in the Eclipse
# Public License 2.0 are satisfied: GNU General Public License, version 2
# or later which is available at
# https://www.gnu.org/licenses/old-licenses/gpl-2.0-standalone.html
# SPDX-License-Identifier: EPL-2.0 OR GPL-2.0-or-later# @file    runner.py
# @author  Lena Kalleske
# @author  Daniel Krajzewicz
# @author  Michael Behrisch
# @author  Jakob Erdmann
# @date    2009-03-26from __future__ import absolute_import
from __future__ import print_functionimport os
import sys
import optparse
import random# we need to import python modules from the $SUMO_HOME/tools directory
if 'SUMO_HOME' in os.environ:tools = os.path.join(os.environ['SUMO_HOME'], 'tools')sys.path.append(tools)
else:sys.exit("please declare environment variable 'SUMO_HOME'")from sumolib import checkBinary  # noqa
import traci  # noqadef generate_routefile():random.seed(42)  # make tests reproducibleN = 3600  # number of time steps# demand per second from different directionspWE = 1. / 10pEW = 1. / 11pNS = 1. / 30with open(r"D:\Sumo\doc\tutorial\traci_tls\data\cross.rou.xml", "w") as routes:print("""<routes><vType id="typeWE" accel="0.8" decel="4.5" sigma="0.5" length="5" minGap="2.5" maxSpeed="16.67" \
guiShape="passenger"/><vType id="typeNS" accel="0.8" decel="4.5" sigma="0.5" length="7" minGap="3" maxSpeed="25" guiShape="bus"/><route id="right" edges="51o 1i 2o 52i" /><route id="left" edges="52o 2i 1o 51i" /><route id="down" edges="54o 4i 3o 53i" />""", file=routes)vehNr = 0for i in range(N):if random.uniform(0, 1) < pWE:print('    <vehicle id="right_%i" type="typeWE" route="right" depart="%i" />' % (vehNr, i), file=routes)vehNr += 1if random.uniform(0, 1) < pEW:print('    <vehicle id="left_%i" type="typeWE" route="left" depart="%i" />' % (vehNr, i), file=routes)vehNr += 1if random.uniform(0, 1) < pNS:print('    <vehicle id="down_%i" type="typeNS" route="down" depart="%i" color="1,0,0"/>' % (vehNr, i), file=routes)vehNr += 1print("</routes>", file=routes)# The program looks like this
#    <tlLogic id="0" type="static" programID="0" offset="0">
# the locations of the tls are      NESW
#        <phase duration="31" state="GrGr"/>
#        <phase duration="6"  state="yryr"/>
#        <phase duration="31" state="rGrG"/>
#        <phase duration="6"  state="ryry"/>
#    </tlLogic>def run():"""execute the TraCI control loop"""step = 0# we start with phase 2 where EW has greentraci.trafficlight.setPhase("0", 2)while traci.simulation.getMinExpectedNumber() > 0:traci.simulationStep()if traci.trafficlight.getPhase("0") == 2:# we are not already switchingif traci.inductionloop.getLastStepVehicleNumber("0") > 0:# there is a vehicle from the north, switchtraci.trafficlight.setPhase("0", 3)else:# otherwise try to keep green for EWtraci.trafficlight.setPhase("0", 2)step += 1traci.close()sys.stdout.flush()def get_options():optParser = optparse.OptionParser()optParser.add_option("--nogui", action="store_true",default=False, help="run the commandline version of sumo")options, args = optParser.parse_args()return options# this is the main entry point of this script
if __name__ == "__main__":options = get_options()# this script has been called from the command line. It will start sumo as a# server, then connect and runif options.nogui:sumoBinary = checkBinary('sumo')else:sumoBinary = checkBinary('sumo-gui')# first, generate the route file for this simulationgenerate_routefile()# this is the normal way of using traci. sumo is started as a# subprocess and then the python script connects and runstraci.start([sumoBinary, "-c", "D:/Sumo/doc/tutorial/traci_tls/data/cross.sumocfg","--tripinfo-output", "tripinfo.xml"])run()
如果你的环境变量且traci是配置好了的,这个脚本是可以直接跑的,下面将详细讲解每段代码的含义:
# we need to import python modules from the $SUMO_HOME/tools directory
if 'SUMO_HOME' in os.environ:tools = os.path.join(os.environ['SUMO_HOME'], 'tools')sys.path.append(tools)
else:sys.exit("please declare environment variable 'SUMO_HOME'")
这里是查看你的sumo环境变量是否配置成功 如果代码报错在这里 请检查你的环境配置
def generate_routefile():random.seed(42)  # make tests reproducibleN = 3600  # number of time steps# demand per second from different directionspWE = 1. / 10pEW = 1. / 11pNS = 1. / 30with open(r"D:\Sumo\doc\tutorial\traci_tls\data\cross.rou.xml", "w") as routes:print("""<routes><vType id="typeWE" accel="0.8" decel="4.5" sigma="0.5" length="5" minGap="2.5" maxSpeed="16.67" \
guiShape="passenger"/><vType id="typeNS" accel="0.8" decel="4.5" sigma="0.5" length="7" minGap="3" maxSpeed="25" guiShape="bus"/><route id="right" edges="51o 1i 2o 52i" /><route id="left" edges="52o 2i 1o 51i" /><route id="down" edges="54o 4i 3o 53i" />""", file=routes)vehNr = 0for i in range(N):if random.uniform(0, 1) < pWE:print('    <vehicle id="right_%i" type="typeWE" route="right" depart="%i" />' % (vehNr, i), file=routes)vehNr += 1if random.uniform(0, 1) < pEW:print('    <vehicle id="left_%i" type="typeWE" route="left" depart="%i" />' % (vehNr, i), file=routes)vehNr += 1if random.uniform(0, 1) < pNS:print('    <vehicle id="down_%i" type="typeNS" route="down" depart="%i" color="1,0,0"/>' % (vehNr, i), file=routes)vehNr += 1print("</routes>", file=routes)
这一段代码主要是通过对xml文件的操作,写入交叉口数据,其中< vType >标签表示vehicle type 即交通工具种类 xml的这个分支表示了 车辆id、加速度accel、减速度deccel、服从度(服从度指的是交通驾驶员服从交通规则的概率)sigma、车长length、最小间隙minGap、最大车速maxSpeed、图像显示类型guiShape。如下:
< vType id="typeNS" accel="0.8" decel="4.5" sigma="0.5" length="7" minGap="3" maxSpeed="25" guiShape="bus"/ >
然后< route >标签规定了道路的路径 edge表示道路边缘的id 如 edges=“51o 1i 2o 52i”
表示这个路径 从id为 51o -1i-2o-52i
def run():"""execute the TraCI control loop"""step = 0# 初始相位为两相位且东西为主路 traci.trafficlight.setPhase("0", 2)while traci.simulation.getMinExpectedNumber() > 0:traci.simulationStep()if traci.trafficlight.getPhase("0") == 2:# 尚未准备切换相位if traci.inductionloop.getLastStepVehicleNumber("0") > 0:# 北进口有来车 切换相位为南北放行traci.trafficlight.setPhase("0", 3)else:# 否则继续保持东西通行traci.trafficlight.setPhase("0", 2)step += 1traci.close()sys.stdout.flush()
这里是设置信号灯相位 初始相位为两相位且东西方向为绿灯(放行),这个循环的意义在于每当仿真步长走一步sumlationste判断南北方有无来车,以此达到感应控制的效果(感应控制不知道可以百度或者查看交通管理与控制这本书的相关部分),进而判断是否切断相位。
# this is the main entry point of this script
if __name__ == "__main__":options = get_options()# this script has been called from the command line. It will start sumo as a# server, then connect and runif options.nogui:sumoBinary = checkBinary('sumo')else:sumoBinary = checkBinary('sumo-gui')# first, generate the route file for this simulationgenerate_routefile()# this is the normal way of using traci. sumo is started as a# subprocess and then the python script connects and runstraci.start([sumoBinary, "-c", "D:/Sumo/doc/tutorial/traci_tls/data/cross.sumocfg","--tripinfo-output", "tripinfo.xml"])run()
这是程序运行的主入口 没有什么好说明的
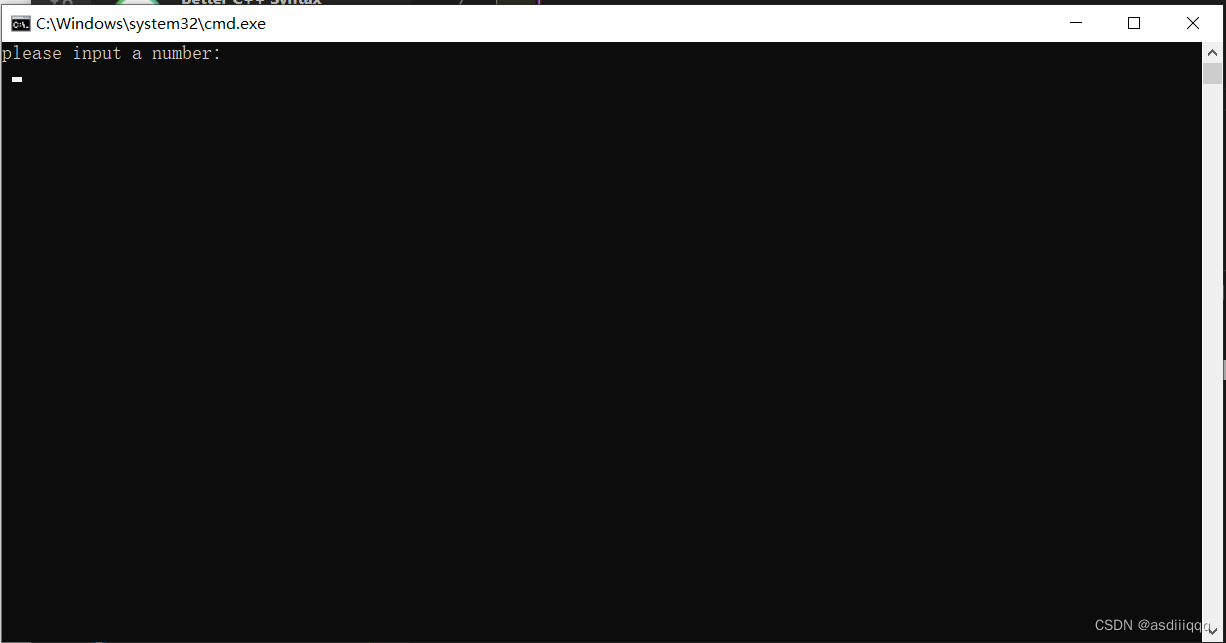
三、仿真运行结果
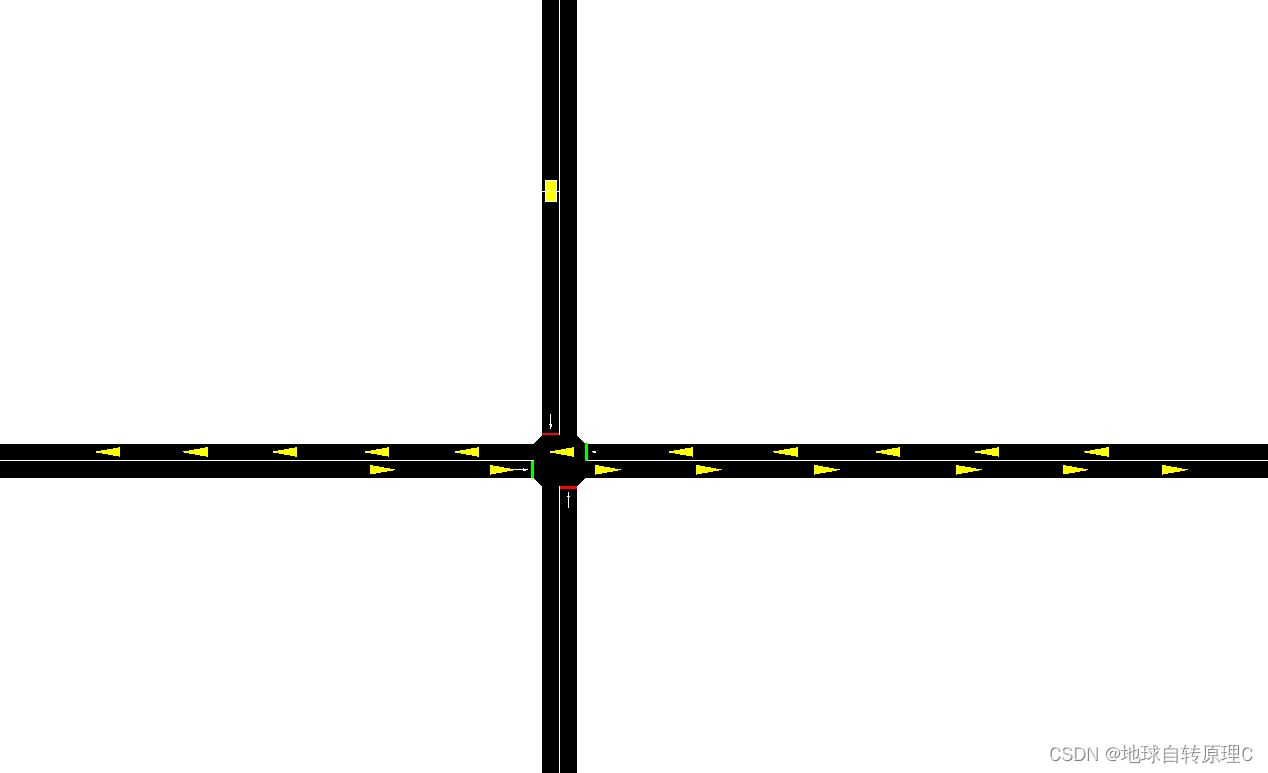
看懂代码之后可以自己修改代码 多试试。