Docker 安装系列
安装GitLab、解决服务器内存不足问题、使用域名/IP地址访问项目
1、拉取
[root@Tseng ~]# docker pull twang2218/gitlab-ce-zh:latest
latest: Pulling from twang2218/gitlab-ce-zh
8ee29e426c26: Pull complete
6e83b260b73b: Pull complete
e26b65fd1143: Pull complete
40dca07f8222: Pull complete
b420ae9e10b3: Pull complete
a218309dd589: Pull complete
5c60fd7ba0ce: Pull complete
659c2144b5a3: Pull complete
8289bbac0d0e: Pull complete
31bbd150e8a7: Pull complete
9114e78243fa: Pull complete
e242e5cd1314: Pull complete
0a079dc3f92c: Pull complete
f0e195b09fd2: Pull complete
6e23346e2f58: Pull complete
91f00659be69: Pull complete
a1031bcc5b2c: Pull complete
e3074327c7b1: Pull complete
a917618dbe42: Pull complete
Digest: sha256:62686b74c6fca5ece8ed582d03a126c5988423dd8a19ce70e9a22357ffcaf1c8
Status: Downloaded newer image for twang2218/gitlab-ce-zh:latest
docker.io/twang2218/gitlab-ce-zh:latest
[root@Tseng ~]# docker images
REPOSITORY                      TAG       IMAGE ID       CREATED         SIZE
twang2218/gitlab-ce-zh          latest    18da462b5ff5   6 years ago     1.61GB
[root@Tseng ~]#
2、创建配置文件
[root@Tseng ~]# mkdir -p /data/gitlab/config
[root@Tseng ~]# mkdir -p /data/gitlab/logs
[root@Tseng ~]# mkdir -p /data/gitlab/data
3、启动容器
[root@Tseng ~]# docker run --detach --hostname 127.0.0.1 --publish 8443:443 --publish 8091:80 --publish 2222:22 --name gitlab --restart always --volume /data/gitlab/config:/etc/gitlab --volume /data/gitlab/logs:/var/log/gitlab --volume /data/gitlab/data:/var/opt/gitlab twang2218/gitlab-ce-zh
4、修改配置
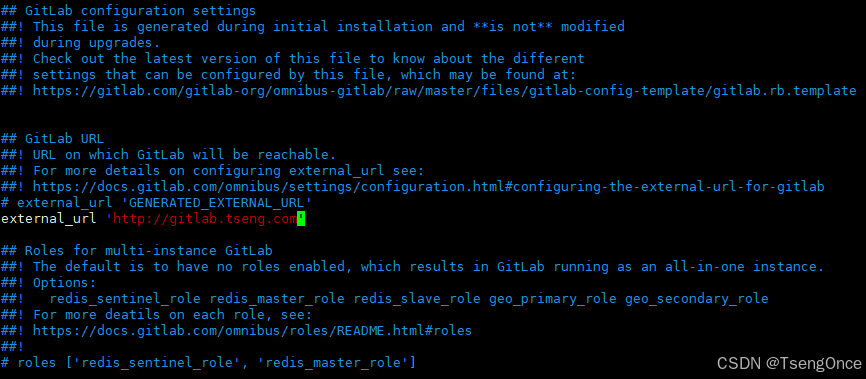
vim /data/gitlab/config/gitlab.rb
配置项目地址为域名或IP地址
external_url 'http://gitlab.tseng.com'

配置ssh连接。ssh连接默认使用的是22端口,修改为启动容器的 2222 。按PageDown 键 7次到达
解决服务器内存不足问题
Docker 搭建 gitlab 服务器卡顿问题解决方法(创建:swap分区)
5、配置域名
server {
listen 80;
server_name gitlab.tseng.com;location / {
proxy_set_header X-Real-IP $remote_addr;
proxy_set_header Host $http_host;
proxy_pass http://192.168.2.81:8091;
}
}
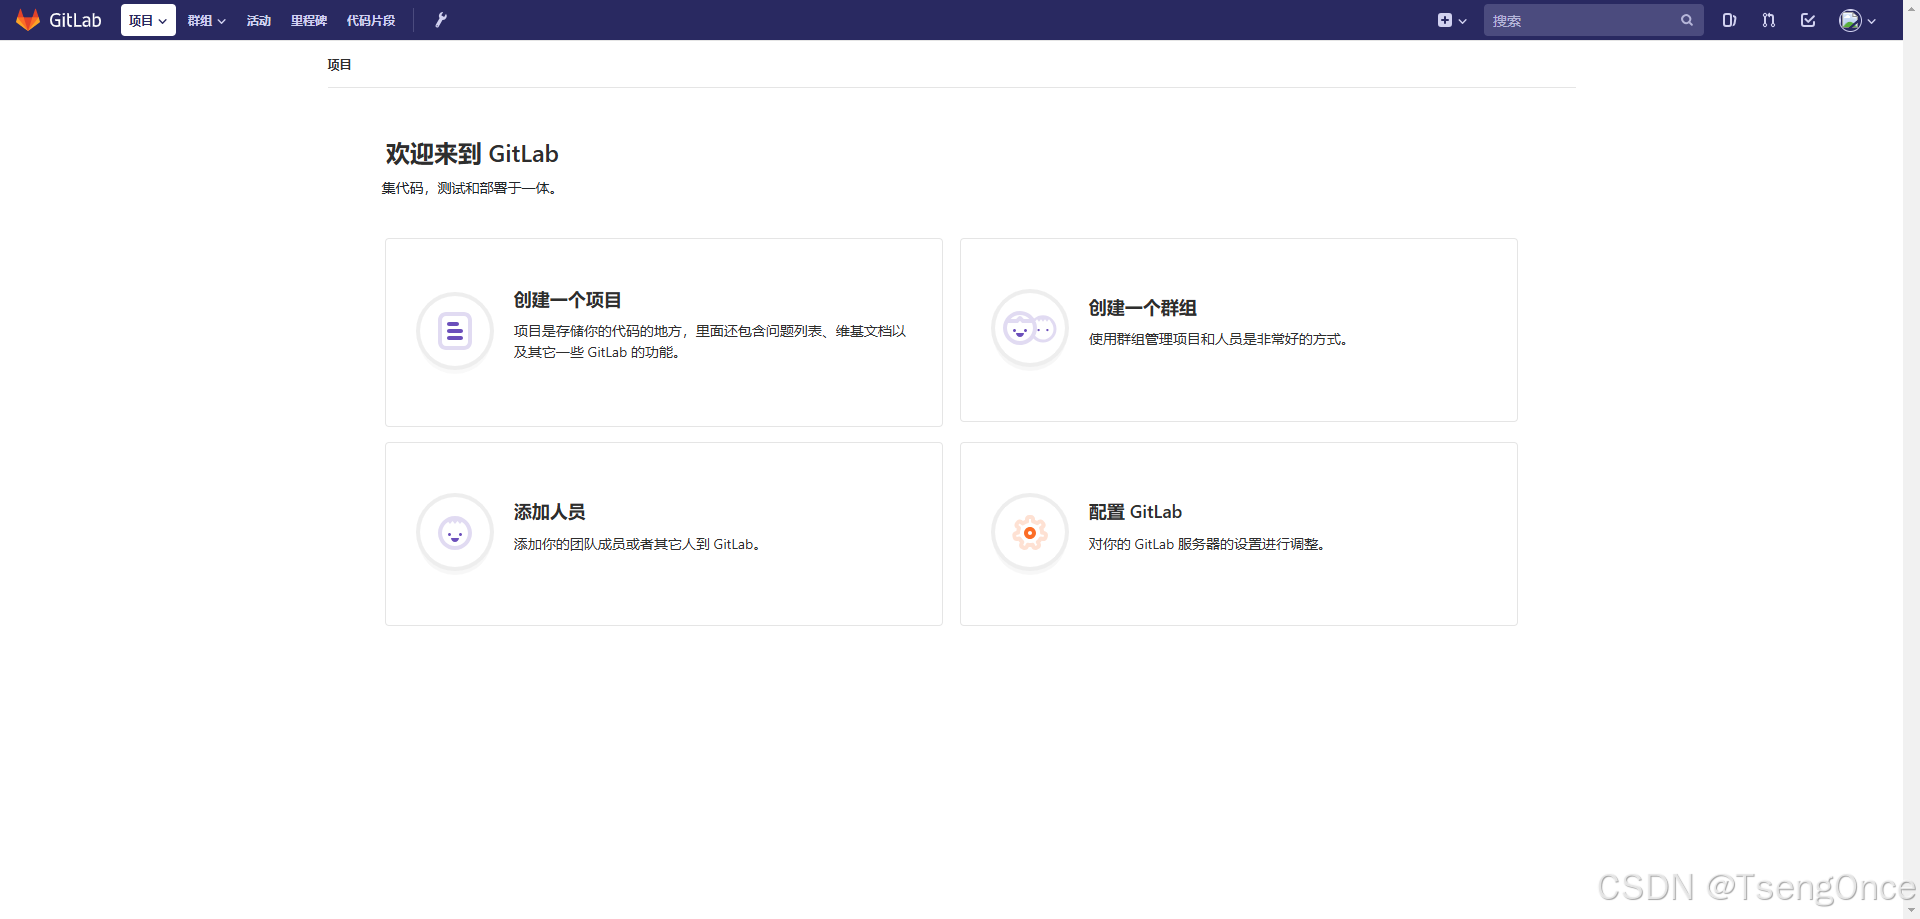
6、登录
默认root用户名为管理员,初次访问时设置root密码,设置密码后重新登陆即可


