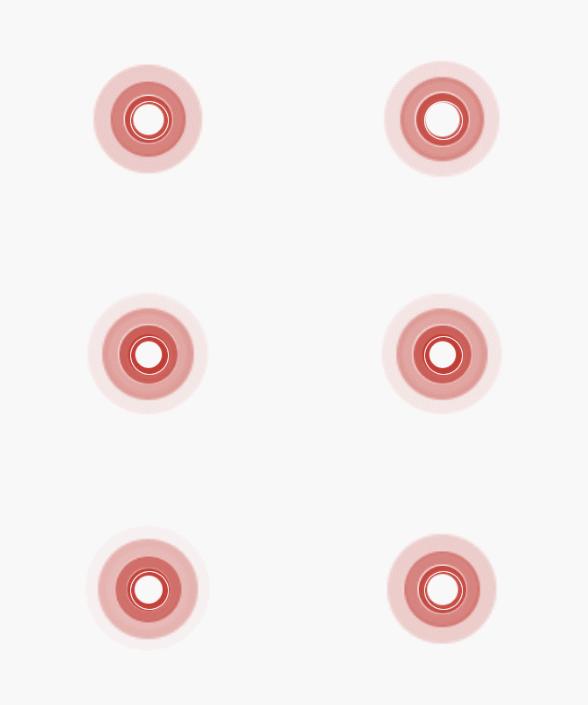
今天翻看博客,发现了水波纹效果。顺便研究了一下
一,Touch Feedback(触摸反馈)
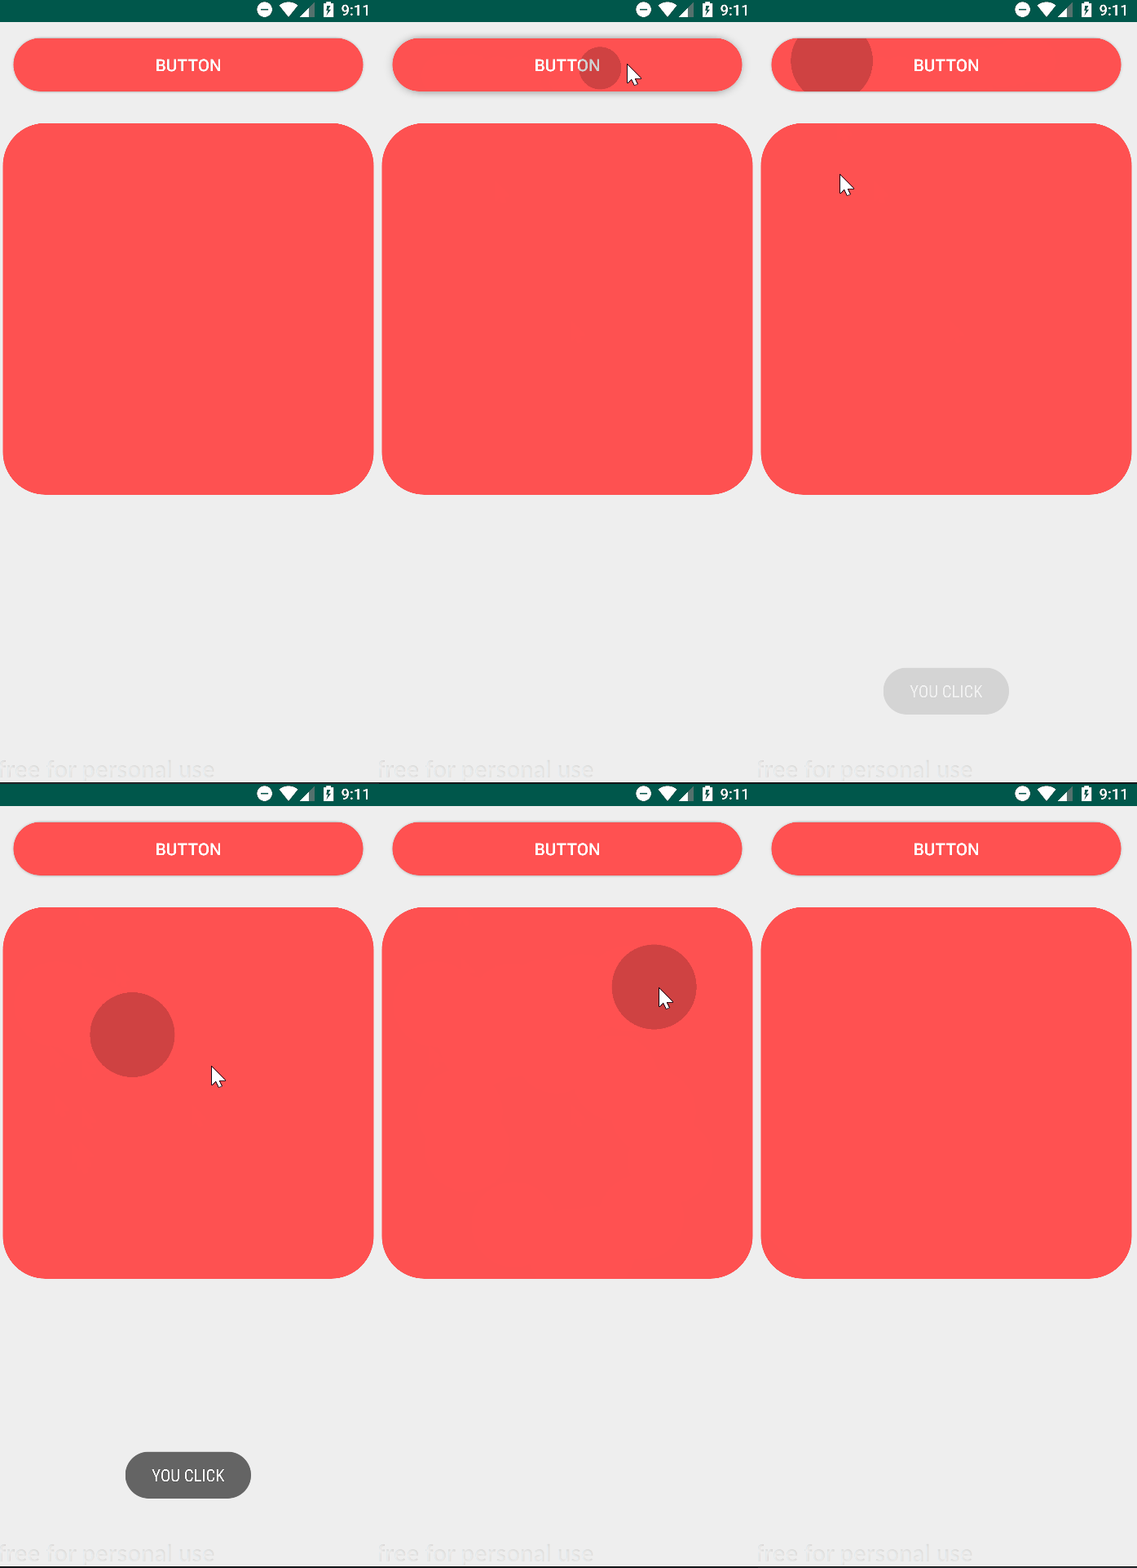
1,原始自带效果
代码:
<Buttonandroid:layout_width="wrap_content"android:layout_height="100dp"android:text="5.x自带按键效果" /><Buttonandroid:layout_marginTop="50dp"android:layout_width="100dp"android:layout_height="50dp"android:background="?attr/selectableItemBackground"android:clickable="true"android:gravity="center"android:text="第一种按下效果" /><Buttonandroid:layout_marginTop="50dp"android:layout_width="100dp"android:layout_height="100dp"android:background="?attr/selectableItemBackgroundBorderless"android:text="按下圆形水波纹" />录制视频到时候发现原生的下面两个录制不出来效果,所以自定义了一下效果颜色
<!-- Base application theme. --><style name="AppTheme" parent="Theme.AppCompat.Light.DarkActionBar"><!-- Customize your theme here. --><item name="colorPrimary">@color/colorPrimary</item><item name="colorPrimaryDark">@color/colorPrimaryDark</item><item name="colorAccent">@color/colorAccent</item><!--可以修改背景颜色和水波纹的颜色:--><item name="colorControlHighlight">@color/colorAccent</item><item name="colorButtonNormal">@color/material_blue_grey_800</item></style>2 自定义。主要用到了ripple这个属性。这个属性是api21之后才有的,所以要在res下建drawable-v21,在drawable下建press.xml
<?xml version="1.0" encoding="utf-8"?>
<selector xmlns:android="http://schemas.android.com/apk/res/android"><item android:drawable="@drawable/rippleshape" android:state_pressed="true" /><item android:drawable="@color/colorPrimary" />
</selector>
在drawable-v21下建press.xml
<ripple xmlns:android="http://schemas.android.com/apk/res/android" android:color="@color/colorAccent"><item><shape android:shape="oval"><solid android:color="#FFFFFF"/></shape></item>其中<ripple android:color="#FF21272B" .... />这个是指定水波纹的颜色 item里不指定内容也可以,在ripple试试指定radius。
二,Reveal effect(揭示效果)
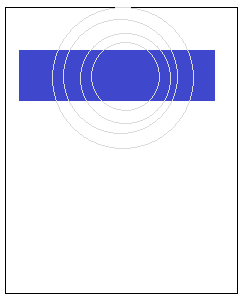
看效果
代码
public class MainActivity extends AppCompatActivity {private View view;private double radio;private boolean isOn = true;//记录view的状态,第一次进去是可见的,记为true,不可见记为false@Overrideprotected void onCreate(Bundle savedInstanceState) {super.onCreate(savedInstanceState);setContentView(R.layout.activity_main);view = findViewById(R.id.view);findViewById(R.id.bt_action).setOnClickListener(new View.OnClickListener() {@Overridepublic void onClick(View v) {createAnimation(view).start();}});}@TargetApi(Build.VERSION_CODES.LOLLIPOP)public Animator createAnimation(View v) {Animator animator;if (radio == 0L) {radio = Math.sqrt(Math.pow(view.getWidth(), 2) + Math.pow(view.getHeight(), 2));}if (isOn) {animator = ViewAnimationUtils.createCircularReveal(v,// 操作的视图0,// 动画开始的中心点X0,// 动画开始的中心点Y(float) radio,// 动画开始半径0);// 动画结束半径} else {animator = ViewAnimationUtils.createCircularReveal(v,// 操作的视图0,// 动画开始的中心点X0,// 动画开始的中心点Y0,// 动画开始半径(float) radio);// 动画结束半径}animator.addListener(new Animator.AnimatorListener() {@Overridepublic void onAnimationStart(Animator animation) {if (!isOn) {view.setVisibility(View.VISIBLE);}}@Overridepublic void onAnimationEnd(Animator animation) {if (isOn) {view.setVisibility(View.INVISIBLE);}isOn = !isOn;}@Overridepublic void onAnimationCancel(Animator animation) {}@Overridepublic void onAnimationRepeat(Animator animation) {}});animator.setInterpolator(new DecelerateInterpolator());animator.setDuration(500);return animator;}
}
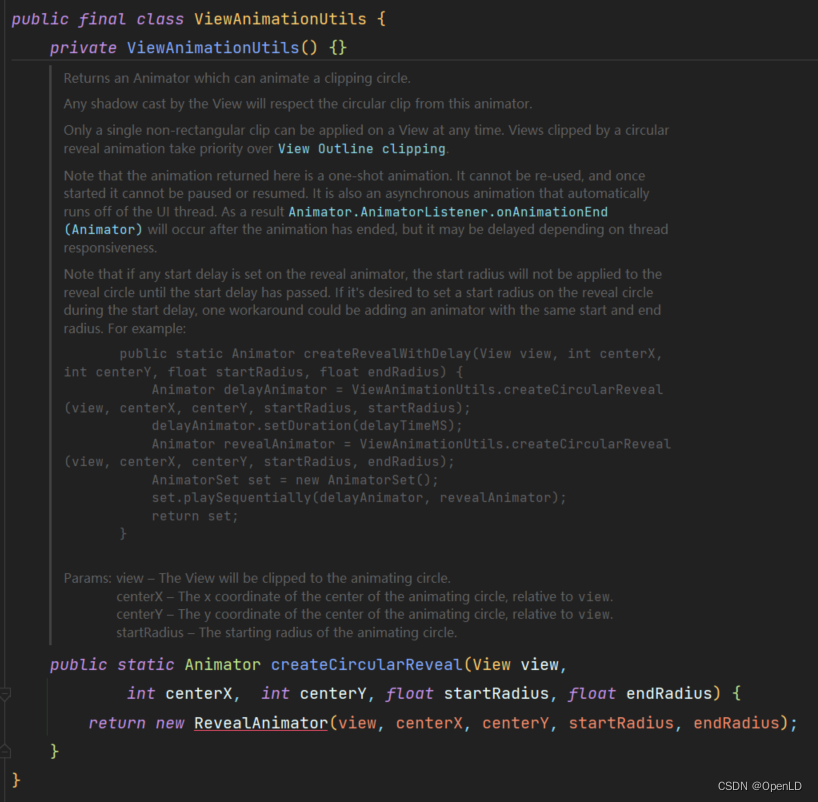
主要API
ViewAnimationUtils.createCircularReveal(
View view,//目标view
int centerX,//开始动画的起点x坐标(相对于目标view而言)
int centerY,//开始动画的起点y坐标(相对于目标view而言)
float startRadius,//初始半径
float endRadius//结束半径
);
总结:第一次写博客,写的很简单,还在摸索中。为了速度,有些样例间接了网上大神


