- 背景
- xml布局
- background属性资源文件代码实现
- foreground属性资源文件代码实现
- 效果展示
- 扩展使用及注意事项
背景
Android 5.0 以上引入了控件点击的水波纹效果,为了用户体验和相关需求需要。下面我们来一起实现。提前告知一下,实现起来相对是简单的,大家放松心态。
xml布局
这里先拿一个Button(按钮)控件来演示一下效果。具体在xml中引入一个button如下所示:
<?xml version="1.0" encoding="utf-8"?>
<RelativeLayout xmlns:android="http://schemas.android.com/apk/res/android"xmlns:app="http://schemas.android.com/apk/res-auto"xmlns:tools="http://schemas.android.com/tools"android:layout_width="match_parent"android:layout_height="match_parent"tools:context=".MainActivity"><Button
        android:foreground="@drawable/ripple_foreground"android:background="@drawable/button_drawable"android:textColor="@android:color/darker_gray"android:layout_centerInParent="true"android:id="@+id/btn_ripple"android:text="水波纹按钮"android:layout_width="wrap_content"android:layout_height="wrap_content" /></RelativeLayout>
显示的xml界面如下:
xml显示界面就一个按钮,到时候通过运行应用程序,手机上点击这个按钮的时候就可以看到水波纹效果了。
这里有两个关键的属性:
- background属性
android:background="@drawable/button_drawable"这个属性是设置button的背景,因为原生按钮的样式一般来说不符合用户的审美,所以都会自定义drawable文件,来定义新的button背景显示。对应的drawable文件会在下面给出。
- foreground属性
android:foreground="@drawable/ripple_foreground"这个属性很关键,实现按钮的水波纹效果就是根据这个属性来实现的。 这也是一个drawable资源文件,下面会跟大家再细说。
background属性资源文件代码实现
这个是在drawable目录下,然后命名是button_drawable.xml,如下:
<?xml version="1.0" encoding="utf-8"?>
<shape xmlns:android="http://schemas.android.com/apk/res/android"><!--四个角圆角的程度,只适用于矩形shape,默认是矩形shape--><corners android:radius="6dp"/><!--填充颜色--><solid android:color="@android:color/white"/><!--描边--><stroke android:width="1px" android:color="@android:color/darker_gray"/></shape>
这是最基本的一个ShapeDrawable实现,也就是一种很常见的Drawable。设置button控件的background属性后就如上图种显示的效果一样:带圆角,描边设置,还有填充颜色的设置,能达到许多背景样式,很符合用户审美。
foreground属性资源文件代码实现
这个需要在res资源目录下新建 drawable-v21 文件夹,然后在这里面创建ripple_foreground.xml资源文件,如下:
<?xml version="1.0" encoding="utf-8"?><!--Android API21及以上引入了控件点击的水波纹效果-->
<ripple xmlns:android="http://schemas.android.com/apk/res/android"android:color="@android:color/holo_blue_light"></ripple>
这里新建的drawable-v21文件夹就是为了Android5.0专门新建的,当你的手机Android版本是5.0及以上的时候就会引用该文件夹下的资源文件,相应的控件的这个属性也会生效,也就可以看到水波纹效果。如果是Android 5.0版本以下,那么控件设置该foreground属性就无效,引用相关的资源文件也不起作用。
效果展示
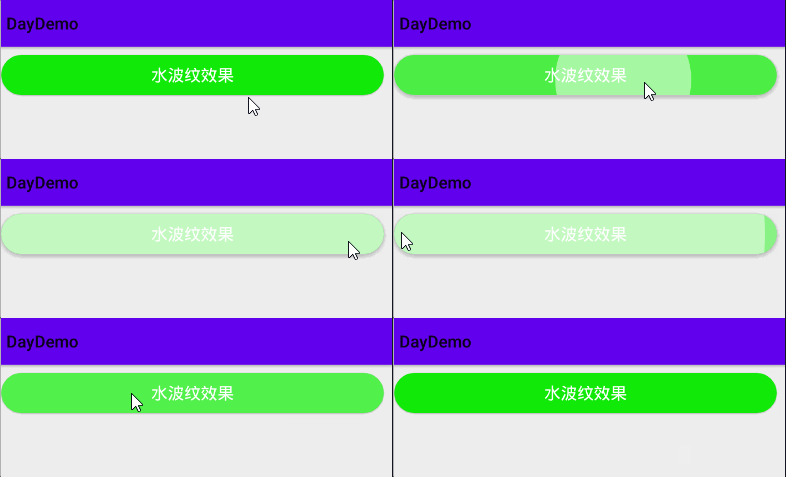
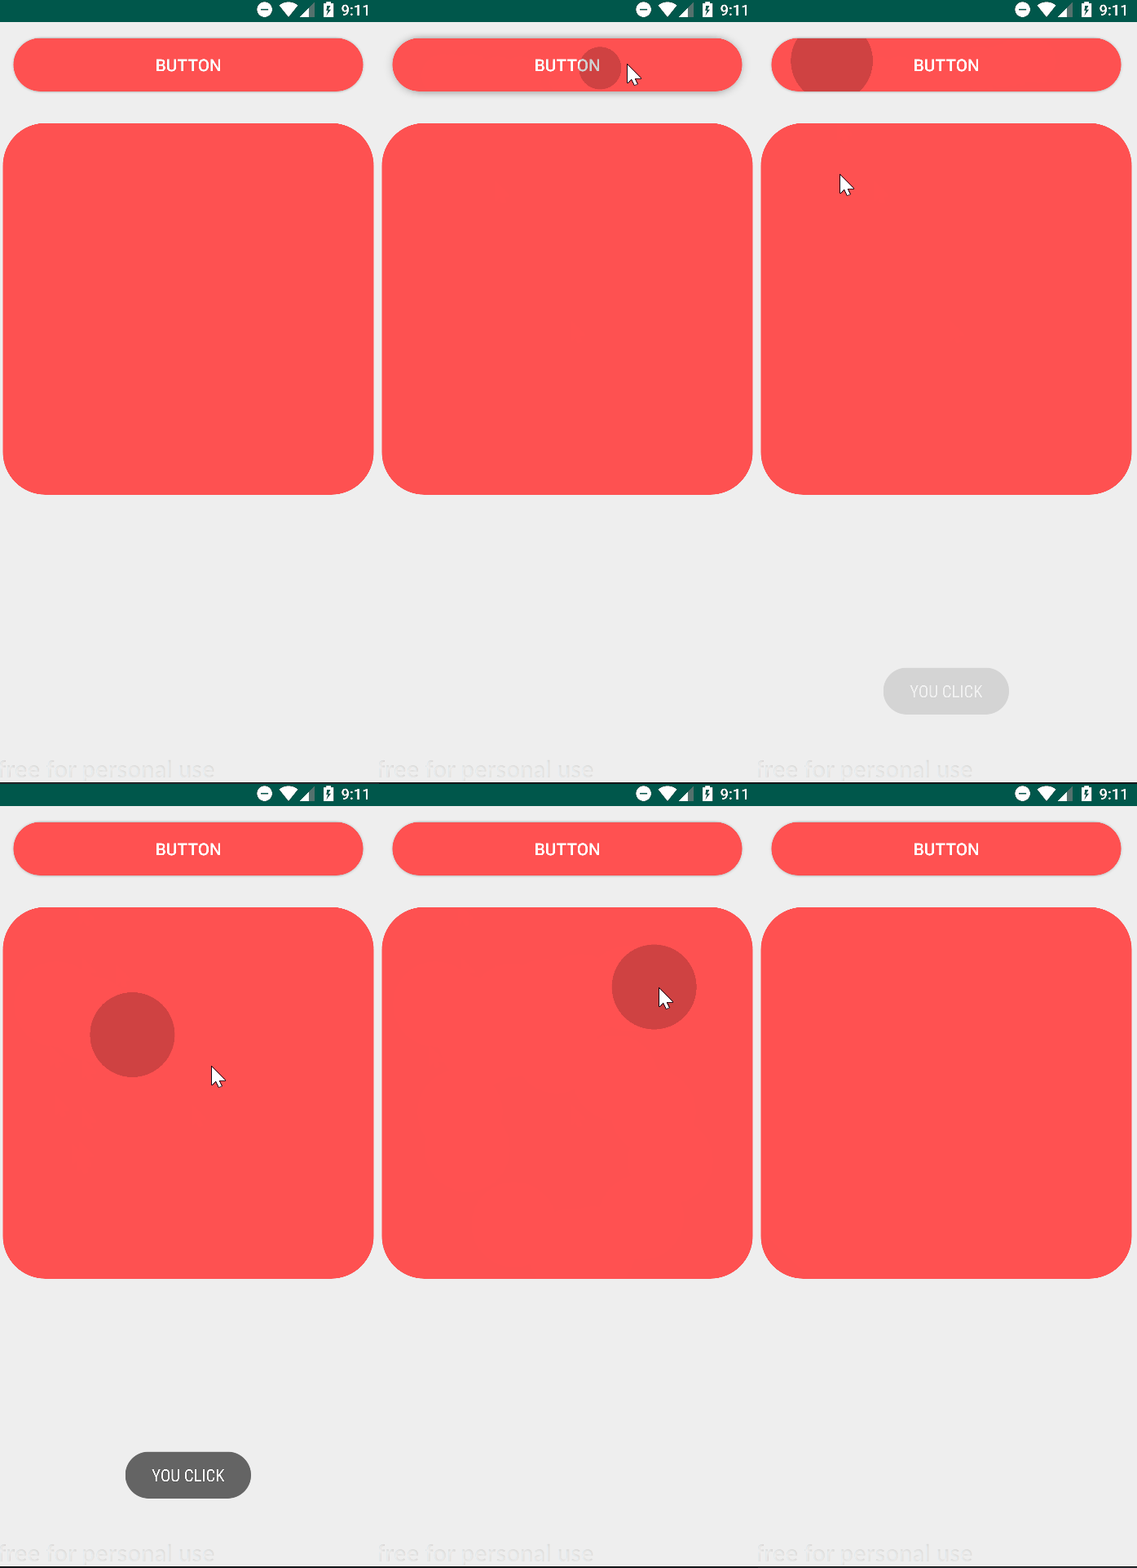
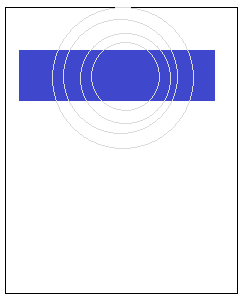
这里用的是几张静态图显示的,大家可能看不到实际演示的效果,但是能展示基本的水波纹动画,也就是从点击处往四周扩散,效果确实棒棒的。
ps:本人最近好想学习ps,以后会尽量给出更加棒的图片,需要用到gif图片展示的也会相应的给出gif图片。这几张静态图还是我通过屏幕录制然后截图获取的,真是要了我的小心脏了。想说演示不易啊!
扩展使用及注意事项
首先,跟大家说明一下。水波纹不只是能在按钮button上面实现,在所有可以点击的控件上也是可以实现的。
所以大家所熟知的:RelativeLayout、LinearLayout都是可以实现该效果的。布局其实也可以叫做Android中的控件,只不过这些父控件还可以包含一些其他控件。
实现的话也是通过设置foreground属性来实现的。但是有一点需要特别注意,当控件本身不带点击效果的时候,不设置click属性为true或者在代码中没有设置该控件的单击事件的话,那么你是看不到水波纹效果的。而button是自带点击属性的,所以不用设置click属性为true也能看到水波纹效果。
这里就不做验证了,讲的很细,大家可以结合上面的实现自己去实践。
A little bit of progress every day!Come on!


